Tuesday Freebie and New in Shop

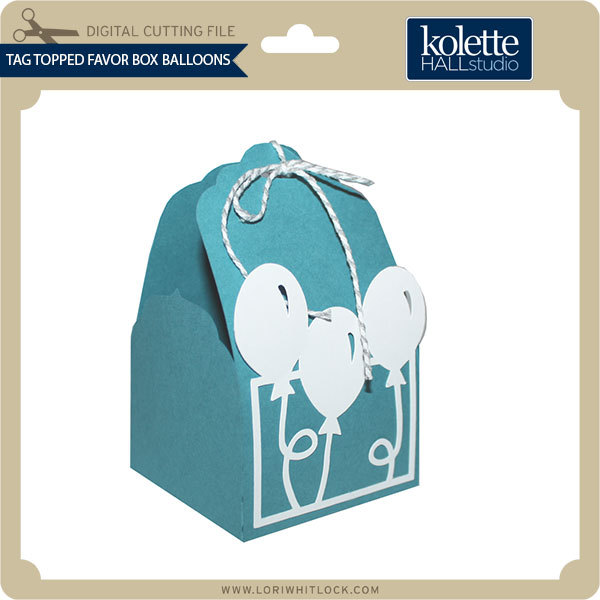
ALL WEEK, this SVG file is FREE with any $1.99 purchase!

We have a FREE file with purchase all this week! Simply add this adorable Tagged Top Favor Box Balloons file is to your shopping cart along with ANY $1.99+ purchase from the SVG Shop and this file is yours FREE. It would be perfect to hold a little gift for someone special! Be sure to use Coupon Code: FAVORBOX (case sensitive) at checkout. This offer is good through next Sunday.

(Your cart must reach at least $4.98 before the coupon will be applied and then $2.99 will be subtracted from your total at checkout. The files will be available for immediate download after you pay for your order by visiting the “downloads” section inside of your account.)
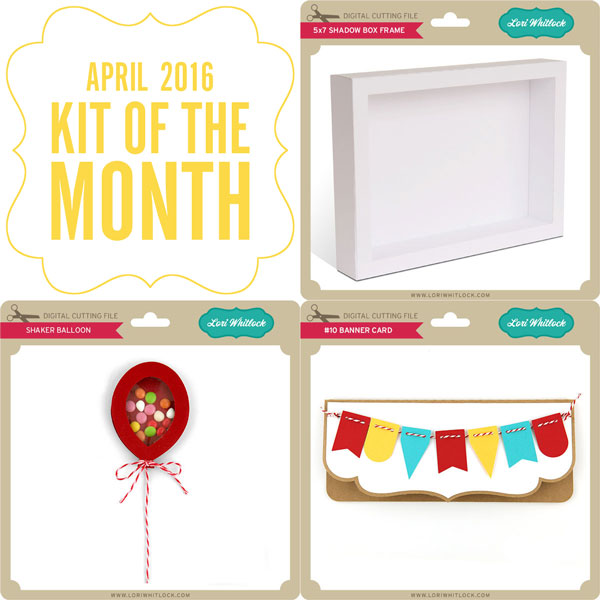
In addition, don’t forget about this special available the entire month of April! You can get this Free Kit of the Month with any $20 purchase (Purchase must be in one transaction.) No code necessary, the kit will be automatically added to your cart once $20 worth of product has been purchased.
 

Check out our awesome SVG files releasing this week! And, just like always, the NEW files are ON SALE 25% OFF through the weekend in the SVG Shop! These downloads include SVG files for sure and PNG or PDF files when appropriate. No coupon code necessary, the files are all discounted in the shop! Be sure to go get them while they are on SALE this week.
 

Thanks for visiting the blog today! Please let us know if you need any help with your files. We want to make sure everyone is happy with their purchase. Have a great week!

3D Letter and Ornate Gatefold Card with Tya

Hi everyone – it’s Tya and I am so happy to share with you all a few of my favorite new cut files from Lori Whitlock. With Mother’s Day (and my Mom’s Birthday) around the corner – I thought I would get a jump start on my gift giving with this fun set.

These files were just what I was looking for. I used the Petticoats line that Lori designed for Echo Park. I love the floral, feminine feel to this line. And aren’t the colors lovely? Let me give you a closer look:

First up is this beautiful card. I used the 5×7 Ornate Gatefold Card (Silhouette) (LW SVG). I love how I was able to use one of the 4×6 cards found in the Petticoat papers for the perfect sentiment. I used some stickers from the collection as well as some jewels and washi tape to decorate the card.

 I have been so looking forward to using one of Lori’s new 3D Letters. They are so slick to put together!! Only 2 tabs on the top and bottom are all you need. I used the letter “L” (Silhouette) (LW SVG)  for my mom’s name – Leisa. She can place this on her desk at work. I also added one of Lori’s new 3D Flowers (Silhouette) (LW SVG)  to decorate it. She always does the most beautiful job on these flowers. So realistic looking!

Thanks for stopping by the blog today. I hope I have inspired you to pick up these fun new files and give these projects a try. Happy Crafting!

April Sale Ends Tomorrow!

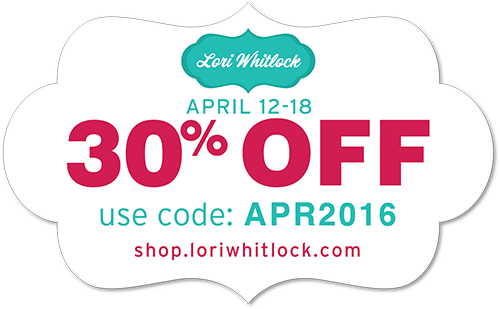
Just a quick post to remind you that our April 30% off sale ends Sunday at midnight!!  All items in the SVG Shop are 30% off.  Use code APR2016 at checkout to receive your discount!

This is the perfect time to grab all of those files on your wish list!  Have a great day!

Assembly Tutorial with Corri

Hi everyone!  Corri here today sharing a quick assembly tutorial for the new Magazine Holder with Shelves.   This is such a fun project to put together.

Cut all the base pieces from card stock.  I chose a pink to coordinate with the Petticoats and Pinstripes Collection from Echo Park paper.

Fold along all the score lines, apply glue to tabs and form 4 boxes.

The remaining flat pieces are used to cover seems to give your organizer a finished look.

Next, glue boxes together to form the desk organizer.


Apply panels to cover seams.

Complete your box by cutting the final 4 pieces in the pattern paper of your choice.

Be sure to check out all the fun new desk top organizers that Lori recently added to her shop.


Thanking the Best Teacher

When you literally have no time and HAVE to throw a card together, Lori Whitlock comes to the rescue with thousands of designs and design elements that can save the day and make you look like a PRO!

All this card took was some patterned paper with a school theme and one of Lori’s designs. I used Cricut Design Space to upload the images, flatten the elements and use the print then cut function to put together my card.

20160405-20160405_221245-Edit

For this card, I used Lori Whitlock’s Teacher Thank You Tags file set.

20160406-2016-04-05_21-38-44
After uploading my files, I flattened the images I wanted to print, then cut.
I did the same with the school house I used on the inside of the card.
This is how the images looked after they were flattened.
Design Space prepared the print then cut for me.
All I had to do was print the file.
Then I chose my printer and the settings I wanted to use.
After printing, my image was ready to cut.
After printing, my image was ready to cut with my Cricut Explore.
Perfect job.
Perfect job.
Ready to cut the front sentiment for the card.
It's just too easy.
It’s just too easy.
The front of my card.
With a little schoolhouse on the inside.

It’s a simple card, but it took no more than 15 minutes and I didn’t have to go out and buy one.

Thanks so much for stopping by.

Please visit my blog at ScrappyDIVAblog.com for many more projects, tutorials and ideas.