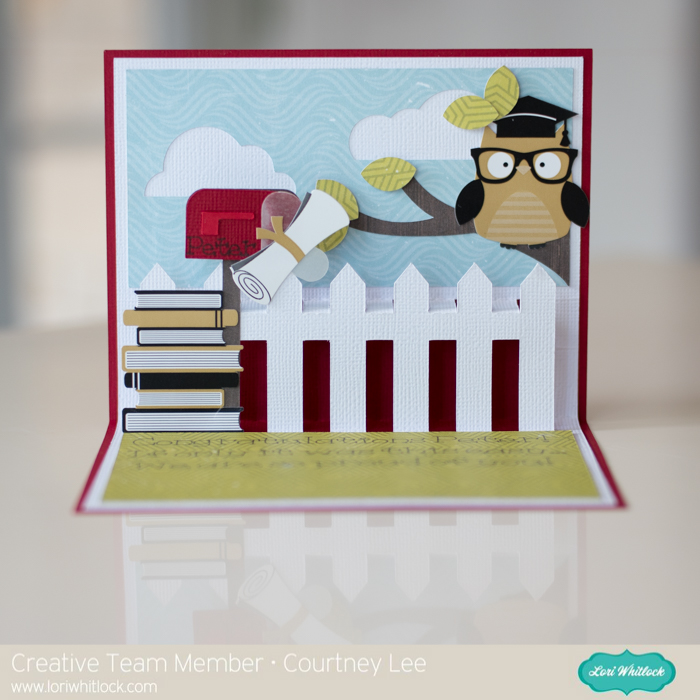
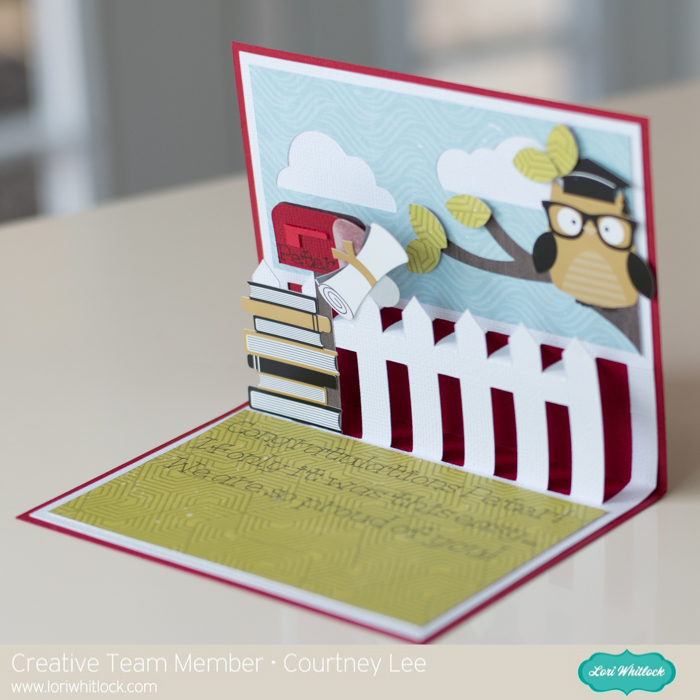
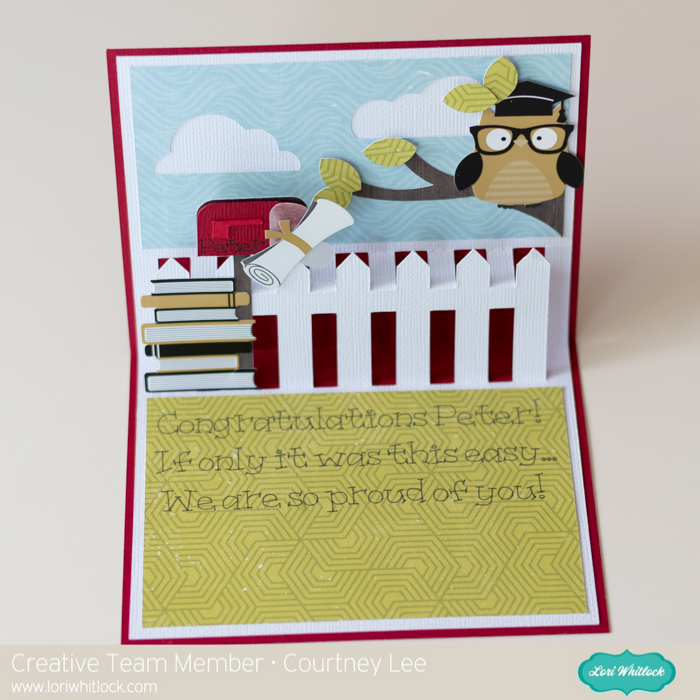
Welcome to our June 2016 Creative Team Blog Hop! Our creative team has some awesome new projects to share with you to get you in the crafting mood. In addition, I have some FUN new files for you! Be sure to check them out below.

One thing customers seem to like about blog hop week is our 30% OFF SALE going on at Lori’s SVG SHOP. ALL files (and commercial licenses) from Lori Whitlock, Kolette Hall, and Dresden Carrie are on SALE. Use code JUN2016 (case sensitive) at checkout in the SVG SHOP. (only one discount code per order allowed)

In addition, TODAY ONLY, you can get 30% OFF all of my digital files over at Snap Click Supply! Use code DIGIJUN16 at checkout to get the discount!
I also have a gift for you! TODAY ONLY, You can get this fun 3 Popsicles file for FREE! So, be sure to go grab it while you can from the SVG shop.

And don’t forget about the July Kit of the Month! If you spend $20 in the SVG Shop (in one transaction) you can get the Kit of the Month for free! Simply add the July Kit of the Month to your shopping cart along with ANY $20.00+ purchase from the SVG Shop and this file is yours FREE. These would be perfect for summer celebrations! Be sure to use Coupon Code: JULYKOTM (case sensitive) at checkout. This offer is good through July 31st!
(Your cart must reach at least $20.00 before the coupon will be applied and then $7.95 will be subtracted from your total at checkout. The files will be available for immediate download after you pay for your order by visiting MY ACCOUNT>COMPLETED ORDERS>ORDER DETAILS inside of your account. Only one discount code per order allowed.)

How would you like to win a $20 Gift card to my SVG Shop?

a Rafflecopter giveaway
This past Saturday I hosted a special event at my house. I have never done anything like this before. It’s been in the works for months and I’m so excited to share it with you. Crafter’s Home (a group of store owners) is in town and they went on a studio tour all day Saturday. My home/studio was one of the stops on their itinerary! It was an honor to get to meet all these amazing crafters/business owners and get to know them.

The event was truly a community effort! Sarah with Crafter’s Home prepared and served the food, Sizzix sponsored the event and their designers made all of the decorations along with goodie bags, Echo Park Paper was also a sponsor, presented and provided goodies to take home. I taught a workshop where we made two cards from my new summer 2016 release with Sizzix using my Echo Park paper.

I also had have my office ready for the studio tour. And, last but certainly not least, my sweet husband has been grooming the yard and giving the garden some TLC for the past few months so that we could host the event. And, my two daughters were super helpful with setting up and serving the meal. Thanks everyone that helped pull this event off. It truly was teamwork!


Imagine the surprise on the neighbors faces when a charter bus pulled into the neighborhood. About forty to fifty people attended the event.


We enjoyed a lovely BBQ dinner with mason jars for lemonade and the cutest table decorations made with many of my Sizzix dies along with dies from other designers like Eileen Hull and Jo Packham (Where Women Cook)!


At the end of the event we took groups into my studio for a quick tour. Let me just say… there’s nothing like an event like this to get you organized and cleaned up. Now I’m afraid to go back to work because I really don’t want to mess it up again. HaHa!!


So, needless to say being gone for the fourth of July and then getting ready for this event has kept me pretty busy for the past couple of weeks. So, unfortunately there are no new releases this week. But, that’s OK because I have lots of new ideas flowing and will have time to devote to it this week. So, watch for new things coming this week.
And, last but not least… would you like to see what our amazing team has created? Click the links below for some wonderful inspiration. If you get lost come back here to get on track. Lori Whitlock ,Mendi Yoshikawa Kathy Skou Courtney Lee Ashley Cook Thanks again for dropping by! Have a GREAT day!

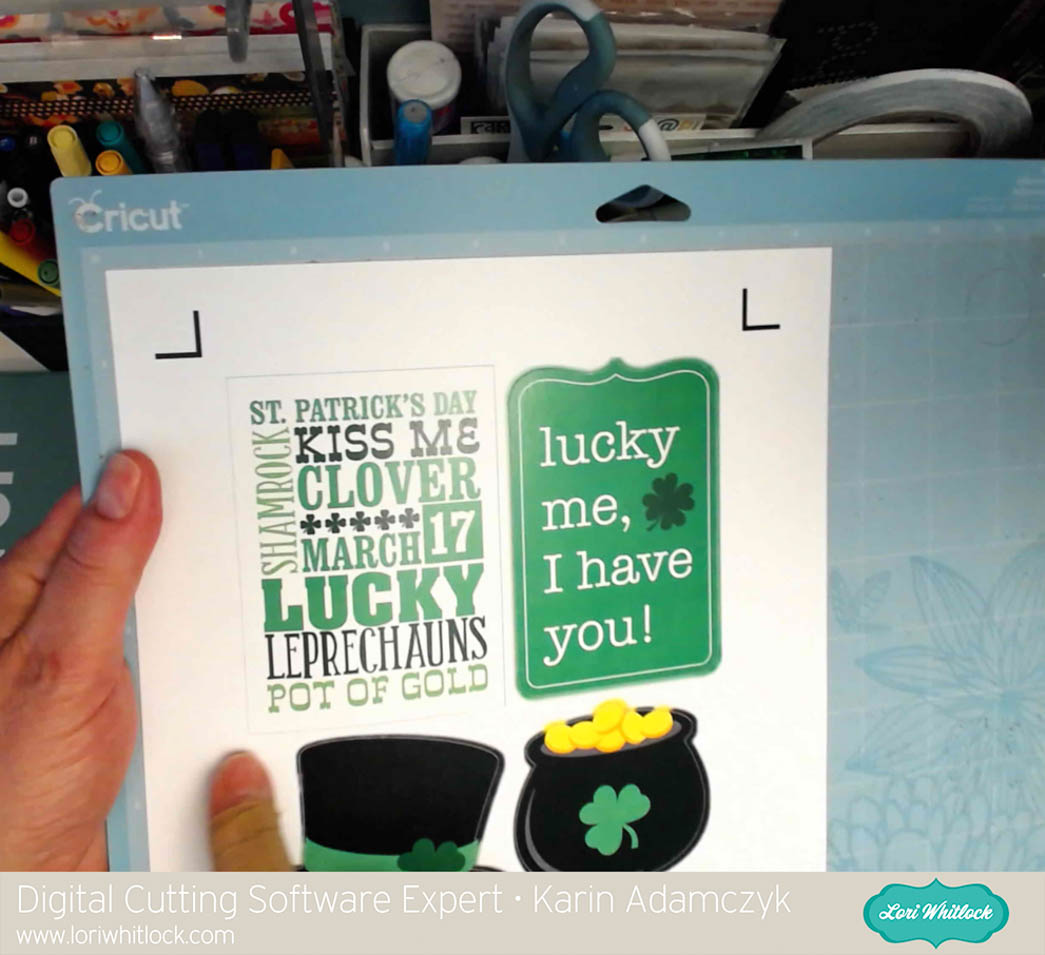

 binder. I combined the videos into the one below and will add another in two weeks showing how far I have progressed in a very short time.