Hi, fellow crafters!
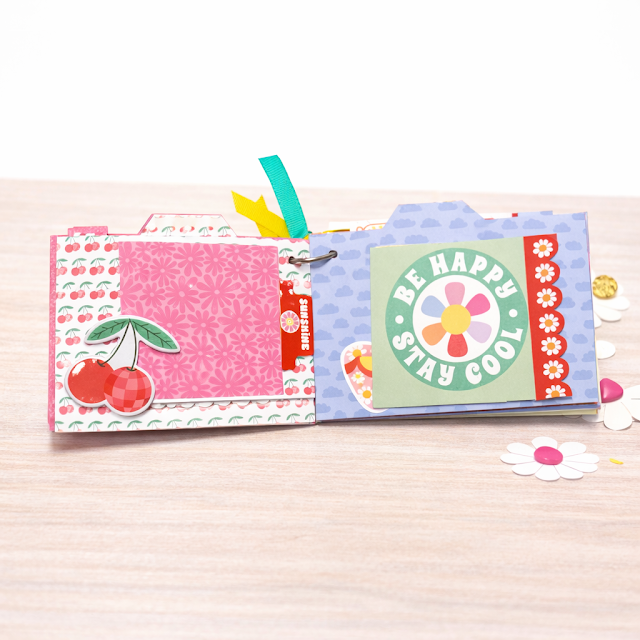
There is something magical about creating a mini album that feels like summer in your hands, and this one does exactly that with Lori’s new Echo Park collection, Our Groovy Summer collection.

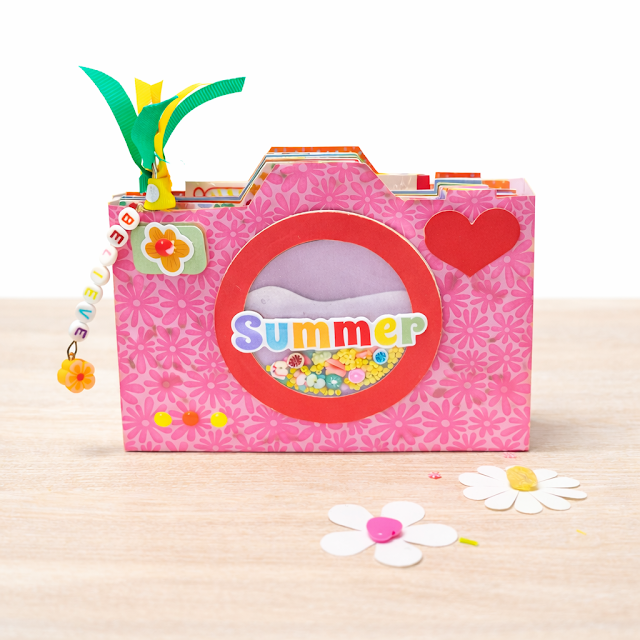
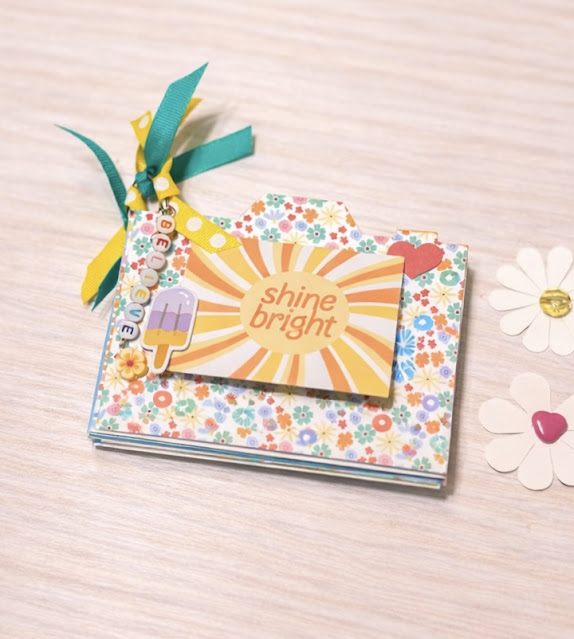
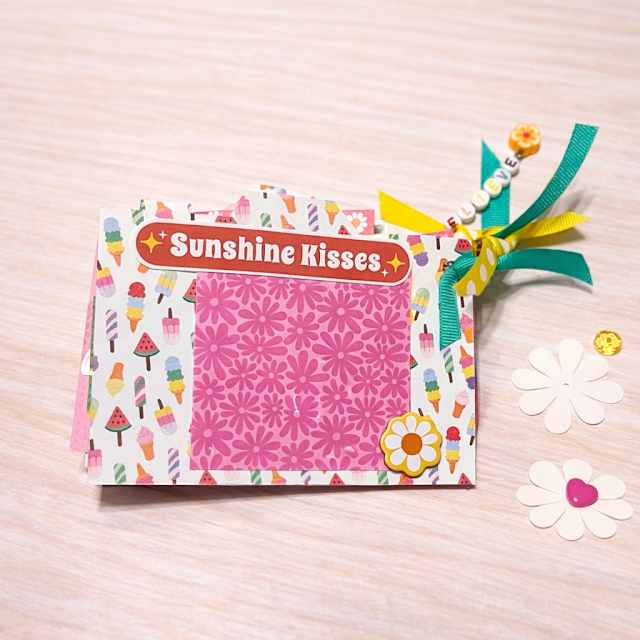
The bright pink floral camera box with the cheerful shaker lens filled with tiny colorful embellishments, this little album is bursting with happy vibes. A little Summer title sets the tone and a playful beaded charm and ribbons add that handmade touch. It’s a project that makes me instantly smile.
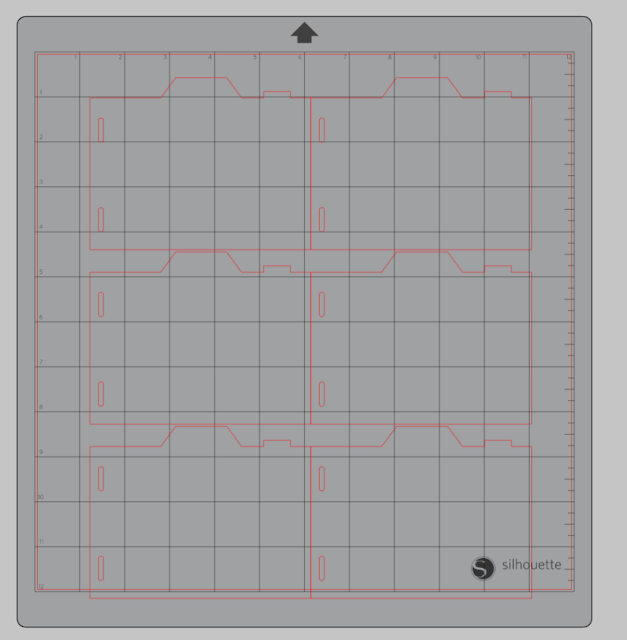
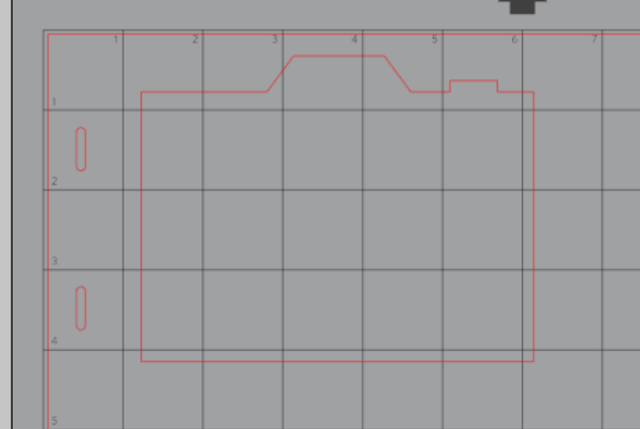
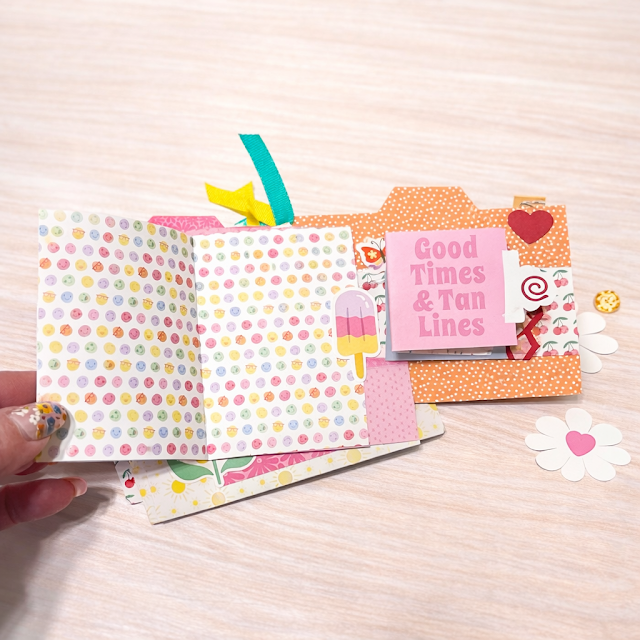
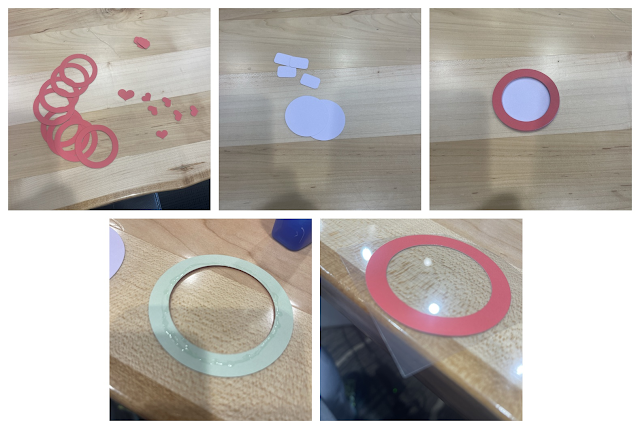
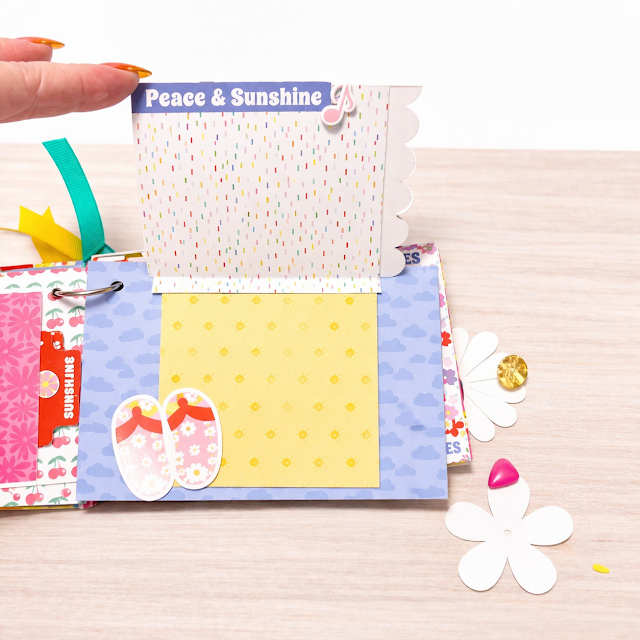
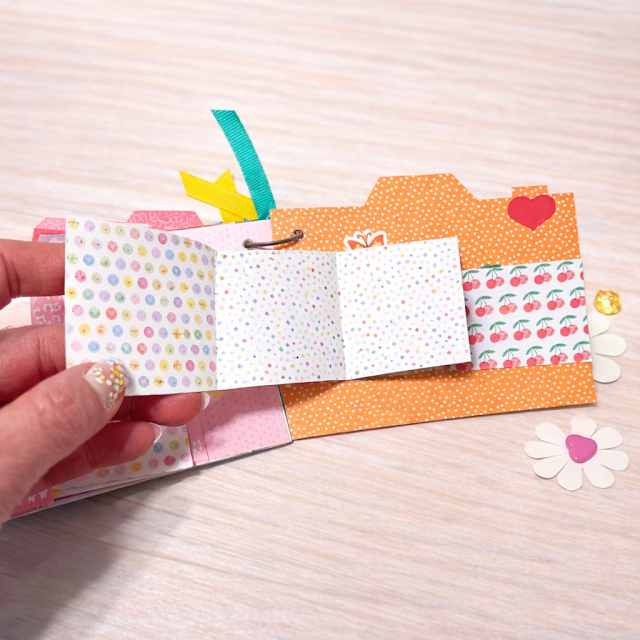
Start with your camera mini album (SVG, Silhouette). Cut the box out and then cut your six pages for the inside. Now for these, I took out the two holes on the side. Just ungroup and pull those little holes out. I knew I wanted the album to just be bound with a book ring…so that is why I took them out. I just took them out of one, then duplicated it so I had six pages. You can see this is the photos below.


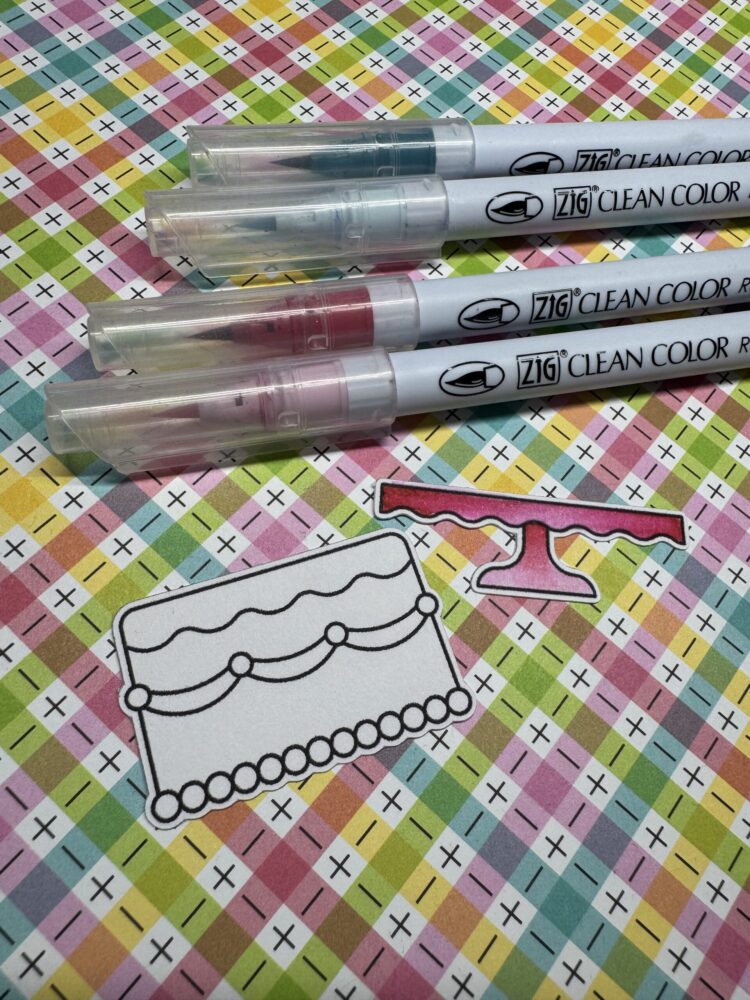
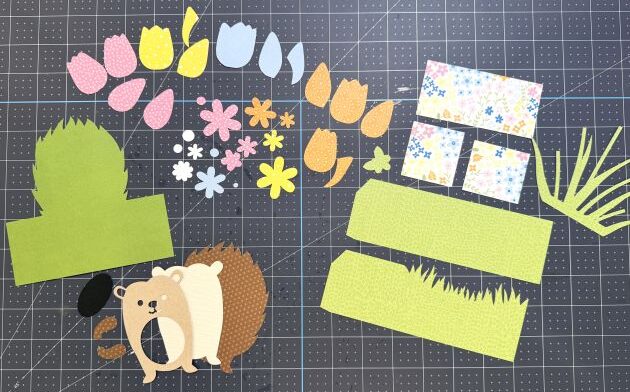
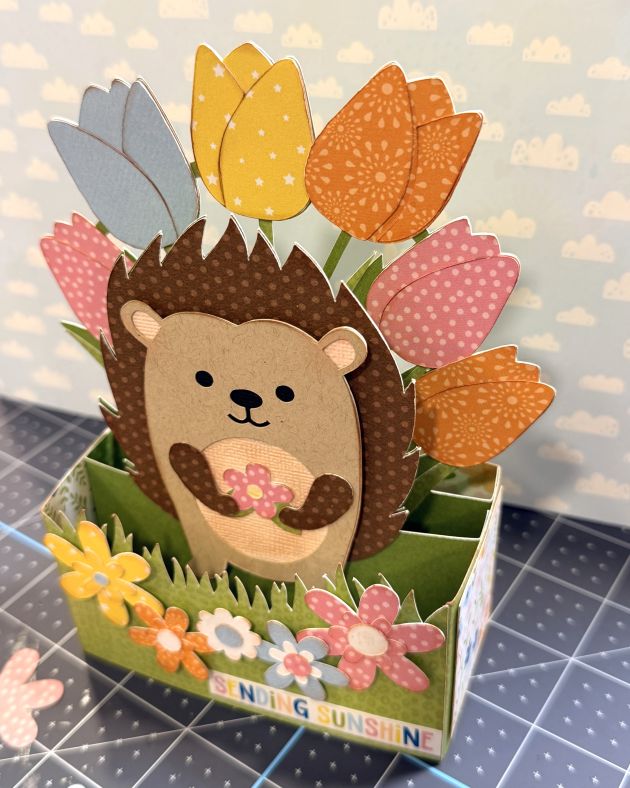
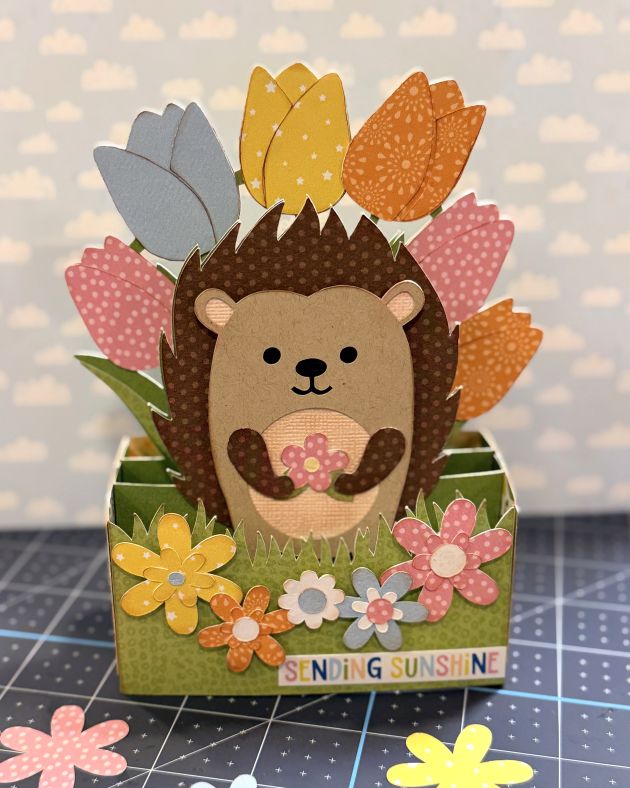
 The next section is the tulips. Using liquid adhesive, I added the grass/leaves layer first. Next, I assembled each flower and adhered to the green base piece. I folded along the scored tabs and added strong tape to either side. It helps to have the sample image pulled up on Lori’s website. That way you can zoom in and piece the flowers together easily.
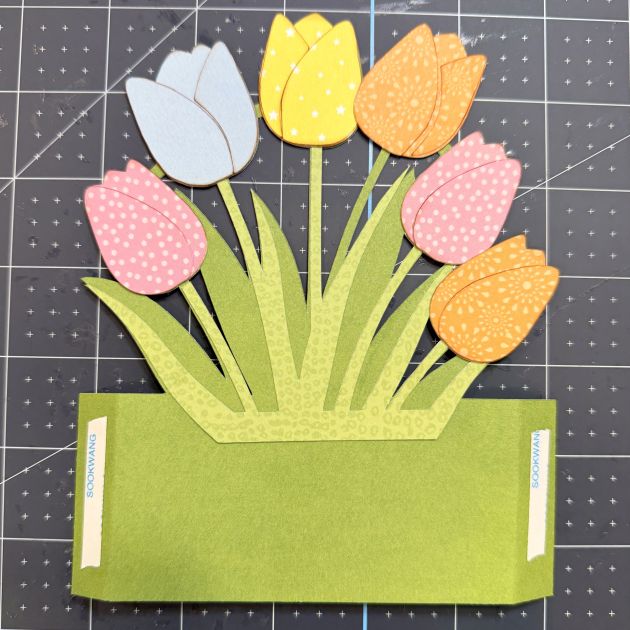
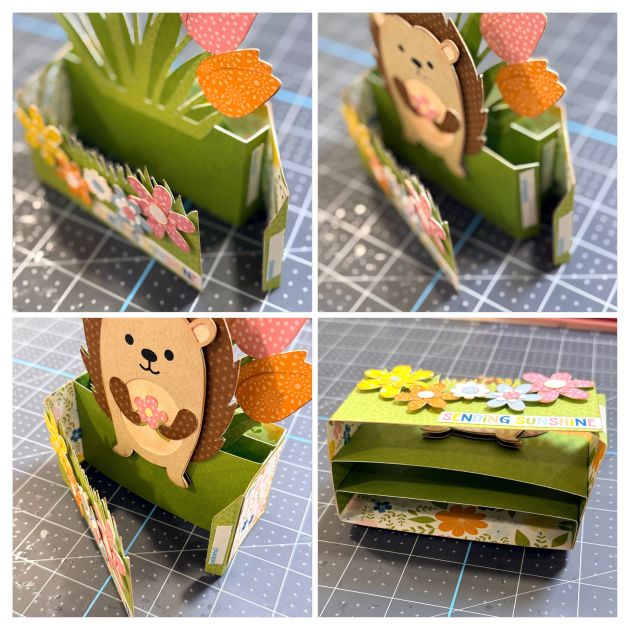
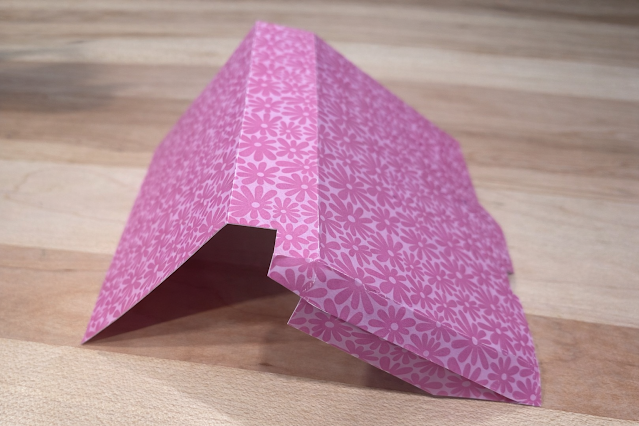
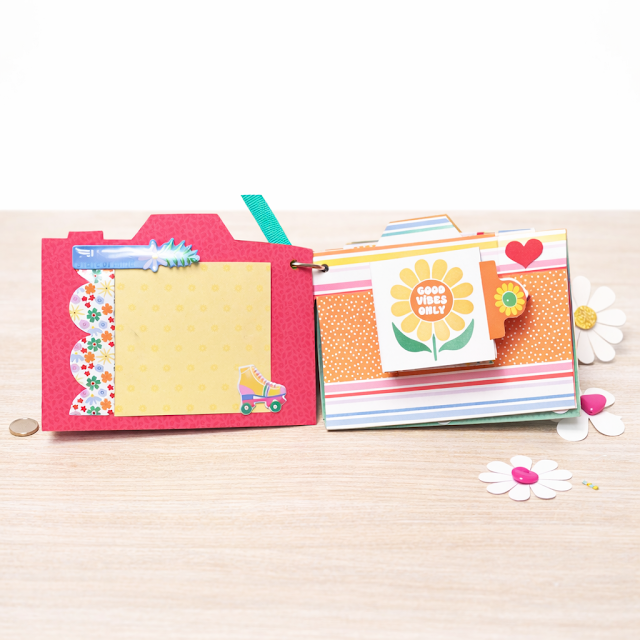
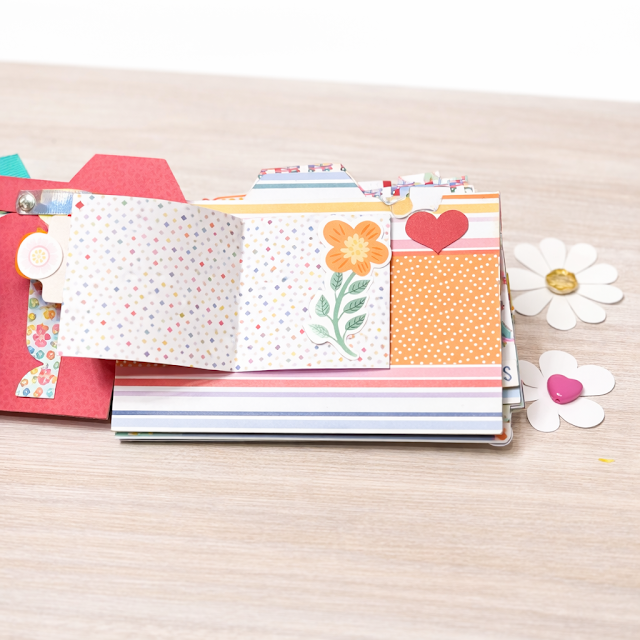
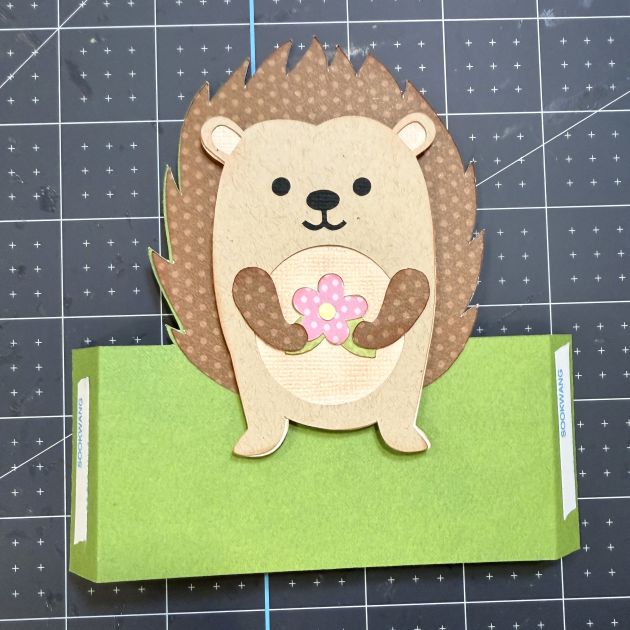
 Now it’s time to put it all together. I connected the two box pieces, peeling just one tab, to create one long strip. I did not adhere the final tab just yet. Once I had the box shape in place, I added the tulip layer. I peeled off the tape on only one side and lined up the tabs so that they touched the back of the box card. Next, I peeled the tape off one side of the hedgehog layer and adhered the tab directly in front of the tulips section. I peeled off the other side of the tulip and hedgehog sections and attached them to the side of the box. Finally, I closed the outer box card. I’ve added an image that shows what the bottom of the card looks like. You can see how the sections stack on top of each other like tables.