Hi Everyone, I am SO EXCITED to share some fabulous news with you…. are you ready….. drumroll please…

Yes it’s true! I have teamed up with Doodlebug Design and will be offering their adorable new cut files in SVG format in the Lori Whitlock SVG Shop!! Today we are releasing 3 full collections of files…


Be sure to check out all of the new files below! And now…
ALL WEEK, this SVG file is FREE with any $1.99 purchase!
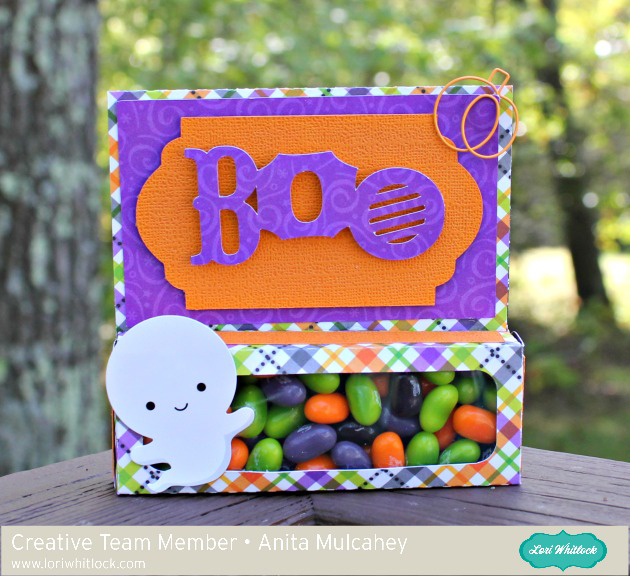
We have a FREE file with purchase all this week! Simply add this Halloween Snack Bag Holder file to your shopping cart along with ANY $1.99+ purchase from the SVG Shop and this file is yours FREE. Be sure to use Coupon Code: BATTY (case sensitive) at checkout. This offer is good through next Sunday.
(Your cart must reach at least $2.98 before the coupon will be applied and then $0.99 will be subtracted from your total at checkout. The files will be available for immediate download after you pay for your order by visiting MY ACCOUNT>COMPLETED ORDERS>ORDER DETAILS inside of your account. Only one discount code per order allowed.)

In addition, don’t forget about this special ! You can get this Free Kit of the Month with any $20 purchase (Purchase must be in one transaction.) Simply add the October Kit of the Month to your shopping cart along with ANY $20.00+ purchase from the SVG Shop and these files are yours FREE. Be sure to use Coupon Code: OCTKOTM (case sensitive) at checkout. This offer is good through October 31st!
(Your cart must reach at least $27.95 before the coupon will be applied and then $7.95 will be subtracted from your total at checkout. The files will be available for immediate download after you pay for your order by visiting MY ACCOUNT>COMPLETED ORDERS>ORDER DETAILS inside of your account. Only one discount code per order allowed.) Check out our awesome SVG files releasing this week! And, just like always, the NEW files are ON SALE 25% OFF through the weekend in the SVG Shop! These downloads include SVG cutting files that are meant to be used with a digital cutting machine. No coupon code necessary, the files are all discounted in the shop! Be sure to go get them while they are on SALE this week.


Thanks for visiting the blog today! Please let us know if you need any help with your files. We want to make sure everyone is happy with their purchase. Have a great week!


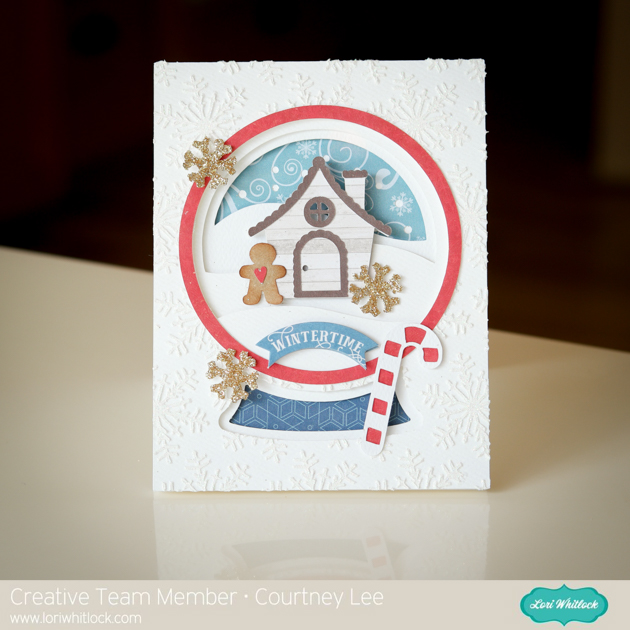
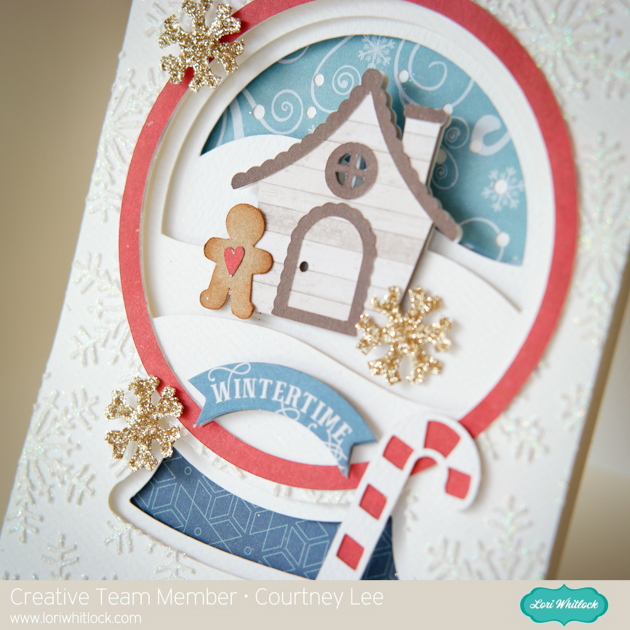
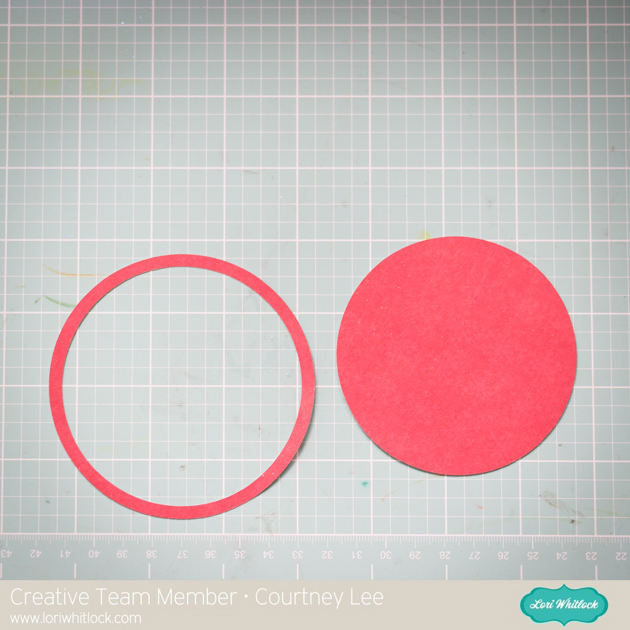 My tutorial today is really about adding glitter! For this one you need to mask out a certain area so when you finish cutting out your cut file, hold onto this red circle that cut out of the outer circle. It is going to act as our mask.
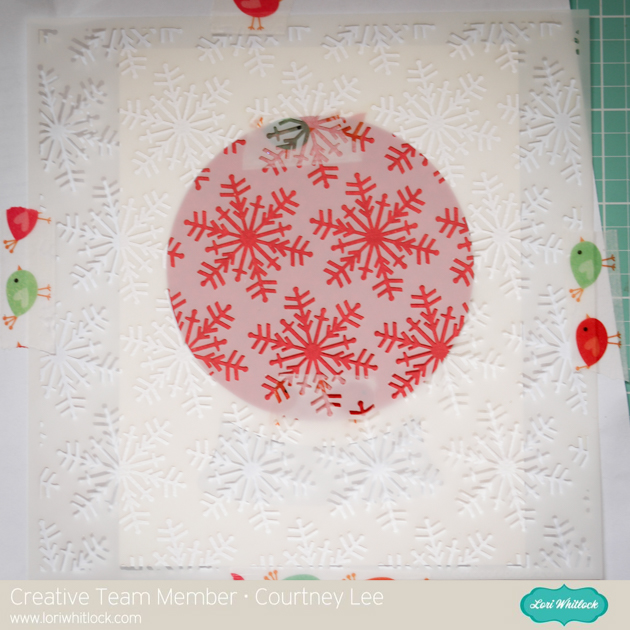 Now the trick to getting a gorgeous result from a stencil is to tape it down really well (just like painting!). I taped the red circle to the card (barely) as I knew it was going to be covered up by the thin red circle afterwards. Does that make sense? So I knew I had about 1/4 inch of room to tape the red circle to the white base. I also taped the whole thing to a scrap piece of paper and the table so that it wouldn’t move on me.
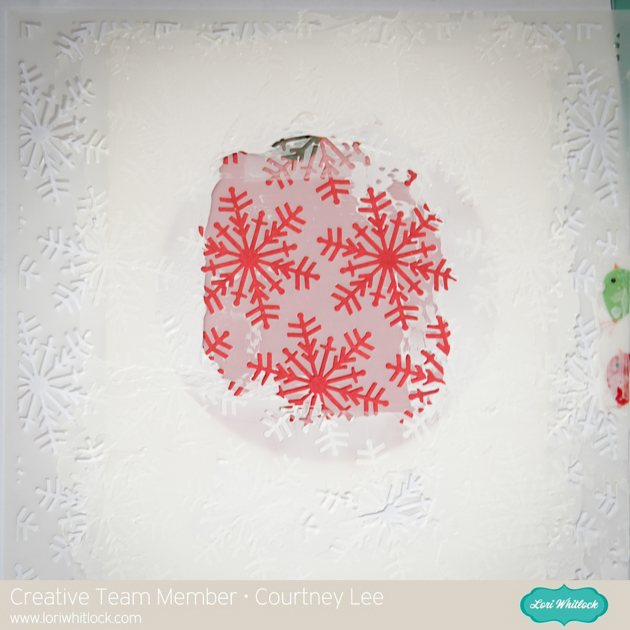 This is what it looked like after I used the opaque embossing paste and a spatula.
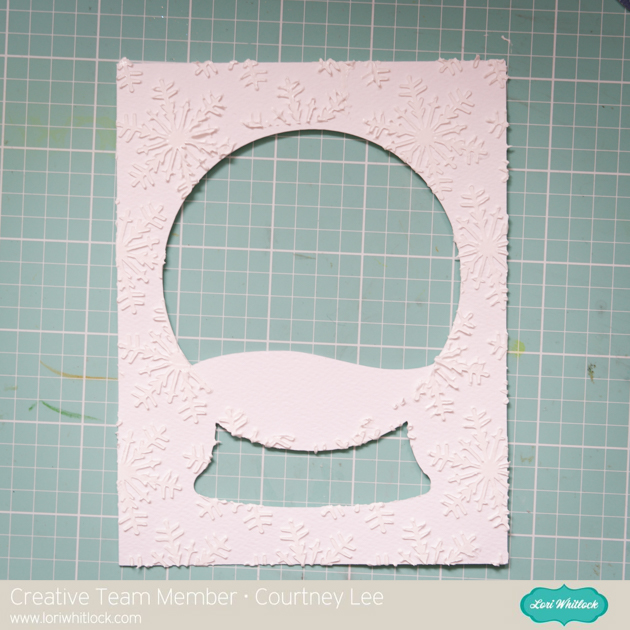 Eek! Pulling off everything is always the most stressful part. It’s so hard not to get your fingers in any of it.
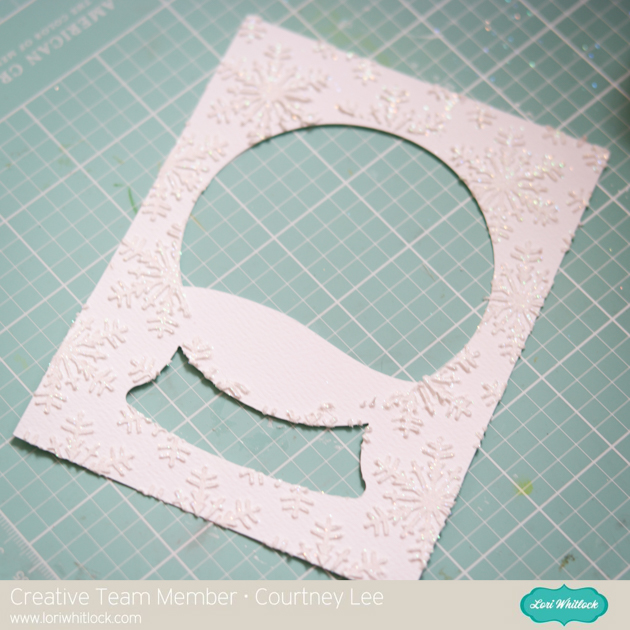 While the embossing paste is still wet, add the glitter and let it dry.. or, if you are daring, grab it by that “snow” part that was masked off and shake the excess off.. I did it and narrowly survived! haha.
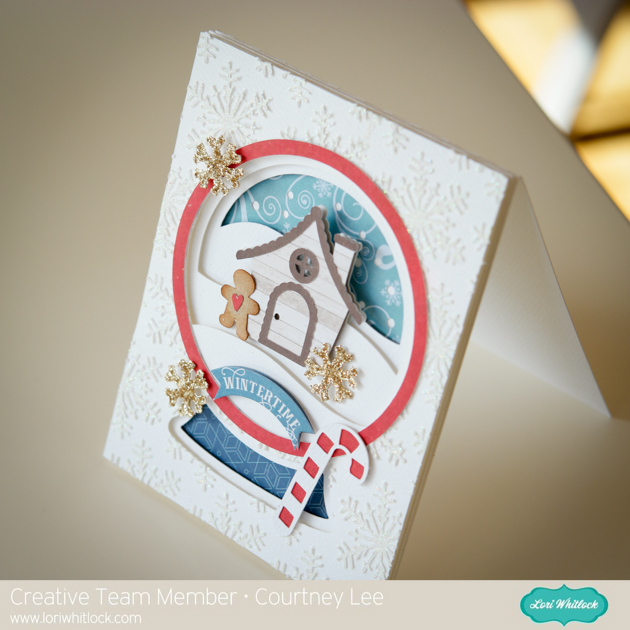
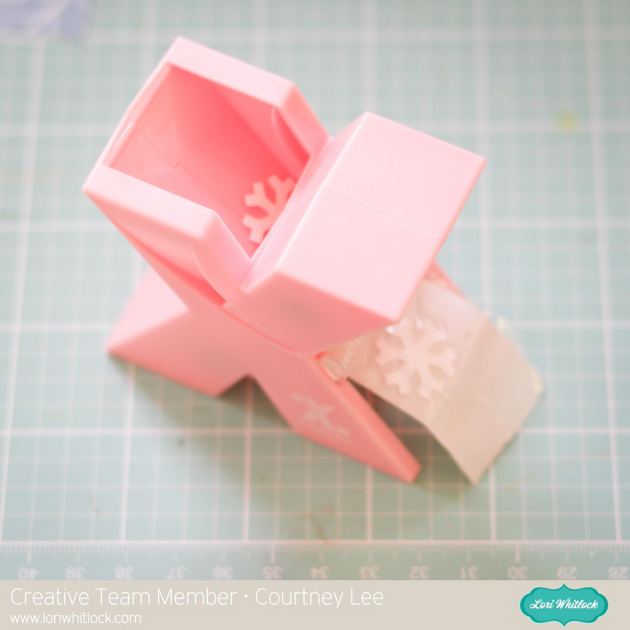 My background glitter wasn’t enough glitter for me and I also wanted a chunkier glitter look than using glitter paper – my sticker maker to the rescue!
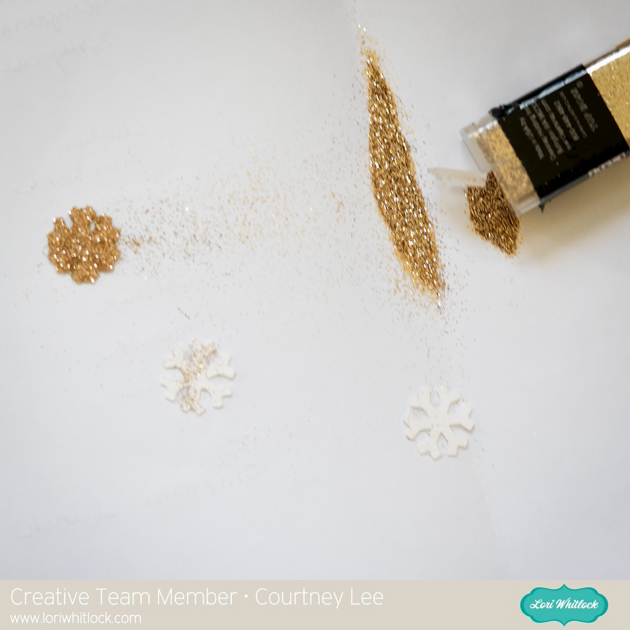 I covered the snowflakes in this slightly golden silver glitter. It looks more gold in this pic for some reason but it’s not that gold.