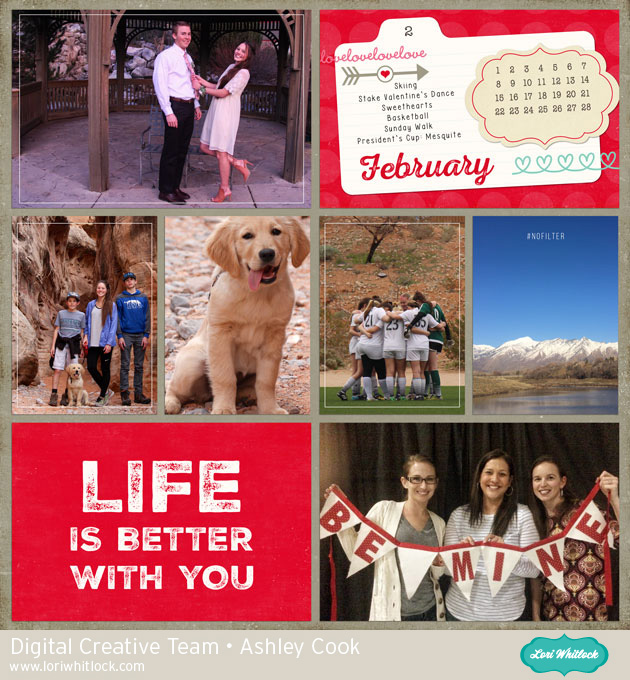
Welcome to the first weekend of March. Every year February just flies by. Here are my February highlights captured with Lori’s Digital Products found at Snap, Click, Supply.

Welcome to the first weekend of March. Every year February just flies by. Here are my February highlights captured with Lori’s Digital Products found at Snap, Click, Supply.
Hi Everyone! I have an exclusive offer to bring to you from the Silhouette Store! For the entire month During March, Silhouette will be spotlighting their Vinyl and Heat Transfer Starter Kits with tutorials, blog posts, and sales—including this exclusive deal for my readers: From March 1st to March 15th, both the Silhouette Vinyl Starter Kit and the Silhouette Heat Transfer Starter Kit will be 40% off, bringing the price down to just $24 each!

To take advantage of this special, just add these kits to your cart in the Silhouette Store, and use code LORI at checkout! Don’t miss out, this special ends March 15th!
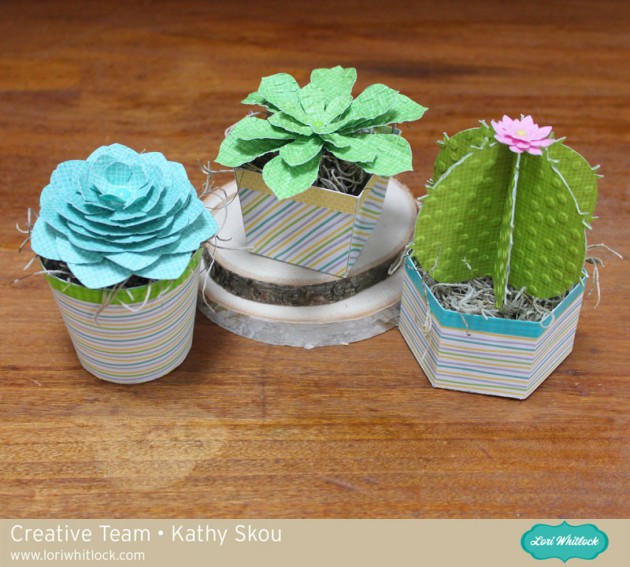
Hi Everyone! It’s Kathy today with a tutorial showing how to assemble Lori’s new Cactus and Succulents! I was so excited to see these in the shop, finally plants even I can’t kill! I couldn’t decide which one I liked best, so I made a trio of them, and will show you how easy they are to assemble!
I started with the 3D Cactus (here in the Silhouette Store). I cut the pieces, then embossed the “leaves” to give them a bit more texture.

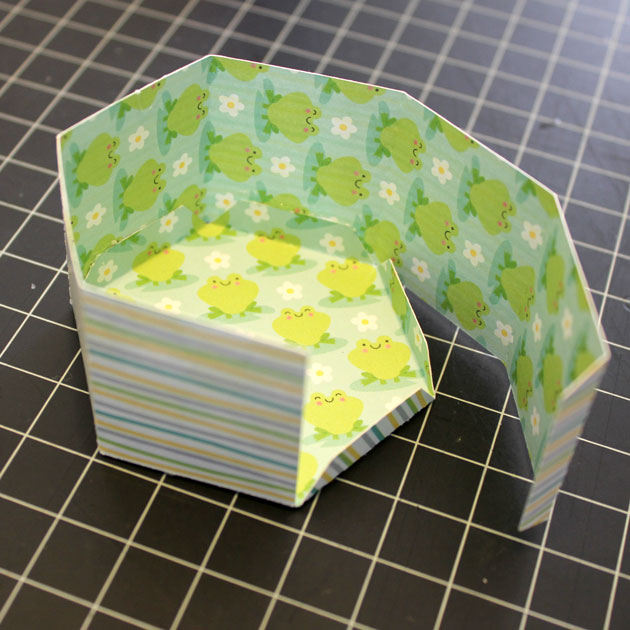
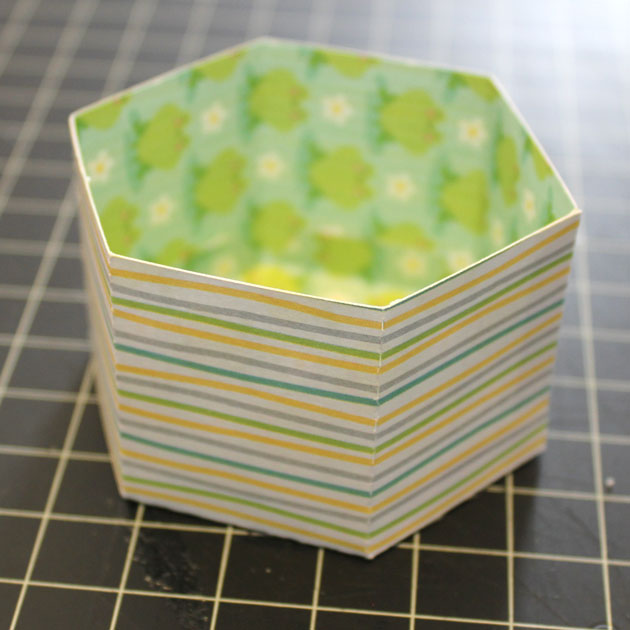
To assemble the pot, fold the sides up and around the base, glue the sides to the tabs on the base, tabs inside.
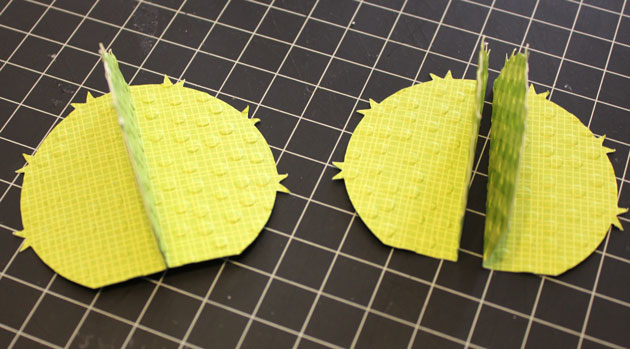
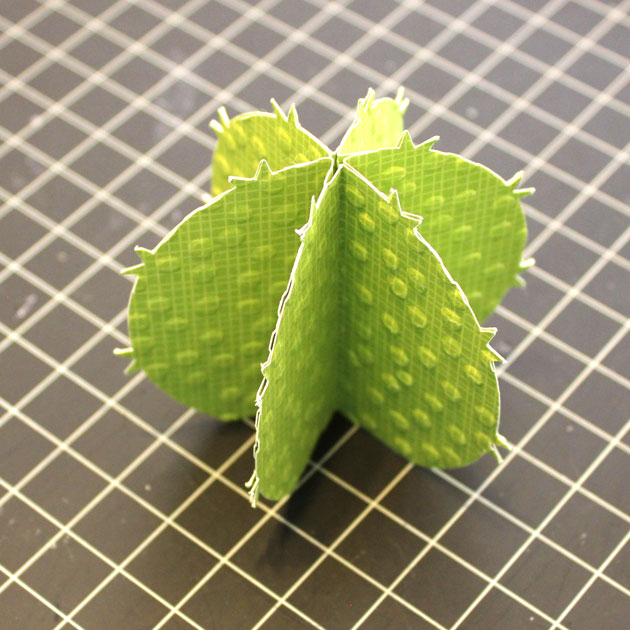
For the cactus, start by folding each piece in half along the score line. I found it easiest to glue the pieces together in pairs, then glue all of the pairs together to form the plant.
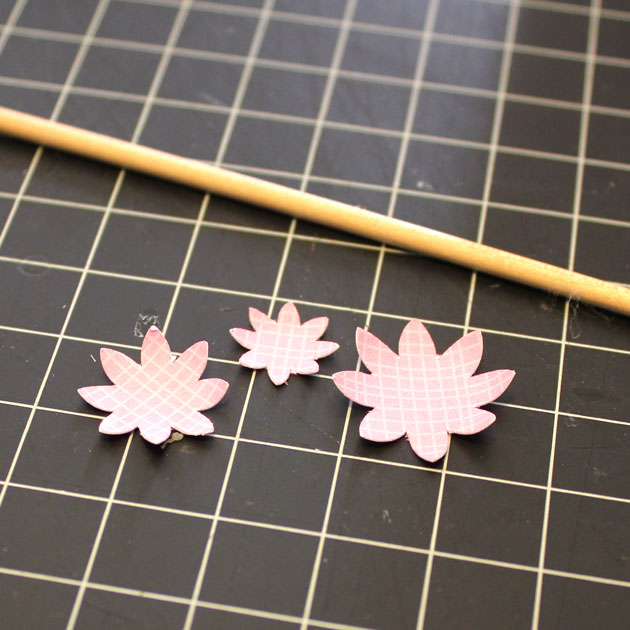
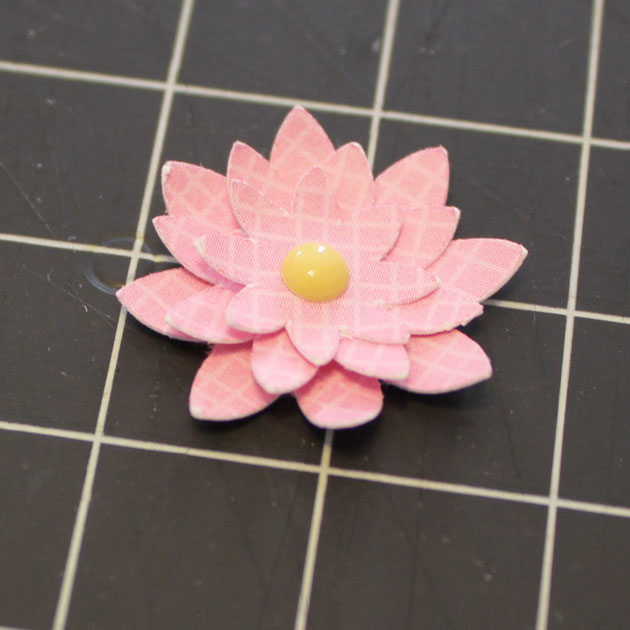
The last part is the flower. I started by curling the petals of each flower layer around a thin wood stick to give them some dimension. Stack the flowers, with glue dots between the layers. I finished it off with an enamel dot. Using a glue dot, add to the top of the finished cactus.
To put it all together, I added some washi tape trim to the pot, and then filled the pot with some Spanish moss. I added the cactus on top, securing with glue dots where necessary.

Next I decided to make the Succulent 2 file (here in the Silhouette Store). Again, I cut the pieces and then embossed the leaves. I also curled the leaves around the handle to my Silhouette Spatula for a more natural look.

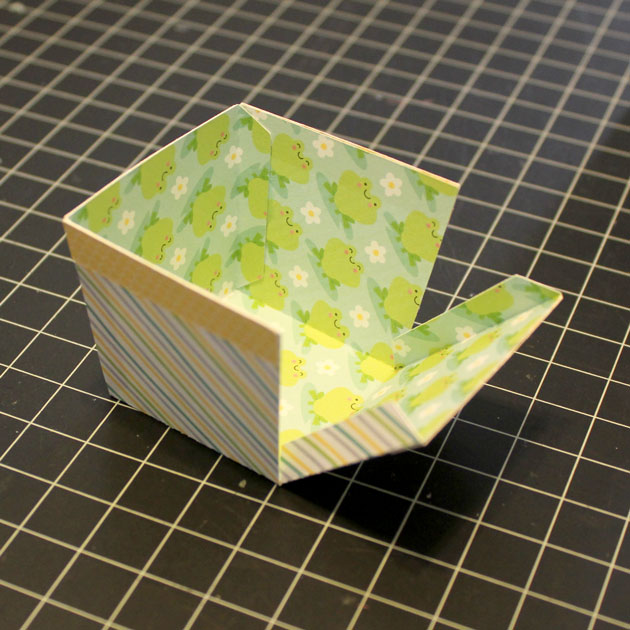
The square pot is pretty simple to assemble. I started by gluing the decorative edges to the pot base. Next, fold the sides up and glue in place using the tabs. Tabs are glued on the inside of the pot.

For the succulent, layer the leaves, using glue dots in between, smallest on top to largest on bottom, staggering the leaves to fill in the empty spaces.

The assembly of the whole project is the same as above, fill the pot with Moss, and add the succulent to the top, securing with glue dots where necessary. Using your fingers, arrange and bend the leaves to make them look more natural.

The last succulent is called Succulent 5 in Lori’s Shop (here in the Silhouette Store). I cut the pieces and embossed the leaves.

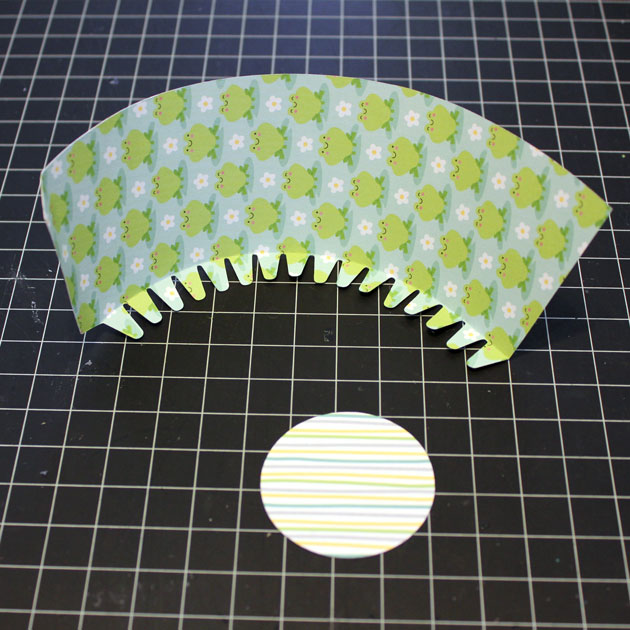
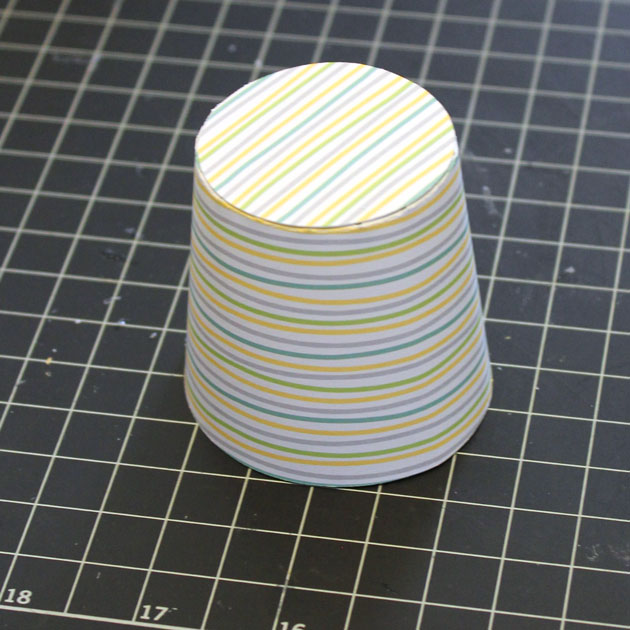
When creating any 3D project which is round, I find it easier to run the rounded piece along the edge of my desk to make it curve. This makes it easier to shape it. I did this with the sides piece of the pot. I formed a circle with the sides piece and glued into place, tab inside. I let it set a bit using a clothes pin to hold it in place. I then glued the circle bottom in place.

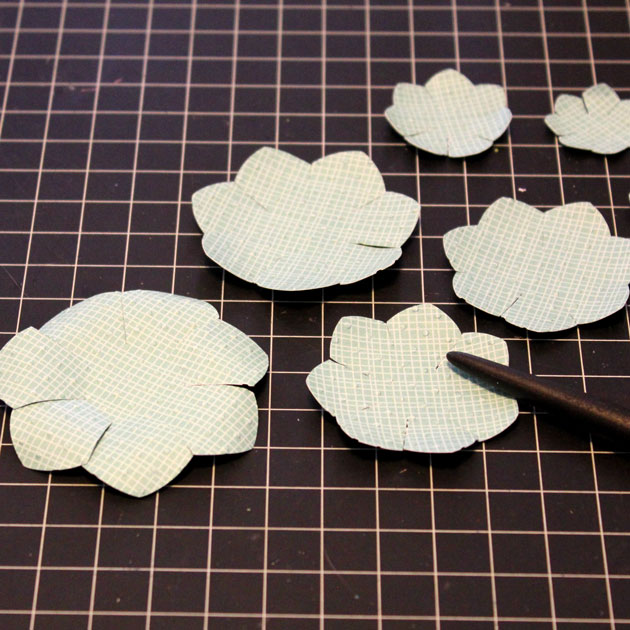
For this succulent, I curled the petals of each layer using the handle of my Silhouette Spatula. I then layered them smallest on top to largest, using pop dots between the layers to give it more height. To finish, I used my fingers to fold up the petals to make it look more real.

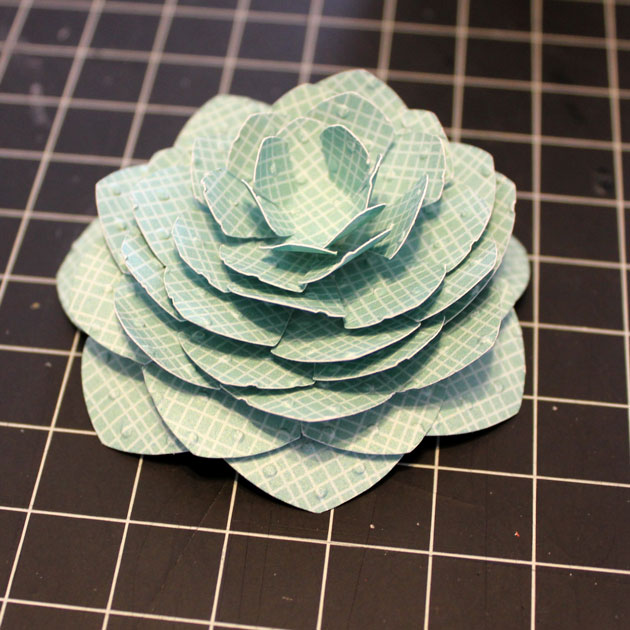
Again, I added some washi tape and moss to the pot, and held the succulent in place using some glue dots.

I now have a cute trio of succulents to decorate my craft room! That’s it for me today, thanks for stopping by to peek.

I’m excited to announce a new category for Pattern Fills in my SVG shop! We have added 8 basic collections including 368 patterns in 300 DPI JPG format. These files can be used as fill patterns in Cricut Design Space or Silhouette Studio (Designer Edition). You can also open them in photo editing programs such as Photoshop and use them for digital scrapbooking or other digital projects. If you use the print and cut feature of your Cricut or Silhouette, these are the perfect addition to your library! And, they are all 25% OFF through Sunday. Take a peek…
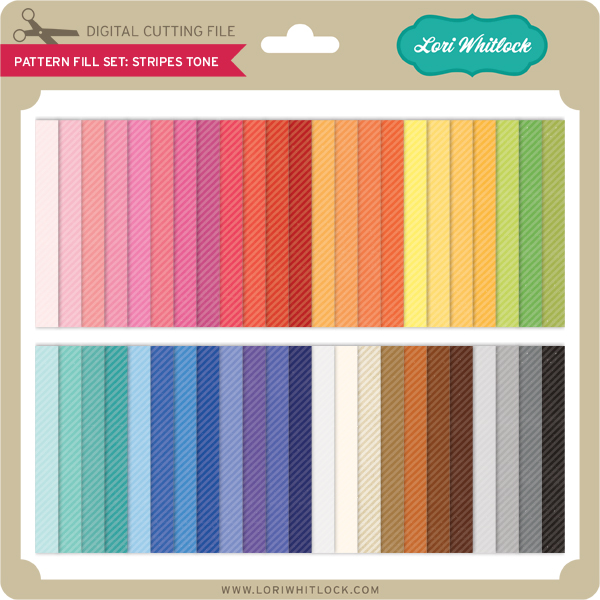

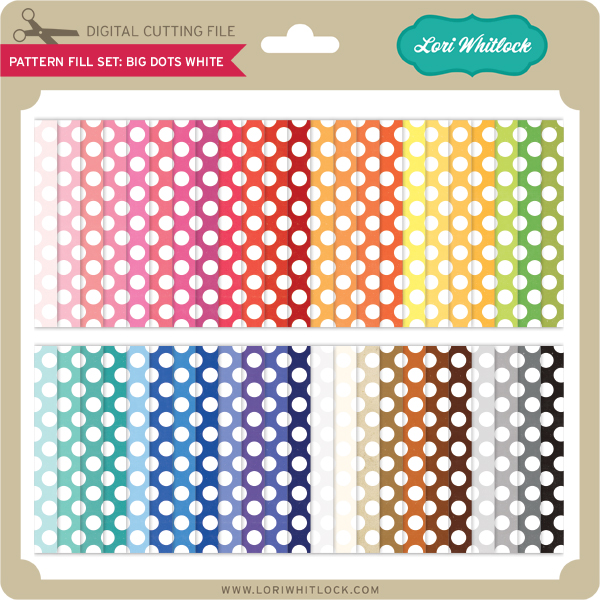
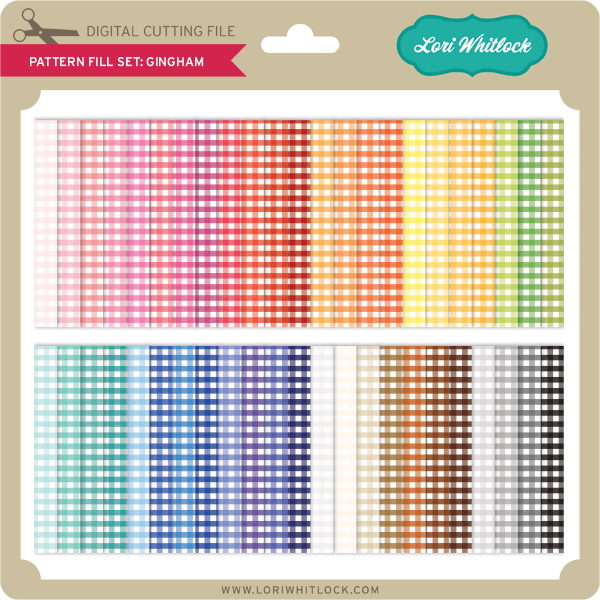
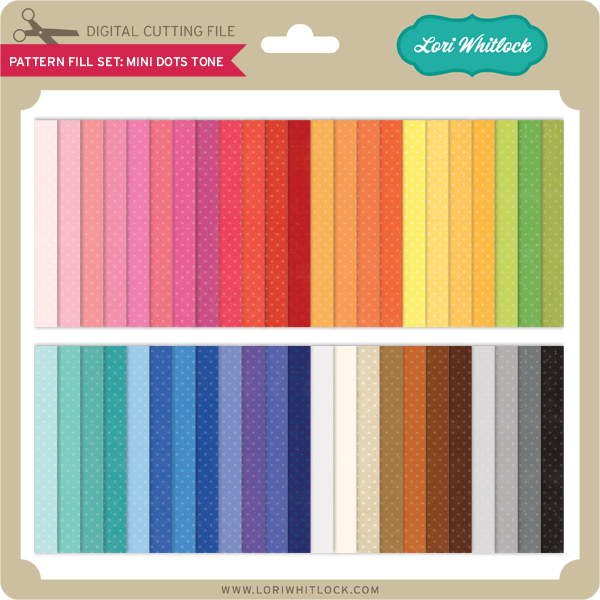

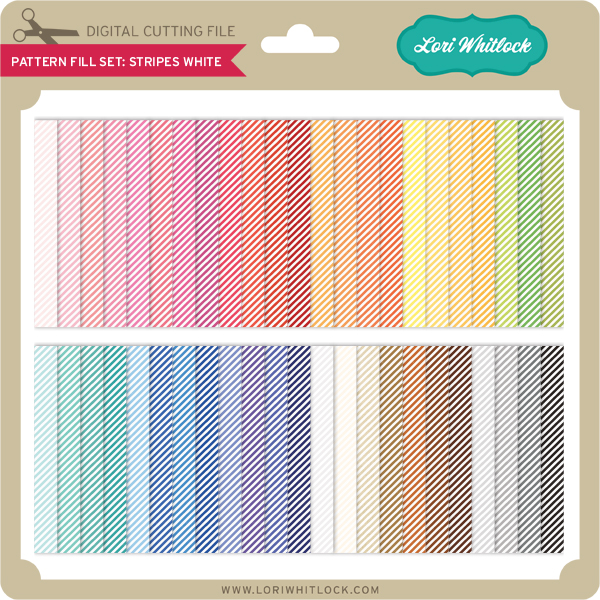

These are so easy to work with, and will brighten any print and cut project! Below, I’ve put together some basic steps to add and use these pattern fills in both Silhouette and Cricut.
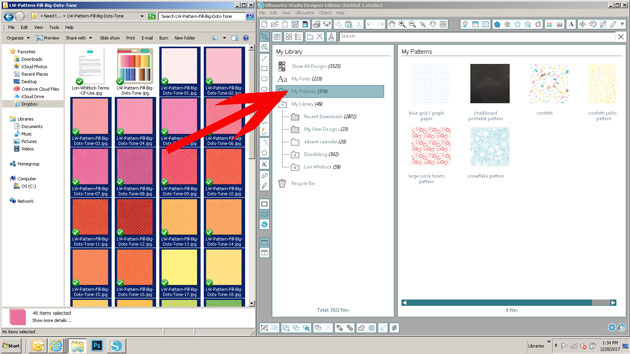
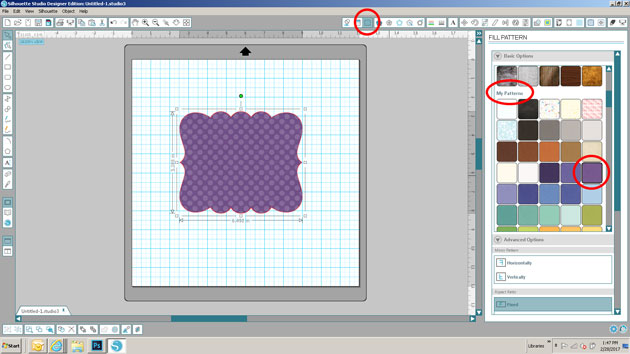
Silhouette Studio
Cricut
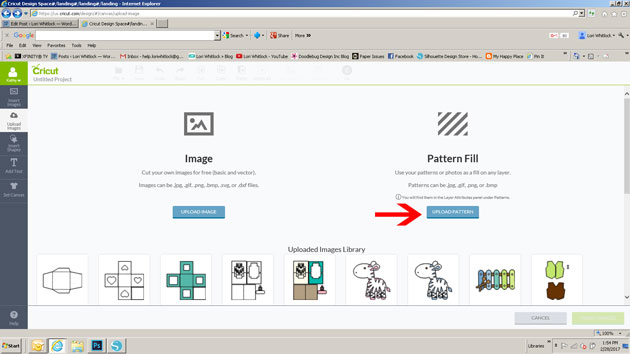
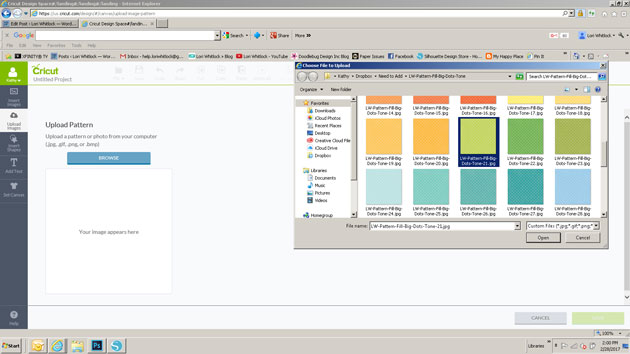

Now that you have the patterns uploaded. Follow these steps to use patterns the patterns in Cricut Design Space:
I hope you enjoy the new Fill Patterns in all of your print and cut projects! They are all 25% OFF through Sunday!
Thank you for stopping by today, and as always please let us know if we can help you with your files!
We have a brand new special for the entire month of March ! You can get this Free Kit of the Month with any $20 purchase (Purchase must be in one transaction.) Simply add the 2017 March Kit of the Month to your shopping cart along with ANY $20.00+ purchase from the SVG Shop and this file is yours FREE. Be sure to use Coupon Code: MARKOTM (case sensitive) at checkout. This offer is good through March 31, 2017!

(Your cart must reach at least $27.95 before the coupon will be applied and then $7.95 will be subtracted from your total at checkout. The files will be available for immediate download after you pay for your order by visiting MY ACCOUNT>COMPLETED ORDERS>ORDER DETAILS inside of your account. Only one discount code per order allowed.)
Thanks for visiting the blog today! Please let us know if you need any help with your files. We want to make sure everyone is happy with their purchase. Have a great day!