Easter Cuties with Guest Designer Brigit Mann!

Hello everyone!  It’s Brigit from Brigit’s Scraps, I’m so excited to be guest designer here today.  I was on Lori’s Creative Team a couple of years a ago and had the best time.  I love creating projects with Lori’s cut files, they are truly some of my all time favorite files to work with.
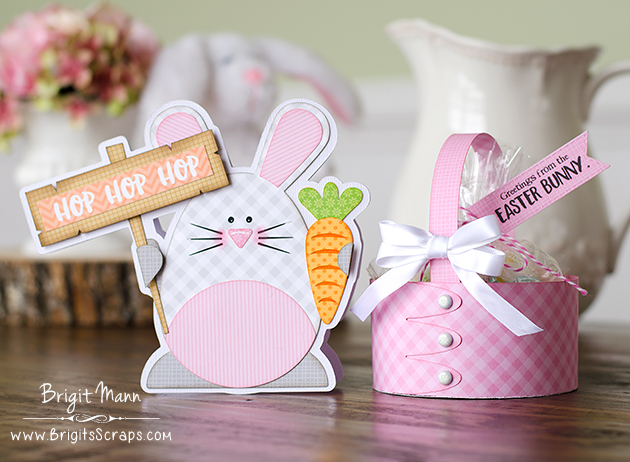
With Easter just around the corner I thought this shaped bunny card with shaker basket would make a cute gift set.
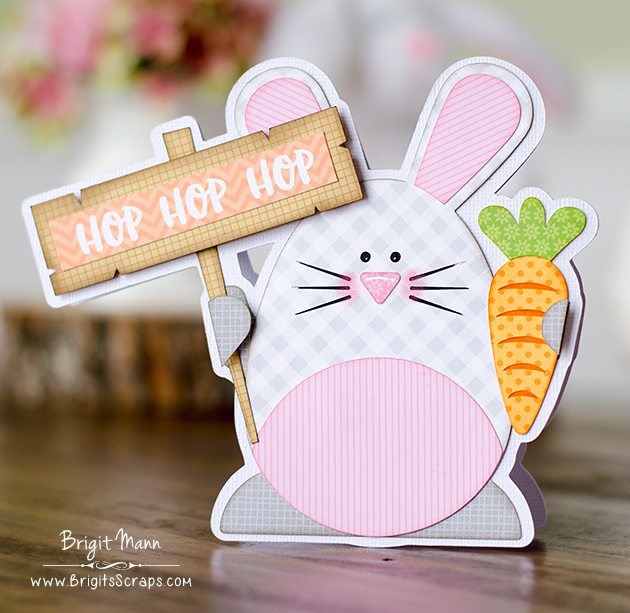
I used the bunny and carrot from the Easter Icon Set (here in the Silhouette Store) and the sign and pole from the Fishing set.  I placed all the files how I wanted them in Silhouette Studio Designer Edition and then did an offset.  I cut out two of the offsets and scored straight across both ears about an half inch down on one of them.  I then glued the two layers together above the score lines to form my base card.

 

This shaker basket (here in the Silhouette Store) is just darling and it’s so simple to put together, I love it!  You just need to glue the bottom and inside liner, the brads hold the sides together.  All the paper used is from Doodlebug Design.

Hope you have enjoyed these projects, thanks so much for stopping by and have a wonderful day!


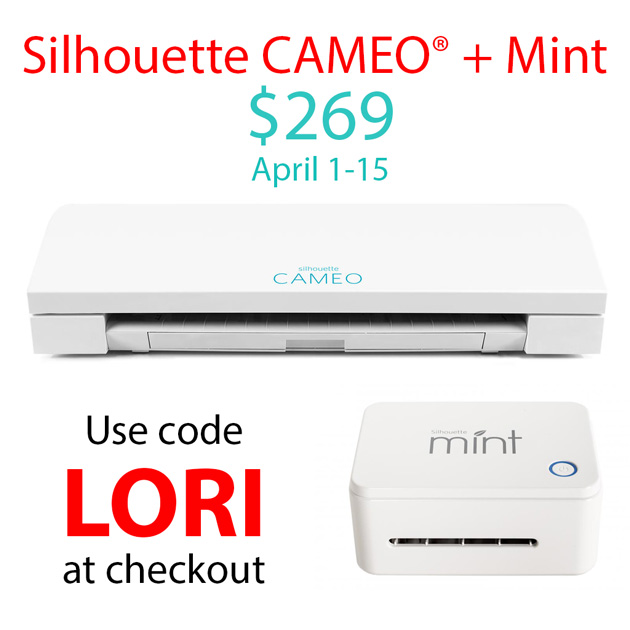
Exclusive Silhouette CAMEO + Mint Deal!

I am super excited to tell you about an awesome deal that Silhouette is offering to my readers April 1-15. You can get a Silhouette CAMEO® 3 + Mint for $269.99! In order to cash in on this awesome deal, SHOP HERE and use code LORI at checkout.

Here’s what you’ll get:

Silhouette CAMEO® 3

Includes the following accessories:

  • 12 in. x 12 in. Cutting Mat
  • AutoBlade
  • Crosscutter
  • 100 Exclusive Digital Designs
  • Power Cord and USB Cord

Silhouette Mint™

Includes the following accessories:

  • 15 mm x 60 mm Stamp Kit
  • 30 mm x 30 mm Stamp Kit
  • 4 Mint Inks (blue, yellow, red, and black)
  • 50 Exclusive Digital Designs
  • Power Cord and USB Cord

All Mint Stamp Kits come with 1 Stamp Sheet, 1 Stamp Mount, 1 Stamp Base, and 2 labels.

Silhouette Software

Includes the following:

  • Silhouette Studio® Designer Edition
  • Mint Studio™

1-Month Design Store Subscription

$25 Credit to Silhouette Design Store

Thank you Silhouette for making this awesome deal available to Lori Whitlock readers! Go check it HERE and be sure to use code LORI to get the discount.

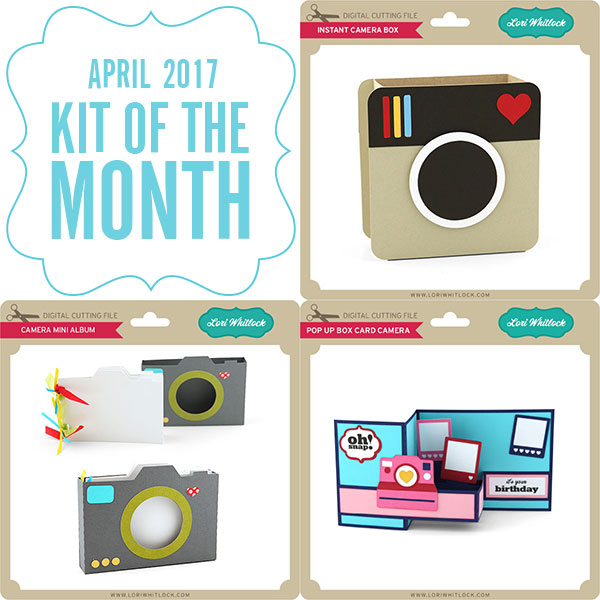
April Kit of the Month

We have a brand new special for the entire month of April ! You can get this Free Kit of the Month with any $20 purchase (Purchase must be in one transaction.) Simply add the 2017 April Kit of the Month to your shopping cart along with ANY $20.00+ purchase from the SVG Shop and this file is yours FREE. Be sure to use Coupon Code: APRKOTM (case sensitive) at checkout. This offer is good through April 30, 2017!

(Your cart must reach at least $27.95 before the coupon will be applied and then $7.95 will be subtracted from your total at checkout. The files will be available for immediate download after you pay for your order by visiting MY ACCOUNT>COMPLETED ORDERS>ORDER DETAILS inside of your account. Only one discount code per order allowed.)

Thanks for visiting the blog today! Please let us know if you need any help with your files. We want to make sure everyone is happy with their purchase. Have a great day!


Tulip Easter Basket Tutorial with Anita


Hello Everyone:

Anita here with a fun tutorial for putting together Lori’s fun 3D Flower Tulip which you can find here in her SVG Shop and here in the Silhouette Design Store.  My dear friend Kathy loves the Cadbury Cream Egg candies so I made this for her.  I bought a basket at Target and decorated it with Lori’s Echo Park collection called Celebrate Easter.  I used the patterned paper for the flowers and leaves and the stickers and enamel dots to decorate the basket.  Such a cute collection!

Here are the items that you are going to need for your project.  I also used some florists foam which I cut to fit into the basket, Zip Dry Glue, some Scotch tape and a pair of wire cutters.

First, fold your flower pieces along the score line so that the fold makes a valley on the flower petal.

Glue two of the pieces together on to form the left and right petals.

Add the third petal and you’re ready to add the wire.

I cut my wire 16 inches long and then folded it in half. The flowers are two inches tall and my basket had foam and needed a 2 inch clearance to reach the top of the basket.  I added four inches to allow for them to stand up and that is how I arrived at the 16″long, 8″ folded measurement.

I flipped the tulip petal group over and taped on the wire.  This seemed to hold better than glue.

I added the remaining 2 tulip petals, for a total of 5 for each tulip.  You are now ready to wrap the wire.

For the samples in the shop, Lori used floral tape to wrap her tulip stem.  I decided to use washi tape which had the same pattern as the leaves.  I wrapped the whole stem to the bottom.

Once I finished wrapping the stem I added one leaf at a time with some wet adhesive and nestled the second leaf into the first.

I then wrapped some washi tape around the bottom of the leaves to hide where they come out of the stem.

Here is a close up of the basket with my completed flowers.  These tulips were so quick and easy to make!  I hope that you have a chance to check out Lori’s SVG Shop to see what other adorable Easter items she has created.

Hugs,

Anita