May Creative Team Blog Hop and New in Shop


Welcome to our May 2017 Creative Team Blog Hop! The creative team has been working hard on some new projects to share with you that will get you in the crafting mood. We also have some FUN new SVG files for you and a GIVEAWAY! Be sure to check them out below. There is also a free file for you!
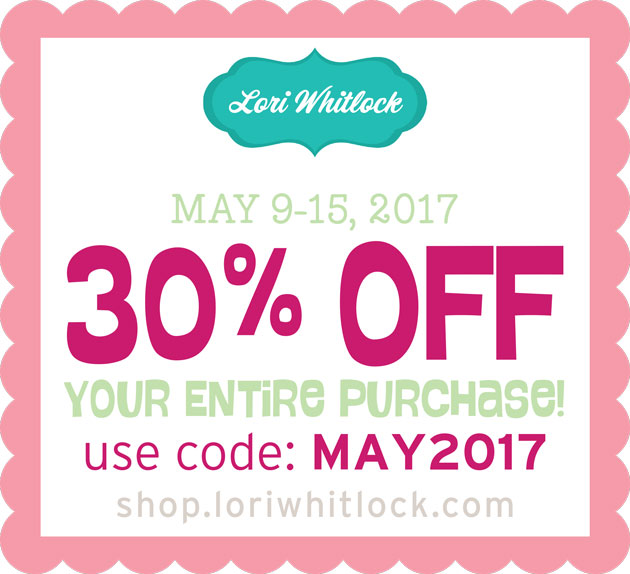
 

This week we have a 30% OFF SALE going on at Lori’s SVG SHOP. ALL files (and commercial licenses) from Lori Whitlock, Kolette Hall, Doodlebug Design, Dresden Carri, Rivka’s Renditions and SAS Creative are on SALE now through Monday, May 15th. Be sure to use coupon code: MAY2017 (case sensitive) at checkout in the SVG SHOP. (Only one coupon code per order allowed)

To thank you for joining using the hop today and sharing the hop with your friends, we have a gift for you! TODAY ONLY, You can download this Flat Bag file absolutely FREE! Be sure to go grab it while you can.
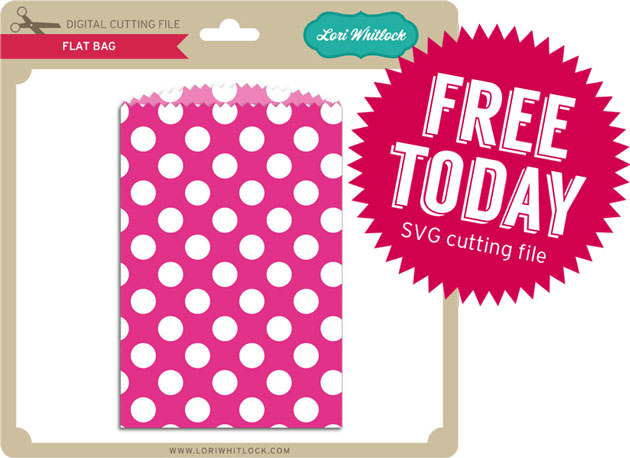
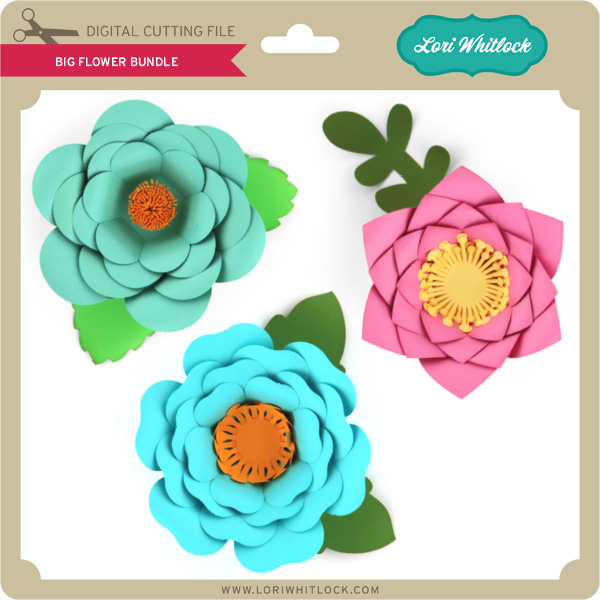
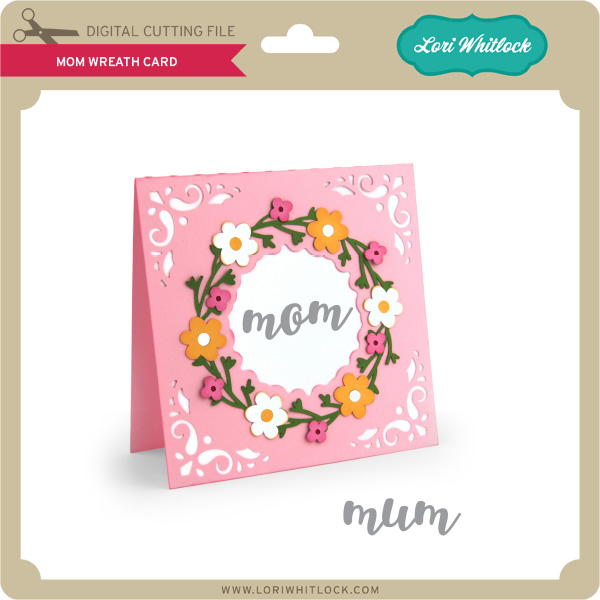
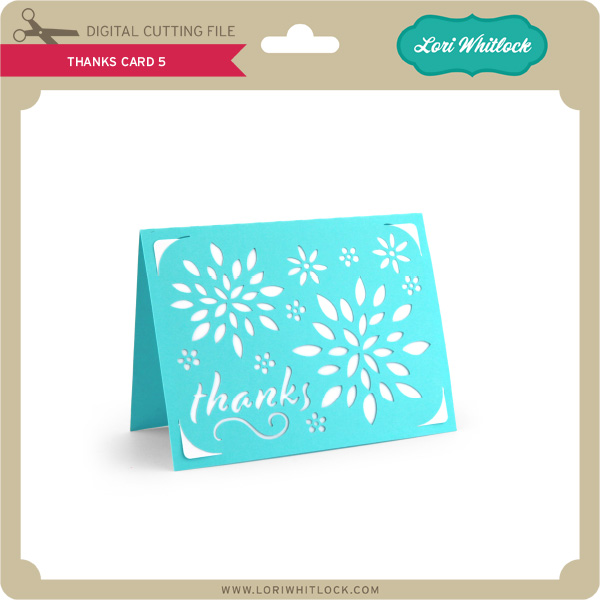
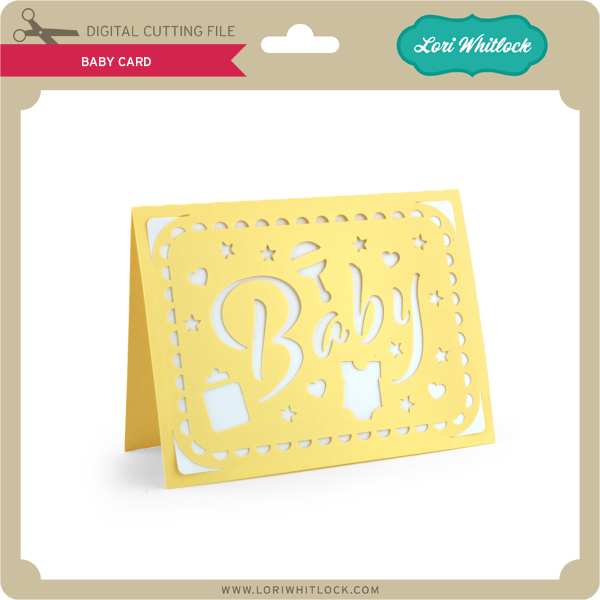
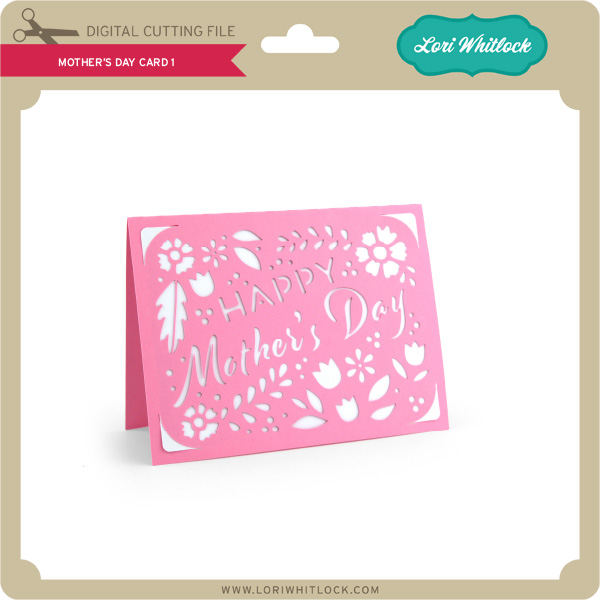
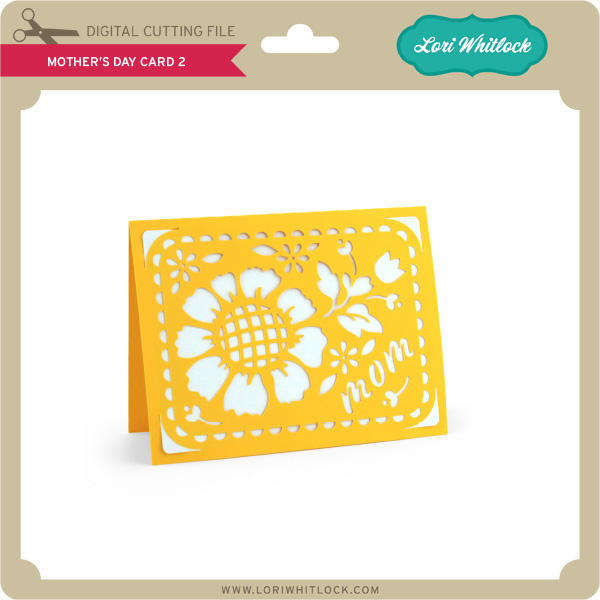
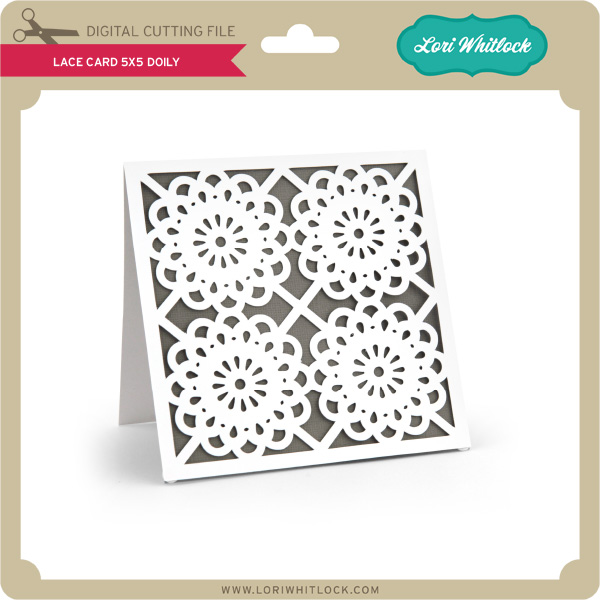
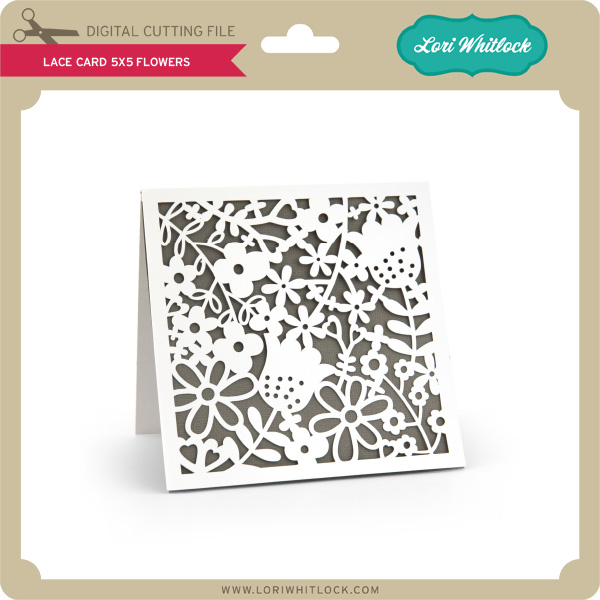
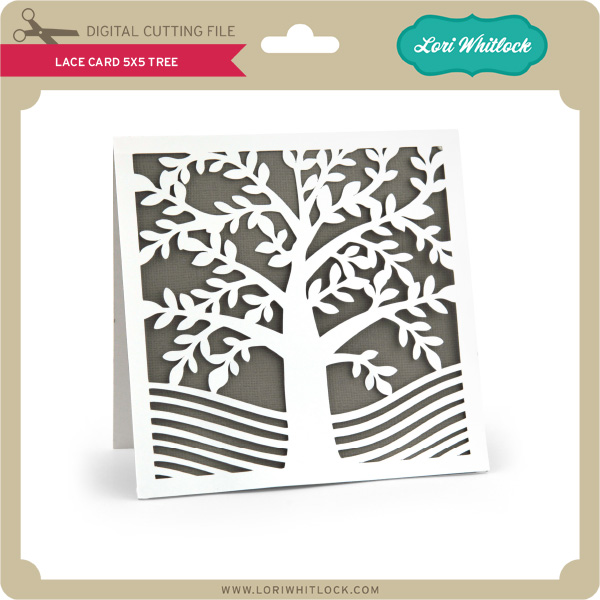
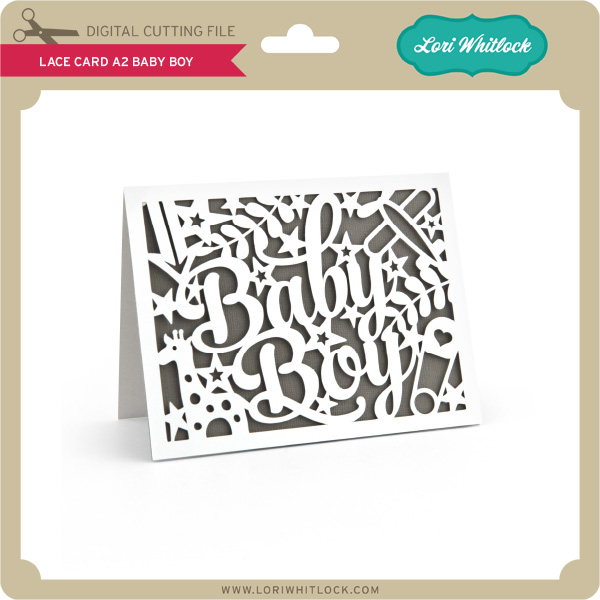
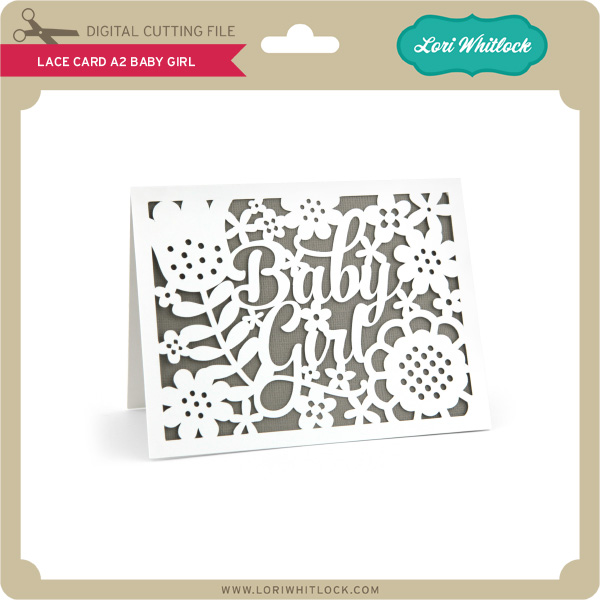
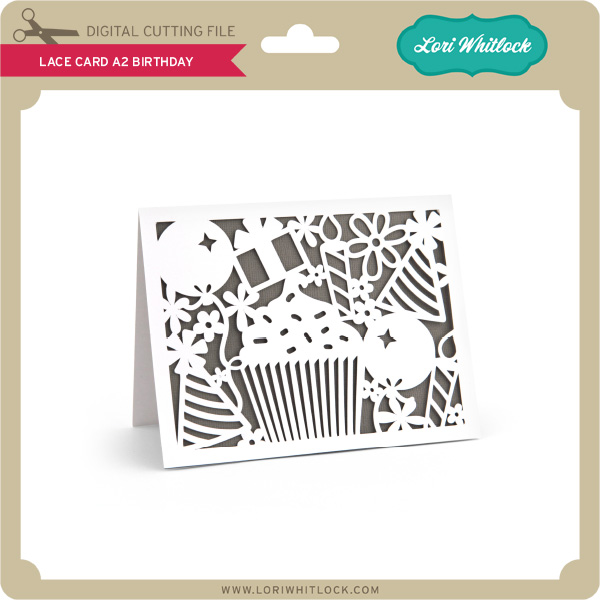
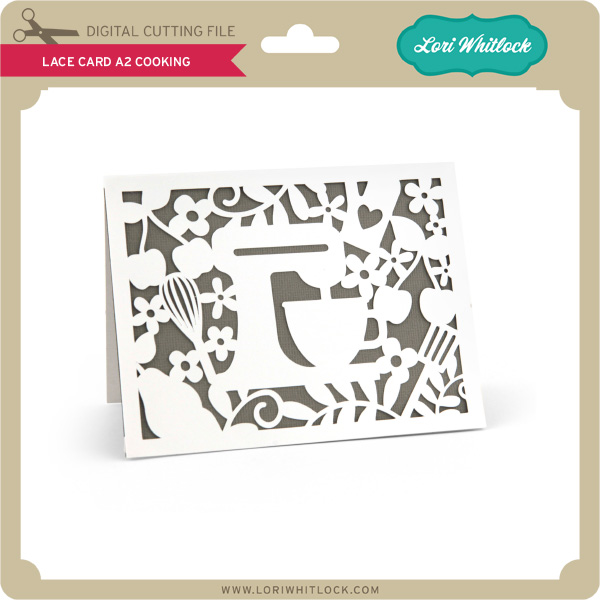
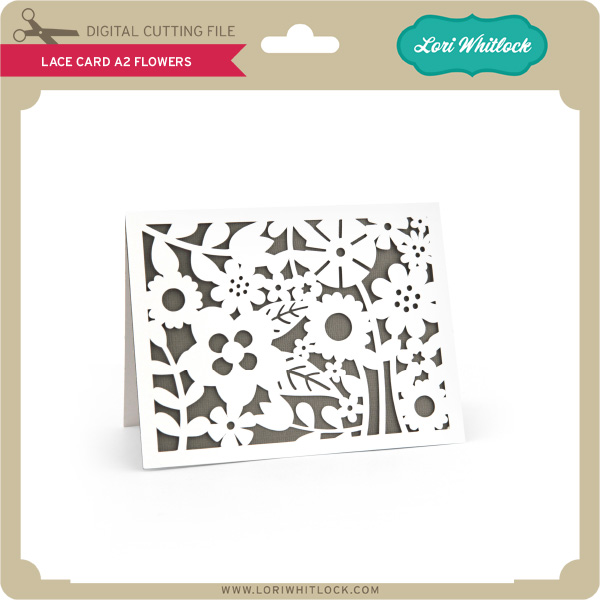
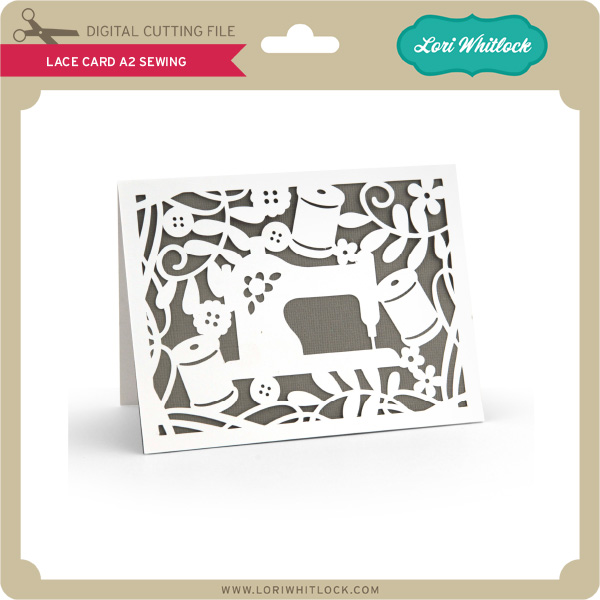
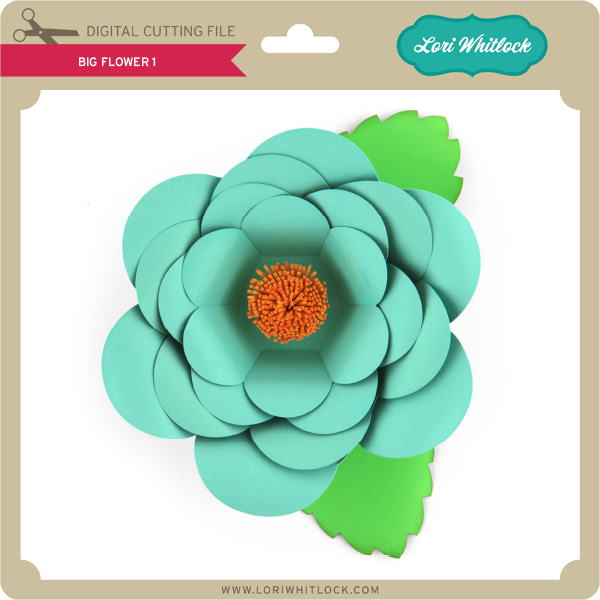
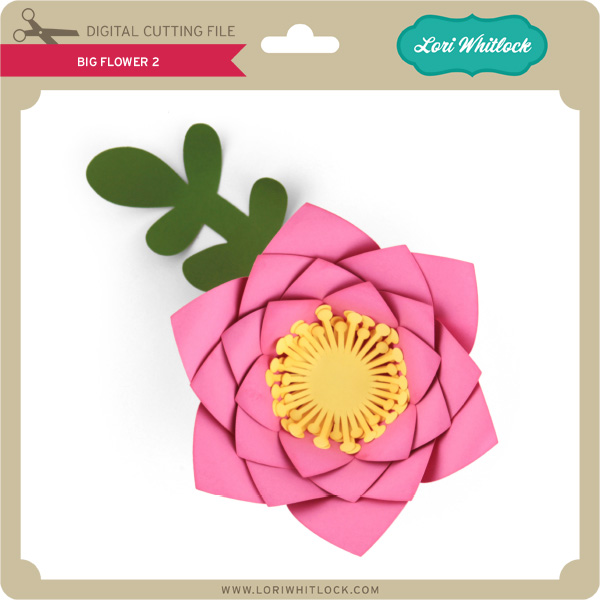
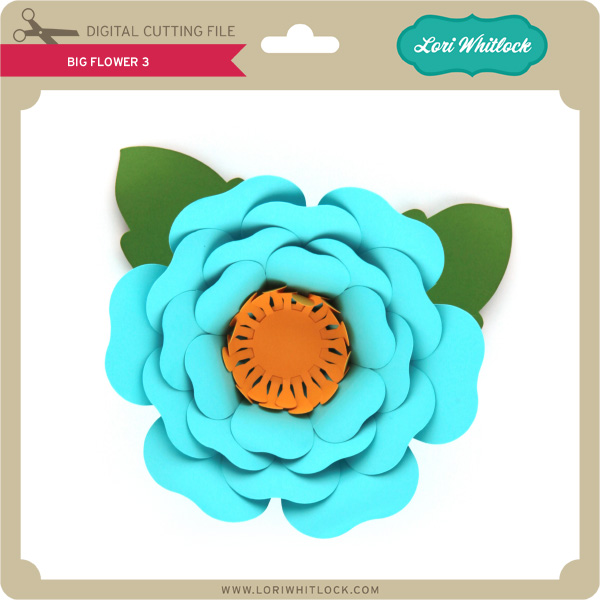
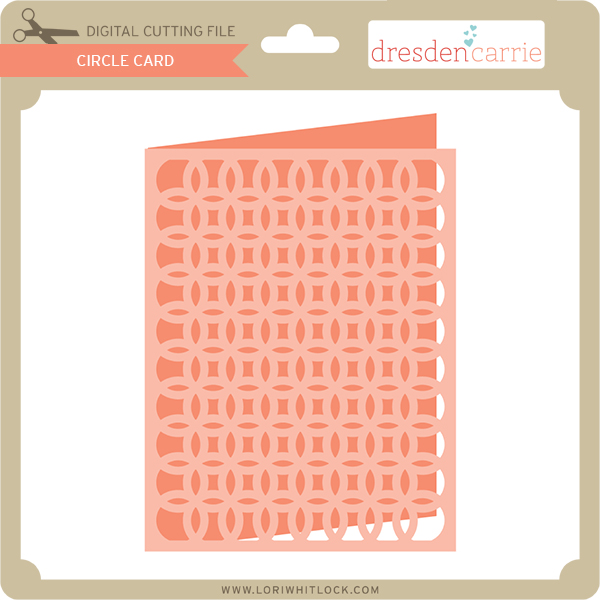
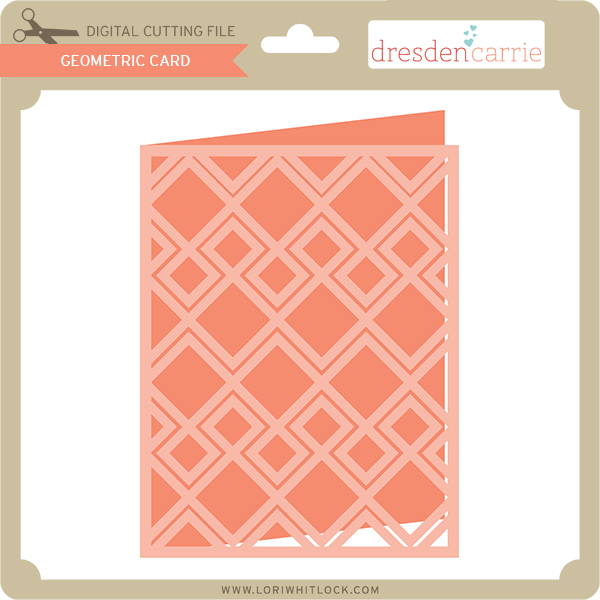
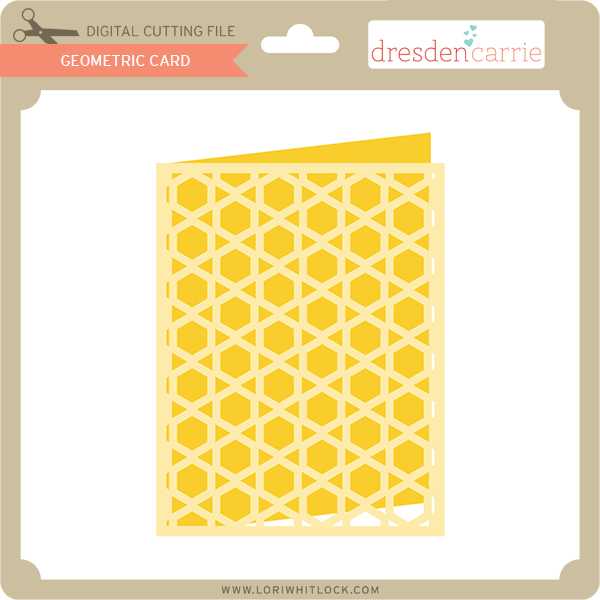
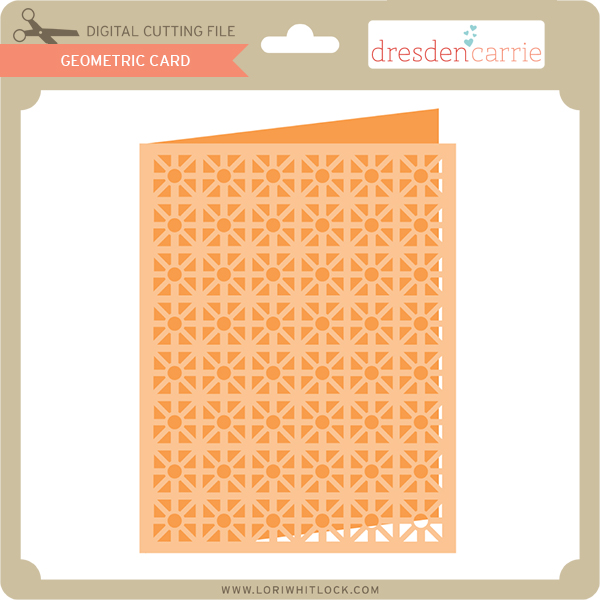
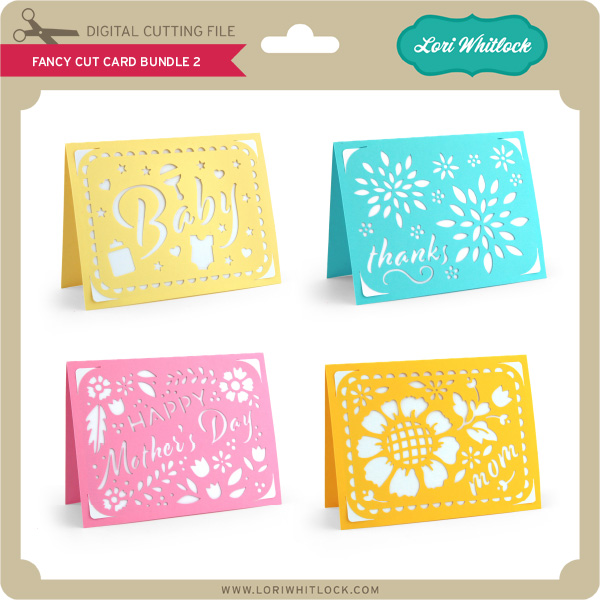
We have some super fun new files in the SVG Shop this week. Be sure to grab them while all files are 30% off this week when you use code MAY2017 in my SVG Shop! I have some great card collections and big flowers! All our files are compatible with Cricut Explore, Silhouette Studio (Designer Edition), Brother Scan ‘n Cut, Sizzix Eclips, and any other cutting machine that will open and cut SVG files. Take a peek…


a Rafflecopter giveaway
And, last but not least… would you like to see what our amazing team has created? Click the links below for some wonderful inspiration. If you get lost come back here to get on track. Lori Whitlock , Traci Penrod , Kathy Skou Anita MulcaheyAshley Cook and Tya Smith!  Thanks again for dropping by! Have a GREAT day!

Succulents Box Card with Kathy

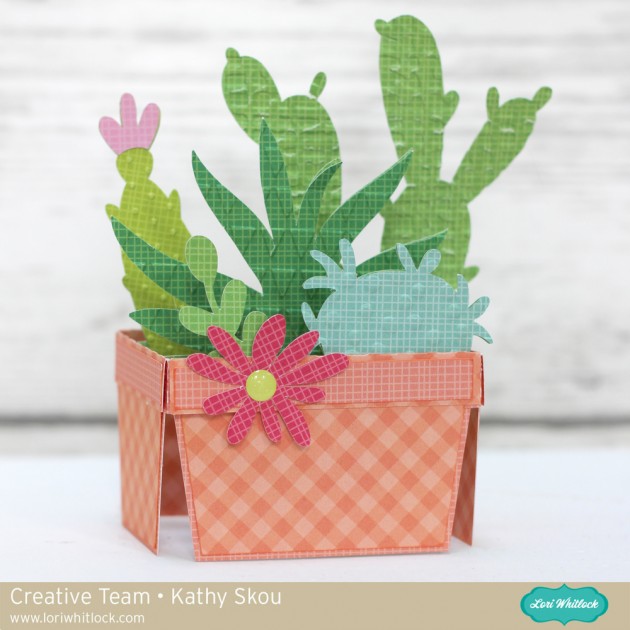
Hi Everyone it’s Kathy today with your Monday post.   I just love Lori’s Box Cards, and I also love the new Succulents she has designed, so when she came out with the Box Card Succulents (here in the Silhouette Store), I was ecstatic!  I had such a fun time putting it together, take a peek…
How cute is this?  This card is assembled much like Lori’s other box cards.  (see video here) with a couple of differences.  First, the “box” is the plant pot.  In addition, Lori has added another insert which is glued right inside the front of the box.  I embossed some of the cacti to give them a more realistic look, and added an enamel dot to the center of the flower.  This card could be used for almost anything, birthday, thank you, just because, “stuck on you”… you can add whatever sentiment suits your needs!  That’s it for me today, thanks for stopping by to peek!


Digital Inspiration with Ashley

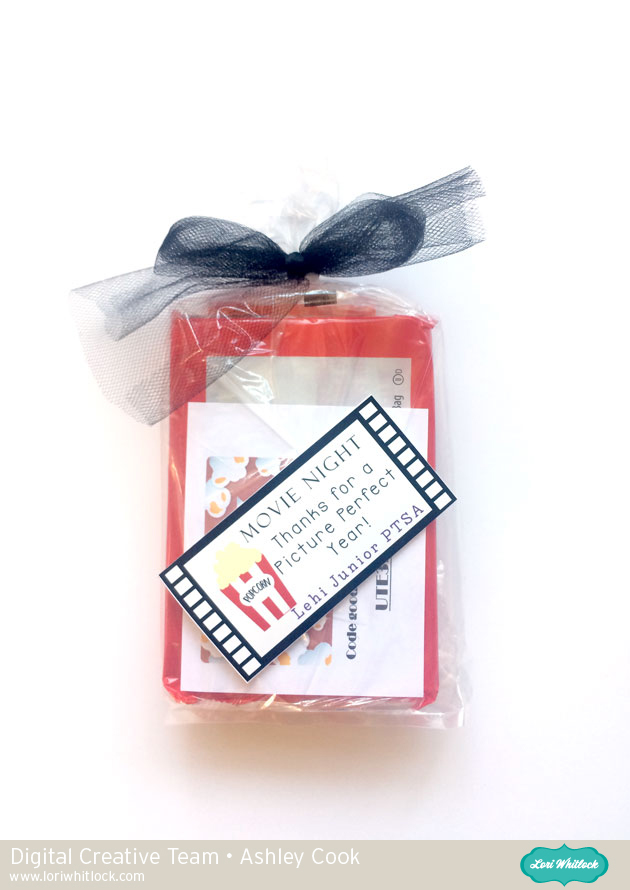
It’s already May!  Most school year’s are winding down around these parts.  It’s often a time to say thanks to teachers, volunteers, and others.  Lori has some cute Teacher Appreciation Tags available here.  I made a tag to go along with a movie theme using some of Lori’s files.  Files used: Popcorn Box: http://shop.loriwhitlock.com/pop-up-box-card-popcorn/

Kinder Font from Rivka

Perfect Type Font at Lori’s Shop or at Snap, Click, Supply.

Snap, Click, Supply has a sale on digital supplies: 50% off.  So go gather some of Lori’s files and also the collections that Lori designs for Echo Park.

Have a great weekend.

Summer Pinwheel

Hi:

Anita here with a fun and really easy tutorial to make this giant pinwheel.  It is part of a whole set of goodies that I made for my nieces to have a lemonade stand.  I used Lori’s Echo Park Collections called Celebrate Spring and Celebrate Easter.  The cut file that I used for the pinwheel is called 3D Double Pinwheel and you can find it here in Lori’s store and here in the Silhouette Design store.

Here is what the cut file looks like when you it open it in the Silhouette program.  You have to ungroup it as the pinwheels will only fit one to a page.

Here are the supplies that I used for the pinwheel.  You will need a hole punch that can go through the paper straw and a brad that has a long enough shank to make it through all the layers.  I used one of Lori’s Echo park I Love Christmas Decorative Brads.  I placed the sides of the paper that I wanted to see most of  facing up.  Two sided papers work beautifully with this project as you can see some of the other side when it is put together.

I used a paper straw and punched a small hole near the top of the straw.  Paper straws come in many different colors and look so cute with the pinwheel!

The first step in putting together your pinwheel is to put the brad through the two center pieces of the pinwheel.

You put it all together by pulling gently on the center piece that has the hole in it and pushing the brad through the hole.  Keep going until you have all the holes connected through the center brad.  Then push the brad through the straw.  Depending on how thick your paper is and how long your brad shank is you may have to fuss with this a bit.  I pushed it through with the assistance of my Tim Holtz pick and then bent the shank pieces down with a knife.

You can only see one tab of the brad but they are both there just underneath one another.  Turn the pinwheel over and you should be able to separate the two pieces to fan them out and show a bit more of the paper designs.

Here is a close up of the pinwheel.

I used a whole lot of Lori’s files to create this set and just love that huge pinwheel.  Have a great day and hope you have a chance to make something pretty today.

Hugs,

Anita