Sweet Berry Basket Treats

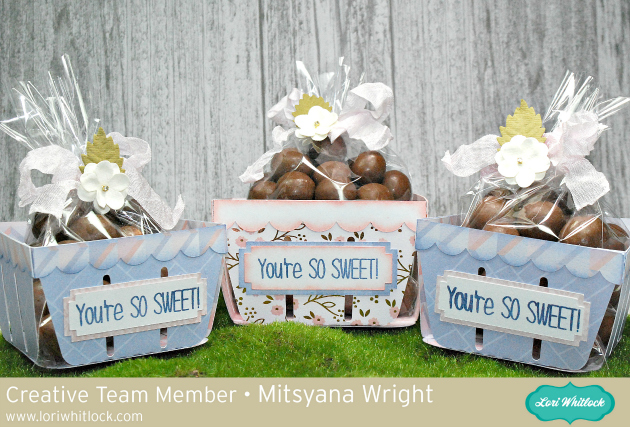
Thank Hello, Crafty Friends!! Design Team Member, Mitsyana, here again! This time to bring you these adorable Berry Bushel Treat Baskets!

I love sweet treats! But what I love even more are sweet friends. So from time to time. I make these sweet friends sweet treats. Whoa, what a tongue twister! Try to say that 5 times fast!
Supplies Used:

Lori Whitlock’s Berry Basket (here in the Silhouette store)

Patterned Cardstock – DCWV’S Peri & Peach Stack

Little Birdie Crafts’ Renae Classic Flowers

Stamped Sentiment- Stamps of Life – Cake2Stamp

Light Pink Crinkle Ribbon

Xyron Mega Runner

VersaMagic Ink- Night Sky, Pink Petunia

Cellophane Bags

CHOCOLATES!!

Stamp Positioner (Optional)

 For my project, I used this adorable Berry Basket file from Lori Whitlock’s SVG shop.

Berry Basket

I downloaded the file. Then extracted the contents of the zipped file onto my computer. Once unzipped and downloaded I can open it using my electronic cutter software.

In my ecal software, I clicked on the SVG/ Import icon to open/add the file onto my virtual cutting mat.

Once the file is open it’ll look the picture below.

Lori pre-sizes the files so there’s no guess work to how big the file should cut. But if you’re like me you like to resize your boxes because sometimes you don’t want a one sizes fits all deal. Which is totally fine too.

To resize a file make sure you file is set to “Keep Proportions”. This will option will be located in the ‘Portion & Size’ panel on the right.

I set the width to 8.75″. With the “Keep Proportions” box checked it automatically sets the height in proportion to the width.

As always, also changed the color of the pieces. This helps me to remember which pieces I’m going to cut in what paper. I sort them by color so that all pieces being cut out the same paper are grouped together.

I load my mat with my paper choices and cut all the pieces at the same time.

Once all my box pieces were cut, I inked the edges of the scalloped tops with Pink Petunia chalk ink. Then used my Xyron Mega Runner to attach them to the tops of the main panels. It’s easier to attach these pieces while the panels are laying flat.

Then I folded the flap on the crease lines. I used a dollop of glue on the tiny side tab and adhered the two side panels together. Then ran glue along the bottom flaps and attached the bottom rounded square piece.

The berry basket file also comes with the little label you can add to the front. It’s optional whether or not to use it. But it does give it a nice little touch.

I used a stamp from Stephanie Barnard’s Cake2Stamp set that reads ” You’re SO Sweet” onto the label in Night Sky chalk ink. The sentiment fits perfectly onto the label (even when resized). I knew I may have needed to re-stamp my sentiment a few times so I placed my label in a stamp positioning tool and stamped it about 3 times. This helps to ensure that I get exact placement each time.

I placed a bag of chocolates (you can use your fave) and tied it off with crinkle ribbon. Then attached these adorable pre-made paper flowers from Little Birdie Crafts’ Renae Collection.

And here is my finished box…

Here are the 2 different sizes I made standing side by side…

These are absolutely beautiful.

These treats are sure to wow all the sweet people in your life!

Hope you enjoyed today’s project!

Until next time…

Happy Crafting!

~Mitsyana Wright

One Buck Wednesday at Snap Click Supply & Digital Inspiration with Ashley

Today at Snap Click Supply I have two items featured for $1 on Wednesday!. That means you can pick up 2 of my digital scrapbooking products at a steal. TODAY ONLY!

Autumn Afternoon Papers 


Autumn Afternoon Elements 2

Be sure to go grab these great deals while you can. These offers will end at midnight!

Ashley used these fun kits in her fabulous layout, take a peek…

Last week my kids went back to school. I always love documenting that First Day outfit, excitement, and new start.  I used some of the One Buck Wednesday Features in today’s layout.  Pick these up while they are $1.

Products Used:

Autumn Afternoon Paper

Autumn Afternoon Elements 2

Thick Font

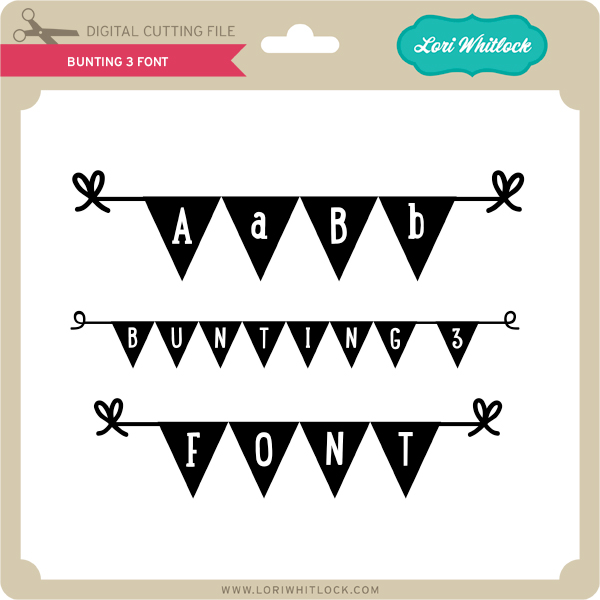
Bunting Font

Life Templates SQ Set 11

Have a great day!


Tuesday Freebie and New in Shop

ALL WEEK, this SVG file is FREE with any $1.99 purchase!

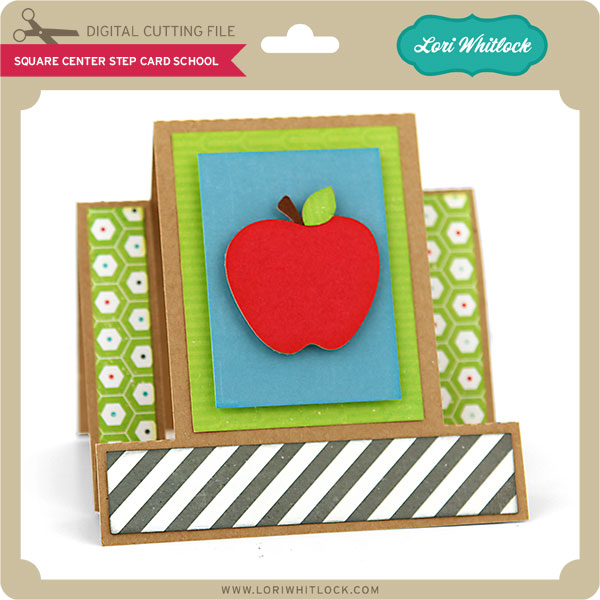
We have a FREE file with purchase all this week! Simply add this Square Center Step Card School File to your shopping cart along with ANY $1.99+ purchase from the SVG Shop and this file is yours FREE. Be sure to use Coupon Code: APPLE (case sensitive) at checkout. This offer is good through next Sunday.

(Your cart must reach at least $3.98 before the coupon will be applied and then $1.99 will be subtracted from your total at checkout. The files will be available for immediate download after you pay for your order by visiting MY ACCOUNT>COMPLETED ORDERS>ORDER DETAILS inside of your account. Only one discount code per order allowed.)
 

In addition, don’t forget about this special ! You can get this Free Kit of the Month with any $20 purchase (Purchase must be in one transaction.) Simply add the 2017 August Kit of the Month to your shopping cart along with ANY $20.00+ purchase from the SVG Shop and this file is yours FREE. Be sure to use Coupon Code: AUGKOTM (case sensitive) at checkout. This offer is good through August 31, 2017!

(Your cart must reach at least $27.95 before the coupon will be applied and then $7.95 will be subtracted from your total at checkout. The files will be available for immediate download after you pay for your order by visiting MY ACCOUNT>COMPLETED ORDERS>ORDER DETAILS inside of your account. Only one discount code per order allowed.)


Check out our awesome SVG files releasing this week! And, just like always, the NEW files are ON SALE 25% OFF through the weekend in the SVG Shop! These downloads include SVG files for sure and PNG or PDF files when appropriate. No coupon code necessary, the files are all discounted in the shop! Be sure to go get them while they are on SALE this week.
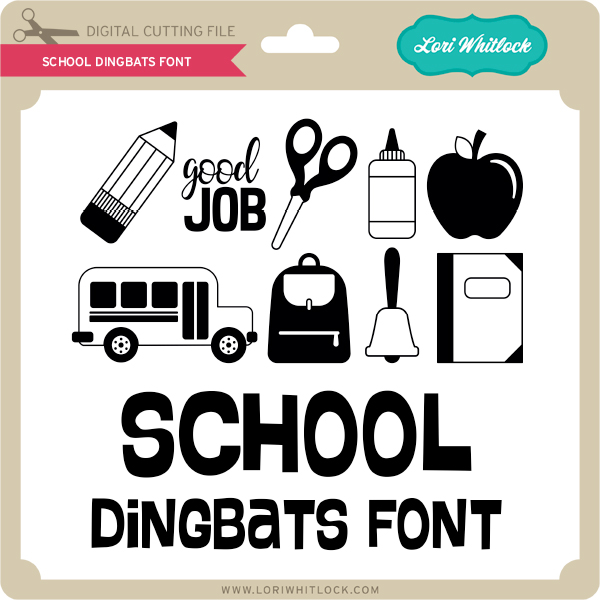
 
Doodlebug’s Home Run Collection is now in the shop!  Perfect for all of those Baseball pictures!  I also have a fun new Baby Girl T-Shirt Bundle and Kolette Hall has some fabulous vinyl phrases!


Thanks for visiting the blog today! Please let us know if you need any help with your files. We want to make sure everyone is happy with their purchase. Have a great week!

Scottie THANK YOU Cards

Hello, Crafty Friends!! It’s Design Team Member, Mitsyana, back to bring you these quick and easy (and  SUPER CUTE) Scottie Thank You Cards.

In light of current events, sitting her crafting during Hurricane Harvey, I am compelled to make Thank you cards. It’s always a good thing to tell people just how grateful you are. Even a little gratitude goes a long way!

These Scottie Thank You(s) come together so quickly that I was able to make them in different colors! I like being able to have an arsenal of cards at my disposal at any given moment!

To make these I used Lori Whitlock’s A2 Cutout Scottie Dog file. (here in the Silhouette Store)
I opened the file using my Sizzix ecal software and grouped the pieces by color for easier cutting. It helps with out having to reload the mat for each color used. And as long as all the pieces fit on my mat I can cut them all at once.

I decided not to use the pre-scored card that came included because I wanted to change the direction the flap opened. So, I removed it off of my virtual cutting mat.
The card front is sized to a standard A2 card so me changing the direction of the card fold will not affect the overall look or assembly of the card whatsoever.
I cut all my paper using my Sizzix eclips machine. Then used my Xyron Mega Runner to layer and adhere the pieces together.

I used a glue pen to attach Scottie’s little bow then added highlights to it using a white gel pen.

I used a fine-tipped black ink pen to draw stitch lines around the perimeter of the stamp-shaped card mat.

I pieced the tiny flag sentiment together then added stitch lines along that as well.

Once the card front was pieced together I used my Mega Runner to attach it to my card base. This time the card flaps from top to bottom instead of side to side.

As a last minute touch, I added a little glitter enamel dot to the center of Scottie’s bow for a little bling.

Here is the finished card…

And it was so super easy to make that I decided to make it in other colors as well!

It looks great in brown!

And it’s absolutely fabulous in teal!!

These are so much fun to make!

I think I need to make much more… I have many people I want to send thanks to but this is a great start!

Hope you enjoyed my project for today!

“Thanks” for stopping by!!

~Mitsyana