Baby Month Sign with Anita

Hello Everyone:

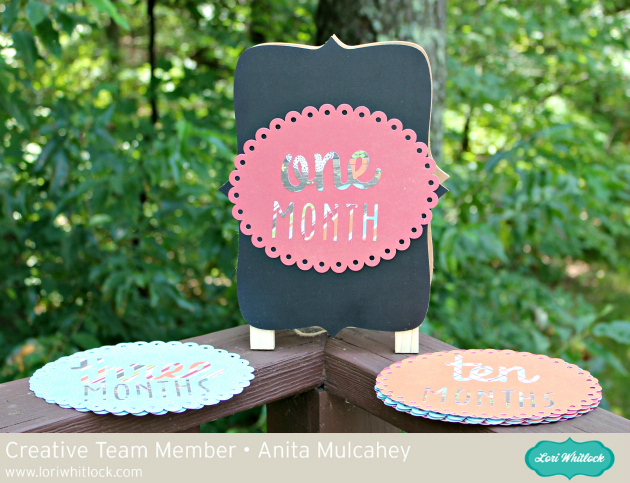
Happy Monday.  I made this sign set for a friend’s daughter who is having a baby in January.  I used Lori’s cut file called Baby T-Shirt Months which you can find here in her store and here in the Silhouette Store.   I also used Scalloped Shapes for the background of my months and you can find that file here in her store and here in the Silhouette Store.  I used Lori’s Echo Park collections called Happiness is Homemade and I Love Family.

I bought a chalkboard stand online and put two sided sticky tape on the back of each oval and then stuck a piece of wax paper over the tape so that they wouldn’t stick together.


Thanks for stopping by and be sure to check out Lori’s store for these cut files and many more new and fun cut files.

Hugs,

Anita
Doodlebug Design Cut Files Feature: Boos & Brews

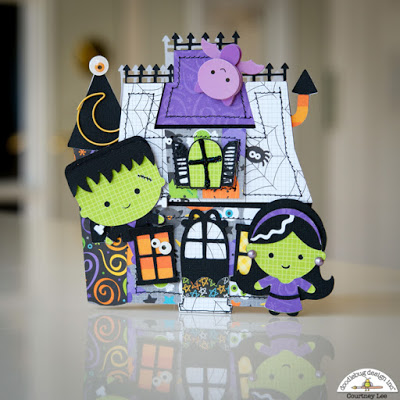
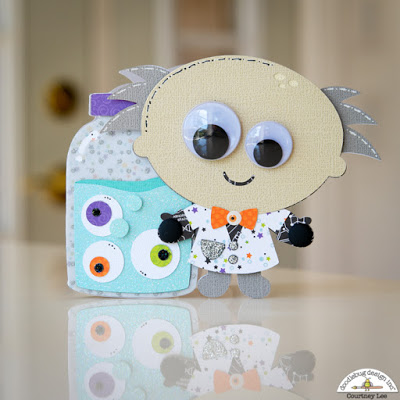
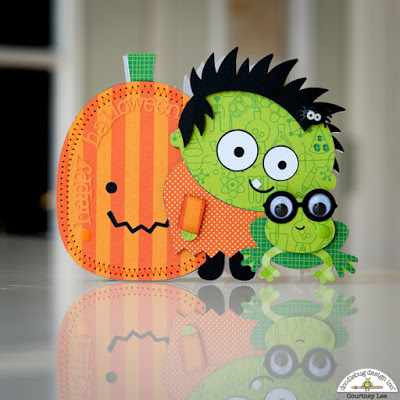
Hi Everyone! Today I’m showcasing another fabulous project using Doodlebug Design’s cut files! These ADORABLE Halloween Cards were created by Courtney Lee for Doodlebug Design.

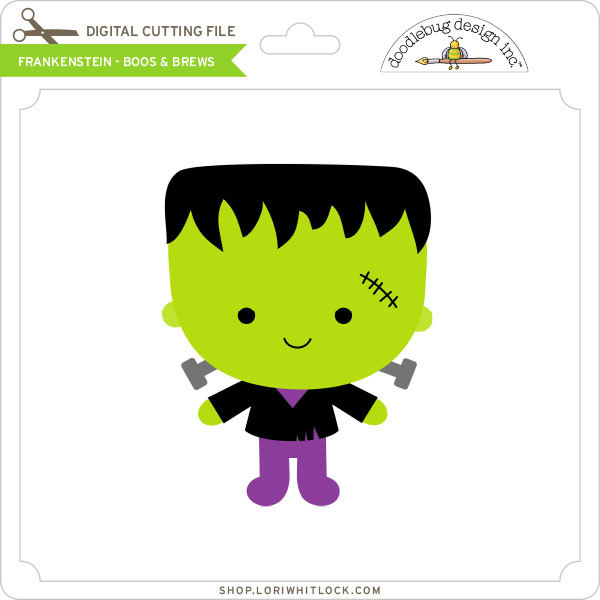
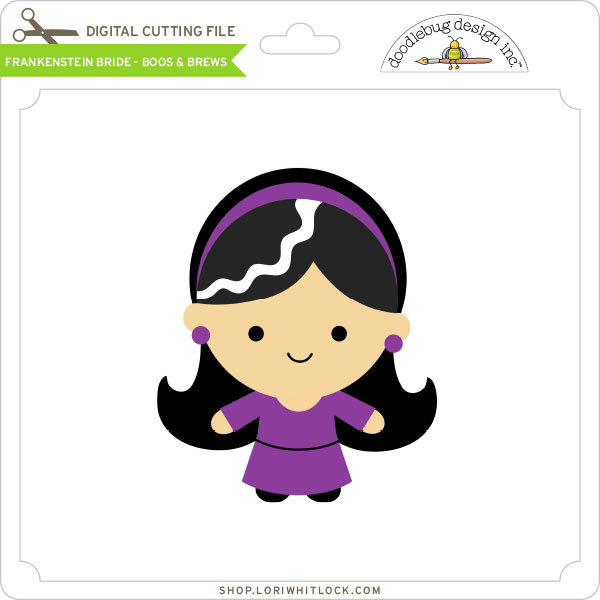
Courtney used the Igor, Frog, Pumpkin, Doc Frankenstein, Jar of Eyes, Haunted House, Frankenstein and Frankenstein Bride files from the Boos & Brews Collection.

Such fun cards, who wouldn’t want to receive one! For more views, see the original post here.

New Doodlebug Design SVG files are being added to the Lori Whitlock SVG Shop on a regular basis, so stop by to see all of the fun SVG files HERE!

Have a great day!


Halloween Treat Boxes Tutorial by Brigit

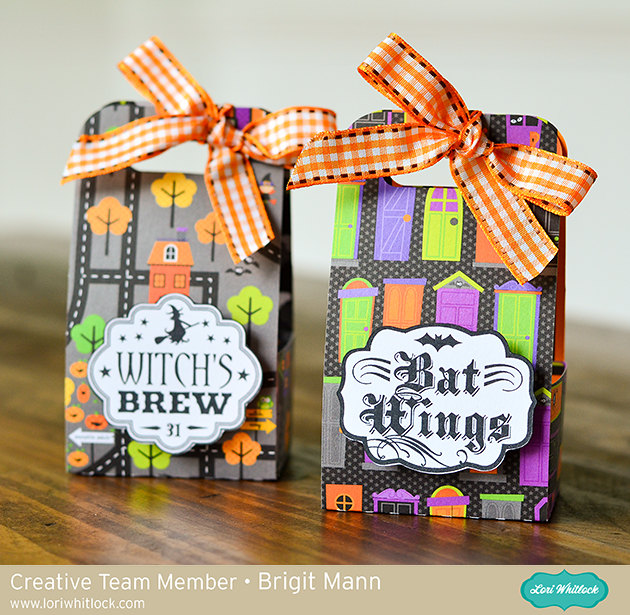
Hello there, it’s Brigit here, I have a quick tutorial on how I made these cute Halloween treat boxes. When I need a bunch of boxes I like to use the print and cut feature to create labels this way I can put them together very quickly. For these two I used two sheets from Doodlebug Design’s Halloween Parade paper collection.

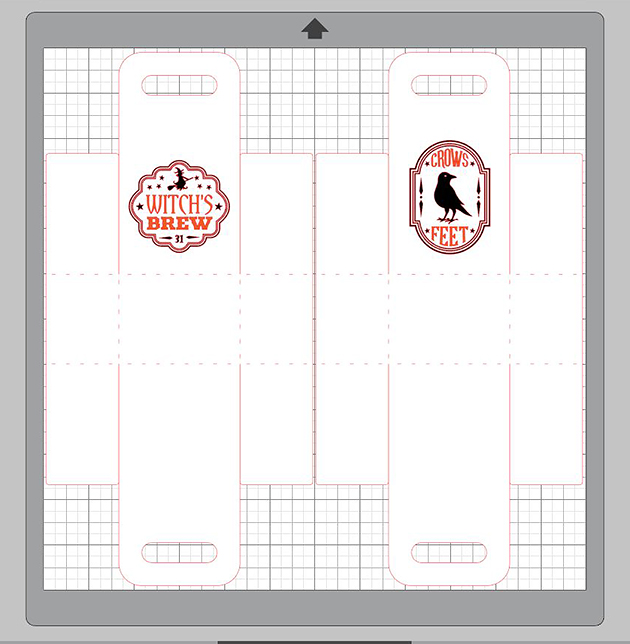
 For this project, I used the 2 on 12×12 Handle Ribbon Treat Box which you can get here at Lori’s shop or at the Silhouette Design Store here.  As the name applies you can get two of these on one sheet of 12 x 12 paper so it’s a great little treat box if you need a bunch.

 I used the labels from the 5 Halloween Apothecary Labels set and a couple from the Halloween Label Set.  These are sold individually at the Silhouette Design Store, witches brew, spider legs, arsenic poison, crows feet, bat wings, old salem, and another bat wings. I sized them to fit the box and copied to a new page in Silhouette Studio, I use the Business Edition.

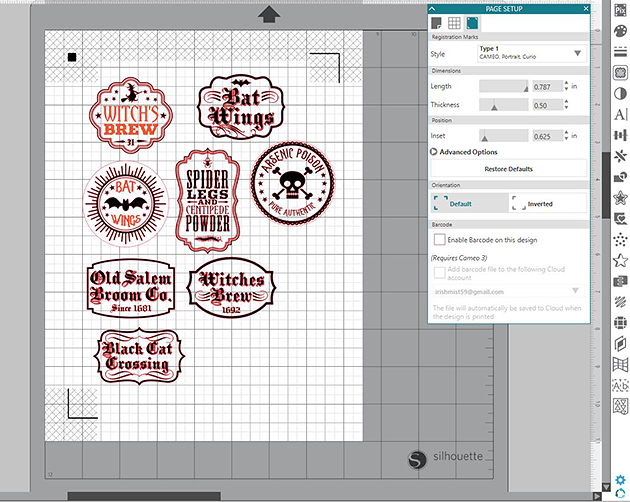
I printed out my sheet and cut them on my Brother ScanNCut 2 which is what I prefer to use cause I’m not limited to registration marks, but I do have a Cameo so if I was going to print n cut with it I would check the registration marks under the page setup.

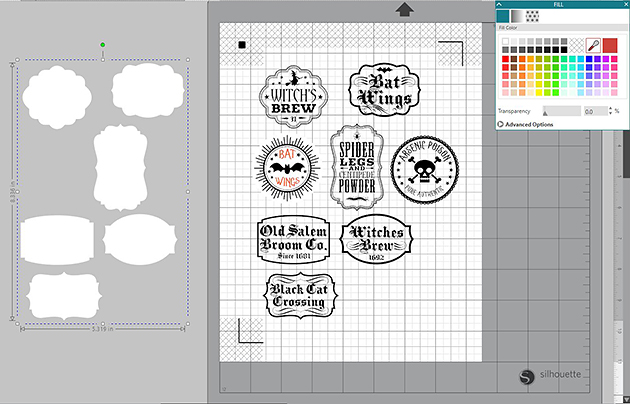
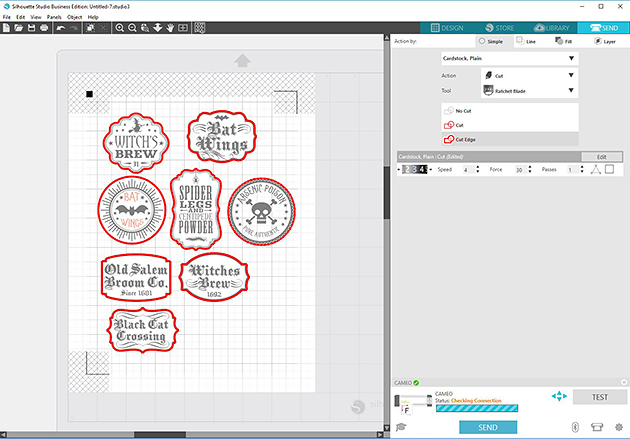
 For the apothecary labels when I selected cut edge the inside pieces were still selected so I grouped them made a duplicate, released and changed the color to white then aligned them together.

I was able to select cut edge then and the inside pieces weren’t selected.

Thanks for stopping by and have a wonderful day!


Digital Inspiration with Tya

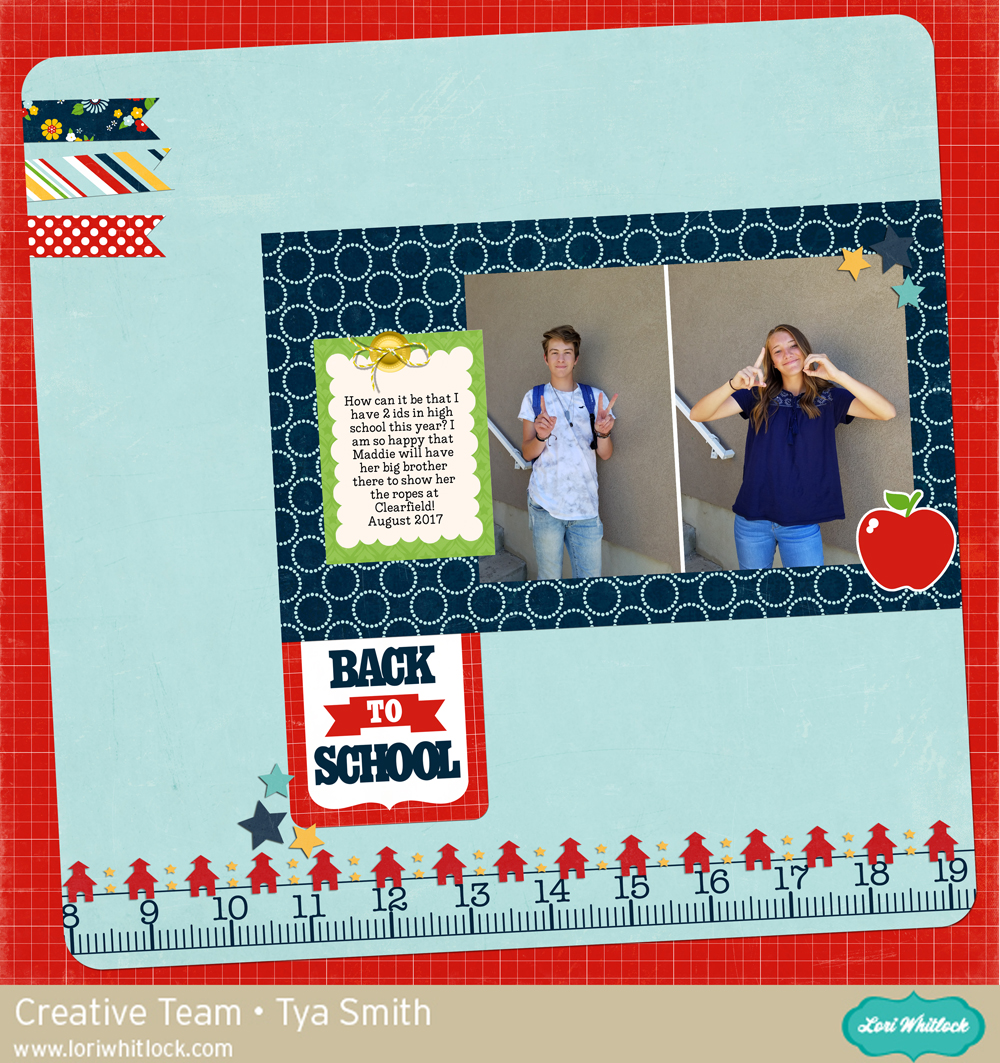
Hi there Lori Whitlock fans! It’s Tya and I am up on the blog today sharing some digital scrapbooking inspiration. It is Back to School time and I just love all of the cute school themed products that Lori has in her shop on Snap Click Supply. One of the products that I love is called a Quick Page. Basically – Lori has done all the design work for you – you just need to plug in your photos and any other embellishments you want to add and viola! You page is done! Quick pages are a great way to get your pages done fast! They are great! Here is my layout:

I used the following products to make my layout:

-Back to School QuickPage 1

-School Days Elements

-Basics Embellishments Set

-LW Perfect Type font


Thanks for stopping by today! Happy Crafting!


Save