Adding a Window to the Perfectly Square Box in Silhouette

Hi Everyone, it’s Kathy today with a tutorial showing how to customize the Perfectly Square Box (here in Silhouette) using the Fall Leaf Dingbats Font (here in the Silhouette Store).  This little box is perfect for so many things, favors, place cards, treat holder.  I thought it would be cute to cut a leaf shaped window in one side for fall to make little place markers for Thanksgiving.

I started by opening the Fall Leaf Dingbats Font in Silhouette.  If you’re not familiar with the Dingbats Fonts, they have little pictures in place of letters.  For instance the above leaves were added to my mat by typing the letters A, D, K, T, W, Z in the Fall Leaf Dingbats. (for a more comprehensive explanation of Lori’s Dingbat Fonts, see her YouTube video here.)  These are the leaves I added to the above boxes.

Next, I added the Perfectly Square box to my mat.

The next step is to create the window.  I started by creating 2 boxes using the shape tool.  The first measured 2.4″ square (the size of one side of the box) and the second was 1.75″ square.  I centered them together, made sure both were selected and using the Modify Panel selected Make Compound path.  This not only groups the items, it makes them a single shape.
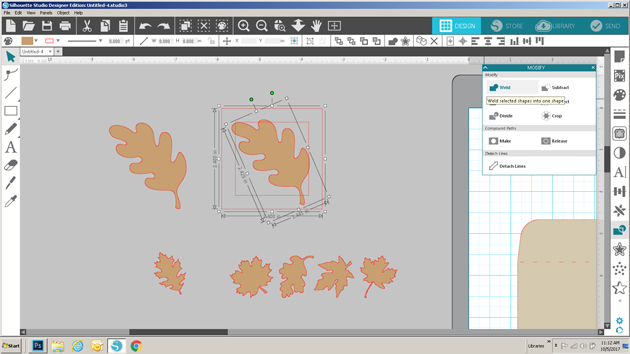
Next, I sized one of the leaves to fit into the inside of the frame I made.  When doing this, you want to make sure that some of the leaf overlaps at least 2 sides of the frame.  After it was placed where I wanted, I selected both the frame and the leaf, navigated to the modify window and selected weld.  (if you want to add a leaf in a coordinating paper as I did, make sure to make a copy of the leaf shape before you weld)

The above picture shows the result of the weld.  The next step is to add this window to the side of the box.

I started by moving the window to the front panel of the box file.

Once the window was in place, I selected the window only, navigated to the modify pane and selected release compound path.  This breaks up the window into multiple pieces.

Being careful not to move any of the pieces, I selected only the outside square edge of the window, right mouse clicked, and selected delete.  (You want to delete the outside edge so that it won’t be completely cut out of the box.)
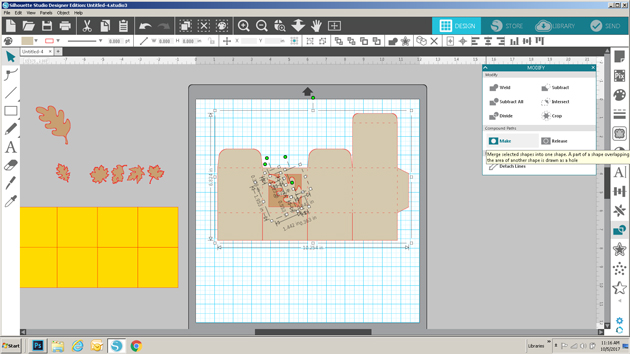
Lastly, I selected the inside pieces of the window along with the box, opened the modify window and selected Make Compound Path.  This makes the window a part of the box.

The box is now ready to be cut!  I also cut a copy of the leaf in a coordinating paper and glued it to the outside.

The great thing about this technique is that you can do it to suit almost any holiday or occasion!  That’s it for me today, thanks for stopping by to peek!


One Buck Wednesday at Snap Click Supply and Digital Inspiration with Tya

Today at Snap Click Supply I have two items featured for $1 on Wednesday!. That means you can pick up 2 of my digital scrapbooking products at a steal. TODAY ONLY!

Classic Halloween Papers

Classic Halloween Elements 

Be sure to go grab these great deals while you can. These offers will end at midnight!  

Tya used these fun collections in her layout, check it out…

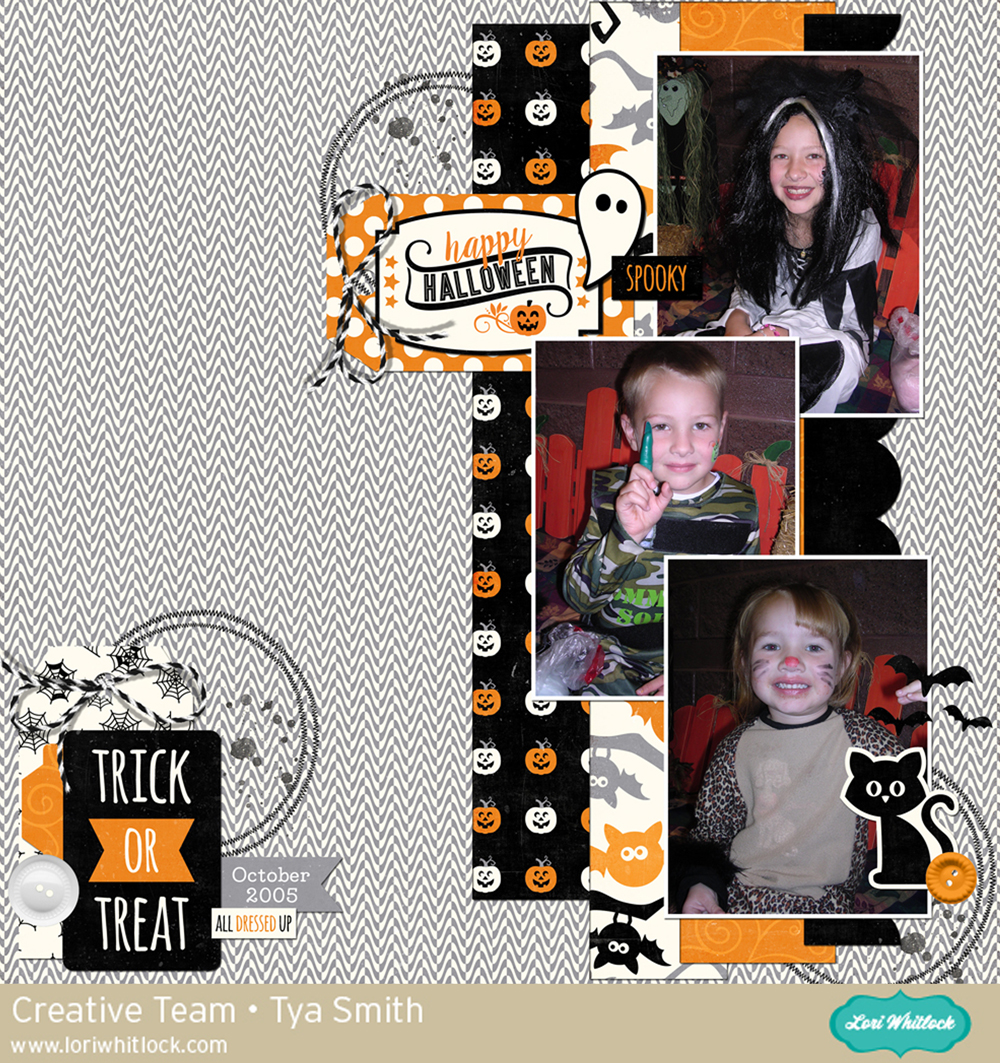
Hi there Lori Whitlock fans! It’s Tya and I am up on the blog today sharing some digital scrapbooking inspiration for you. I can’t believe we are already into October and Halloween is just around the corner. I simply love this fun holiday and love taking lots of pictures of my kiddos in their costumes going to all the parties and events that surround this fun time of year. Here is a layout I did of them at the school Halloween carnival.


The Classic Halloween collection was a great digital kit and it was super fun to use this fun and festive kit to record this great time of year! Thanks for joining me today! Happy Crafting!

Products used:

Classic Halloween Papers

Classic Halloween Elements 

-Basic Border Masks

-Tag Shapes

-Basic Shape Masks

-LW Perfect Type


October Creative Team Blog Hop and 30% OFF All Files!

Welcome to our October 2017 Creative Team Blog Hop! The creative team has been working hard on some new projects to share with you that will get you in the crafting mood. We also have some FUN new SVG files for you and a GIVEAWAY! Be sure to check them out below. There is also a free file for you!

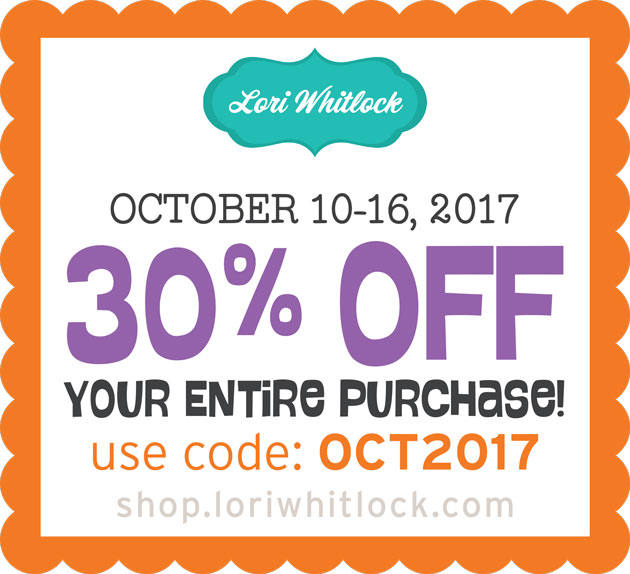
This week we have a 30% OFF SALE going on at Lori’s SVG SHOP. ALL files (and commercial licenses) from Lori Whitlock, Kolette Hall, Doodlebug Design, Dresden Carri, Rivka’s Renditions and SAS Creative are on SALE now through Monday, October 16th. Be sure to use coupon code: OCT2017 (case sensitive) at checkout in the SVG SHOP. (Only one coupon code per order allowed)

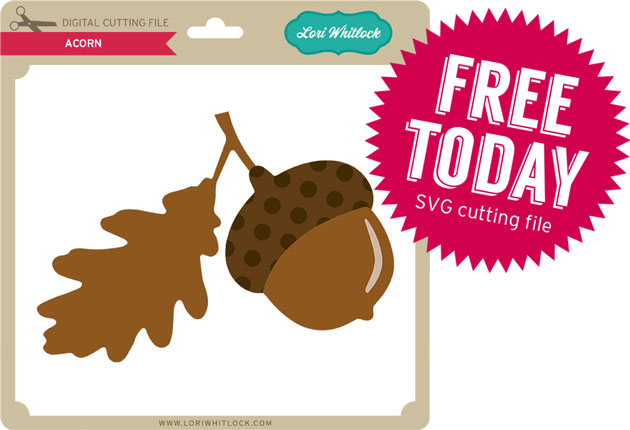
To thank you for joining using the hop today and sharing the hop with your friends, we have a gift for you! TODAY ONLY, You can download this Acorn file absolutely FREE! Be sure to go grab it while you can.

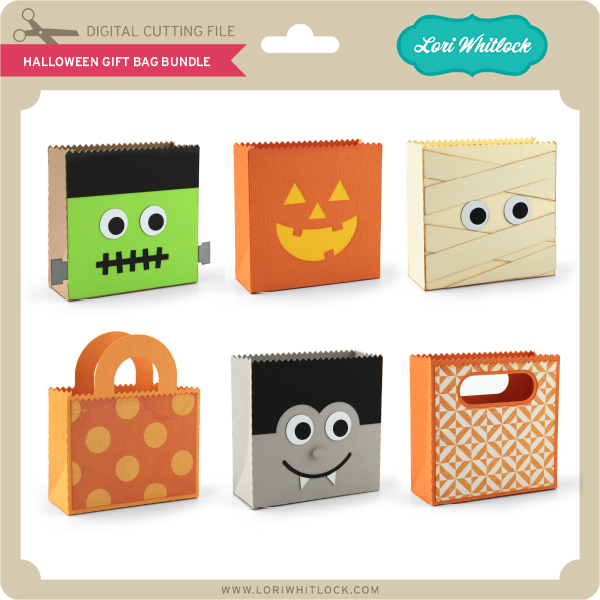
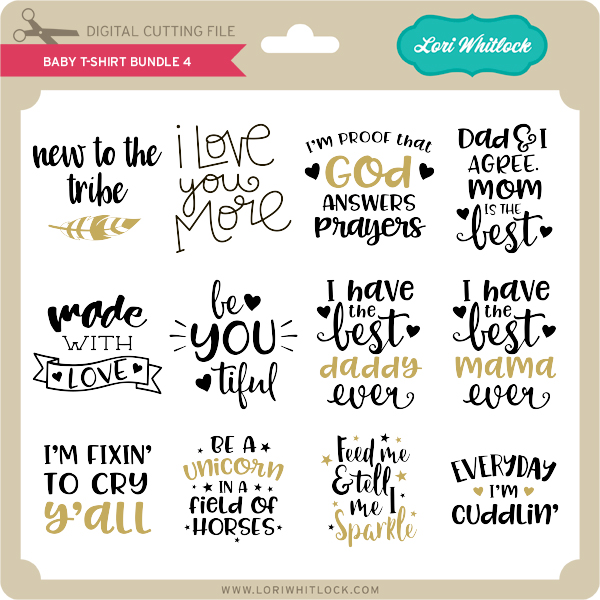
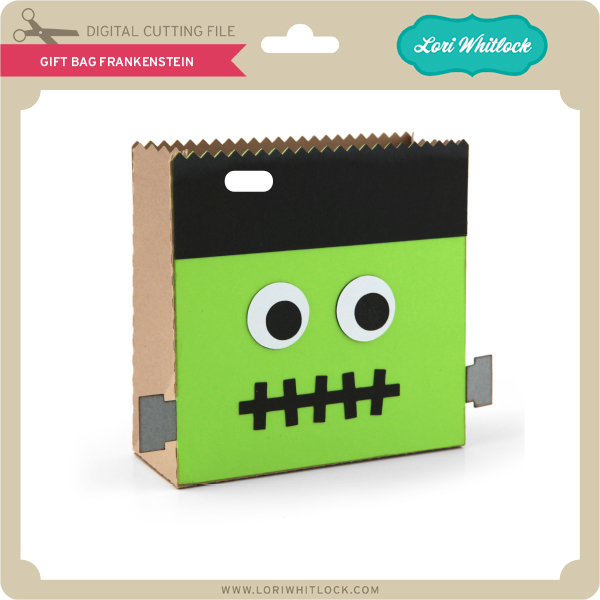
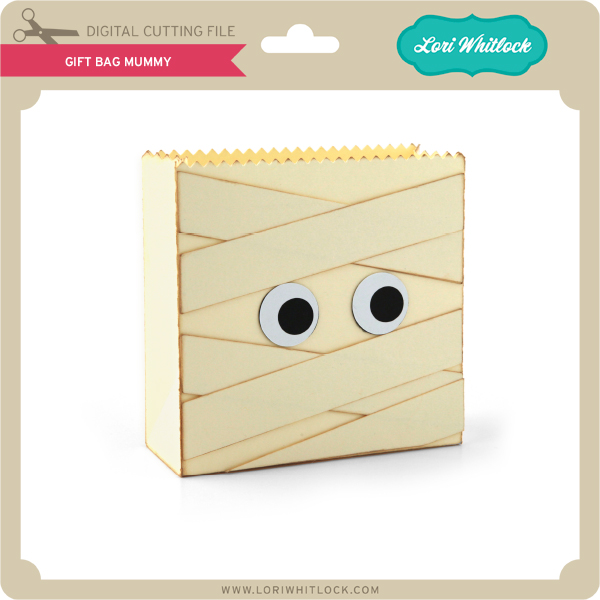
We have some super fun new files in the SVG Shop this week. Be sure to grab them while all files are 30% off this week when you use code OCT2017 in my SVG Shop!  This week,  we have the fun new Doodlebug Design Booville files!  In addition, I have a new Halloween Gift Bag Bundle and a new Baby T-Shirt Bundle!


a Rafflecopter giveaway

And, last but not least… would you like to see what our amazing team has created? Click the links below for some wonderful inspiration. If you get lost come back here to get on track Lori Whitlock, Kathy Skou , Anita Mulcahey, Brandie Adams, Brigit Mann,  Michelle Zerull, Ashley Cook and Tya Smith!! Thanks again for dropping by! Have a GREAT day!

Jack-O-Lantern Treat Boxes with Mitsyana

Hello, Crafty Friends! It’s Creative Team Member Mitsyana back again with Team Lori Whitlock! I have a cute Halloween treat for you… with these Jack-O-Lantern favor boxes! Halloween is creeping up around the corner and if you are a busy mommy like me then you’ll undoubtedly have to make classroom treats.
I have three school-aged kiddos and their classes have anywhere between 21- 25 kids in each.  That means this busy mama just got a little busier. So I need to make treats that are quick and easy but still have to super cute. I am so grateful for these SVG files from Lori Whitlock.  They take all the hard work out creating!
Supplies Used:

Gable Box Jack O Lantern Bundle
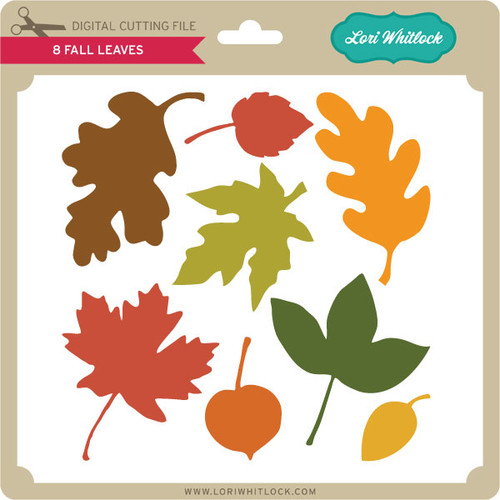
8 Fall Leaves 2
Patterned Paper (DCWV)
Xyron Mega Runner
Vintage Photo Oxide Ink & Blender Tool
Black Organza Ribbon
Mini Clothes Pins
Mixed Media Glue

You can purchase the Gable Box Jack O Lantern Bundle set in the Lori Whitlock SVG Shop…Or  you can buy them individually from the Silhouette Store here:  Gable Box Jack-O-Lantern Small ,   Gable Box Jack-O-Lantern Medium, Gable Box Jack-O-Lantern Tall

I started by opening up my SVG file in my ecal software. I left the box sizes at its default setting for each box but removed the black panel backing. I like being able to see inside the little faces like little windows to give a peek of what’s inside.

These boxes were especially easy to put together. The boxes cut out in as a single piece and all you have to do is fold at the creases.

I used my Xyron Mega Runner to adhere the only side tab to the back panel. Then secured it down by burnishing it down with my bone folder. Tip: Folding the box down flat makes for easier burnishing.

Then, tuck the bottom flaps under and add adhesive to the inside of the very last flap to secure close. The boxes were all assembled to filled…  To close the treat box, just tuck the tabs into the side slots.  But I wanted to dress up my box tops… so I used Lori Whitlock’s 8 Fall Leaves 2 file to create a little topper.

Image 1

I really like this three-tooth leaf and I think it most resembles one that you would find on a pumpkin.  Since I was making many boxes I filled my mat with multiple leaves measuring 2.5″ and 3″.

I peeled them off my cutting mat then crumpled in my hand to add texture. Then spread the leaf back out and took my blender tool and inked the edges and raised ridges with Vintage Photo Oxide ink.

I glued bows made from black organza ribbon onto the top of my leaves and secured them in place with mini clothespins. When the glue set I clipped each leaf to the top of each box.  And here are my finished treat boxes…