October Creative Team Blog Hop and 30% OFF All Files!

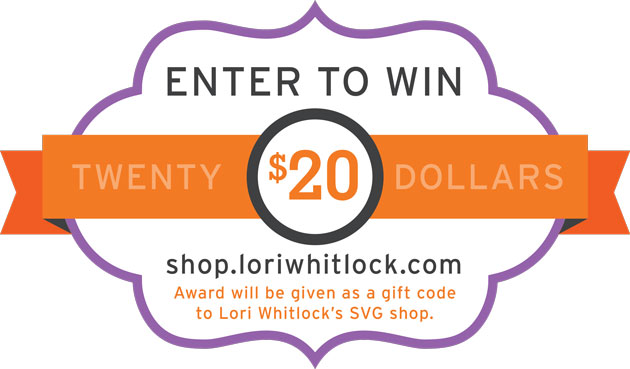
Welcome to our October 2017 Creative Team Blog Hop! The creative team has been working hard on some new projects to share with you that will get you in the crafting mood. We also have some FUN new SVG files for you and a GIVEAWAY! Be sure to check them out below. There is also a free file for you!

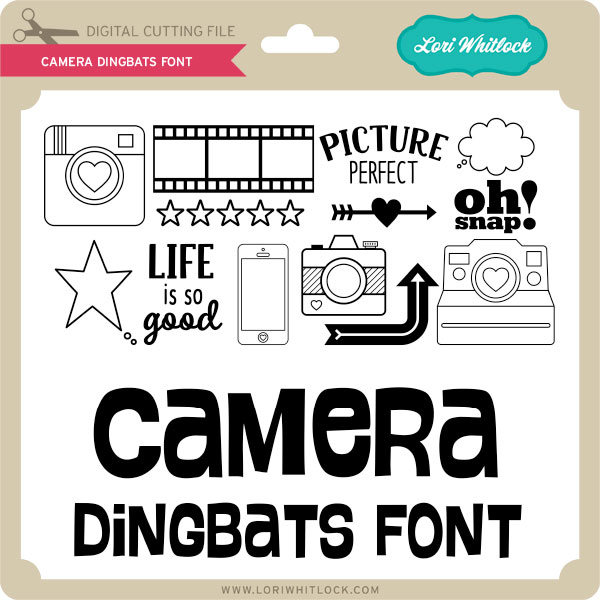
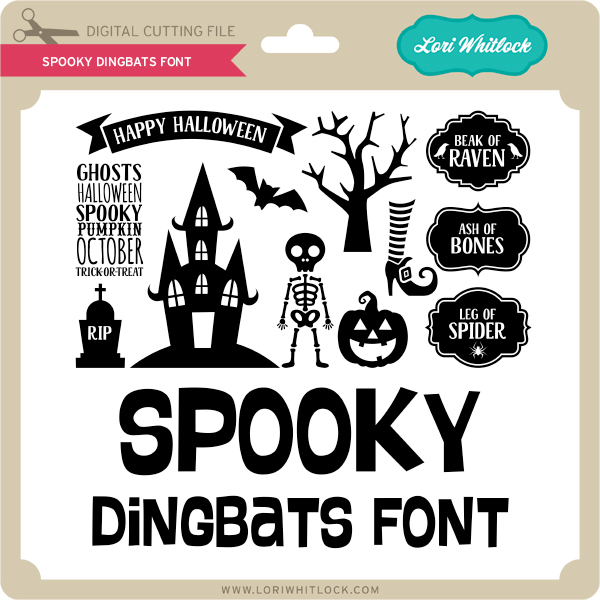
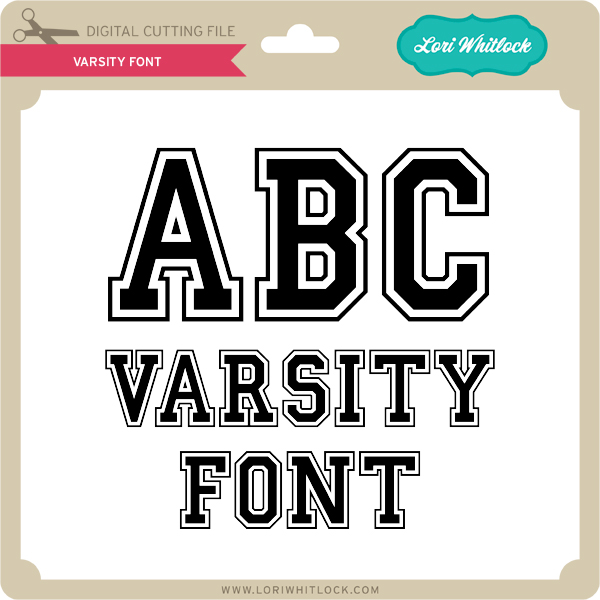
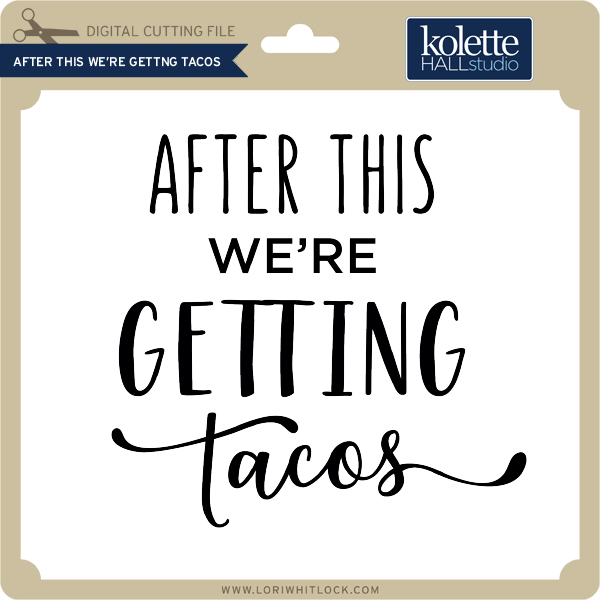
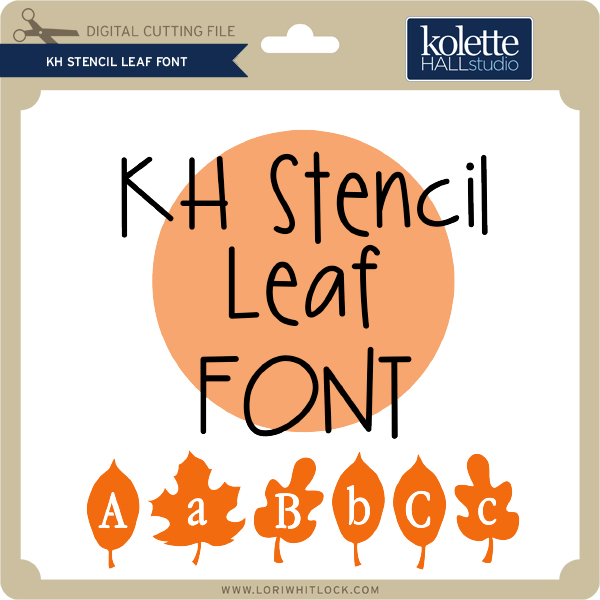
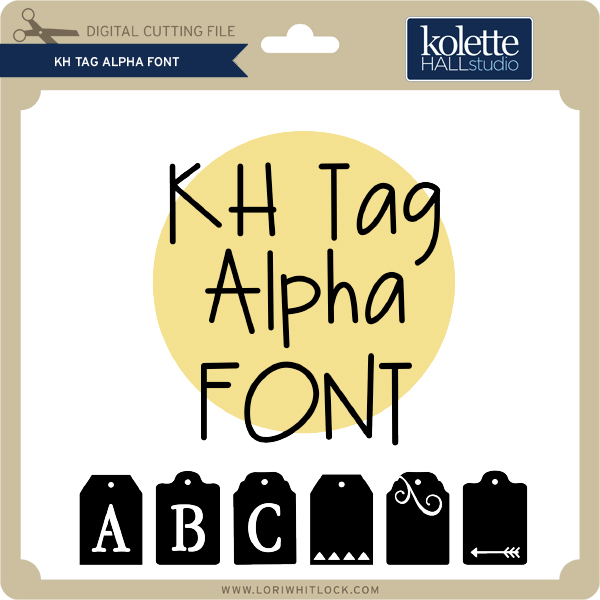
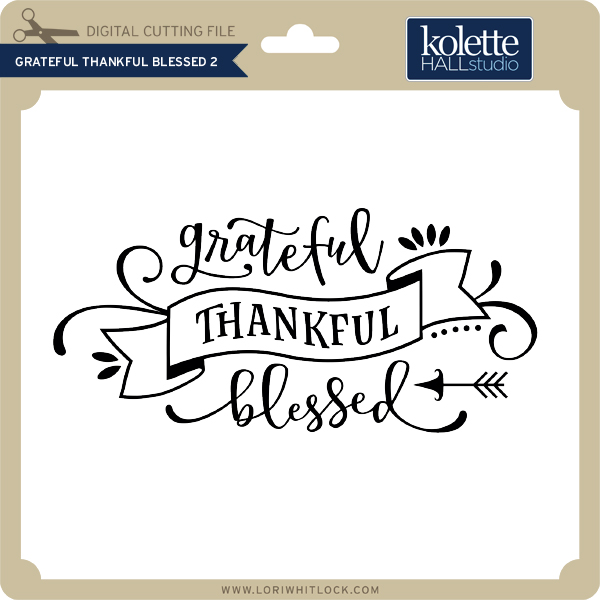
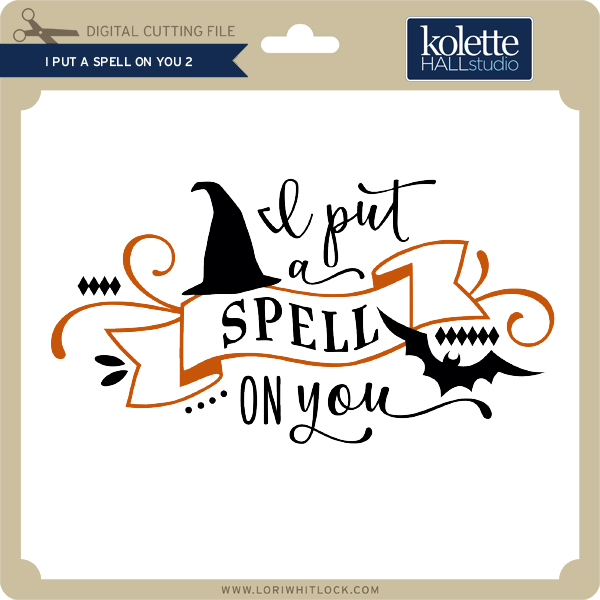
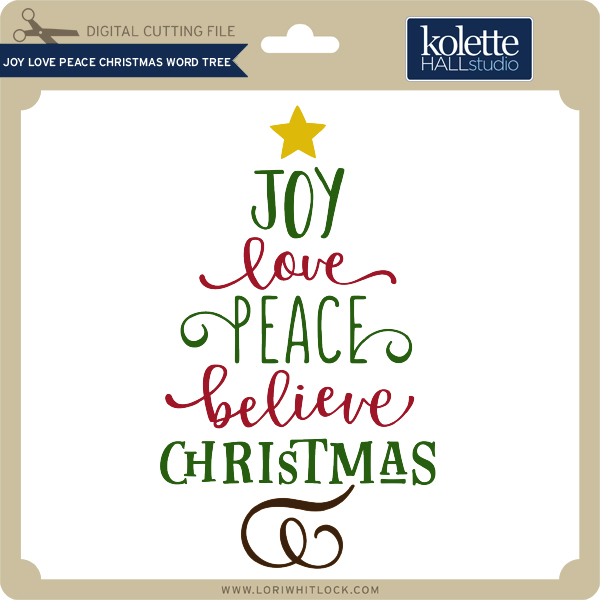
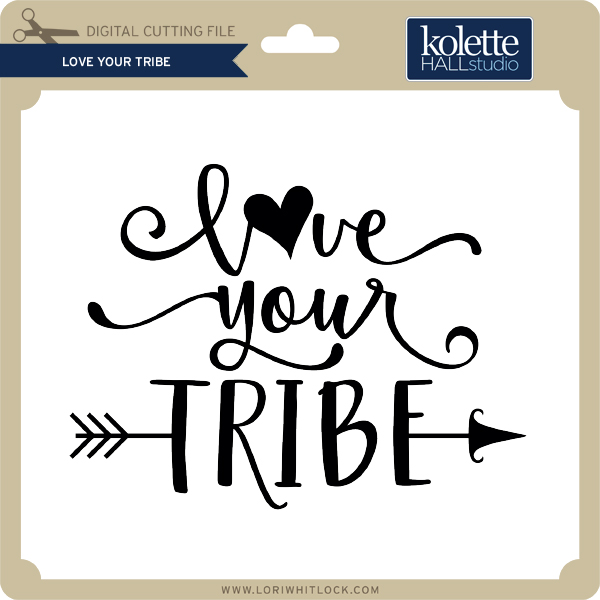
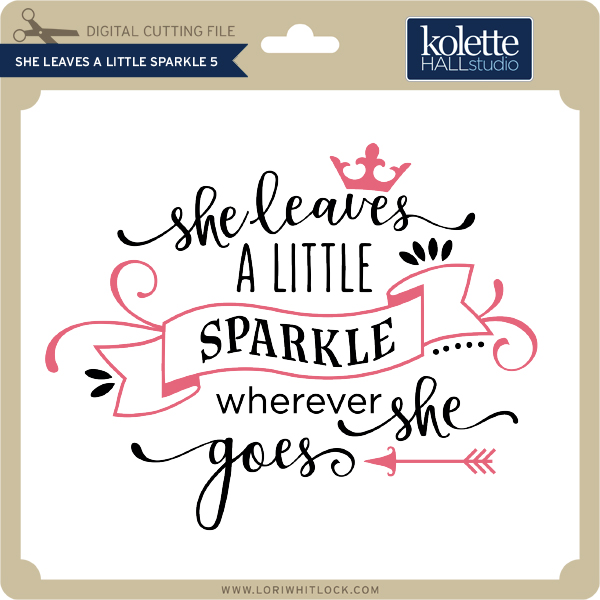
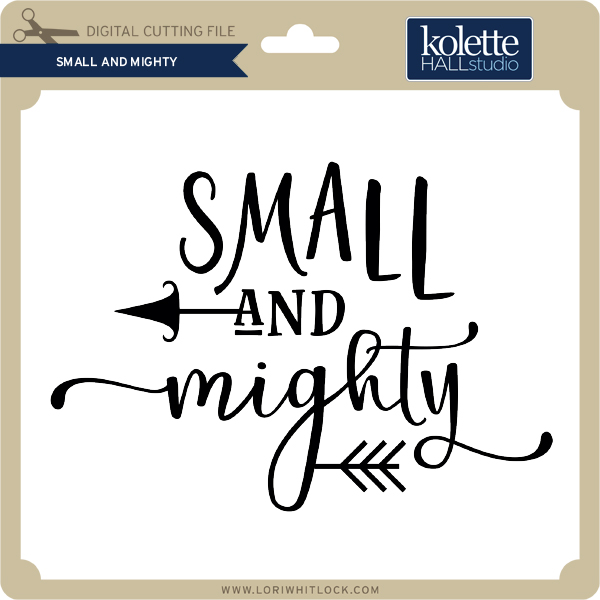
This week we have a 30% OFF SALE going on at Lori’s SVG SHOP. ALL files (and commercial licenses) from Lori Whitlock, Kolette Hall, Doodlebug Design, Dresden Carri, Rivka’s Renditions and SAS Creative are on SALE now through Monday, October 16th. Be sure to use coupon code: OCT2017 (case sensitive) at checkout in the SVG SHOP. (Only one coupon code per order allowed)

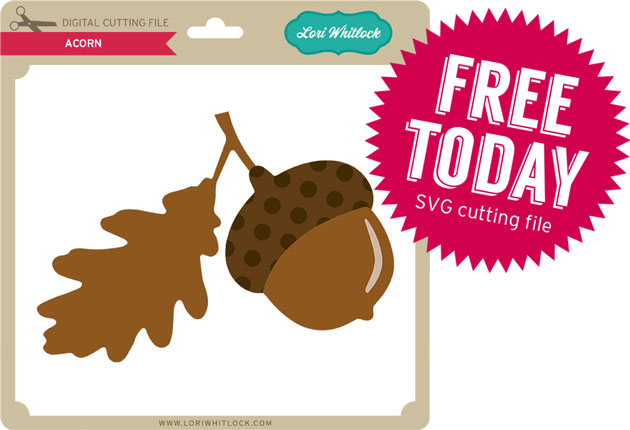
To thank you for joining using the hop today and sharing the hop with your friends, we have a gift for you! TODAY ONLY, You can download this Acorn file absolutely FREE! Be sure to go grab it while you can.

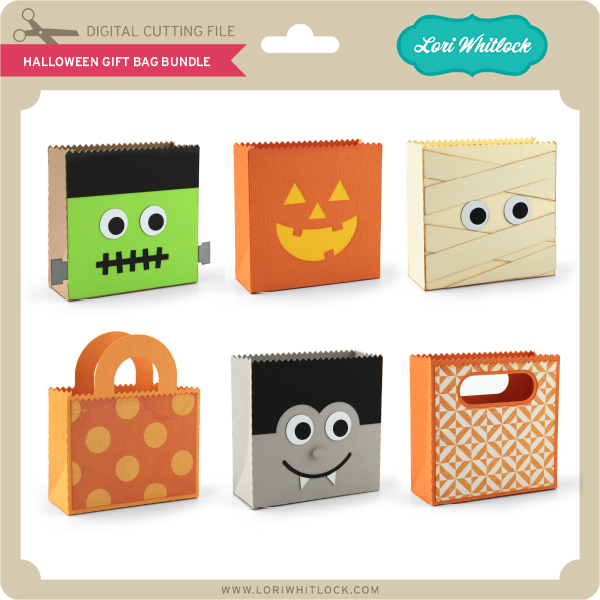
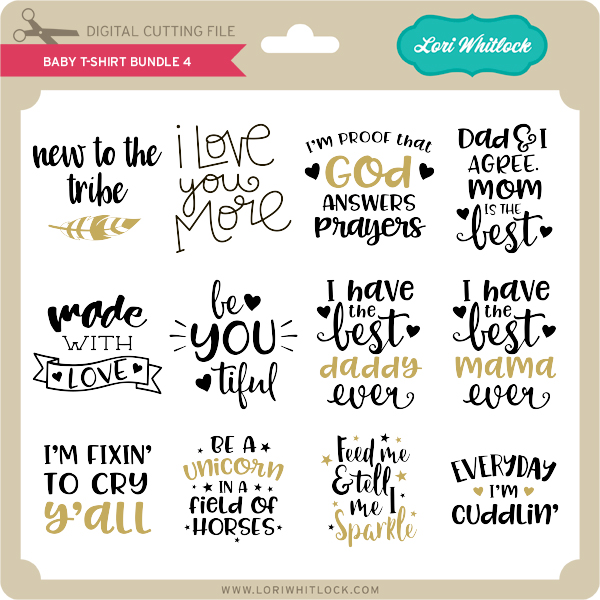
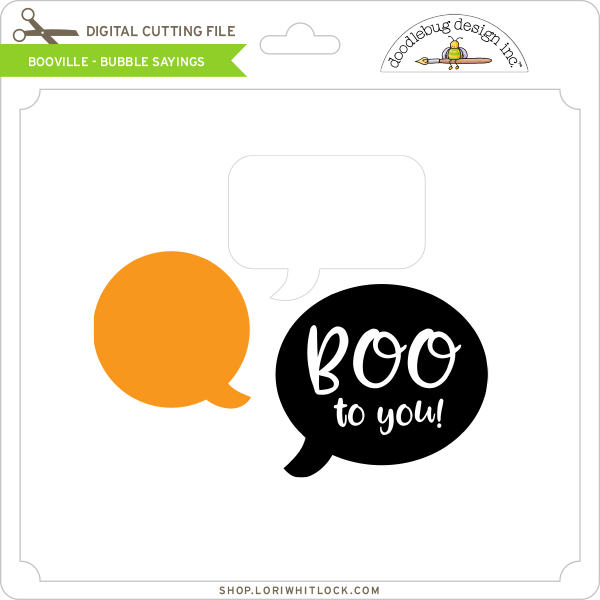
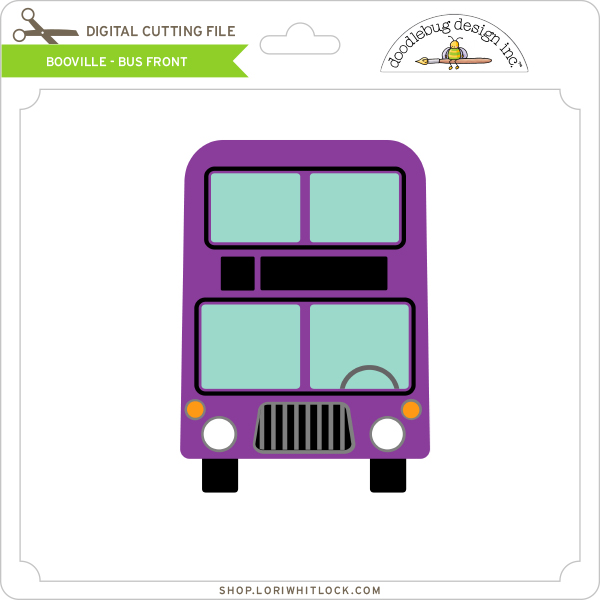
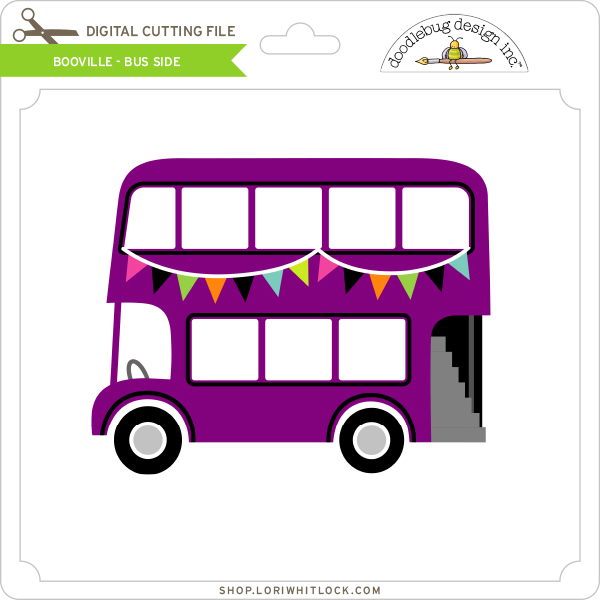
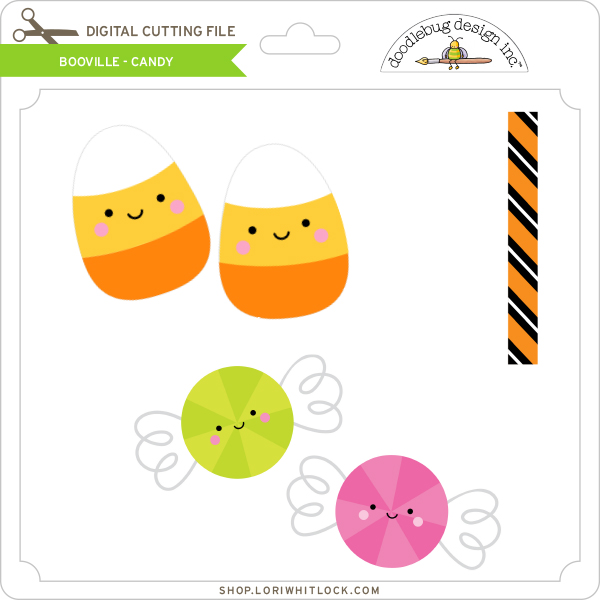
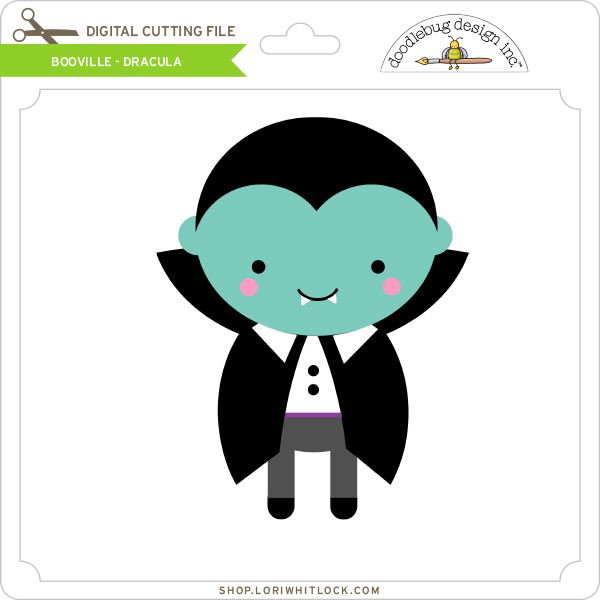
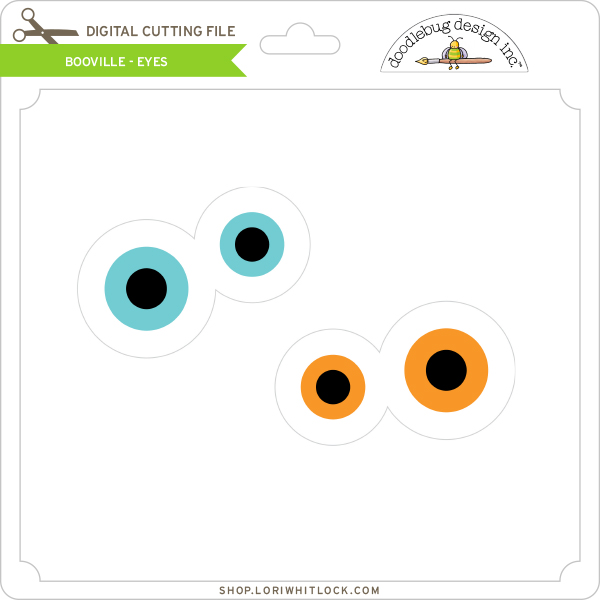
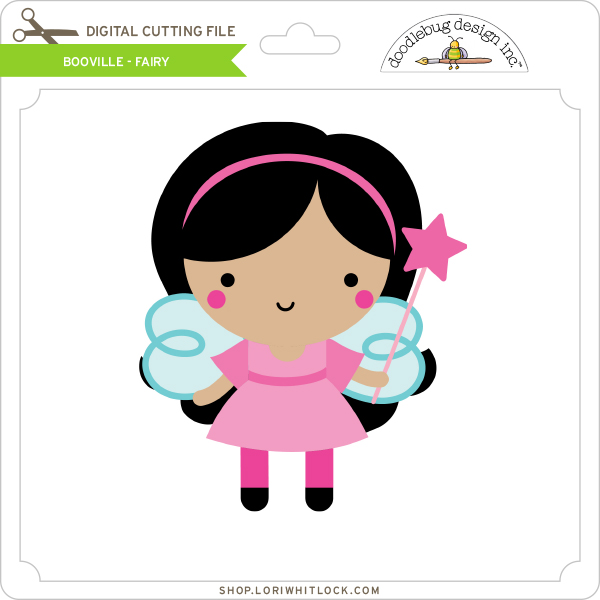
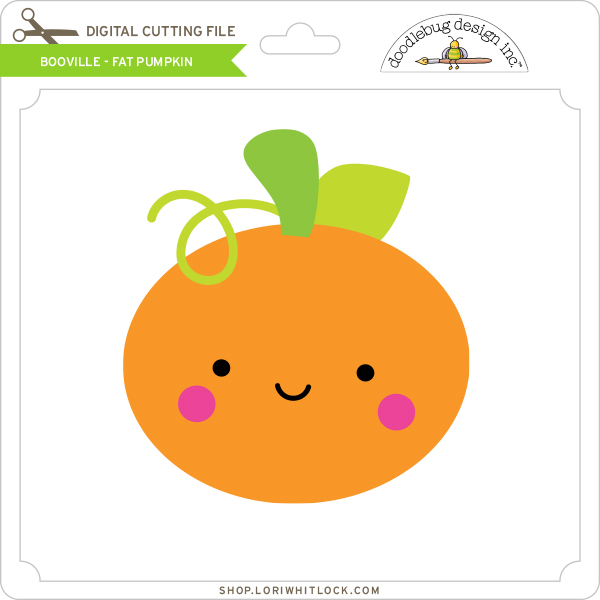
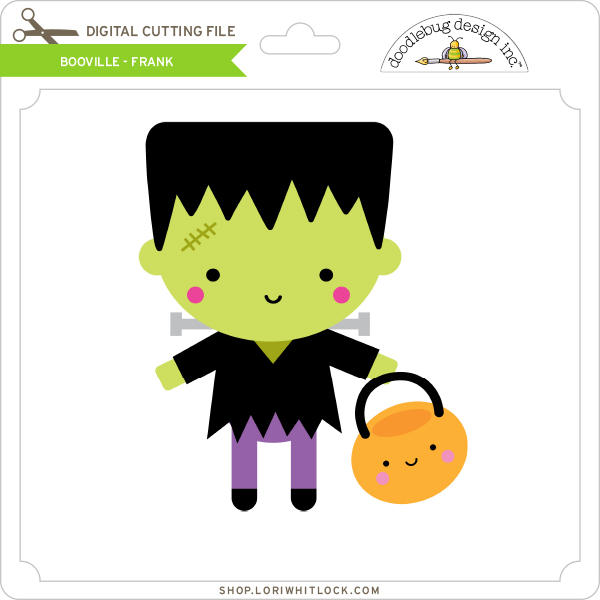
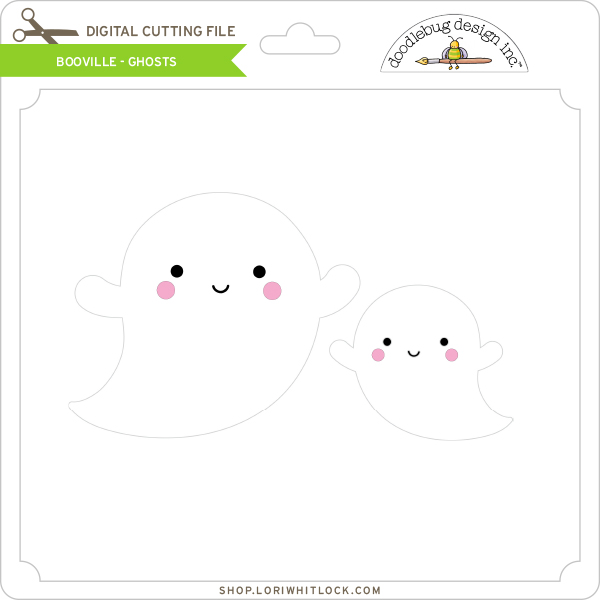
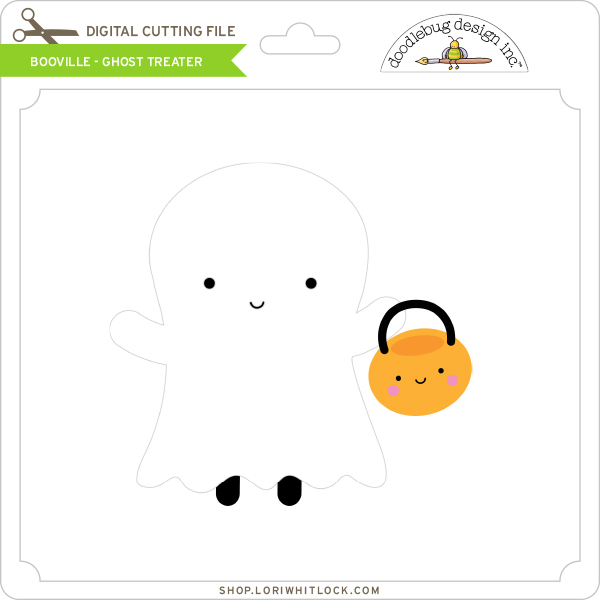
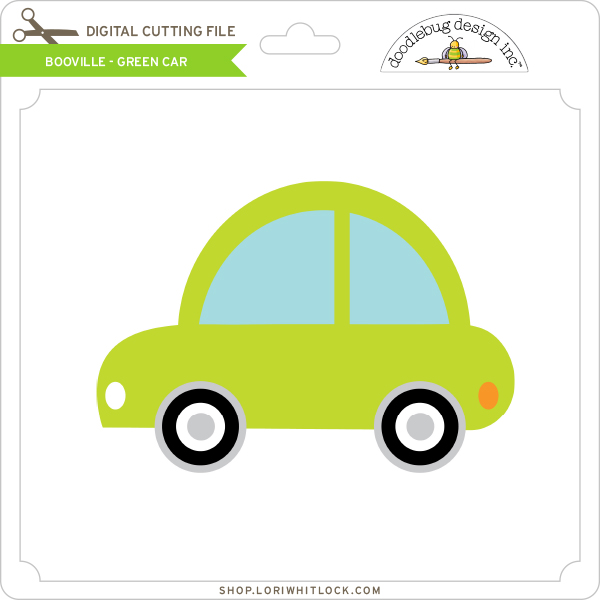
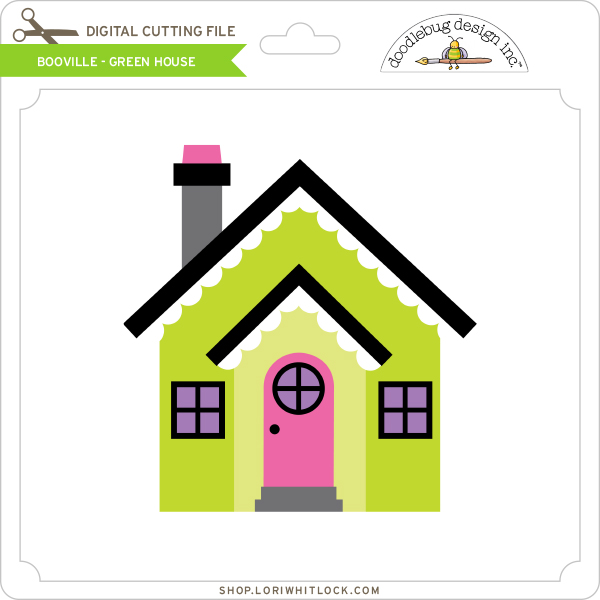
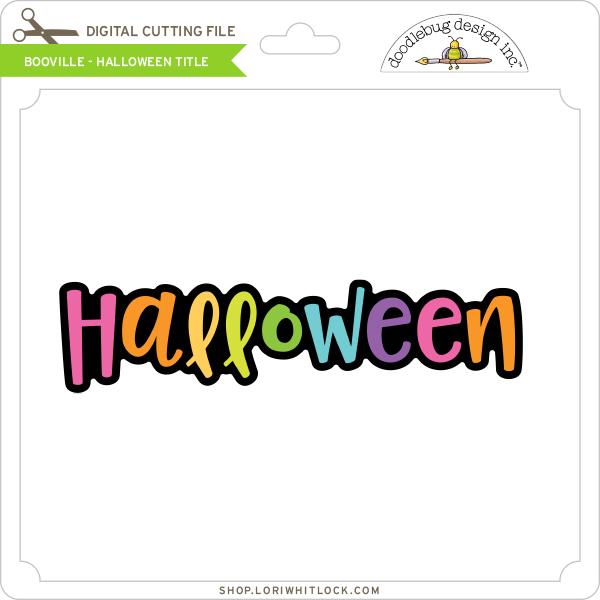
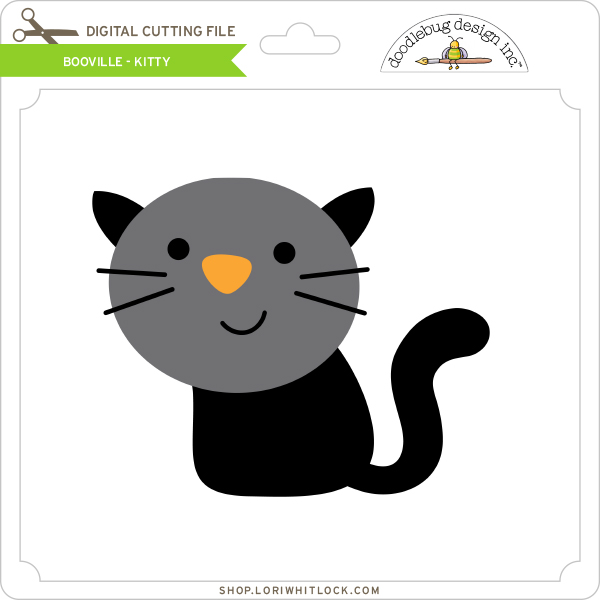
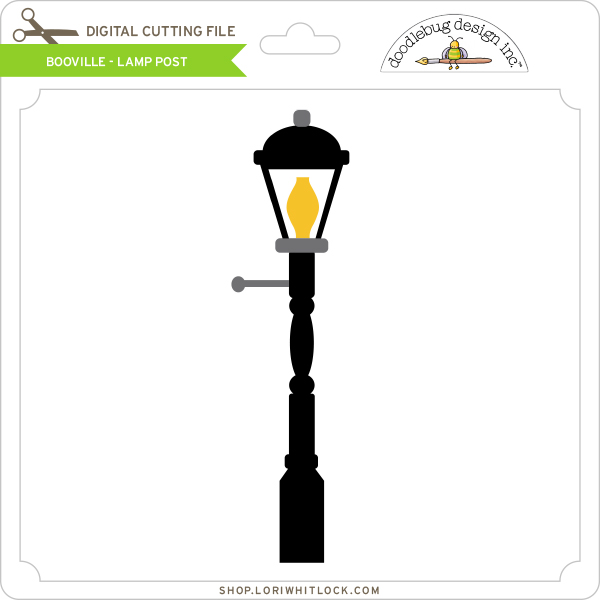
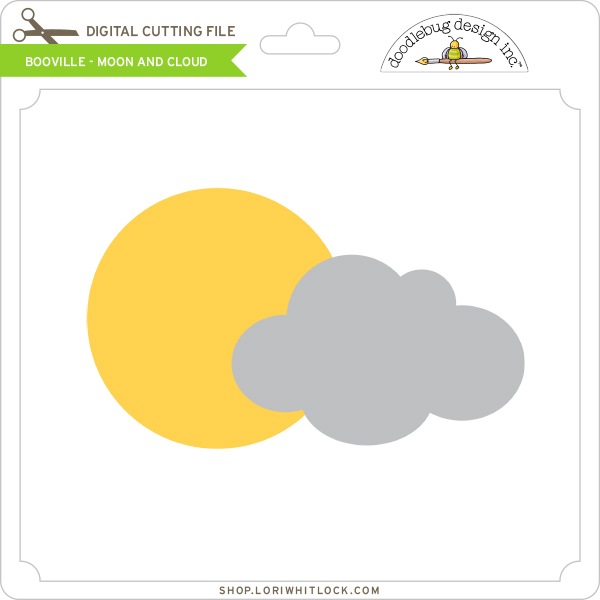
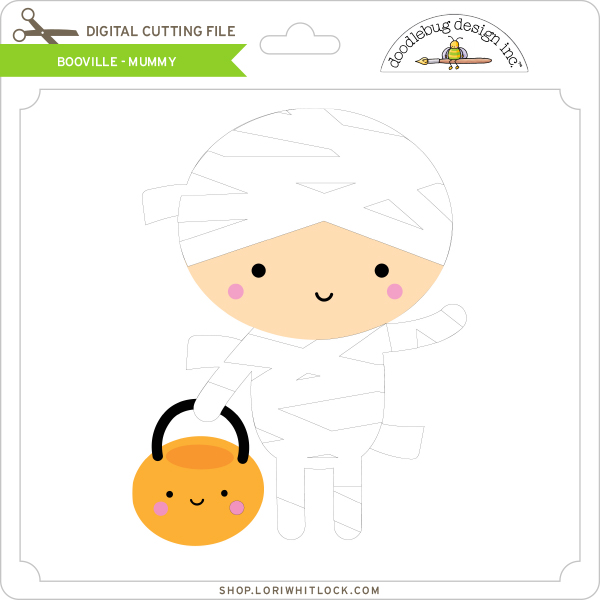
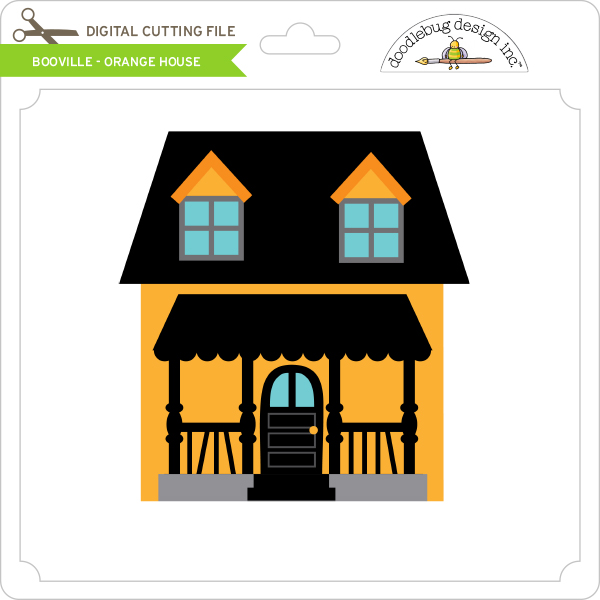
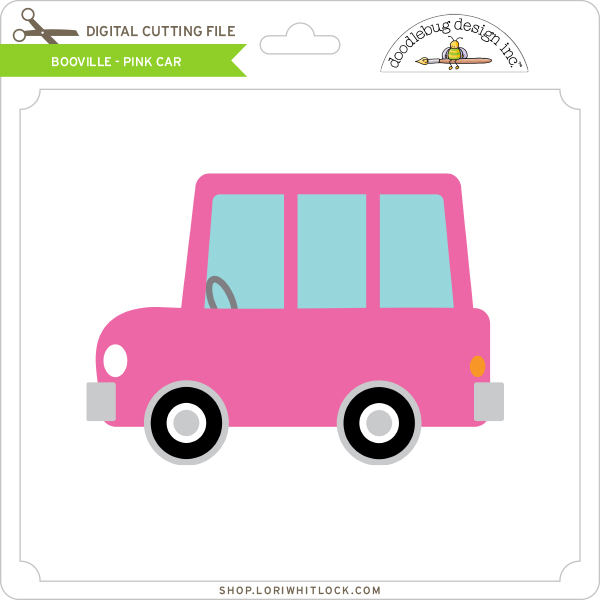
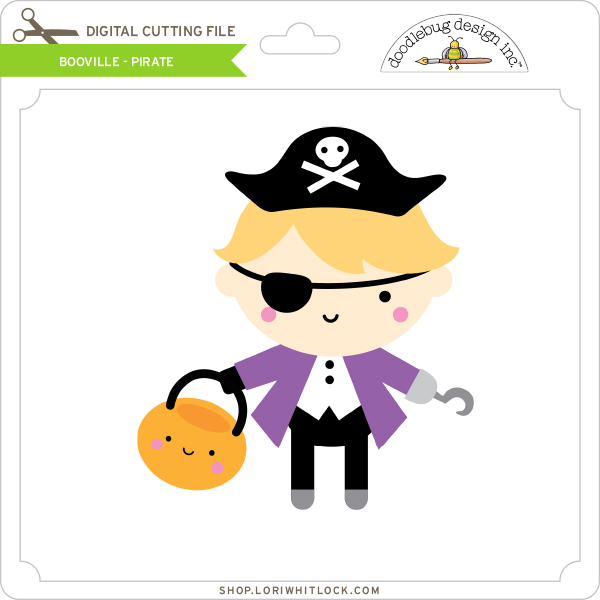
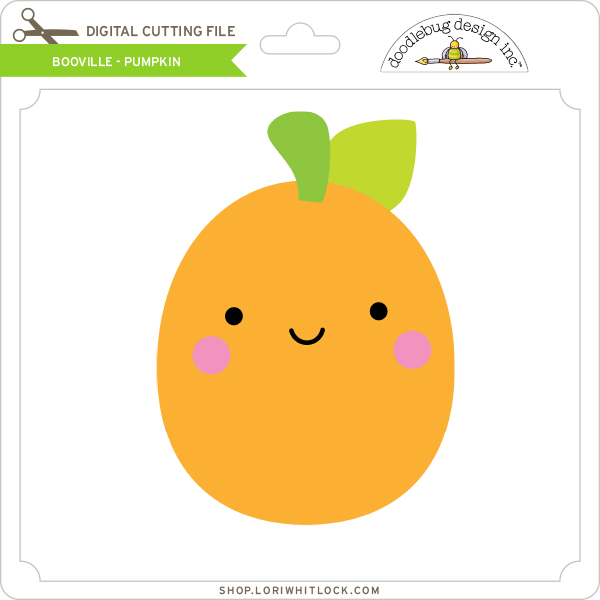
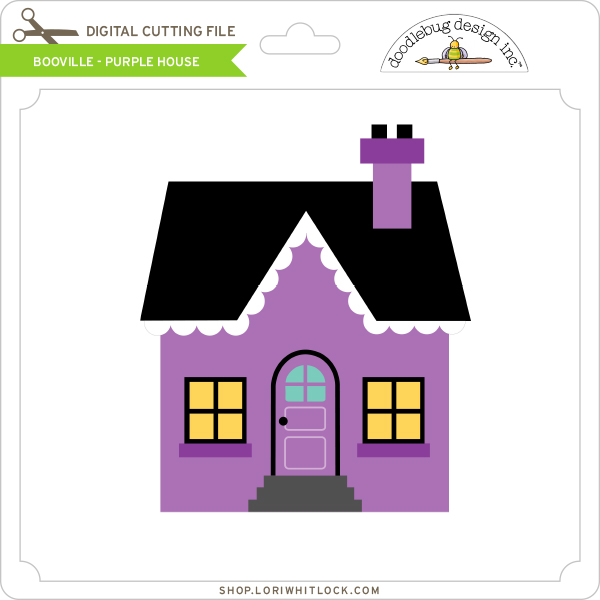
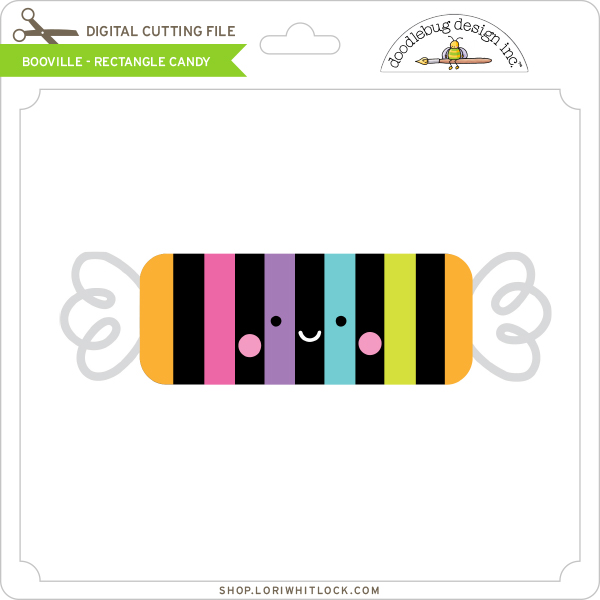
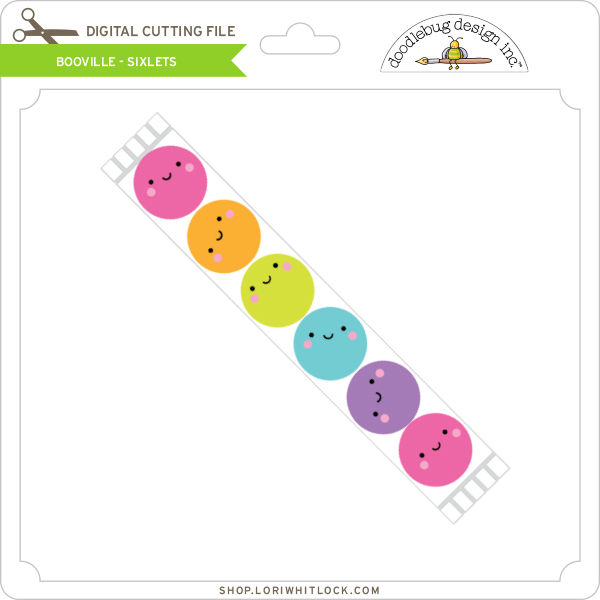
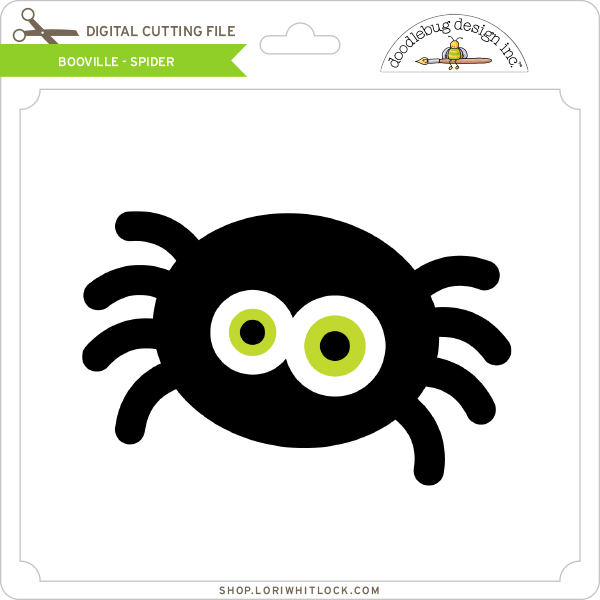
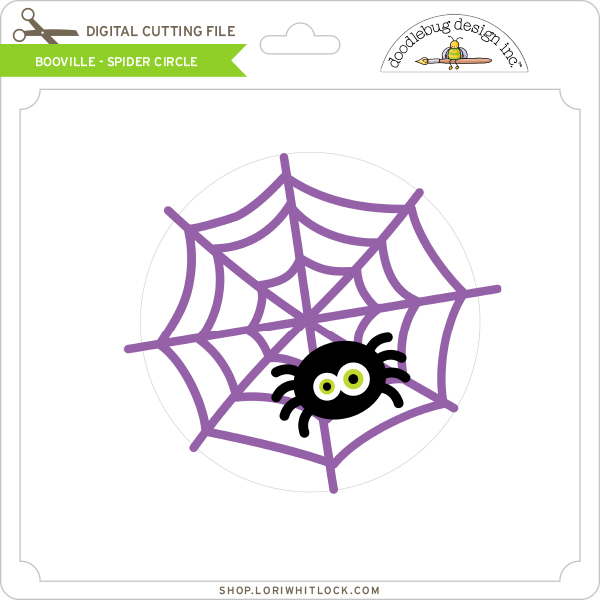
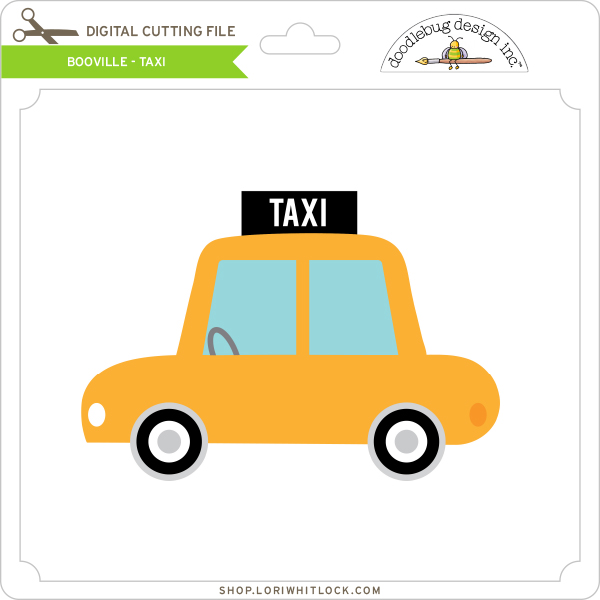
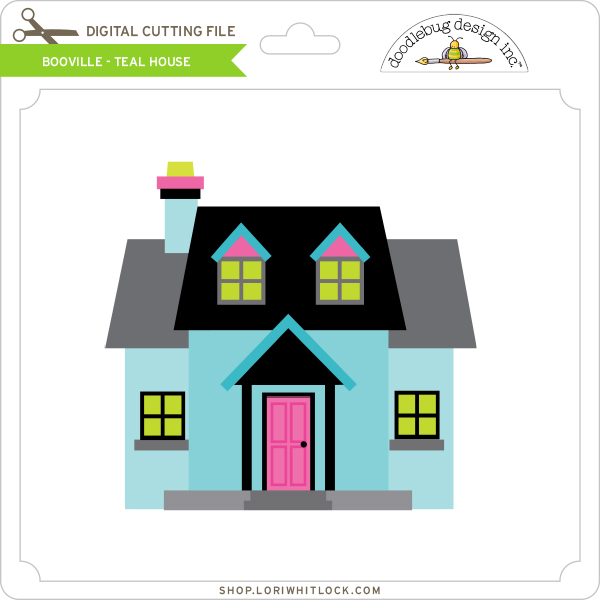
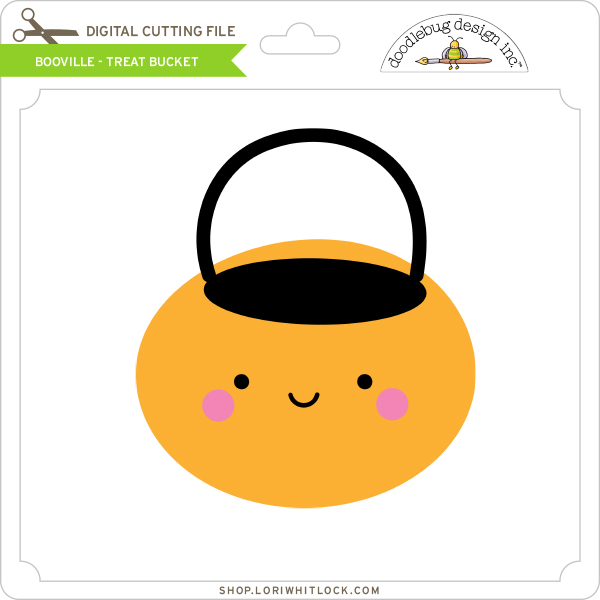
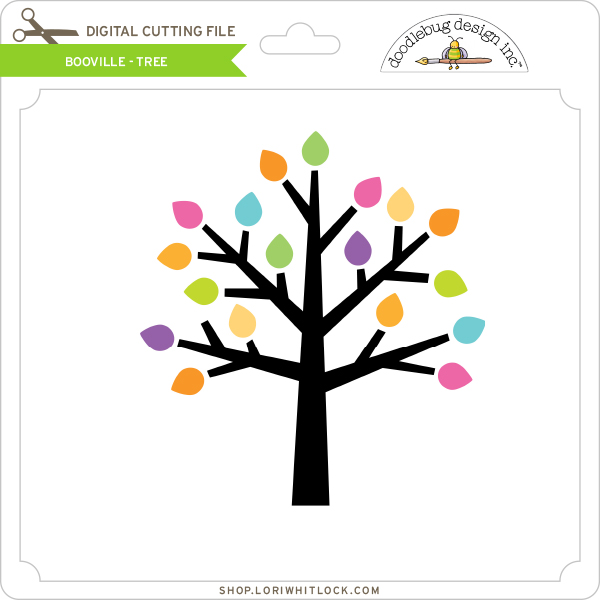
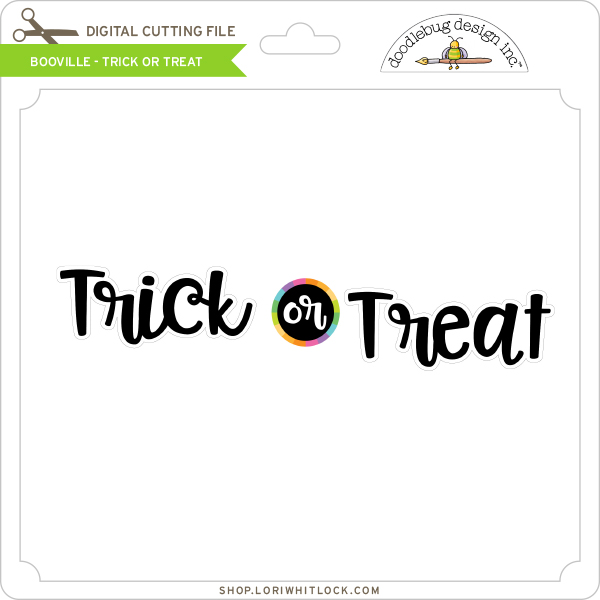
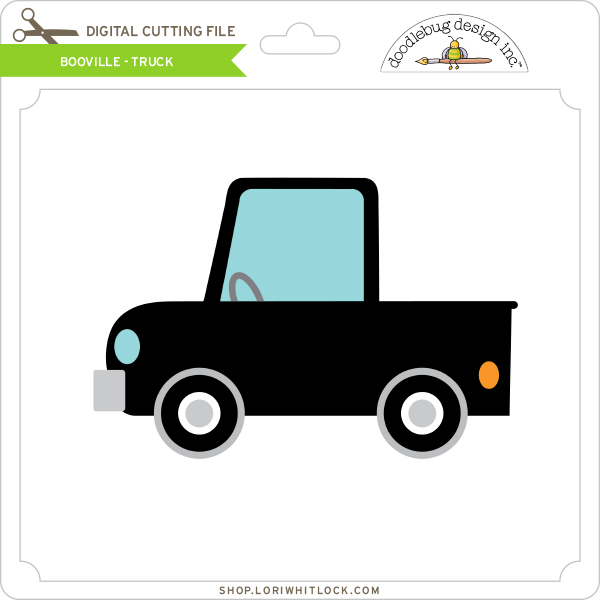
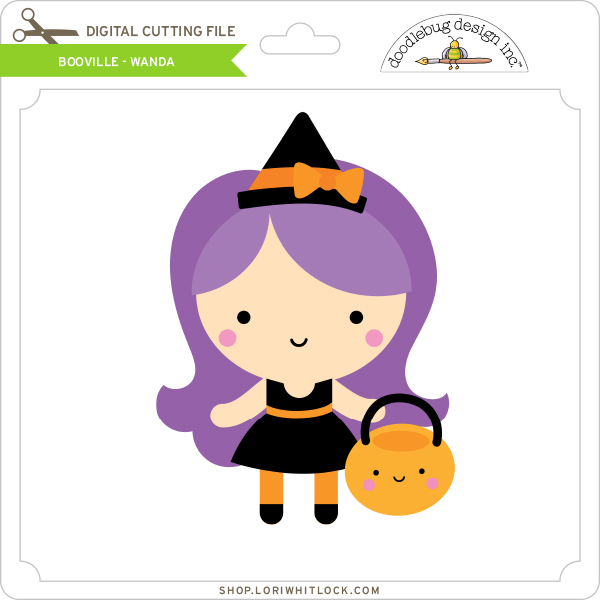
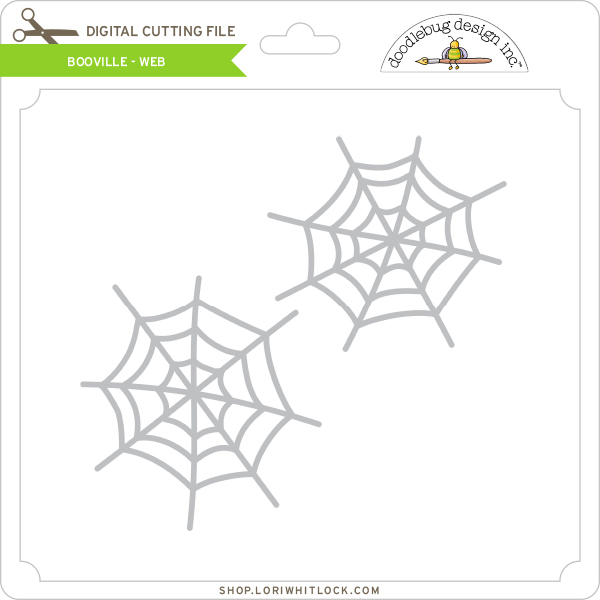
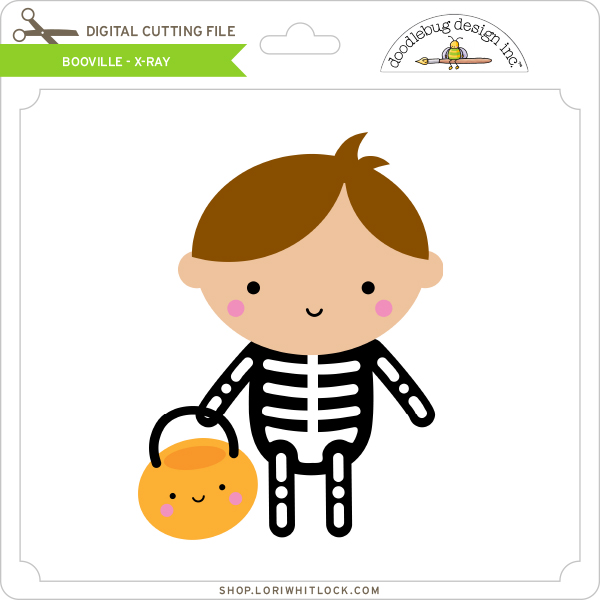
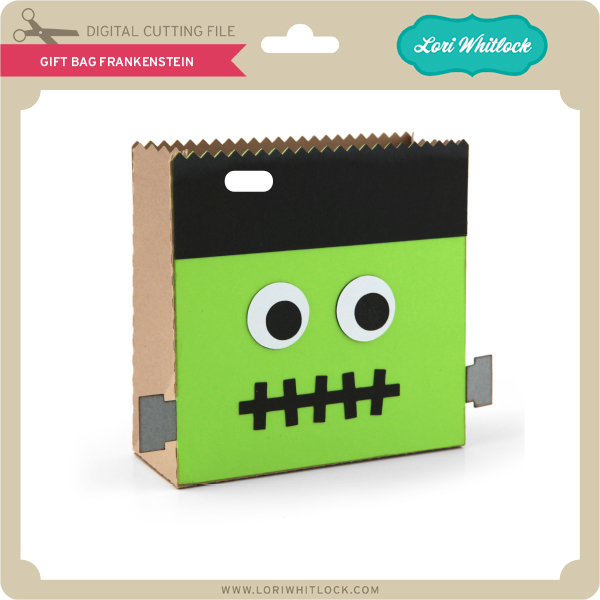
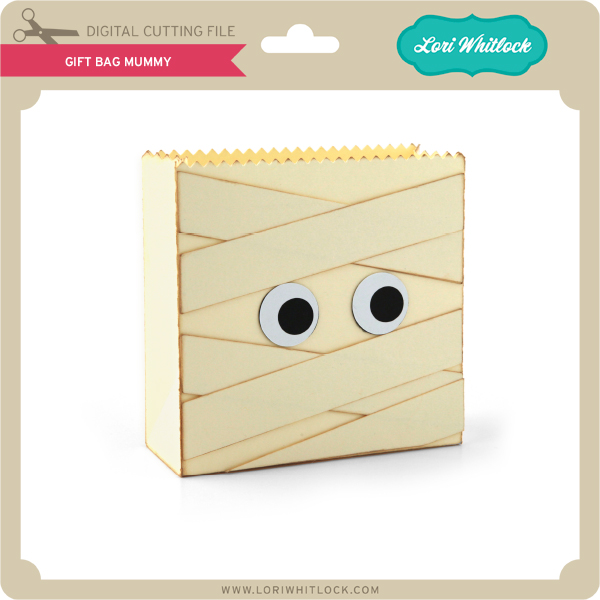
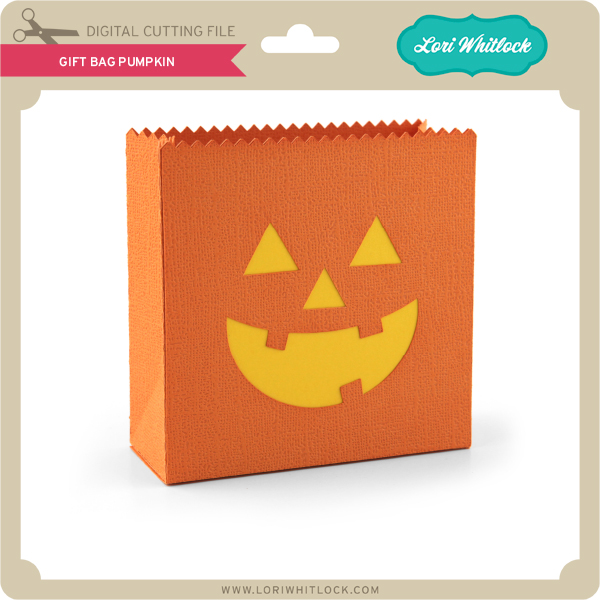
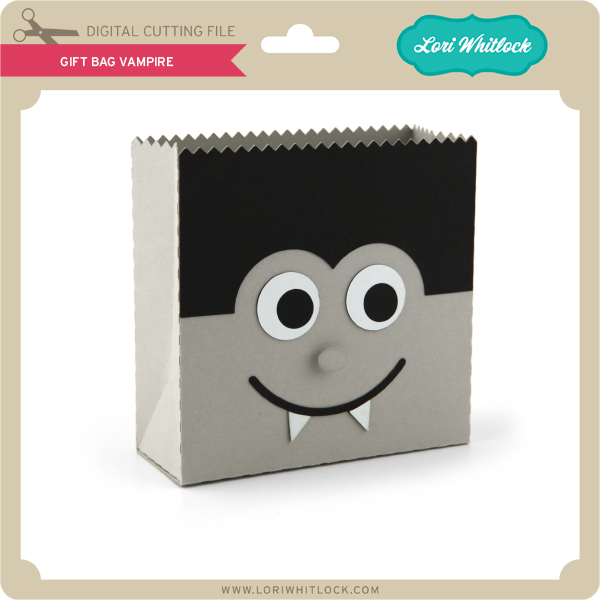
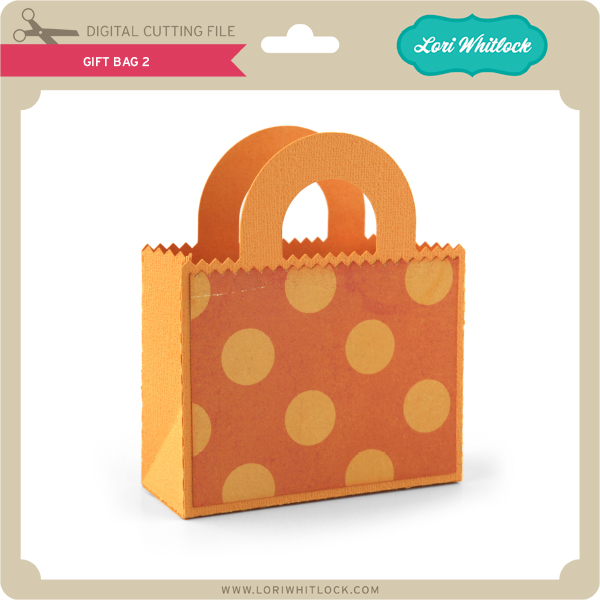
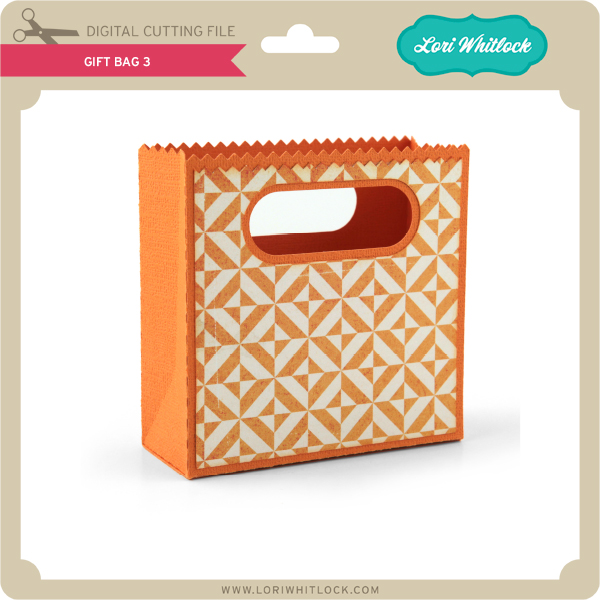
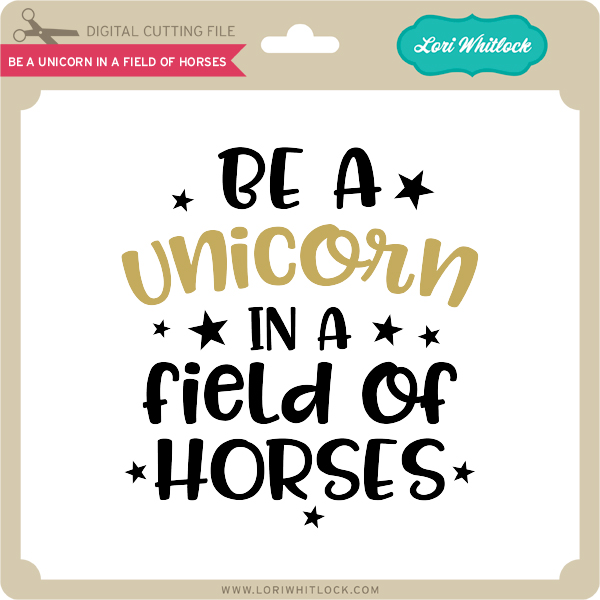
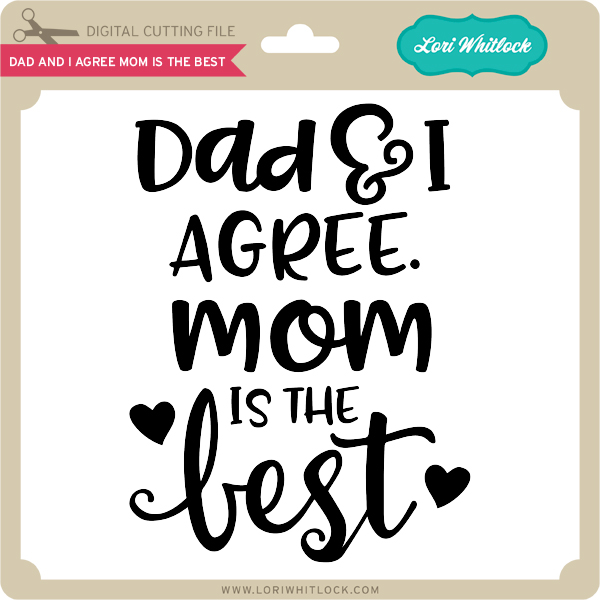
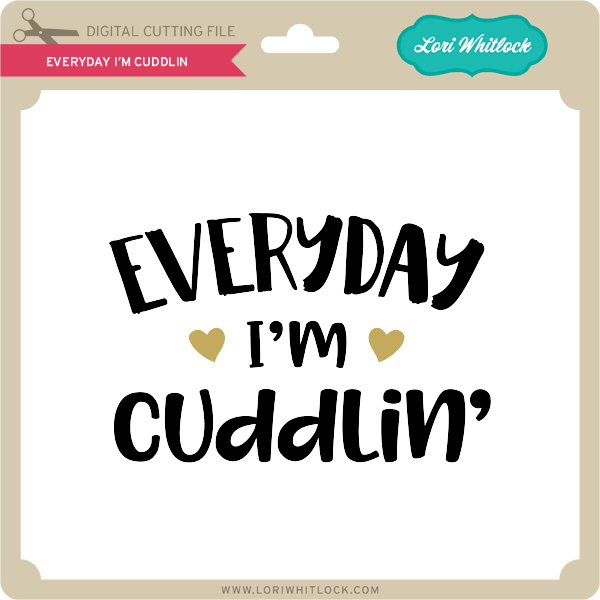
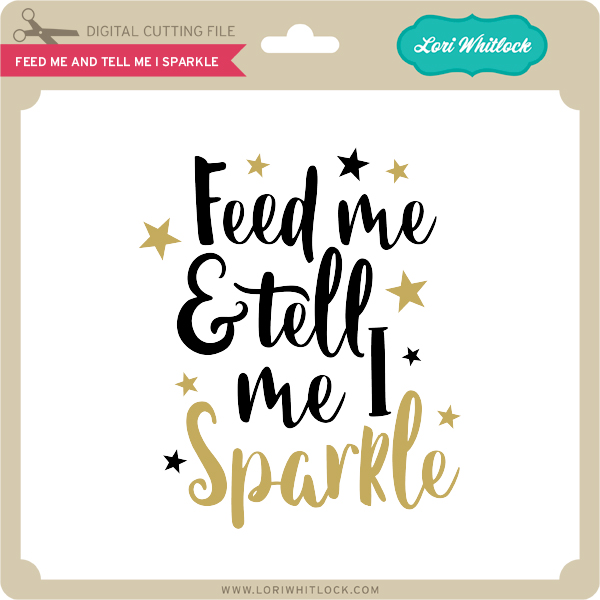
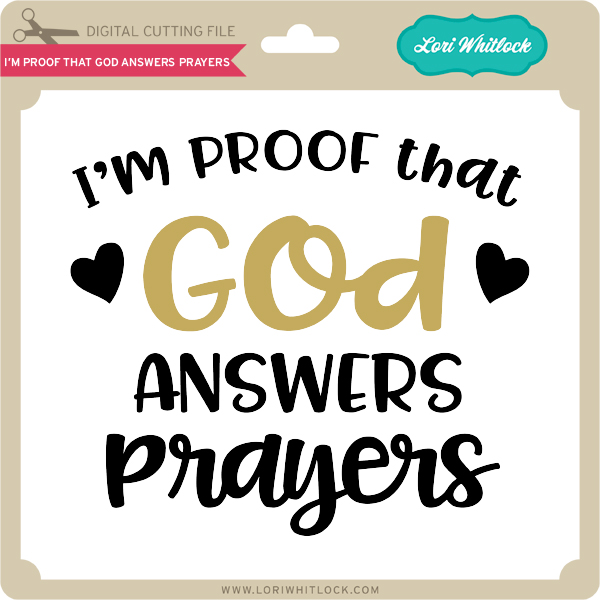
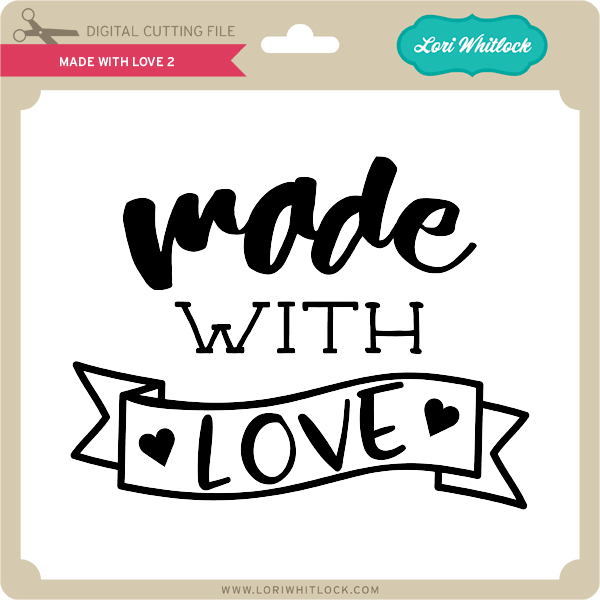
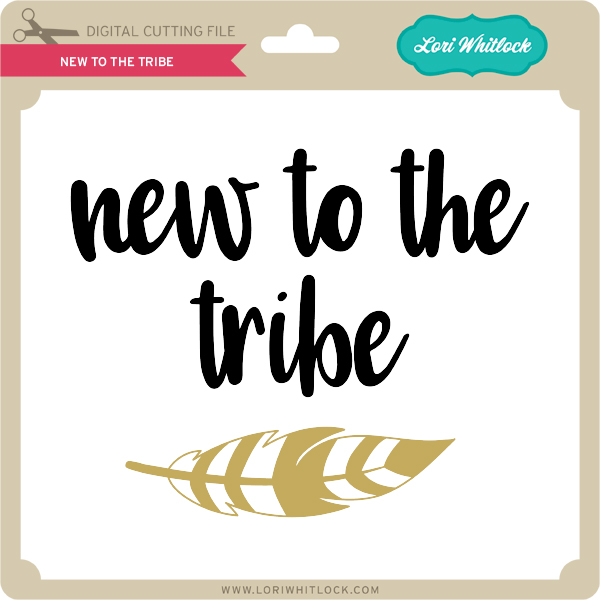
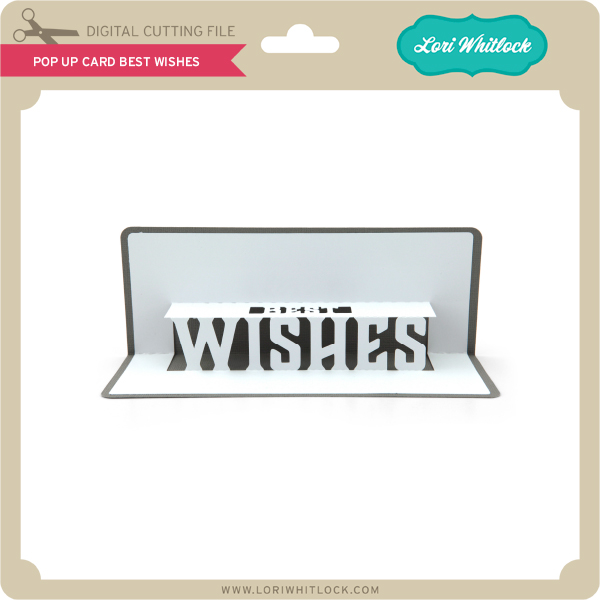
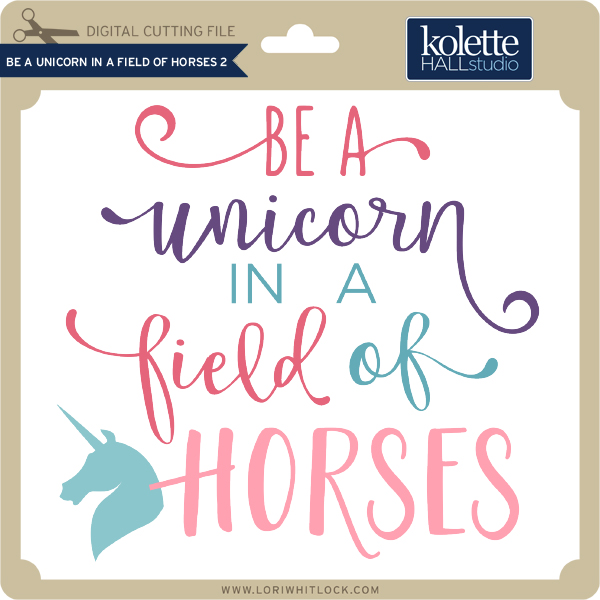
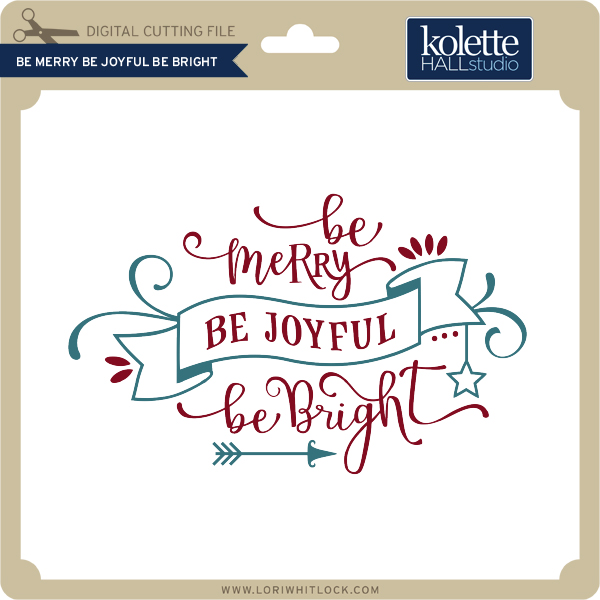
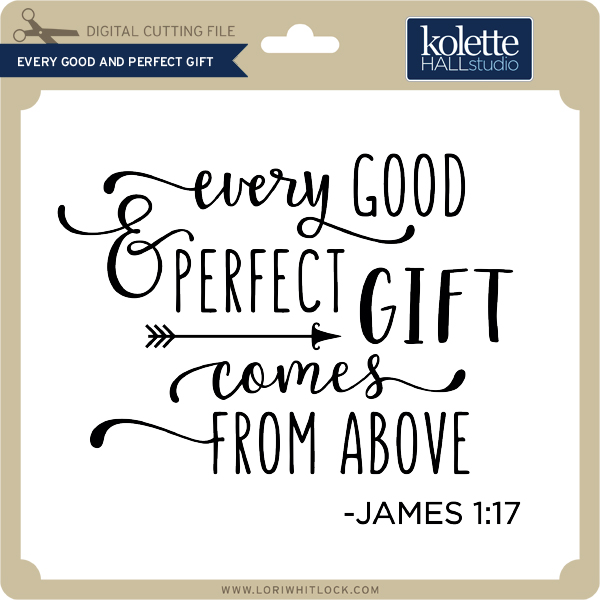
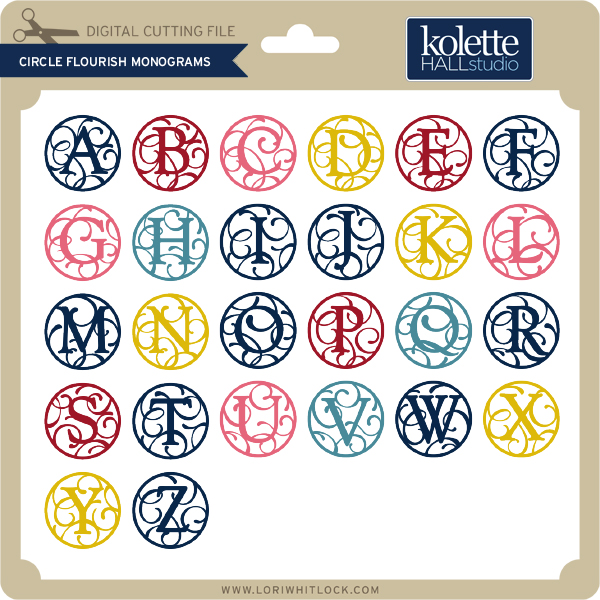
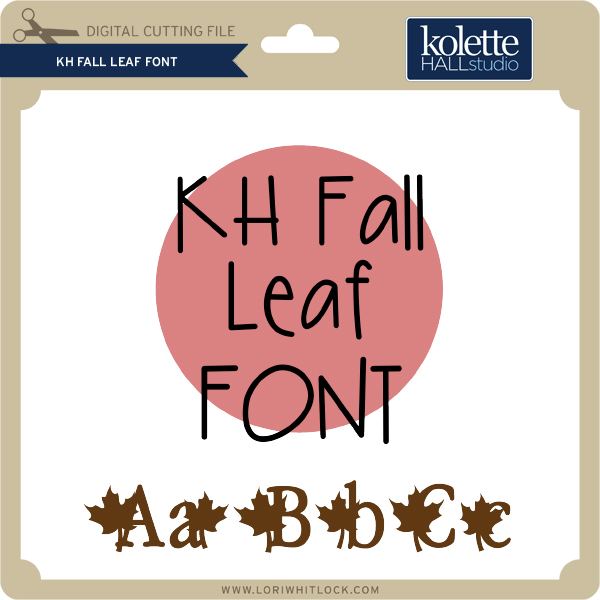
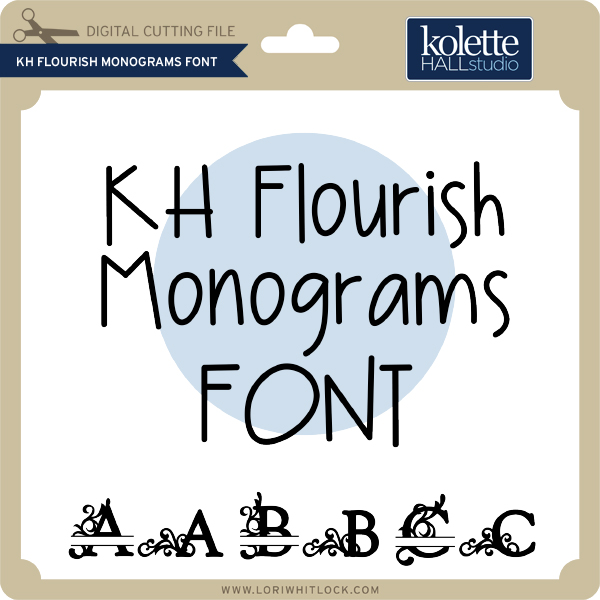
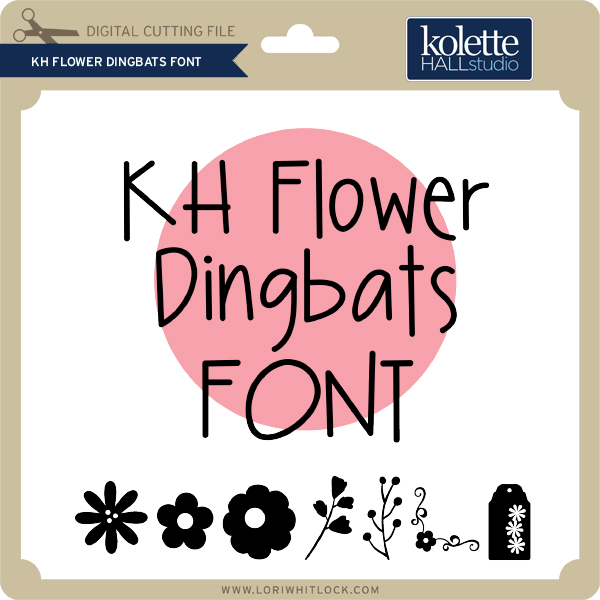
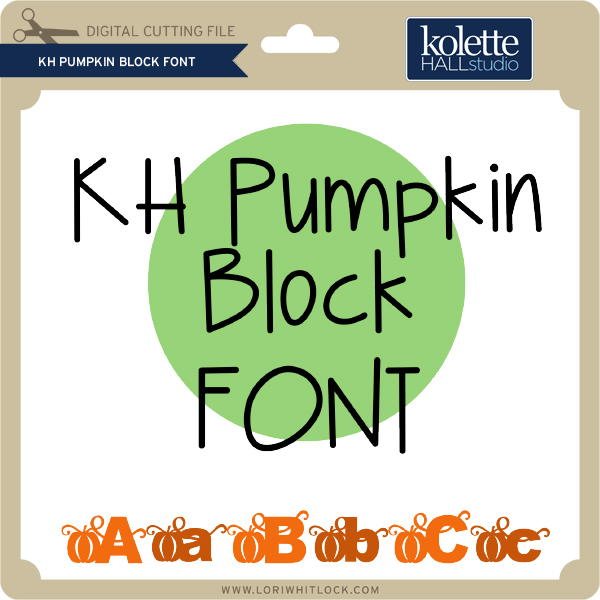
We have some super fun new files in the SVG Shop this week. Be sure to grab them while all files are 30% off this week when you use code OCT2017 in my SVG Shop!  This week,  we have the fun new Doodlebug Design Booville files!  In addition, I have a new Halloween Gift Bag Bundle and a new Baby T-Shirt Bundle!


a Rafflecopter giveaway

And, last but not least… would you like to see what our amazing team has created? Click the links below for some wonderful inspiration. If you get lost come back here to get on track Lori Whitlock, Kathy Skou , Anita Mulcahey, Brandie Adams, Brigit Mann,  Michelle Zerull, Ashley Cook and Tya Smith!! Thanks again for dropping by! Have a GREAT day!

Jack-O-Lantern Treat Boxes with Mitsyana

Hello, Crafty Friends! It’s Creative Team Member Mitsyana back again with Team Lori Whitlock! I have a cute Halloween treat for you… with these Jack-O-Lantern favor boxes! Halloween is creeping up around the corner and if you are a busy mommy like me then you’ll undoubtedly have to make classroom treats.

I have three school-aged kiddos and their classes have anywhere between 21- 25 kids in each.  That means this busy mama just got a little busier. So I need to make treats that are quick and easy but still have to super cute. I am so grateful for these SVG files from Lori Whitlock.  They take all the hard work out creating!

Supplies Used:

Gable Box Jack O Lantern Bundle
8 Fall Leaves 2
Patterned Paper (DCWV)
Xyron Mega Runner
Vintage Photo Oxide Ink & Blender Tool
Black Organza Ribbon
Mini Clothes Pins
Mixed Media Glue

You can purchase the Gable Box Jack O Lantern Bundle set in the Lori Whitlock SVG Shop…Or  you can buy them individually from the Silhouette Store here:  Gable Box Jack-O-Lantern Small ,   Gable Box Jack-O-Lantern Medium, Gable Box Jack-O-Lantern Tall

I started by opening up my SVG file in my ecal software. I left the box sizes at its default setting for each box but removed the black panel backing. I like being able to see inside the little faces like little windows to give a peek of what’s inside.

These boxes were especially easy to put together. The boxes cut out in as a single piece and all you have to do is fold at the creases.

I used my Xyron Mega Runner to adhere the only side tab to the back panel. Then secured it down by burnishing it down with my bone folder. Tip: Folding the box down flat makes for easier burnishing.

Then, tuck the bottom flaps under and add adhesive to the inside of the very last flap to secure close. The boxes were all assembled to filled…  To close the treat box, just tuck the tabs into the side slots.  But I wanted to dress up my box tops… so I used Lori Whitlock’s 8 Fall Leaves 2 file to create a little topper.

Image 1

I really like this three-tooth leaf and I think it most resembles one that you would find on a pumpkin.  Since I was making many boxes I filled my mat with multiple leaves measuring 2.5″ and 3″.

I peeled them off my cutting mat then crumpled in my hand to add texture. Then spread the leaf back out and took my blender tool and inked the edges and raised ridges with Vintage Photo Oxide ink.

I glued bows made from black organza ribbon onto the top of my leaves and secured them in place with mini clothespins. When the glue set I clipped each leaf to the top of each box.  And here are my finished treat boxes…


A New Friday $5 Bundle!

Hi Everyone! Today we have a new Friday $5 Bundle! It will ONLY be available until Midnight Sunday and when it’s gone it’s gone. These SVG files can be used with Cricut Explore, Silhouette Studio (with the Designer Edition upgrade), Scan N Cut, and any other cutter that will work with SVG files. Help spread the word by telling your friends and announcing it on social media!

Now through Sunday, you can pick up this All Halloween themed bundle including 5 beautiful SVG files for just $5! These are the perfect for packaging up some spooky treats!


The cost of this bundle is $5, for $12.95 worth of SVG files, over a 60% savings! A perfect bundle of files to have on hand! But don’t wait, this bundle will only be around until Sunday at midnight!

Have a great day!

Thanksgiving Holiday Cracker with Anita

Happy Thursday Everyone!

Anita here with a Thanksgiving project that was originally designed to be a Valentine’s Day project.  It was a lot of fun to re-purpose this file !  The cut file I used is the 3D Heart Cracker Box and you can find it here in Lori’s store and here in the Silhouette store.  I also used Lori’s Thanksgiving Icons files which can be found  here in Lori’s store and here in the Silhouette store.  The papers are from Lori’s wonderful new Echo Park collection called A Perfect Autumn.

Here is a photo of the original cut file.

I  wanted to use the Thanksgiving Icons in place of the hearts and needed to make sure that they were the right size to cover up the heart tabs on the end of the cracker.  I started by un-grouping the cracker file and deleting the smaller hearts.  I then resized the Thanksgiving Icons to the following dimensions:  pumpkins  2.480″ X 2.39″ , Pilgrim hats  2.873″ X 2.249″ and Pies  3.091″ X 1.899″.  These sizes were big enough to cover the heart tabs.

I duplicated and cut a mirror image of each of the icons so that they would look great when adhered to either side of the heart.

In the following photo you can see that I have made a mirror image of the pumpkin on the left.

Here are some of the cut pieces for the pumpkin.  I am missing two pumpkins and two stems but wanted to give you an idea of what if looks like when cut.

Next I assembled the box.   I started by gluing a piece of  acetate to the inside of the window and then added the scalloped oval to the outside of the window.  I filled the box then folded in the end tabs and then glued the hearts together.  I finished it by gluing the icons onto the hearts.


Here are close ups of the three boxes.

I am so happy with how these came out.  Crackers or poppers in the store are so expensive and not filled with yummy chocolates like mine.  Hope this has made you think about other ways to repurpose the cut files you have and are considering buying.

Hugs,

Anita