New Year, crafting goals and birthdays!

Are you starting the new year with any crafting goals?  My goal is to organize my crafting space and supplies.

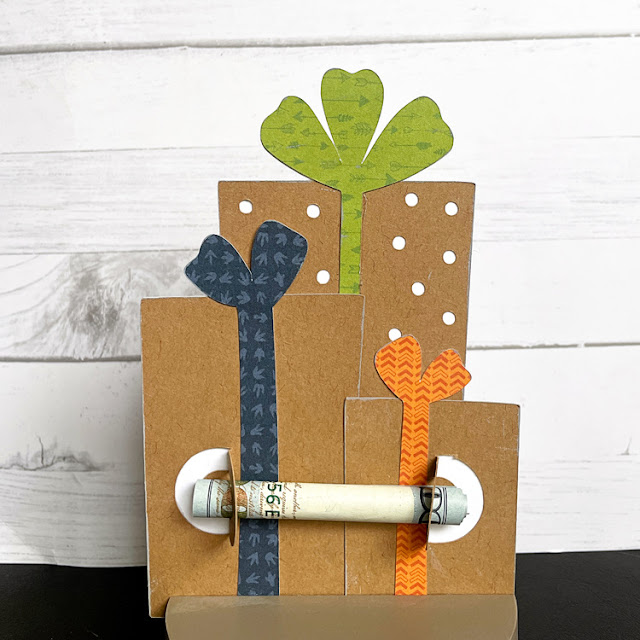
Along with that, today I’m sharing one of Lori’s moneyholder cards. You could use this all year long for birthdays. So you could make as many as you need at the start of the year and have them ready to go when you need them. You can find them here: SVGSilhouette


Thanks for stopping by!

Ashley

✨$5 SVG Bundle Vanishes at Midnight!✨

This awesome deal ends at midnight! This weekend we have the cutest Friday $5 Bundle which includes 5 amazing impossible card SVG files for just five bucks. These cards are so fun to make. You can find a tutorial HERE. These cards fold flat for mailing and you simply twist them around to stand them up. SO CUTE!! This deal is only available until Sunday at midnight, so don’t wait! Take a peek…

Be sure to go grab these SVG files while you can. 

** Because Friday $5 Bundles are already heavily discounted they are not eligible for further discounts including monthly, seasonal and flash sales.

Shop Friday $5 Bundle HERE

Thank you for joining us today! Have fun crafting this weekend!!!

~Lori


Grab This $5 Bundle While You Can!

This weekend we have the cutest Friday $5 Bundle which includes 5 amazing impossible card SVG files for just five bucks. These cards are so fun to make. You can find a tutorial HERE. These cards fold flat for mailing and you simply twist them around to stand them up. SO CUTE!! This deal is only available until Sunday at midnight, so don’t wait! Take a peek…

Be sure to go grab these SVG files while you can. 

** Because Friday $5 Bundles are already heavily discounted they are not eligible for further discounts including monthly, seasonal and flash sales.

Shop Friday $5 Bundle HERE

Thank you for joining us today! Have fun crafting this weekend!!!

~Lori


Yippie! A NEW Friday $5 Bundle!

This weekend we have the cutest Friday $5 Bundle which includes 5 amazing impossible card SVG files for just five bucks. These cards are so fun to make. You can find a tutorial HERE. These cards fold flat for mailing and you simply twist them around to stand them up. SO CUTE!! This deal is only available until Sunday at midnight, so don’t wait! Take a peek…

Be sure to go grab these SVG files while you can. 

** Because Friday $5 Bundles are already heavily discounted they are not eligible for further discounts including monthly, seasonal and flash sales.

Shop Friday $5 Bundle HERE

Thank you for joining us today! Have fun crafting this weekend!!!

~Lori


Strawberry Lemonade Shaker Card Cricut Tutorial

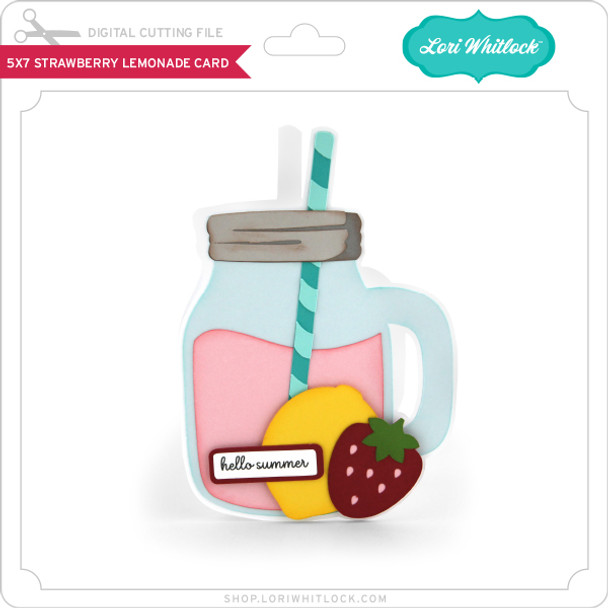
Happy New Year everyone. Thanks for checking in today. I am going to show you how to turn this already cute card (SVGSilhouette) into a shaker card!

I want to remind everyone that I am a Cricut user and these instructions are specifically for Cricut Design Space but the idea is the same regardless of what platform you are using.

Once your SVG is uploaded, you must click on “Ungroup”. Once I clicked on ungroup, I had to select the whole image and click ungroup again. This will allow you to move the pink lemonade portion of the file.

Once I had singled out the pink lemonade, I copied it to have 4 lemonade sections.

One of these will be needed to cut the clear acetate sheet (noted by the light grey color), and one will be needed as the back lemonade portion of your card (noted by leaving it solid pink). The remaining 2 will create the frame for your shaker.


For the image in purple, I shrunk from the original 3.275 x 3.291 to 2.8 x 2.81 and layered it over one of the additional pink pieces. The pink will show you the size of your frame.

Once you have overlapped the pieces above (the purple and pink pieces) select both and click on “Slice”. Once you have sliced these two images together, you will need to delete some pieces.


You will be left with this

I also removed the sentiment, 1 because we aren’t anywhere near summer here in South Dakota and 2 because it covers the cute shaker portion. Once your screen looks like the above photo, click on “Make” and cut your pieces.


Once you have your pieces cut, assemble your card as you would any other shaker card.

Adhere the acetate to the pink frame and add your solid adhesive foam strips over the back of the frame (where you glued the acetate). I use ones like this:

Once the base of your card is put together, add your shaker bits (I used little lemon slices and some pink pearls) over the pink base and line up your frame on top of the shaker bits, and stick it down.

 
You should end up with an adorable little card like this! P.S. I used paper from Lori’s Echo Park line called Year In Review.
Happy Crafting!
Chelsea