O Holy Night Card With Mitsyana

Hello, Friends! Design Team Member, Mitsyana Wright, here and I’m back to bring you a quick, easy, and absolutely stunning Christmas card. If you’re anything like me you are nowhere near the end of your Christmas card list. And, if you’re stunted for time and need something easy to put together and don’t want to skimp on the “WOW” factor, you are in the right place, I have just the card for you!

For this card, I used Lori Whitlock’s #10 Nativity Block Card file. (here in the Silhouette Store)

To create this card I downloaded the file and extracted it zip before uploading it into my Ecal software.

Once the file was opened into my software, I noticed that it was too big to fit onto my 12″ x 12″ mat. So I “ungrouped” the images.

I also like to change the colors of each image to match the colors I plan to use.  This way I don’t get confused on what paper goes to what piece. Sometimes shapes look very similar in size and shape. Changing the colors on screen gives me a map of what goes where later.

Another reason to do this is that it will give me an idea of what my finished project will look like. I can see what colors work well with each other before I start cutting up my precious papers.

I ultimately decided to change the card base to a deep blue, the silhouette gold foil, a white mat, and a blue one.

I inserted my paper into my Sizzix eclips and cut all my pieces at the original/default sizes.

Notice instead of cutting a white and a blue mat, I cut two instead. Well, that’s because only one mat will remain white. The other I decided I wanted to use to create a night sky with.

I used my Distress Oxide inks to create a blended night sky.

Once I the blended colors to my liking, I dipped a paintbrush in clean water and flicked drops of water onto the card. The inks reacted to the water and created the stars in my night sky.

I layered the pieces onto each other and attached them onto my card front.

And here is my finished card…

I absolutely love how this card turned out!

I hope it inspires you to create some of these gorgeous cards yourself!

Thanks for stopping by!

~Mitsyan Wright

One Buck Wednesday at Snap Click Supply & Digital Inspiration with Tya

Today at Snap Click Supply I have two items featured for $1 on Wednesday!. That means you can pick up 2 of my digital scrapbooking products at a steal. TODAY ONLY!

Christmas Eve Papers 2

Christmas Eve Elements 1

Be sure to go grab these great deals while you can. These offers will end at midnight!

And don’t miss out on the huge Sale at Snap Click Supply!  All files will be 50% off!!  Sale runs through December 31st!

See what Tya created with these fabulous sets…

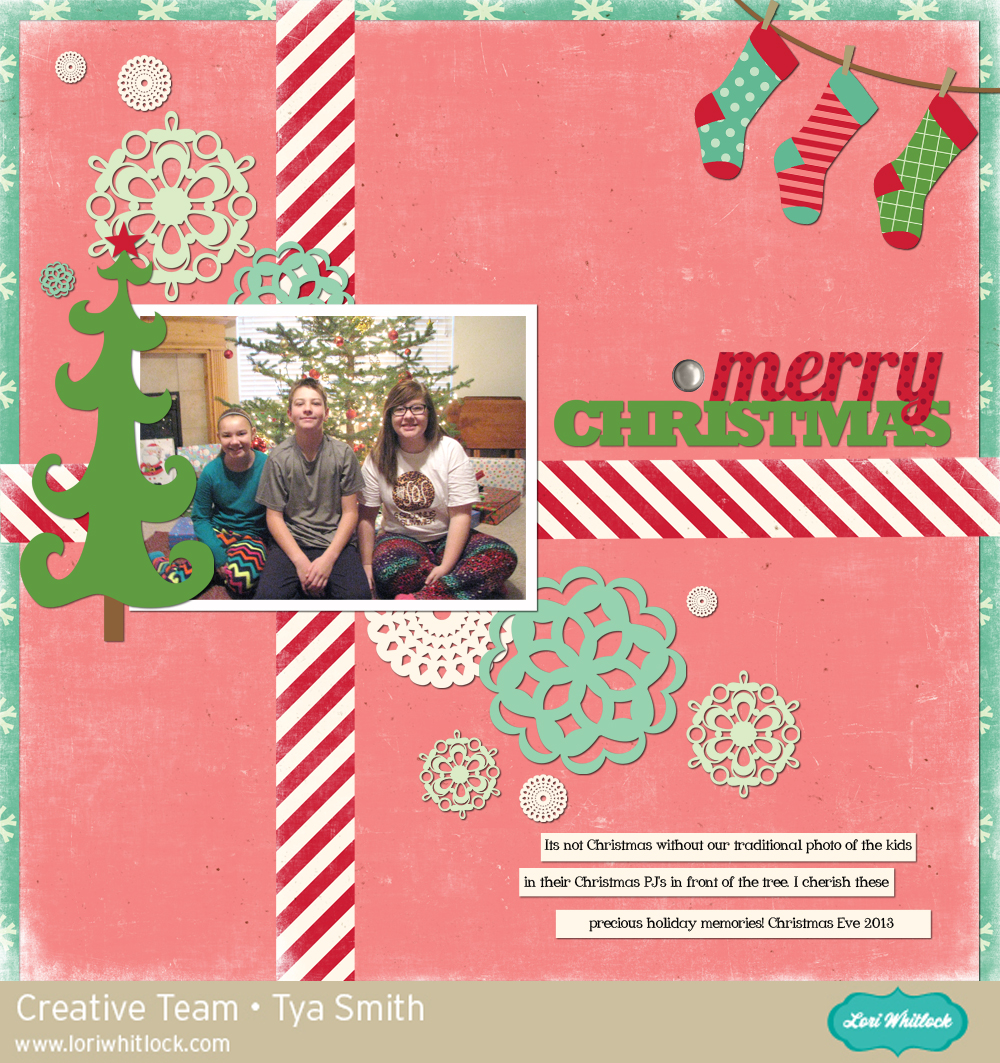
Hello everyone – it’s Tya here sharing with you some holiday themed digital scrapbooking. I love our family tradition of opening one gift on Christmas Eve. That gift is always pajamas, and we always take a photo of the kids in their new jammies in front of the tree. It is so fun to look back over the years and see how much the kids  have grown and how their tastes in the type of pajamas they wear changes as well. Here is my layout:

I used the following products to make this layout-

-Basic Embellishments Set

-LW Creative Font

-Christmas Eve Papers 2

-Christmas Eve Elements 1

I hope I have inspired you to create a page like this of your own recording some of your favorite Christmas traditions. Thank you for stopping by today – Happy Holidays!

December Blog Hop + 30% Off All Files!


Welcome to our December 2017 Creative Team Blog Hop! The creative team has been working hard on some new projects to share with you that will get you in the holiday crafting mood. December is my favorite month as we celebrate Christmas (any my birthday). Handmade gifts, decorating for the holidays, and cozy family time are some of my favorite things about the season. I’m glad you’re here to join in the celebration on the blog today because we have some FUN new SVG files, a SALE, a FREE FILE, a GIVEAWAY, and a Christmas Village CLASS COUPON! Be sure to check it all out below.

This week we have a 30% OFF SALE going on at Lori’s SVG SHOP. ALL files (and commercial licenses) from Lori Whitlock, Kolette Hall, Doodlebug Design, Dresden Carri, Rivka’s Renditions and SAS Creative are on SALE now through Monday, December 18th. Be sure to use coupon code: DEC2017 (case sensitive) at checkout in the SVG SHOP. (Only one coupon code per order allowed)

To thank you for joining us in the hop today and sharing the hop with your friends, we have a gift for you! TODAY ONLY, You can download this Happy Holidays file absolutely FREE! Be sure to go grab it while you can.

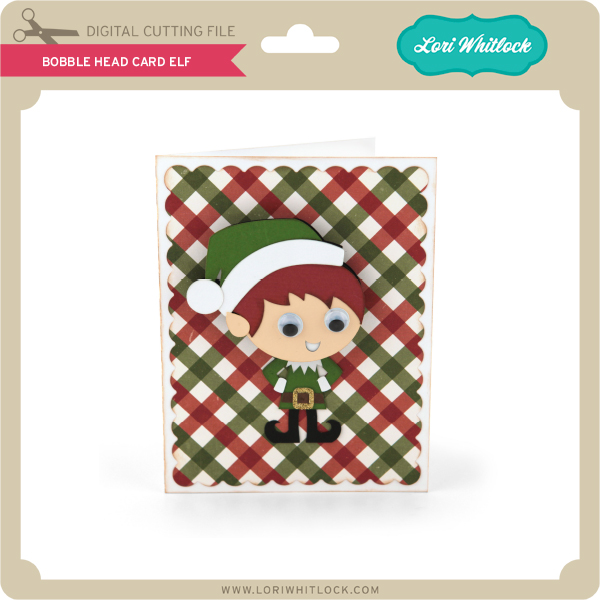
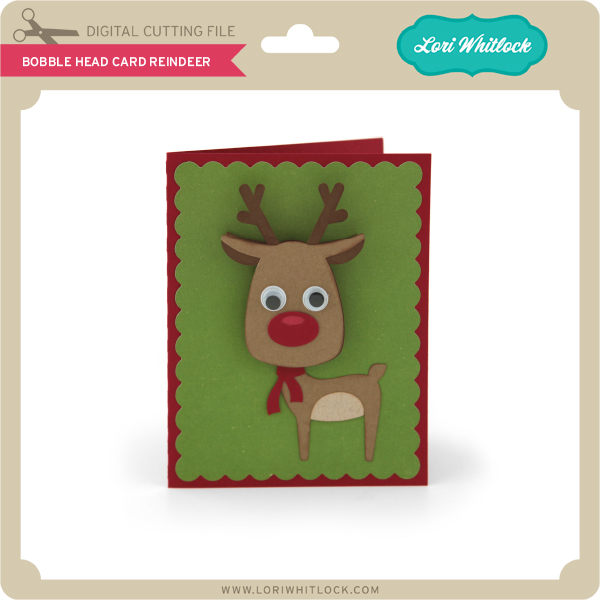
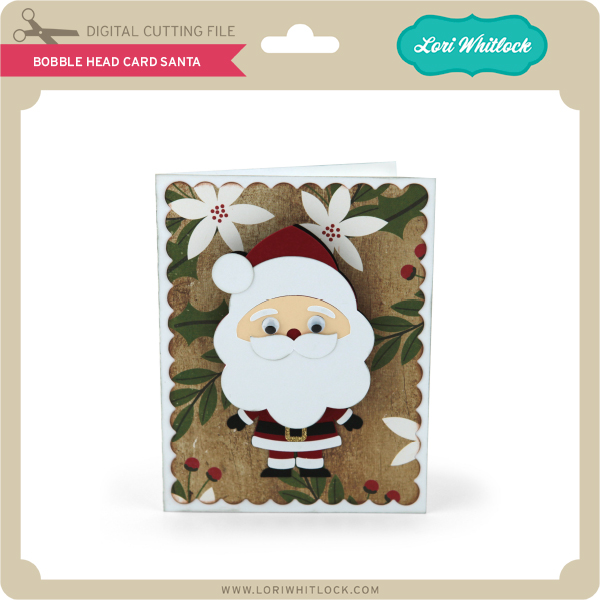
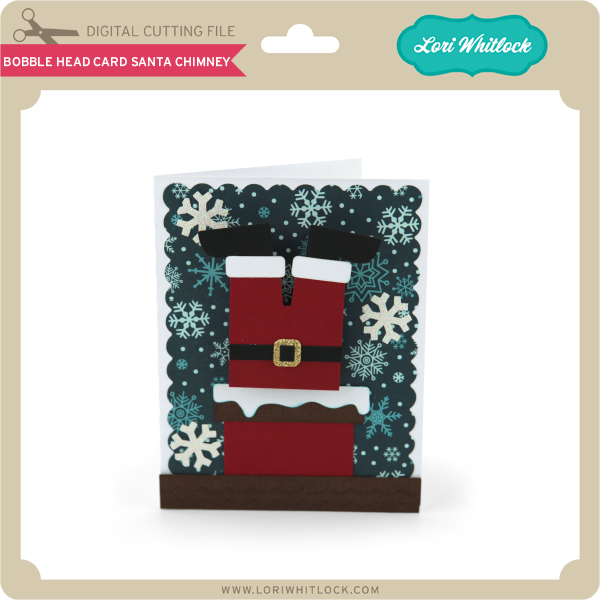
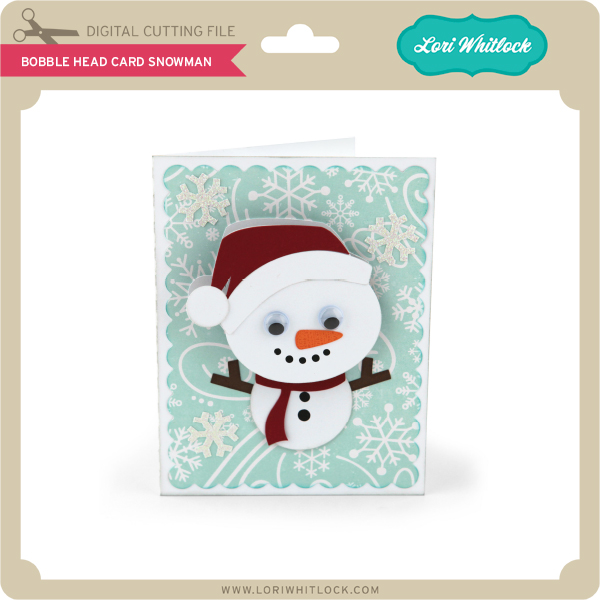
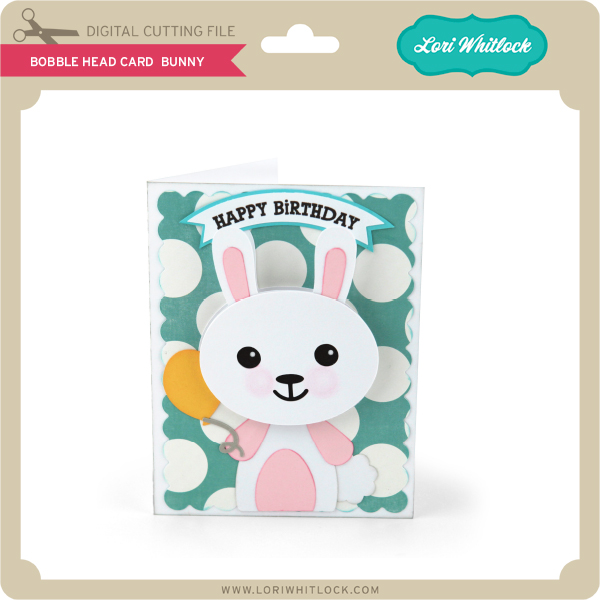
We have some super fun new files this week! Be sure to grab them while all files are 30% off this week when you use code DEC2017 in my SVG Shop!  And, as always, the new files are available in the Silhouette Design Store as well. This week, I have some cute bundles including my new Bobble Head Cards!  These cards are so much fun!  I’ve created a video tutorial to help you assemble the cards. You can watch it below or check it out HERE.

You’ll probably want to purchase some springs to make them “bobble” and here are links to help you find them:
Hampton Art Wobble Spring 48 Pack
Hampton Art Action Mini Wobble Spring 48 Pack
Hampton Art Wobble Spring 12 Pack
Hampton Art Action Mini Wobble Spring 12 Pack
Oh and you may want some Googly Eyes too.


Oh, and I wanted to make sure you all know that you are all invited to join me in my new store-flat Christmas Village class over at my new online classroom cuttingclasses.com!  Don’t miss out on the holiday fun as we make this beautiful village with our Silhouette and Cricut cutting machines. Many students are making the village as Christmas gifts because the entire village folds flat to fit inside an adorable box. What a great gift! The class includes the cutting files, a PDF, and step-by-step video instruction. You can go through the class at your own pace and you’ll have access to it FOREVER so you can even make more villages next year! ENROLL TODAY HERE and SAVE 25% with code: 25OFF


a Rafflecopter giveaway
And, last but not least… would you like to see what our amazing team has created? Click the links below for some wonderful inspiration. If you get lost come back here to get on track Lori Whitlock, Tracy PenrodKathy Skou , Anita Mulcahey, Brandie AdamsBrigit MannMitsyana WrightMichelle Zerull,  Ashley Cook and Tya Smith !! Thanks again for dropping by! Have a GREAT day!

Don’t Miss this Font Bundle + Freebie!

Hi Everyone! I wanted to let you know about a fabulous font deal over at Fontbundles! The Script Font Bundle Volume III  is full of beautiful fonts!

For the first time EVER, Fontbundles has made this bundle  a “Pay What You Want” Font Bundle.  It includes 13 Script Fonts with Commercial Use – you decide what to pay! (minimum $1)  That’s $148 worth of fonts! It’s only available for 16 more days. So don’t delay or this deal will be gone.

Get all these fonts at your own price! Worth $148.00

Hurry though, this is only available for a limited time. Click HERE to go check out the Script Font Bundle.

And, be sure to go DOWNLOAD THE FREEBIE that I designed using the Mimosa font from this bundle. Mimosa is full of gorgeous swashes and extra characters – I love it! Enjoy and have a great day!

Gift Card Booklet with Kathy

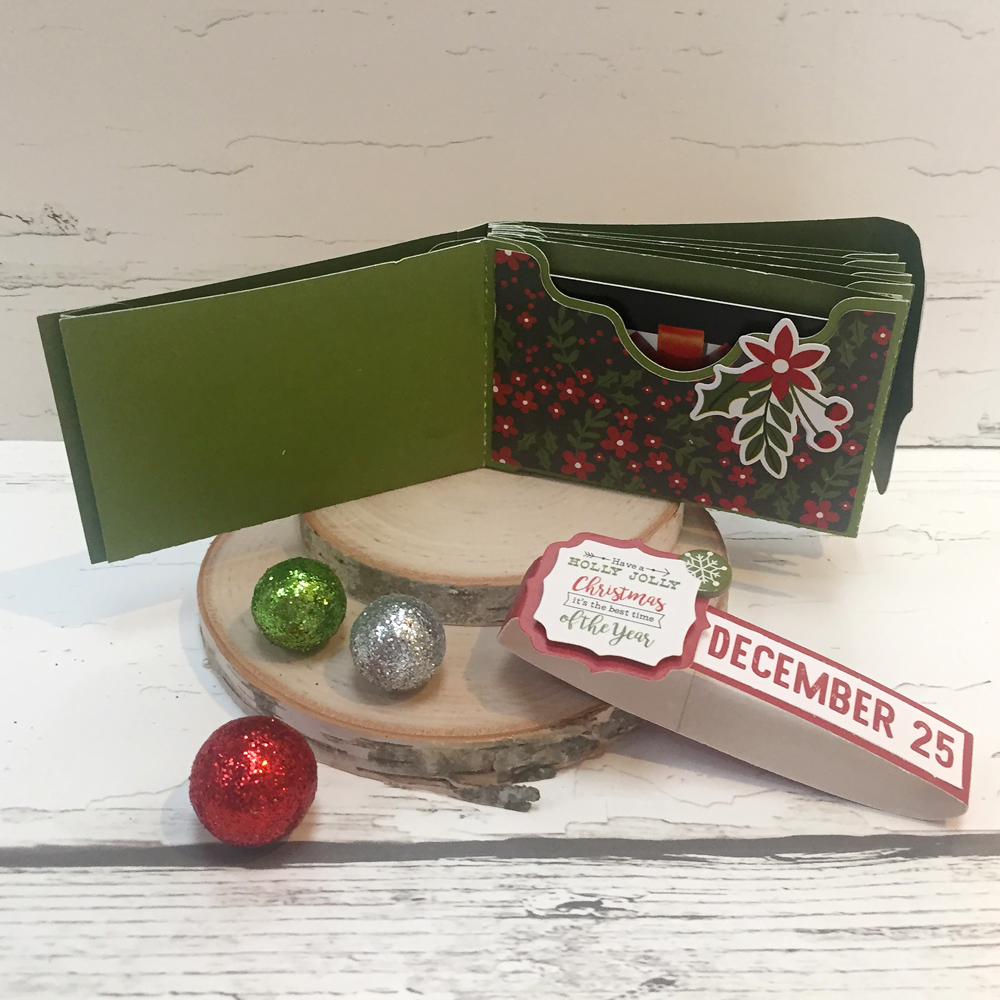
Hi Everyone!  It’s Kathy today with a little gift card booklet I made from a mini album file.  Every year, I give my college girl a few gift cards to her favorite places in a cute little package.  It’s one of her favorite Christmas gifts!  This year, I made a fun book using Lori’s 4×6 Horizontal Pocket Mini Album Tabbed Pages  (available here in the Silhouette Store) and some papers and embellishments from Echo Park’s A Perfect Christmas.  Take a peek….

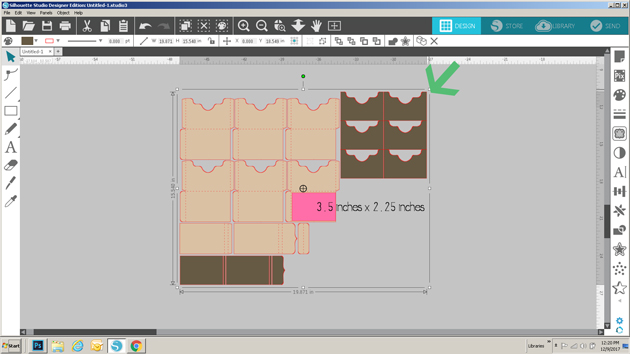
To make the mini album a better size for gift cards, I had to resize the file.  To do this, I first loaded the file into my Silhouette.  Next, I ungrouped the file and deleted the tabbed pages since I was not using them.  I then regrouped the remaining pieces.  To size them I drew a rectangle on my mat measuring 3.5″ x 2.25″ which is slightly larger than a standard gift card.  I placed the rectangle over the base of one of the gift card pockets and clicked on the upper right corner of the grouped shapes and dragged down until the pocket size was close enough to the rectangle size.
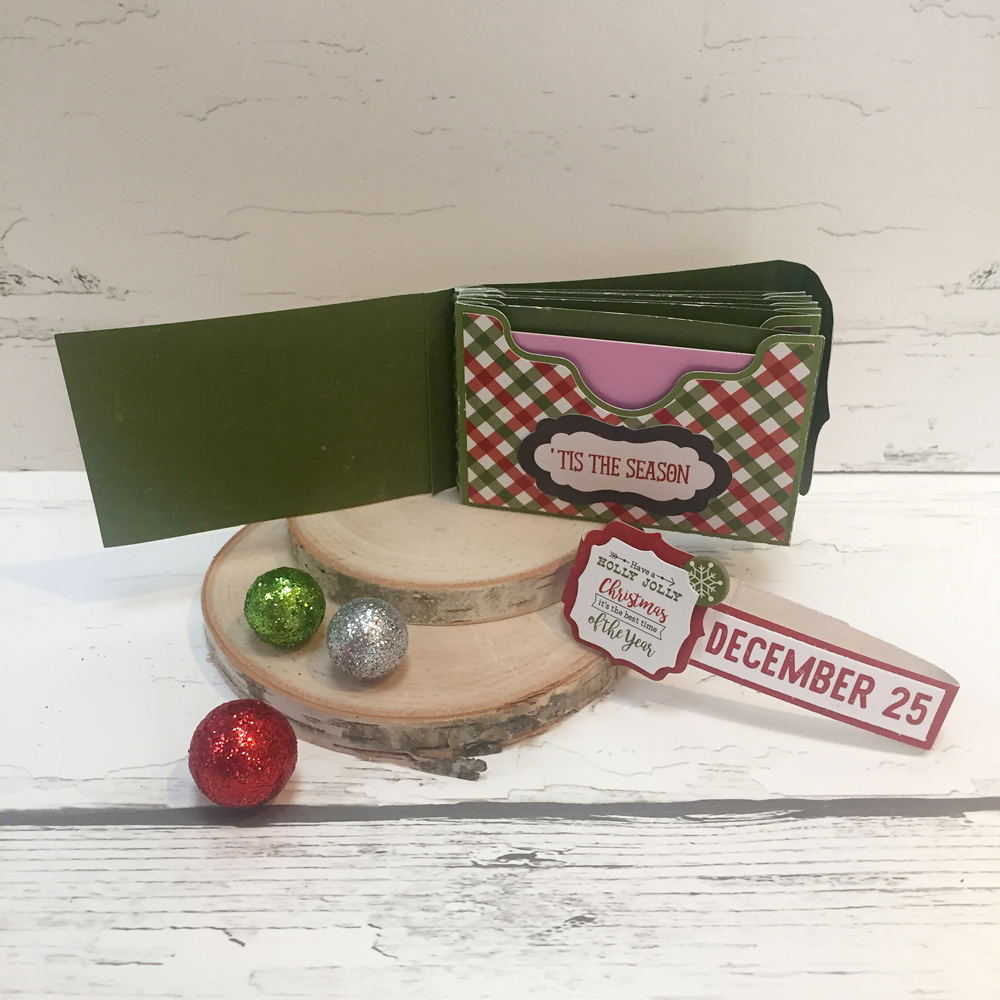
This sized all of the pieces perfectly!  Here are some close-ups of some of the inside pages…

I added a belly band to the book to keep it closed since it was a little thick once the cards were inserted.  To do this I simply cut a 0.5″ strip of colored paper from a 12″ x 12″ paper and wrapped it around the book.  I trimmed the extra and secured the band with my tape runner.  Now to finish my shopping and fill it all up!  That’s it for me today, thanks for stopping by to peek!