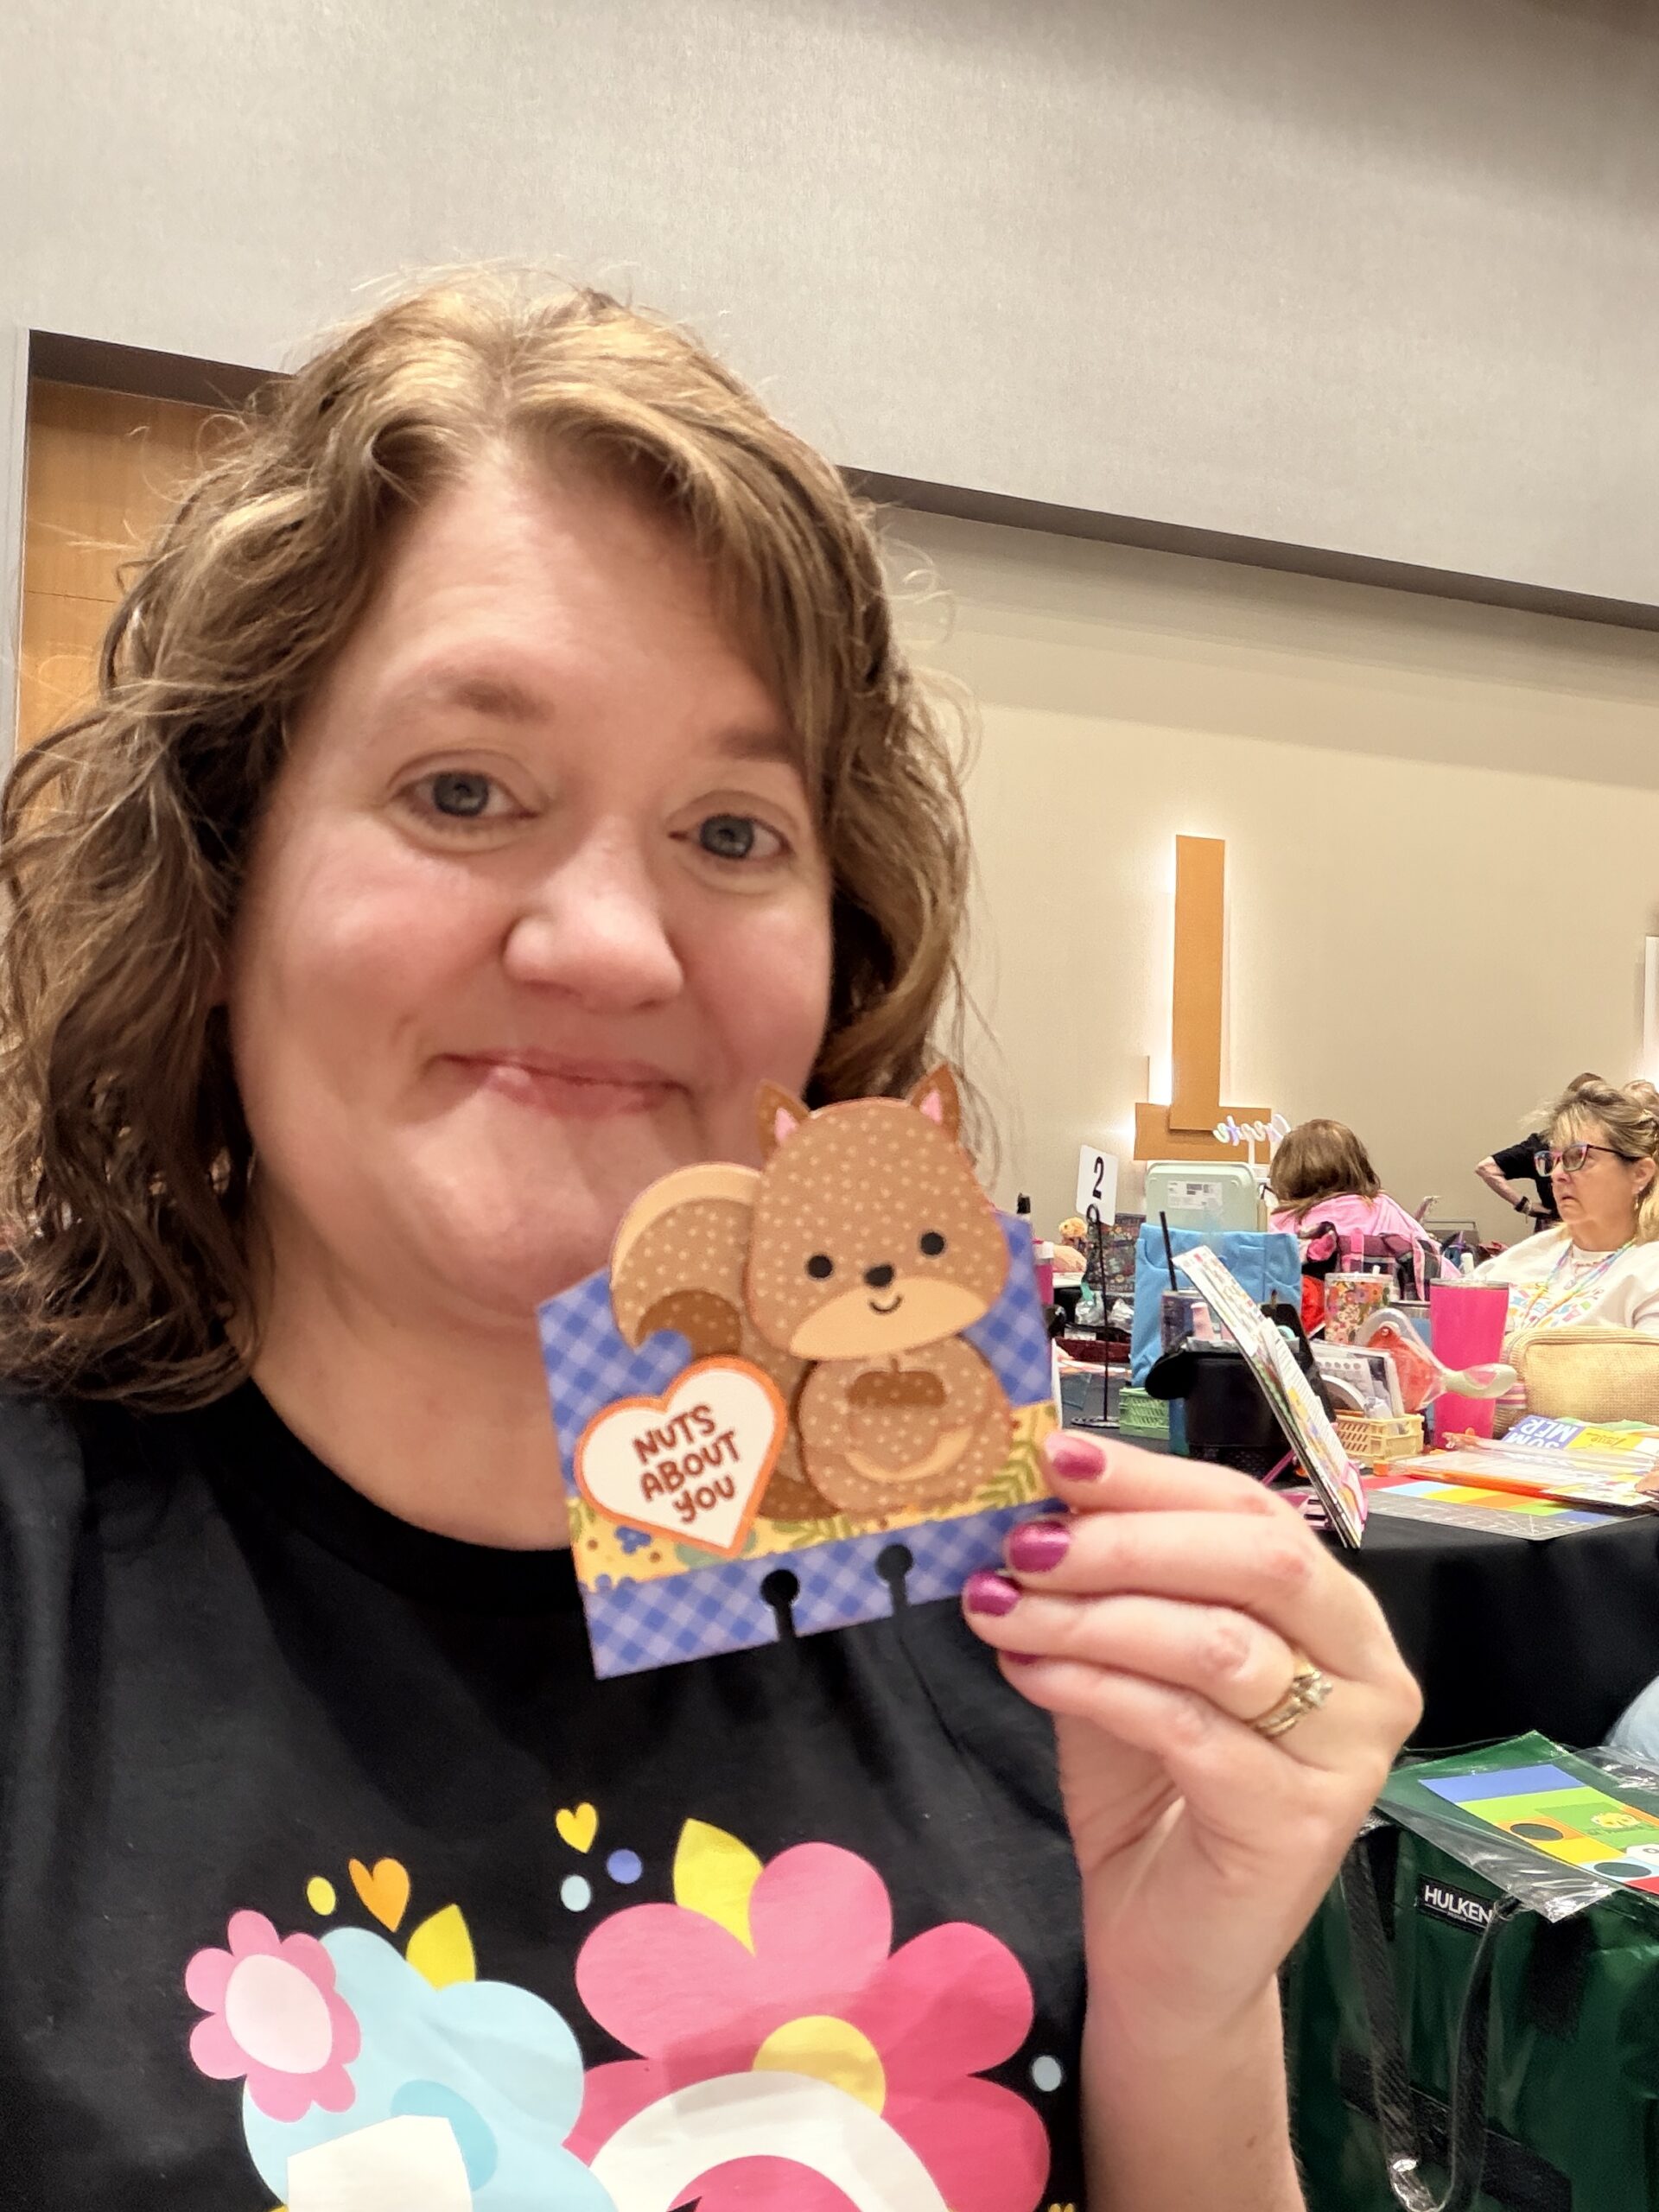
Hello friends!
It’s my turn on the blog today and this time I decided to try something a little different, and it was such a fun change of pace!
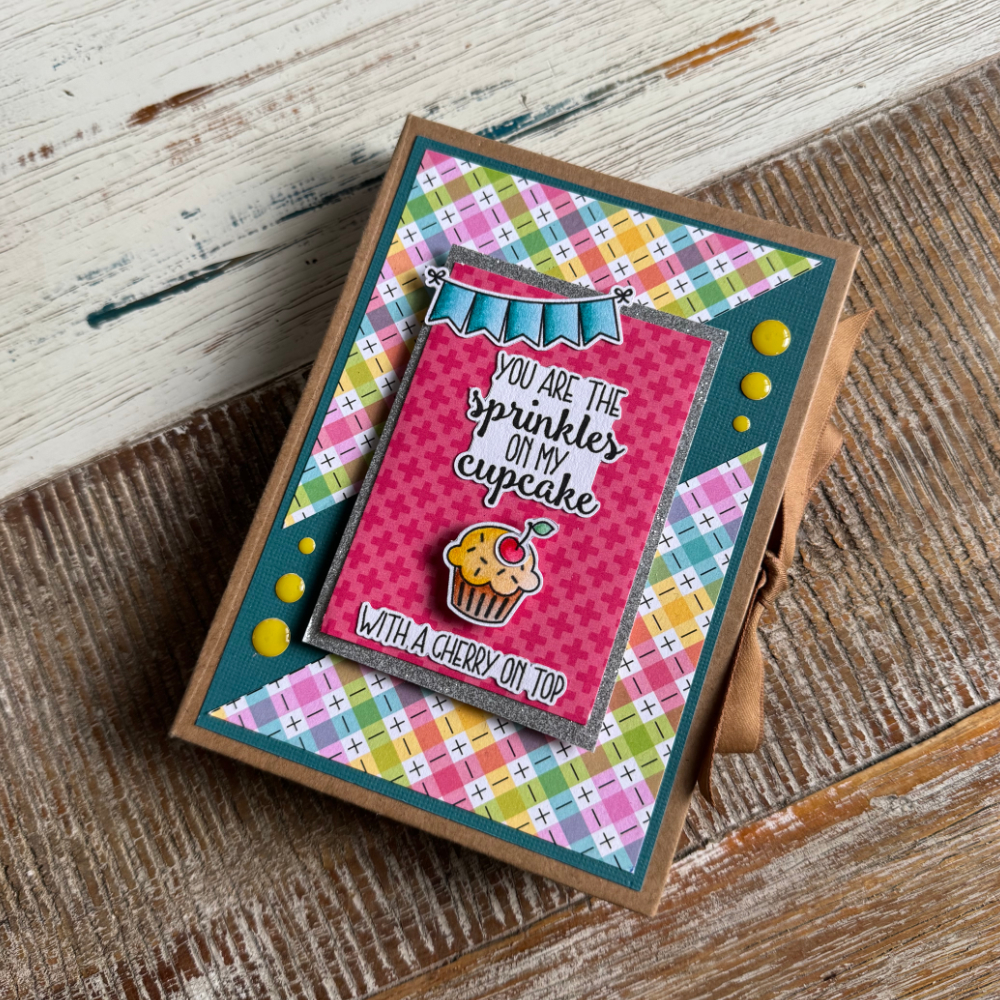
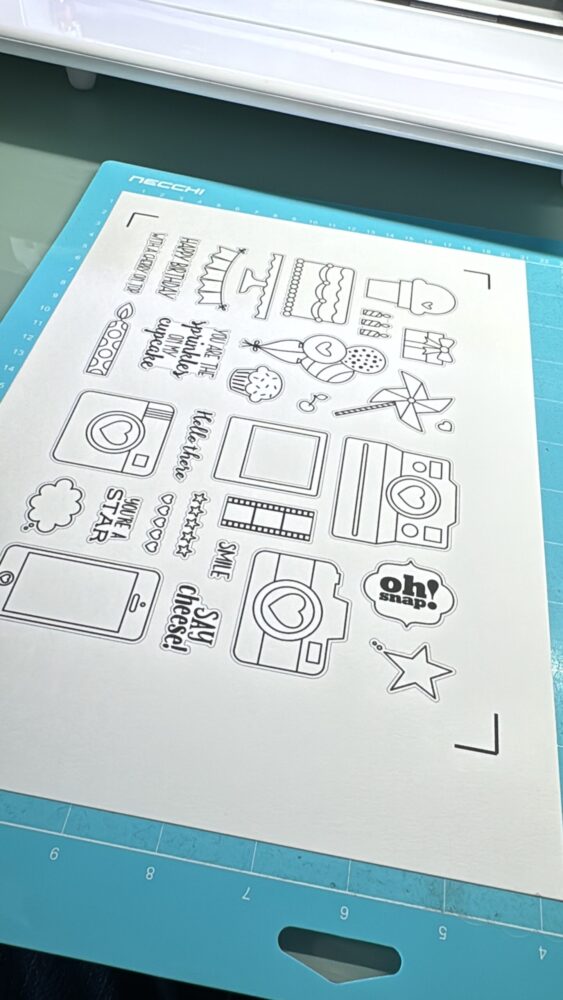
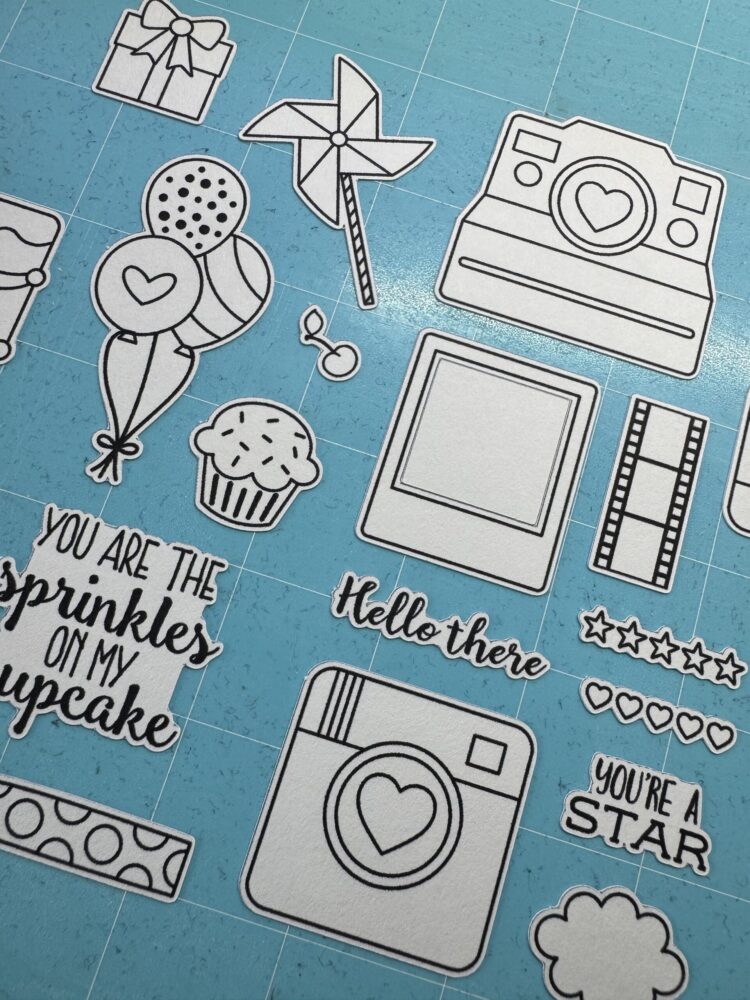
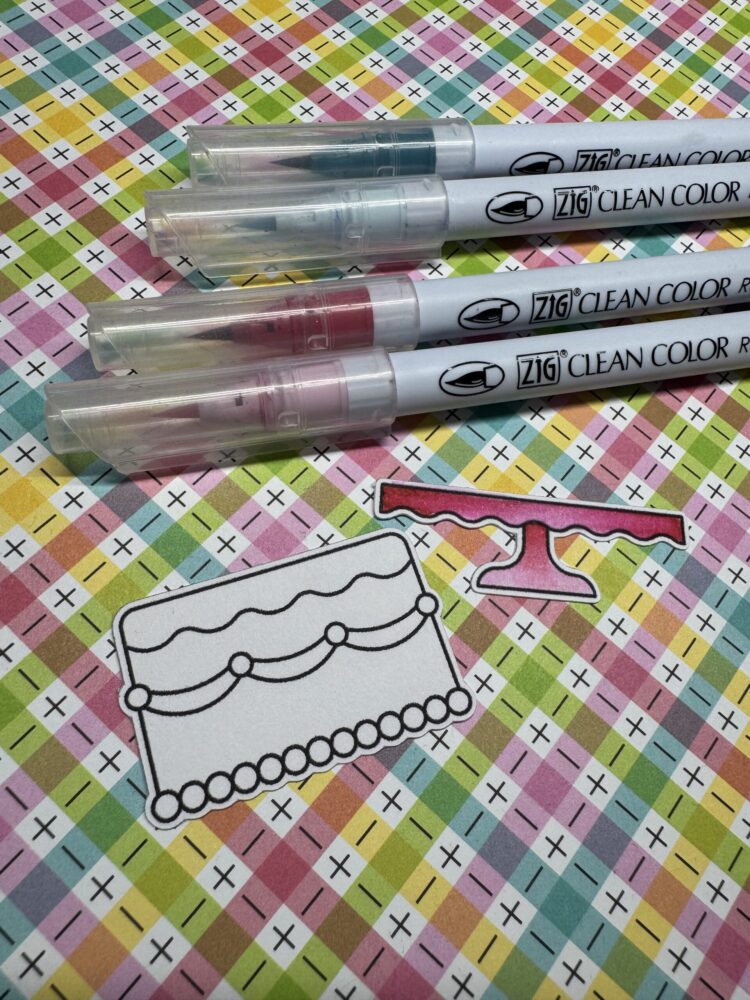
Instead of working with cut files, I picked up some of Lori’s adorable digi stamps. I used the birthday-themed set and brought the images to life with watercolor markers. There’s just something so relaxing about coloring, and I love how the watercolor effect turned out.
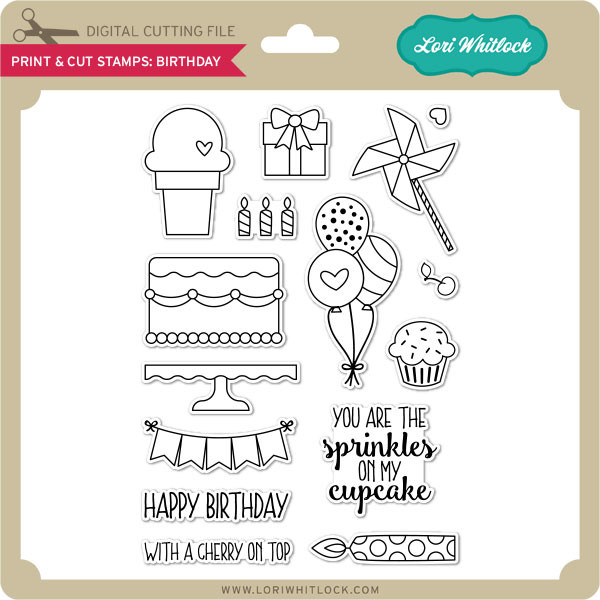
Get the files here: Print & Cut Stamps Birthday
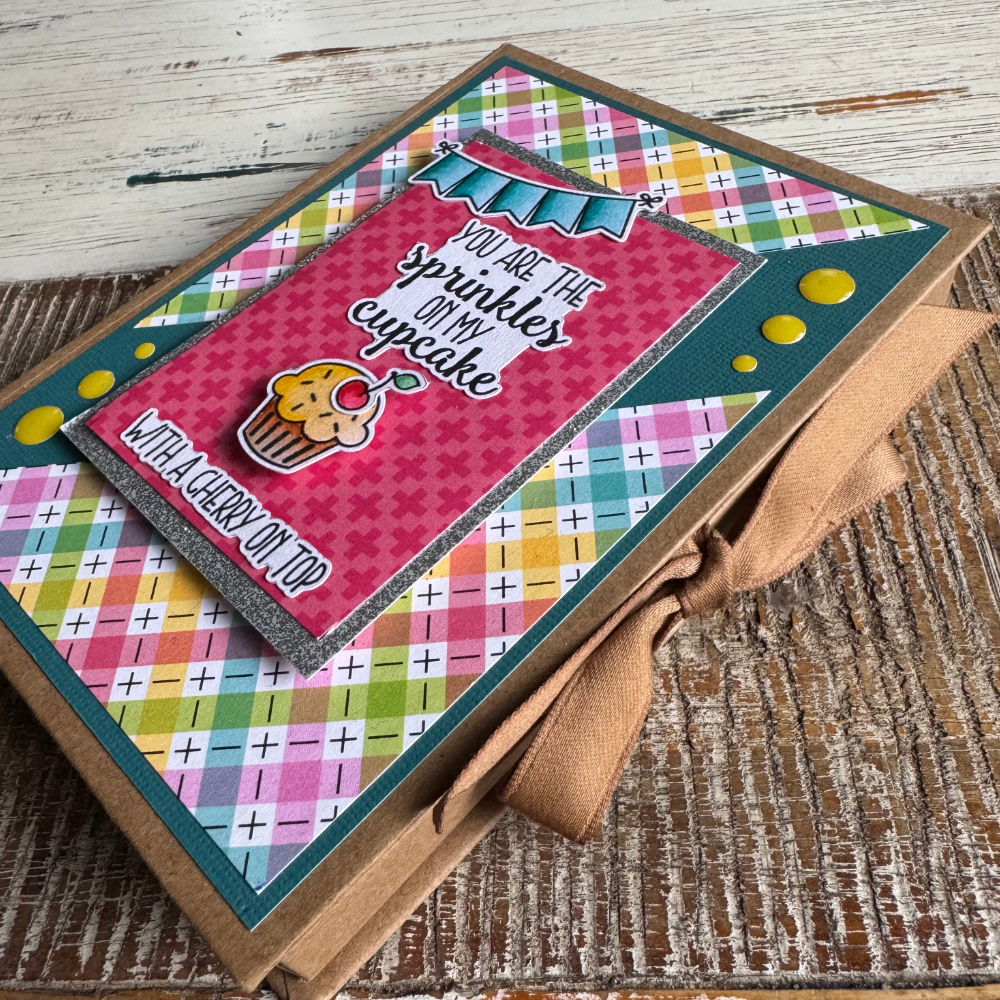
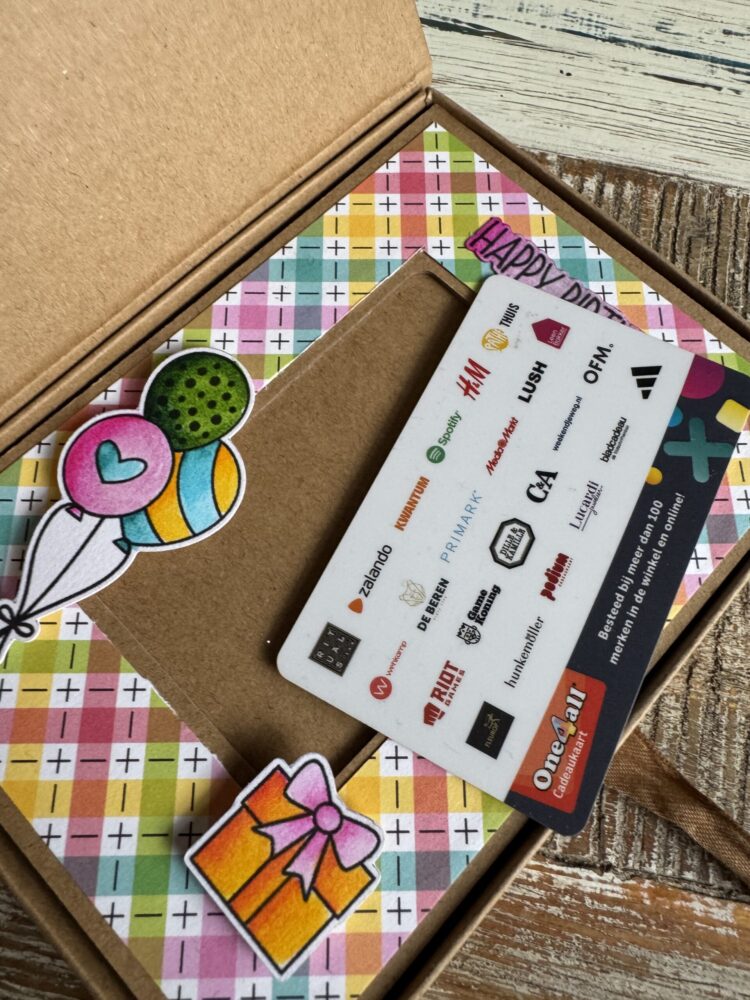
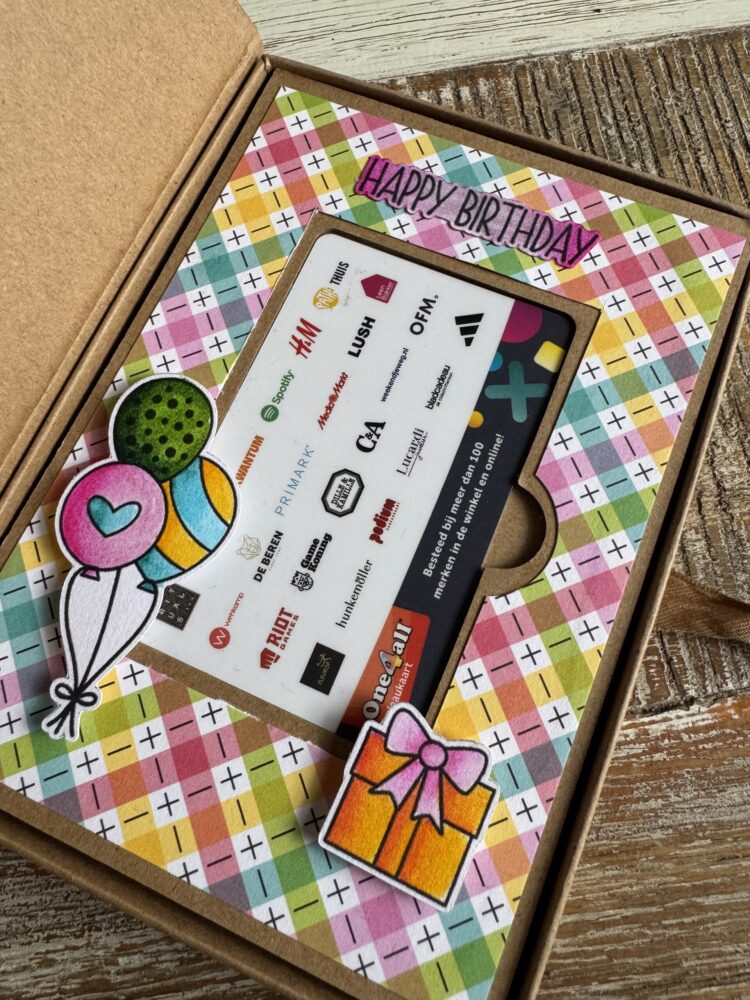
For this project, I also wanted to challenge myself to reuse something I already had at home. I had an old little box that originally held a gift card, and I couldn’t bring myself to throw it away (please tell me I’m not the only one who keeps these!). So I decided to upcycle it into a cute, handmade gift box.
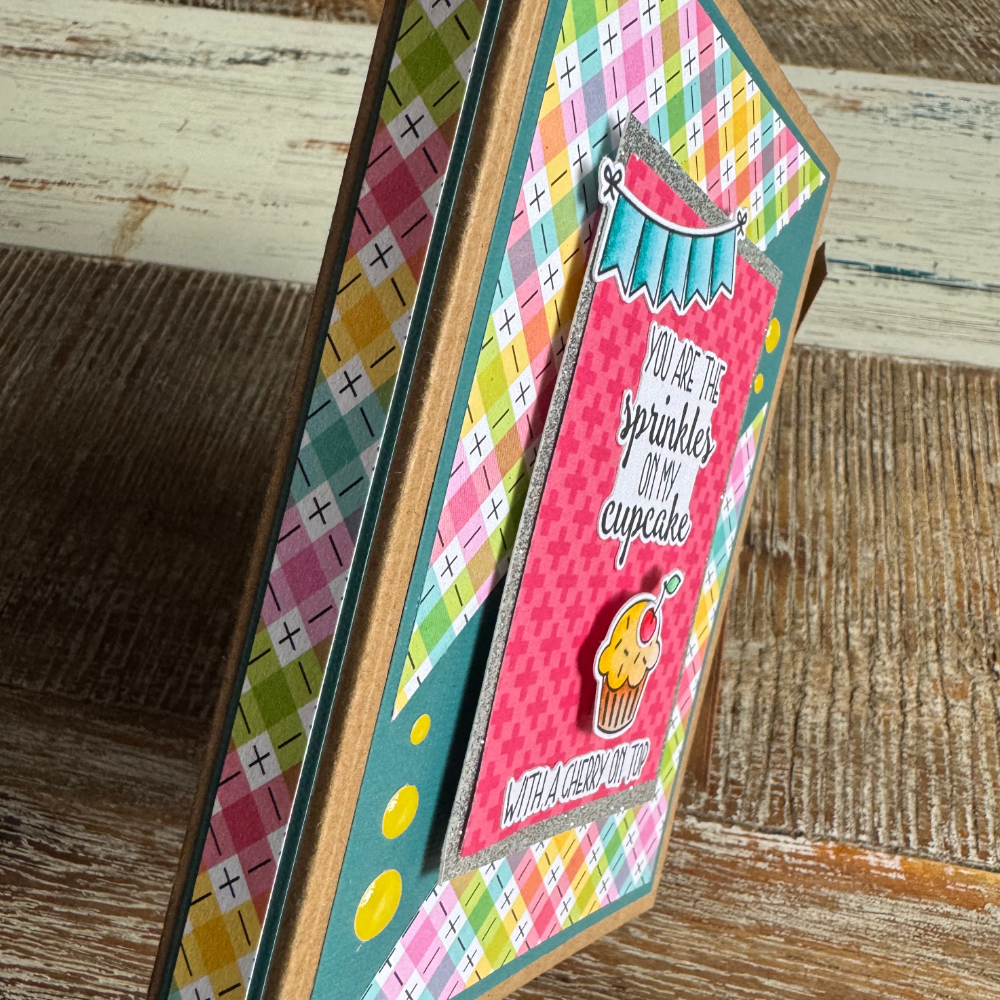
After printing the digi stamps, I cut them out with my Siser Juliet, colored them with my Zig watercolor brushes and used them to decorate the box.
I added some layered cardstock pieces, a bit of dimension with foam adhesive, and finished it off with a cheerful birthday sentiment. The result is a unique, handmade box that’s perfect for giving another gift card, but now with so much more personality!
Of course, the inside needed some color and decoration too!
I really enjoyed combining coloring with crafting like this, and it felt great to give new life to something that would otherwise have been thrown away.
Now I’m curious—do you also save little boxes like these for future projects? Or am I the only one with a stash of “this might be useful someday” items? I’d love to hear how you reuse them in your own creative projects!
XO Tamara
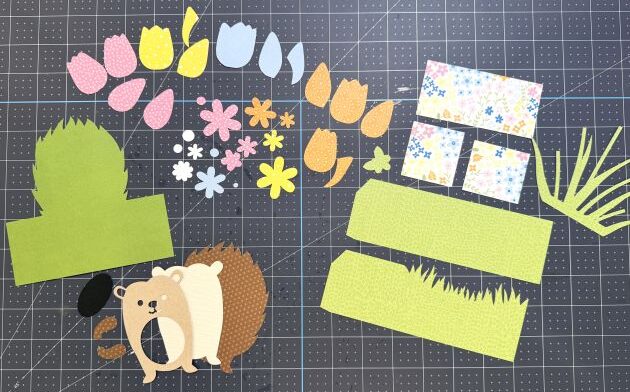
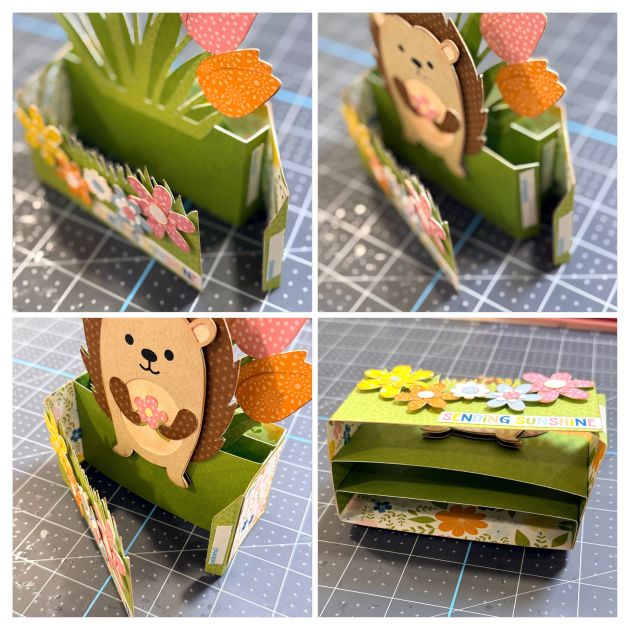
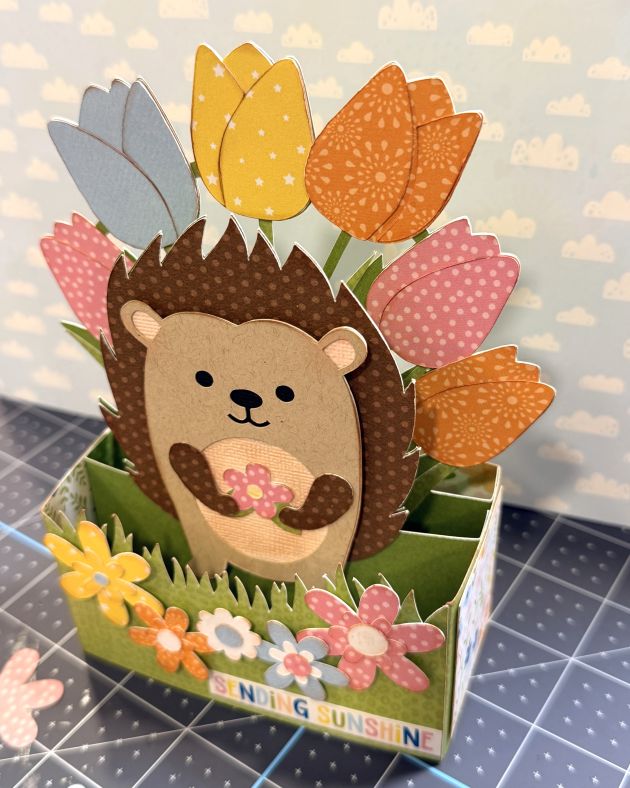
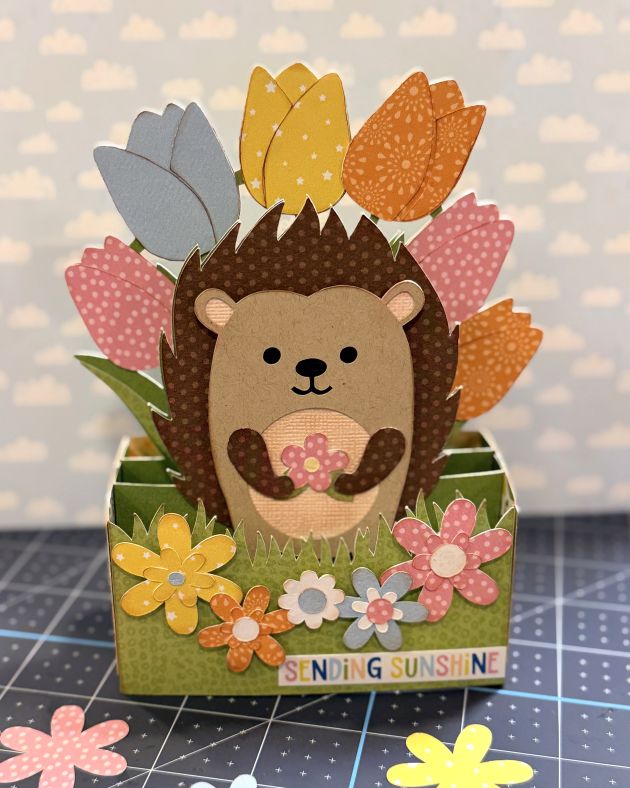
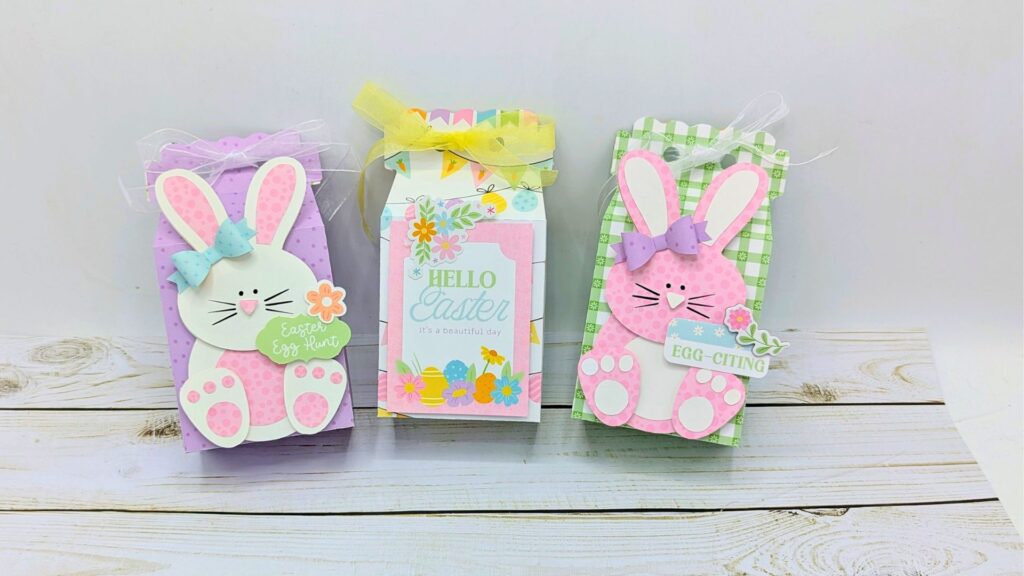
 The next section is the tulips. Using liquid adhesive, I added the grass/leaves layer first. Next, I assembled each flower and adhered to the green base piece. I folded along the scored tabs and added strong tape to either side. It helps to have the sample image pulled up on Lori’s website. That way you can zoom in and piece the flowers together easily.
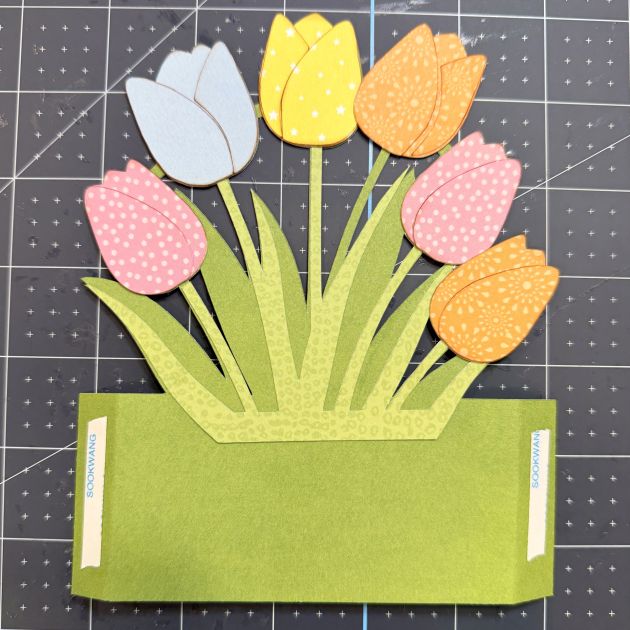
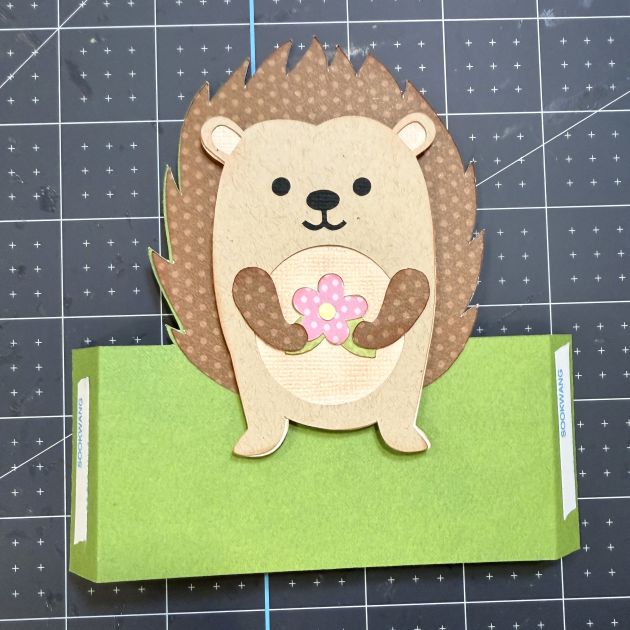
 Now it’s time to put it all together. I connected the two box pieces, peeling just one tab, to create one long strip. I did not adhere the final tab just yet. Once I had the box shape in place, I added the tulip layer. I peeled off the tape on only one side and lined up the tabs so that they touched the back of the box card. Next, I peeled the tape off one side of the hedgehog layer and adhered the tab directly in front of the tulips section. I peeled off the other side of the tulip and hedgehog sections and attached them to the side of the box. Finally, I closed the outer box card. I’ve added an image that shows what the bottom of the card looks like. You can see how the sections stack on top of each other like tables.