Last reminder…the November Sale Ends at midnight tonight! There are just hours left to get 30% off All SVGs, fonts, and Commercial Licenses in the Lori Whitlock SVG Shop. Just use code NOV2018 at checkout! Don’t miss out!

Last reminder…the November Sale Ends at midnight tonight! There are just hours left to get 30% off All SVGs, fonts, and Commercial Licenses in the Lori Whitlock SVG Shop. Just use code NOV2018 at checkout! Don’t miss out!
The holidays are upon us and we all know that means it’s crafting season. Today is the last day of the 30% off sale so it’s time to stock up on all those files you’ll need to craft with this holiday season at Lori Whitlock SVG Shop. Just use code NOV2018 at checkout! Don’t miss out!
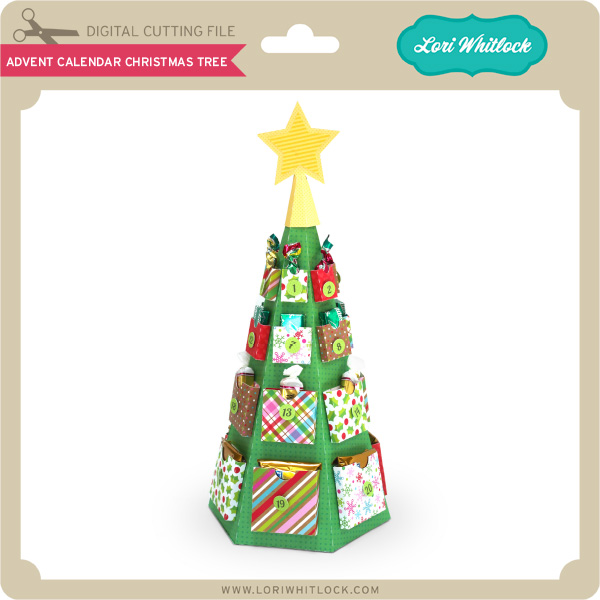
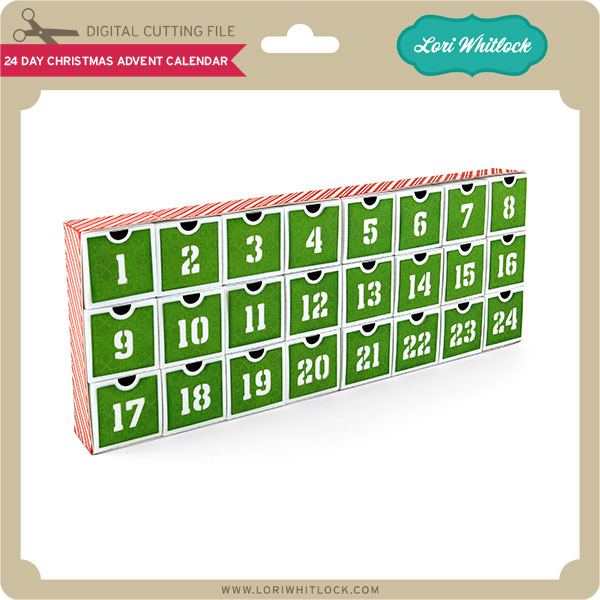
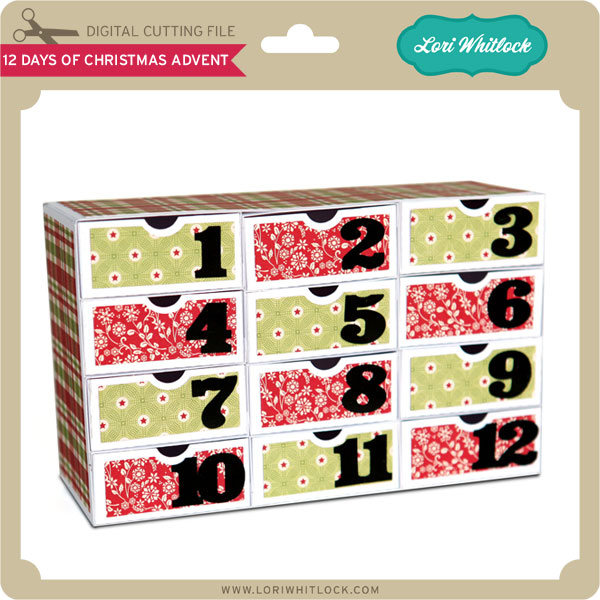
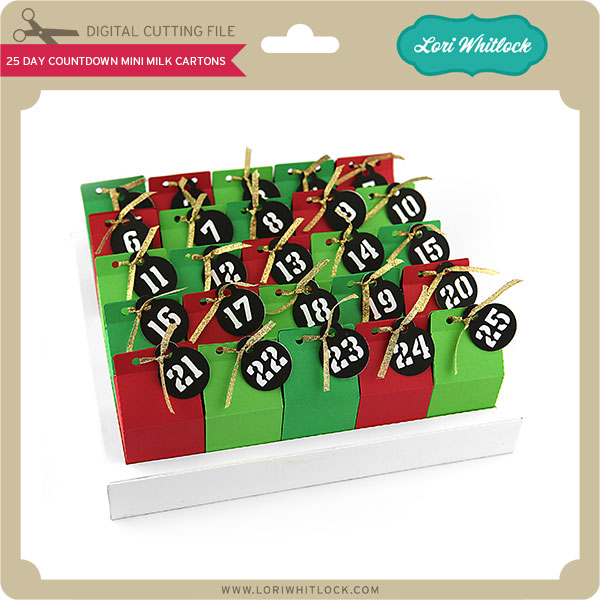
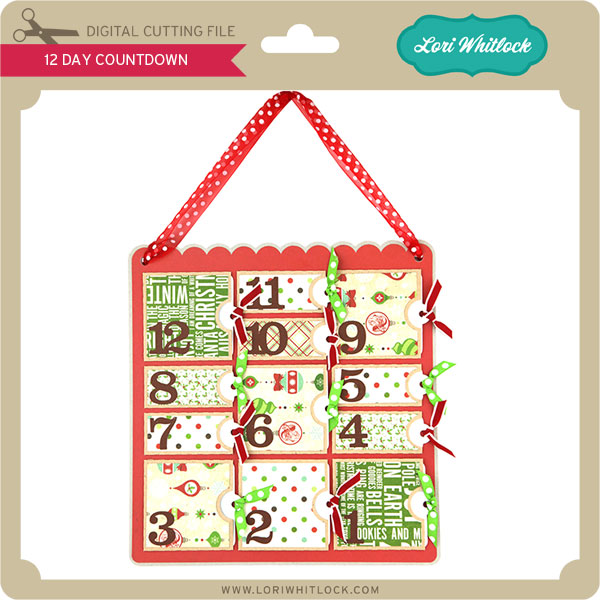
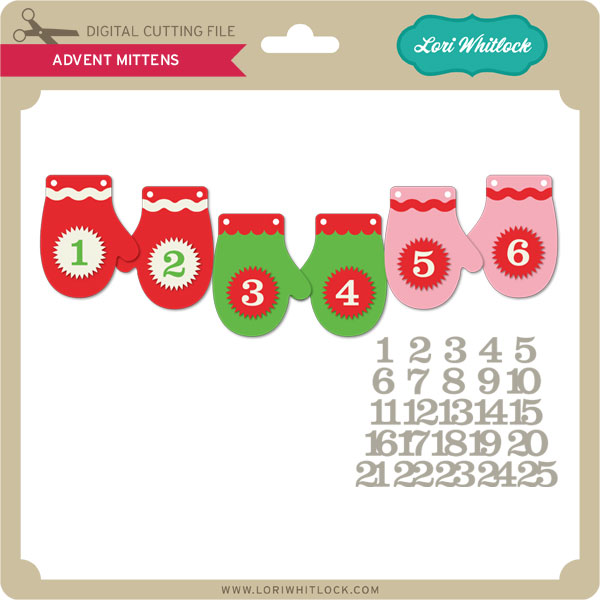
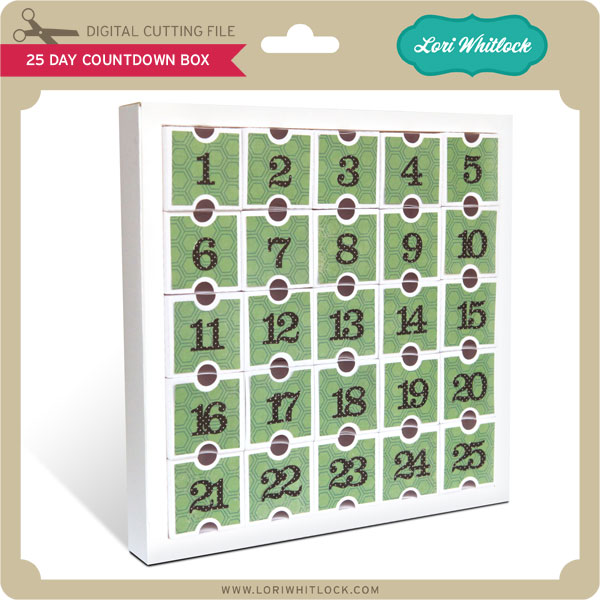
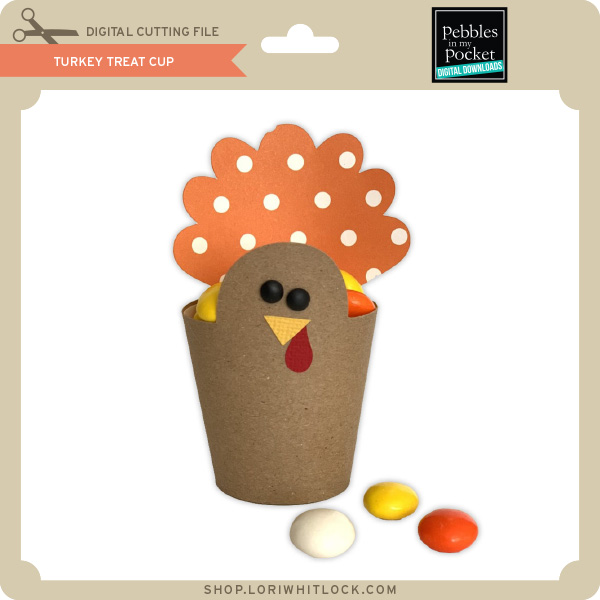
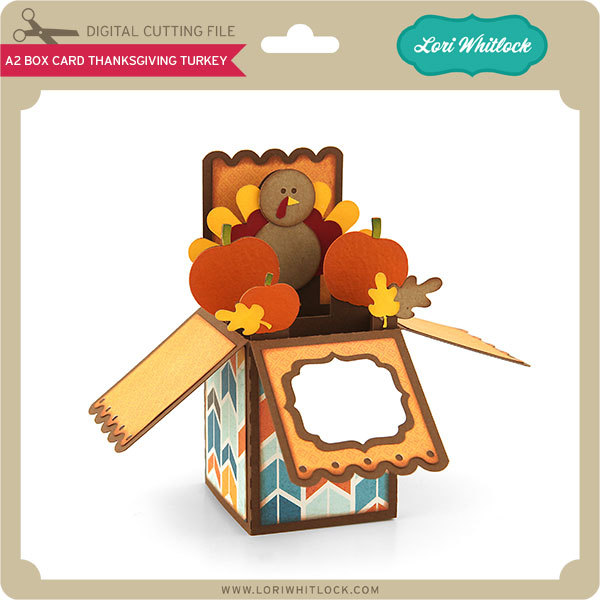
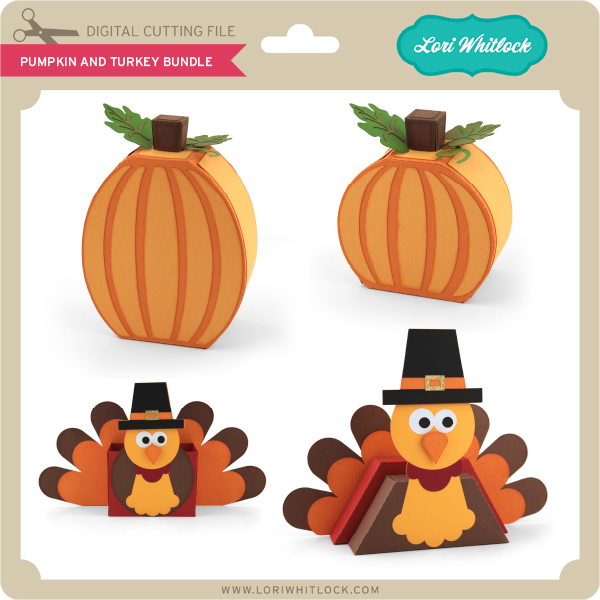
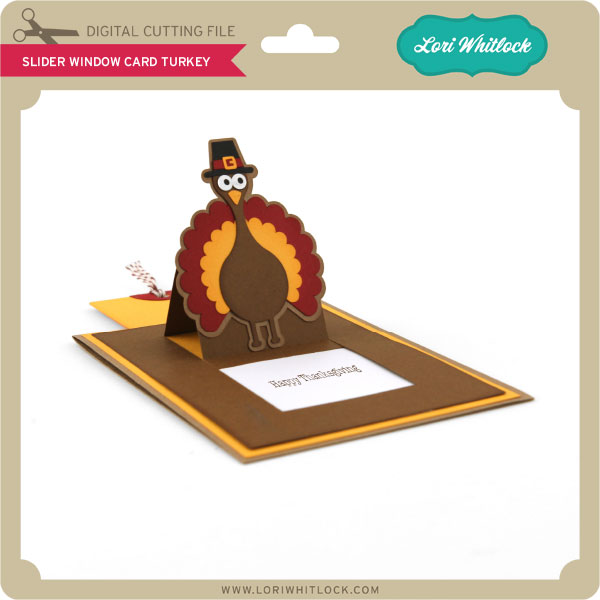
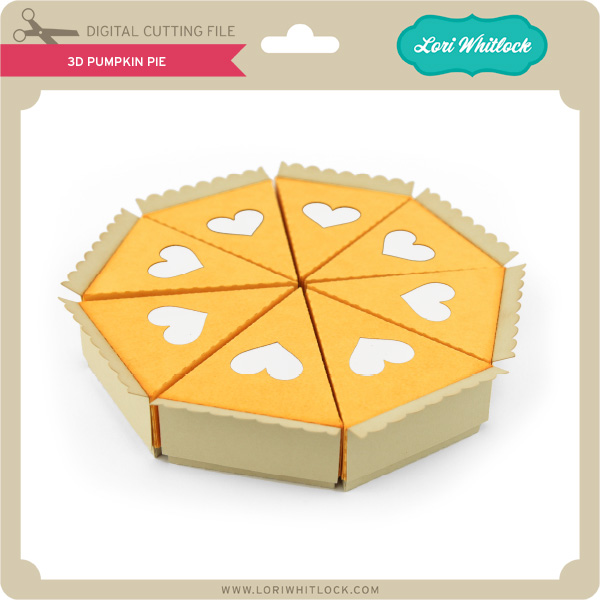
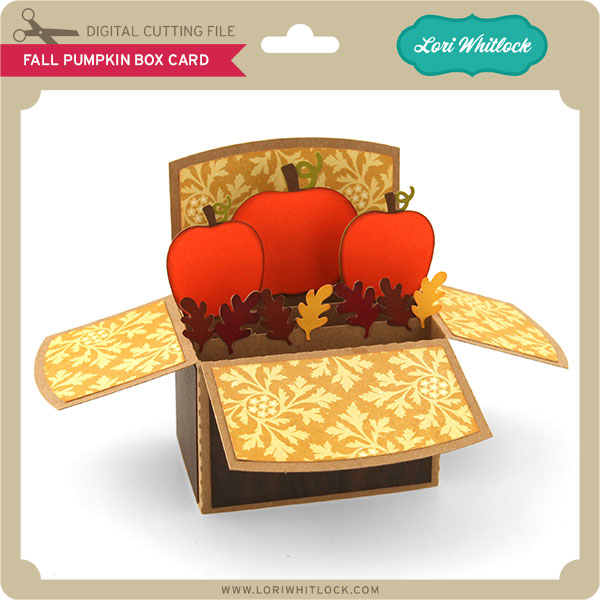
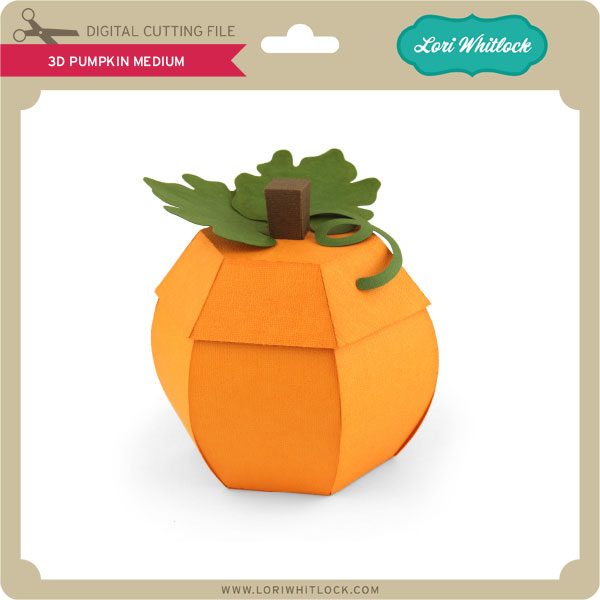
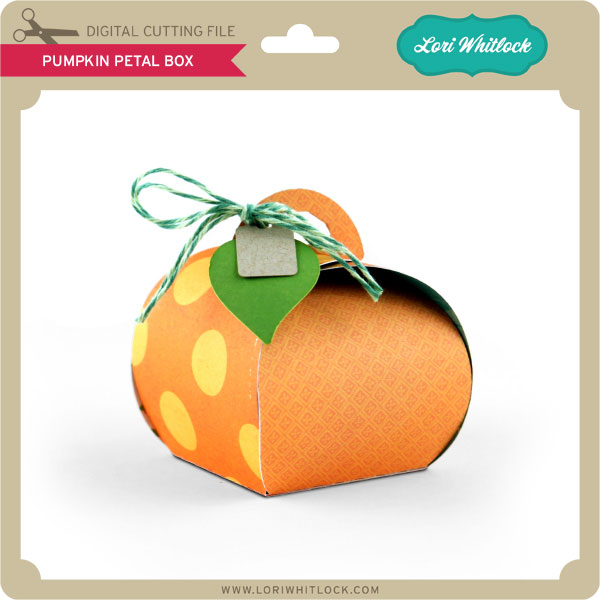
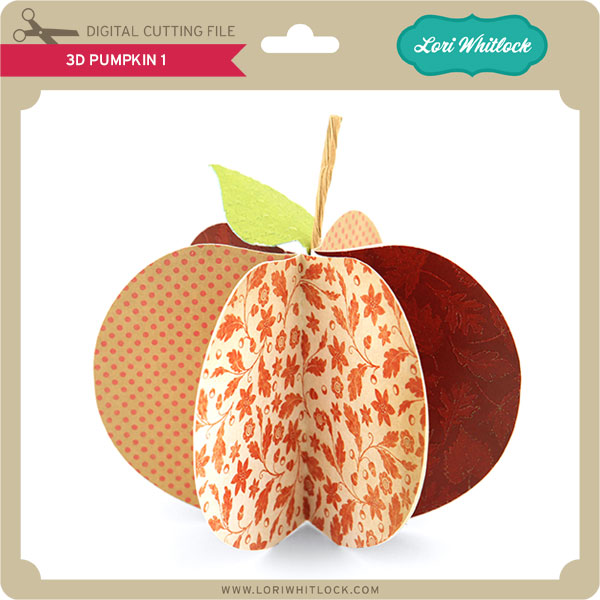
Here are some of my favorite files that would be fun to make for Thanksgiving and even a few advent calendars that you might want to get started on…
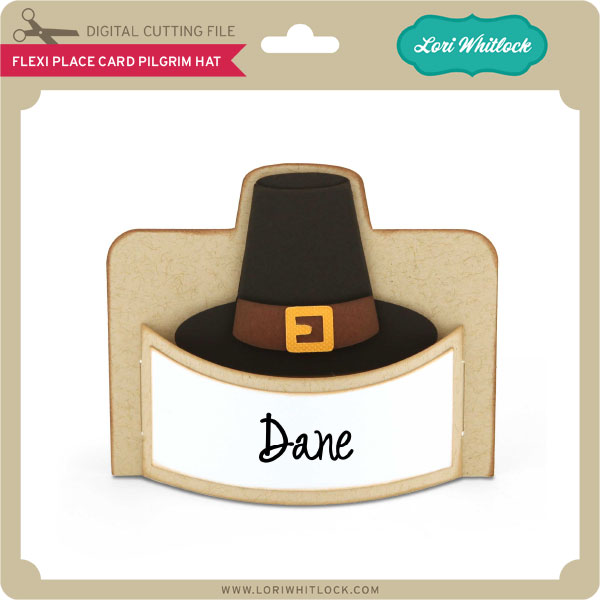
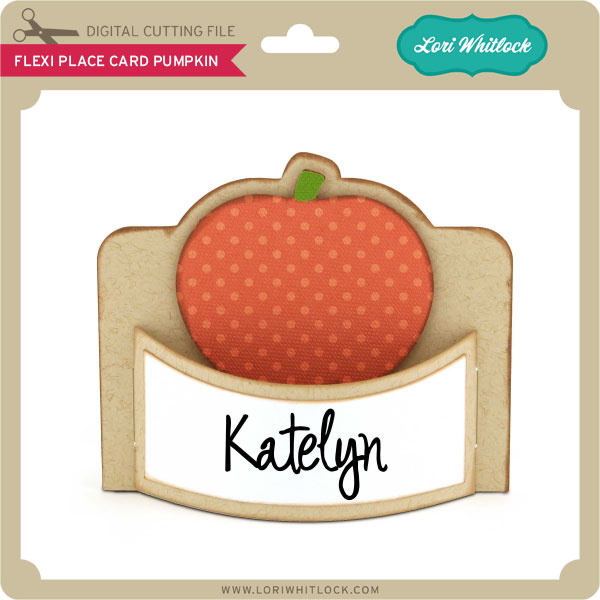
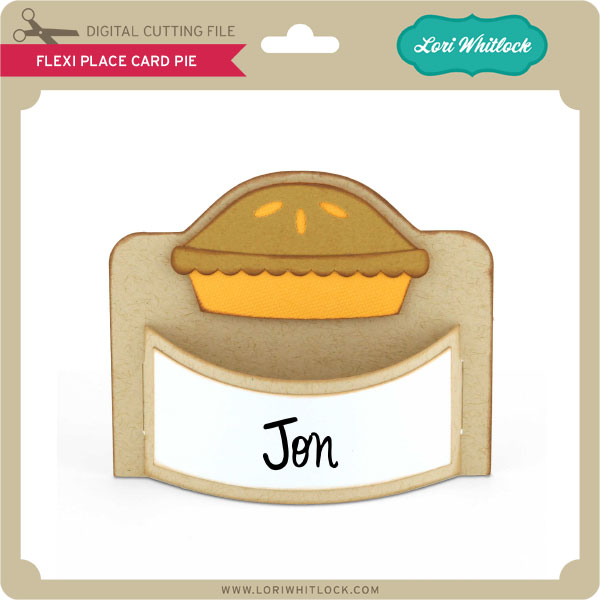
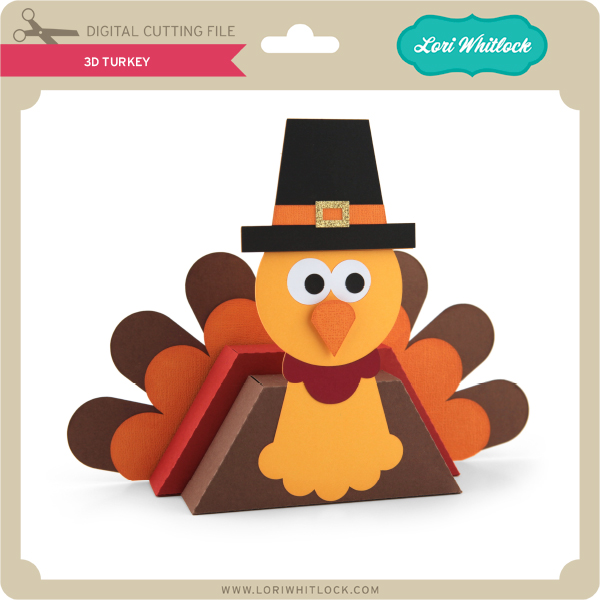


 HAVE A GOOD WEEKEND!
Lori
Are you crafting this weekend? Maybe get started on you Christmas Crafting? Don’t forget about the November Sale happening now in the Lori Whitlock SVG Shop!
All files are 30% off through tomorrow at midnight! Just use code NOV2018 at checkout! Have a great day!
Hi Everyone! Today we have a new Friday $5 Bundle! It will ONLY be available until Midnight Sunday and when it’s gone it’s gone. These SVG files can be used with Cricut Explore, Silhouette Studio (with the Designer Edition upgrade), Scan N Cut, and any other cutter that will work with SVG files. Help spread the word by telling your friends and announcing it on social media!
Now through Sunday, you can pick up this Little Christmas gift bundle including 5 beautiful SVG files for just $5!
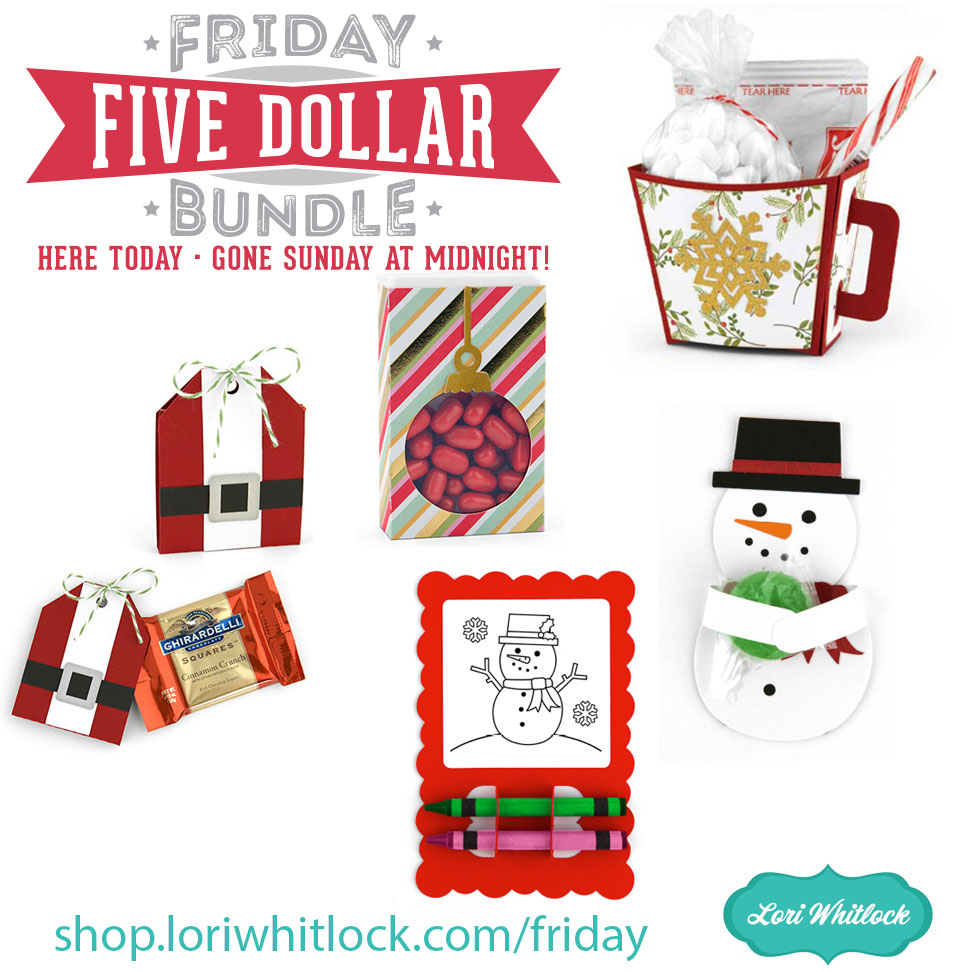
The cost of this bundle is $5, for $7.45 worth of SVG files, over a 32% savings! Make it your resolution to never miss a birthday! But don’t wait, this bundle will only be around until Sunday at midnight!
Have a great day!
Hi everyone! Corri here today with a quick tutorial for this adorable 3d Pumpkin Pie (Silhouette, SVG)
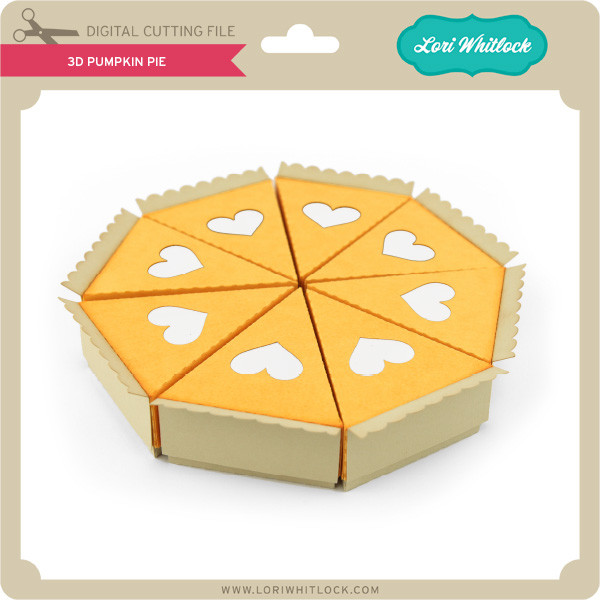
To get started you need to cut 8 each of the pieces. You will have box bottoms, box tops plus the small scallop pieces to create the crust on each slice and the hearts.
To assemble the bottoms of the slice boxes, fold along all the perforations. Next, apply glue to the glue tabs and hold in place while they dry.

To assemble the tops of the boxes, first, glue the white hearts to the inside of the box behind the hearts. I found it was easier to apply the glue to the box rather than the die cut heart. This helps keep the glue from bleeding over the edges. Next, fold along the perforations, apply glue to the glue tabs and form the box. Finally, apply the “crust” to the back edge of the box.

Now, just arrange your slices in a circle to form the complete pie.

This pie is super adorable! You could fill each box with candy for your guests on Thanksgiving Day
I hope you like this quick project today! Thanks so much for stopping by!