Hi everyone, I just wanted to share how I took one of Lori’s shaker tags and made it into to a card. I love the trend right now of shaker tags and cards, so much fun. I adore Lori’s new Celebrate Winter collection from Echo Park and immediately a shaker card came to mind with all of the lovely blue shades in the collection. I started with this shaker embellishment, you can find the here on Silhouette or here at Lori’s shop.
I turned this super cute file into this shaker card. I adore how it turned out and it was super easy to do!

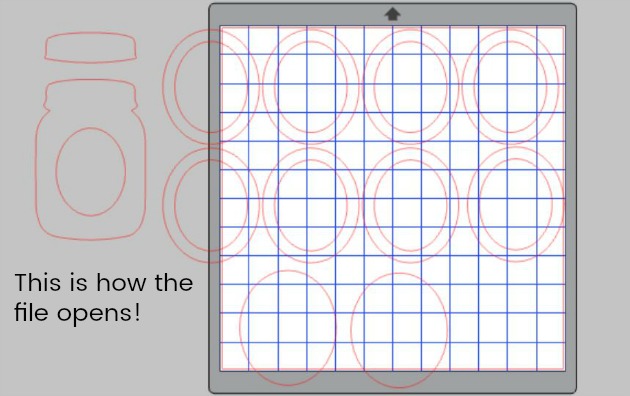
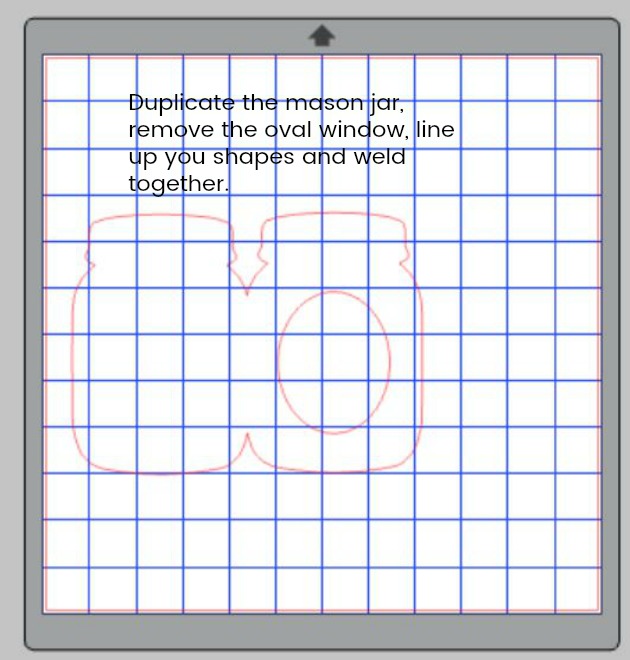
Open the file, and enlarge it to 16.75 x 18.75, by doing this it will make you mason jar just about the size of regular A2 card. After you enlarge it, separate your mason jar, ovals, and windows. That way you can make your card base.
Follow the step below, you could add a score line where the jars meet but I just used my scor-it to do that. Why add an extra step? Lol.
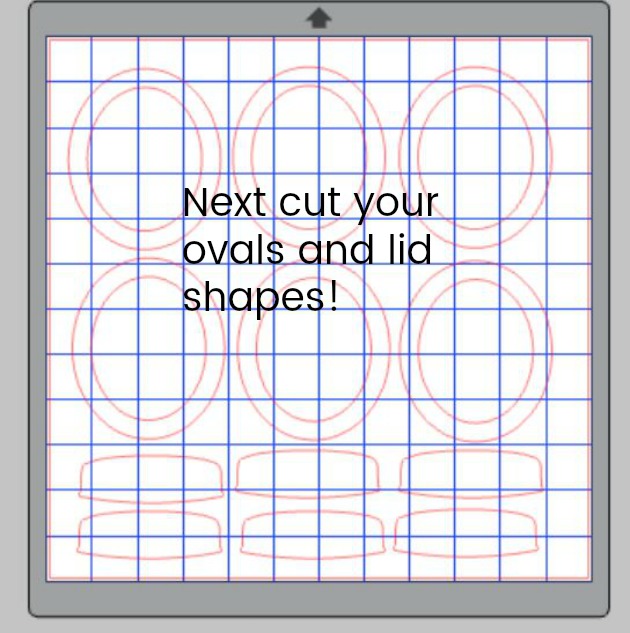
I cut extra lid shapes so that my card would just have that extra dimension.
I backed my window with white card stock and then you layer all of your windows, use a good adhesive, you want a good seal so that none of your sequins fall out. I always repurpose a piece of clear packaging for my clear window part. So layer all of the window shapes, except one, fill with sequins and such, adhere your clear window, and then one more window goes over the top. Then just adhere all of your lid shapes. All that’s left to do is embellish your card… I used some of the Celebrate Winter Collection from Echo Park to embellish.
I love how this turned out…this is simply one of the cutest collections for winter ever!