The 72-hour SALE ends tomorrow! Get 50% off all SVGs, Fonts, Pattern Fills and Commercial Licenses in the Lori Whitlock SVG Shop when you use code JUNEFIFTY at checkout. Don’t miss out, this sale ends tomorrow at midnight!


The 72-hour SALE ends tomorrow! Get 50% off all SVGs, Fonts, Pattern Fills and Commercial Licenses in the Lori Whitlock SVG Shop when you use code JUNEFIFTY at checkout. Don’t miss out, this sale ends tomorrow at midnight!
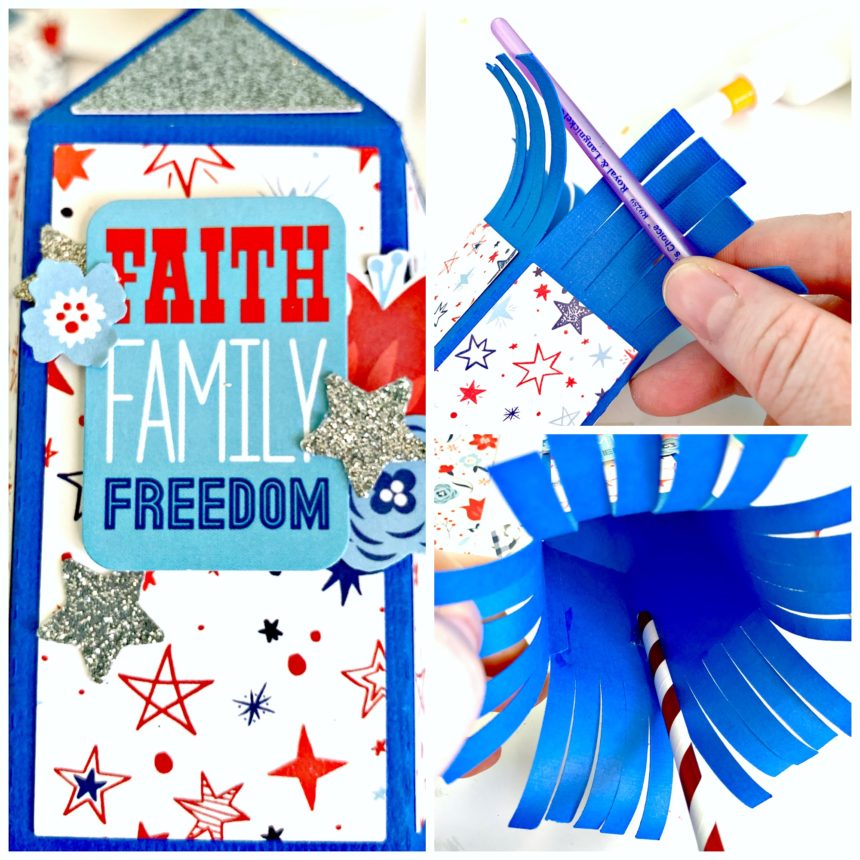
Hi Everyone! Today I’m showcasing another fabulous project using Doodlebug Design’s cut files! This 4th of July Box Card was created by Kathy Skou for Doodlebug Design.
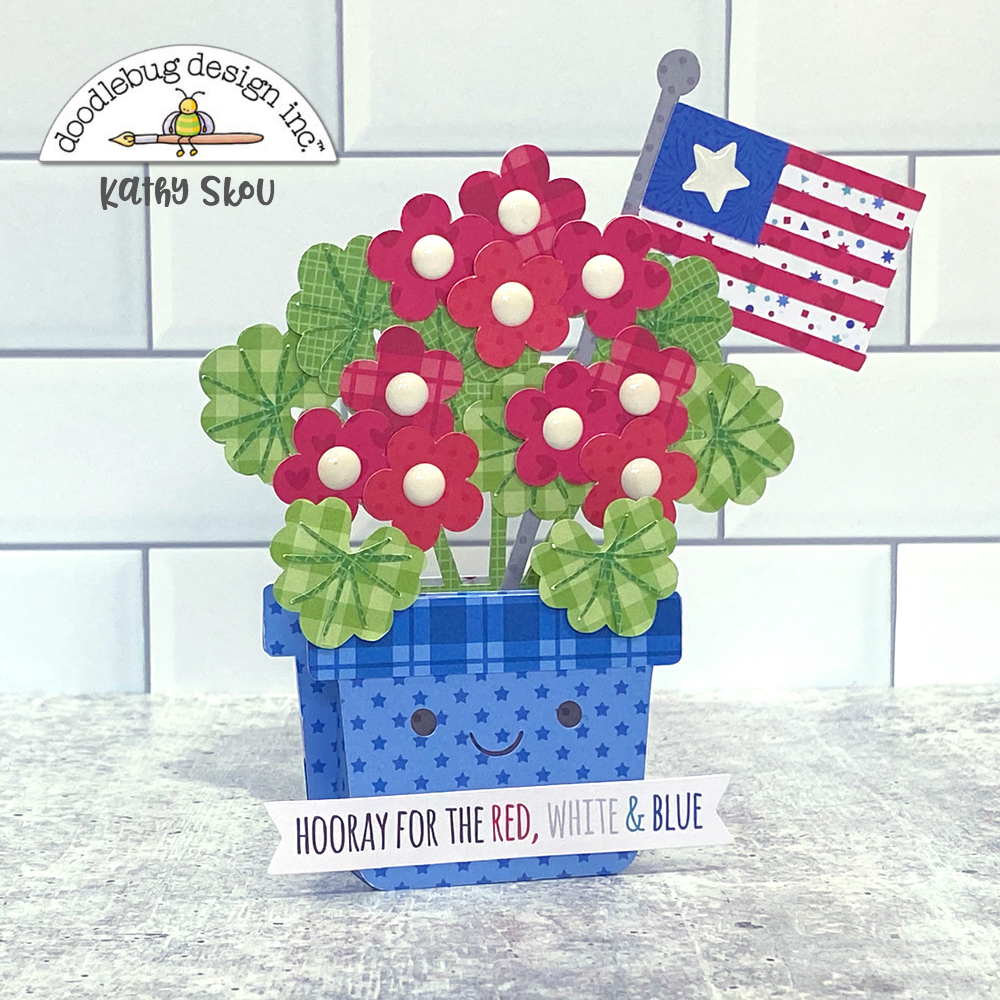
Kathy used the Land that I Love Geranium Box Card file which is exclusive to the Lori Whitlock SVG Shop.
 For more details you can see her original post here. New Doodlebug Design SVG files are being added to the Lori Whitlock SVG Shop on a regular basis, so stop by to see all of the fun SVG files HERE!
Have a great day!
Let’s celebrate the official start of summer with a sale! For 3 days only get 50% off all SVGs, Fonts, Pattern Fills and Commercial Licenses in the Lori Whitlock SVG Shop when you use code JUNEFIFTY at checkout. Don’t miss out, this sale ends Sunday, June 28th at midnight!
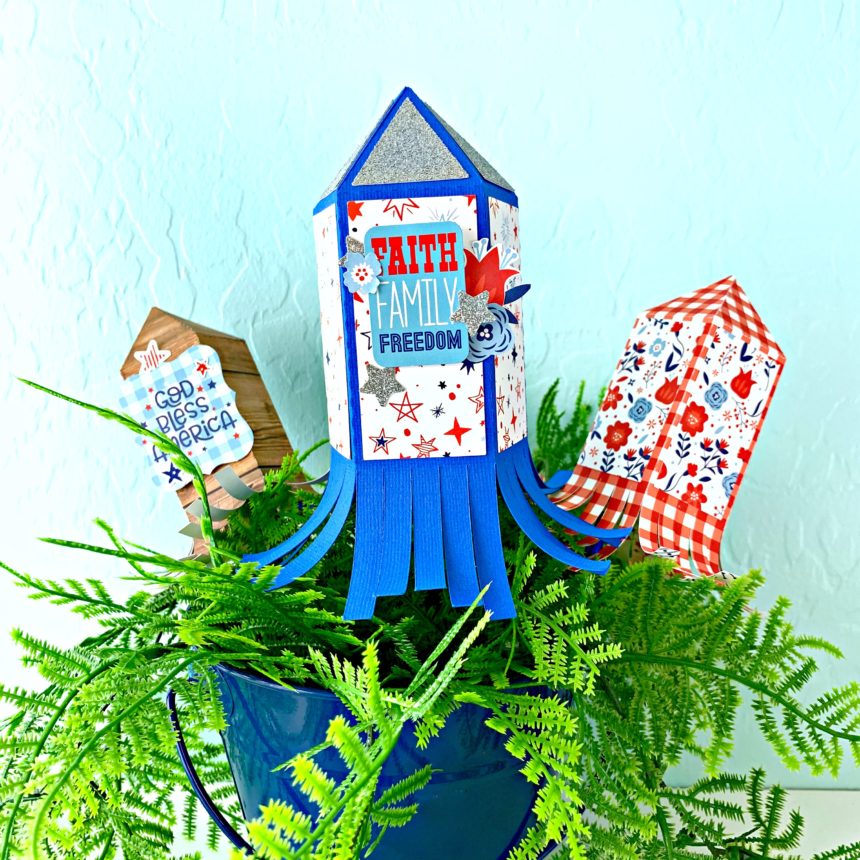
Hi there friends! Brandie here with a tutorial for a cute 4th of July Fireworks Display (SVG, Silhouette) These fireworks are so fun and simple to make. They can be added to a vase, mason jar, or even a fake potted plant like I did here.
First fold all of the score lines as mountain folds (away from you). Then glue the decorative panels in place. (I glued the long side tab first and then glued the decorative panels which made this step a little harder for myself.) Glue the long side tab creating a octogon shaped tube. Working from left to right glue the top tabs together until you have two tabs left. The last two tabs can be glued together at the same time. Pinch the top points together then flip the firework over and use a pencil or paint brush handle to secure the tabs on the inside of the firework.
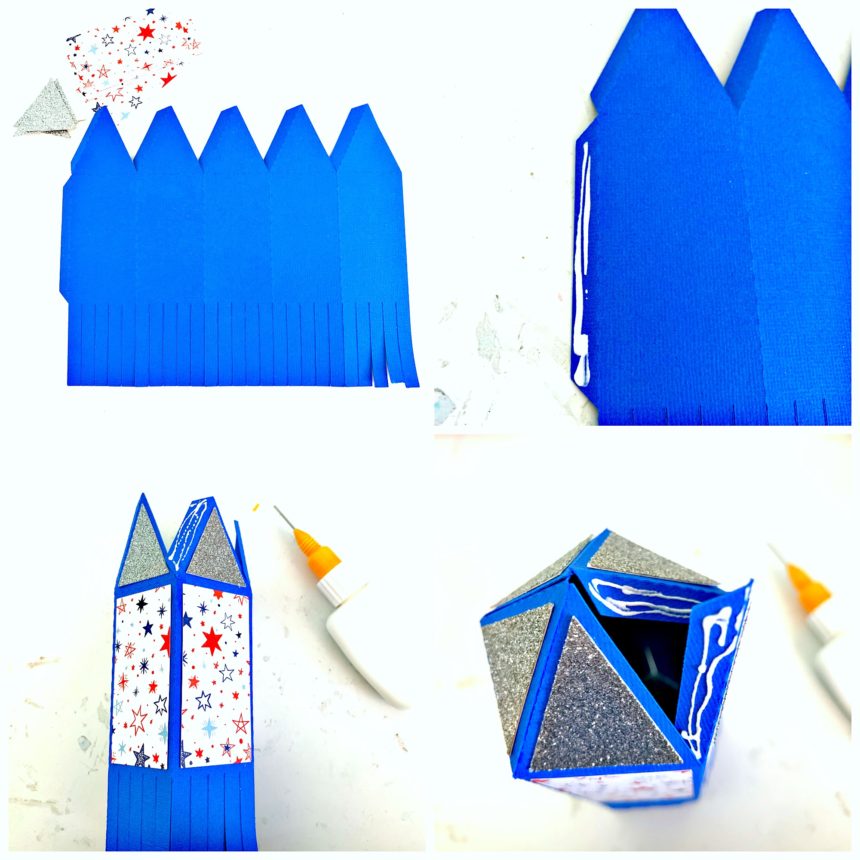
Now its time to embellish the firework, curl the tails, then using hot glue add a paper straw or bamboo skewer to the inside of the firework.
I resized the firework and made two smaller ones. The paper collection I used is America by Echo Park Paper Company.
Hi Everyone! I get a lot of questions on installing fonts purchased from my shop, and I thought it would be helpful to write a quick tutorial. Fonts are not installed or accessed like SVG files. Fonts are installed to your computer so that they can be accessed by all programs, including Silhouette Design Studio, Cricut Design Space, Canvas Workspace, and even programs like Word and Photoshop. The installation is very simple for both Windows and Mac. I’m showing windows here, but the process is the same on a Mac. Note, this tutorial is for desktops and laptops. It does not cover installing directly to tablets or phones.
Once you have purchased and downloaded the font, you’ll want to unzip the file. (for more help on downloading and unzipping see this post). I downloaded the My Type Font (SVG, Silhouette), and unzipped the file below. In the folder for the font you’ll see a terms of use document, the font file and the font jpg. The font file will either have a .ttf (true type font) extension or an .0tf (open type font) extension.

To install the font, simply double click on the font file. The font installer of your computer will appear. To install the font, click on the install button.

An install dialog box will appear. When it disappears, the font has been installed.

The font is now ready to be accessed by your cutter. One quick note, you will want to close out and restart your cutting software if it was open while you installed the font. Otherwise it will not show in your fonts list.
To access the font to cut, you use the text tool of your cutting software. Below are screen shots of Silhouette Studio, Cricut Design Space and Brother Canvas.
This first screen shot show Silhouette Studio. To access the fonts, click on the text tool on the right most menu. The available font list will show. To access the font, scroll down until you find the name. Note… all of my fonts will begin with the letters LW.

In Cricut Design Space, the text tool is on the left side menu. Click the T and then you can access the font lists.

In Canvas (Scan and Cut) The text tool is on the left side menu. When you click it, you can then scroll through the available fonts at the top of the screen.

Installing fonts is really very simple. I hope this tutorial has made the process much easier for you!
Have a great day!