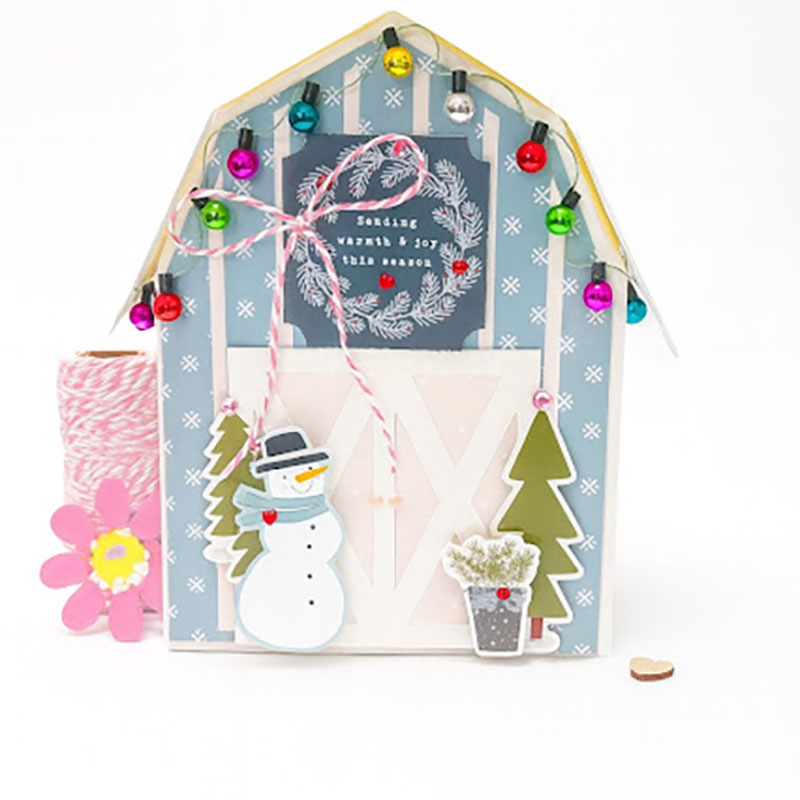
Hello everyone! Traci here and today, I’m sharing a super fun mini album that I made with one of Lori’s fabulous cutting files called Shaped Shadow Box Card Snowman (SVG, Silhouette). What a great little scrapbook for winter photos and a cute handmade Christmas gift idea!
.png)
I love creating different projects, scrapbooks, and cards with Lori’s files. With the holiday just around the corner, they make amazing presents and home decor. I always set my projects out on my clear acrylic display stand. Lori is an amazing designer and I think these are little works of art!

Her Shaped Shadow Box Card Snowman file is absolutely adorable with its layered 3D winter scene. I will definitely be making this card soon but for today’s project, I used just his head.
.png)
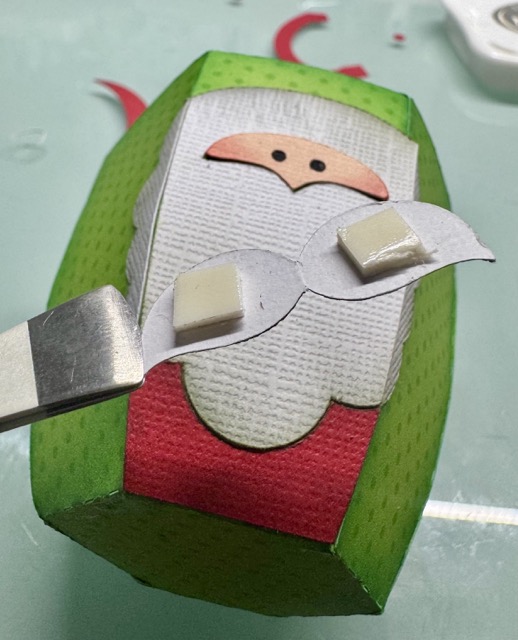
To make the album, I cut the cover out of white acrylic but you could use card stock instead. Then, I used black card stock and patterned papers from Doodlebug Design for the details. I added a few pop dots behind the holly berries and leaves for a little dimension and I think he’s the cutest!
.png)
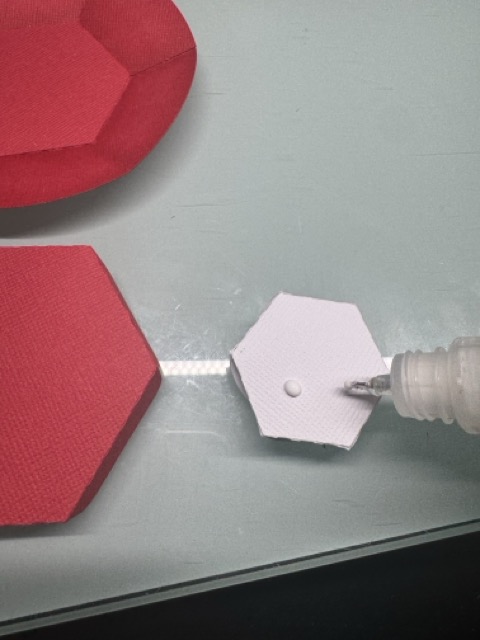
For the inside, I cut 4 snowman shaped pages out of white card stock, giving me 8 layouts to decorate.
.png)
I covered the pages in pattern papers from Doodlebug’s Snow Much Fun Collection, then added lots of cute embellishments, flippies, and photo mats. On the page above, I used a 4″ and 3.5″ circle punch by Marvy Uchida to create my mat.
.png)
The round snowman’s face allowed me to play with the shape and size of the
photo mats so I varied them for interest. Then, I filled in the extra space around them with die cut pieces.
.png)
Speaking of die cuts … how cute are the little penguins above? I placed one underneath the mat so it looks like he’s peeking out from behind it! I made the mat with a 3″ scalloped circle punch and a 2.5″ circle punch.
.png)
To see more pages of this mini, visit my blog. I hope my snowman shaped mini album and Lori’s adorable cutting file inspires you to create something wonderful this season. Happy wintertime and have a great day!