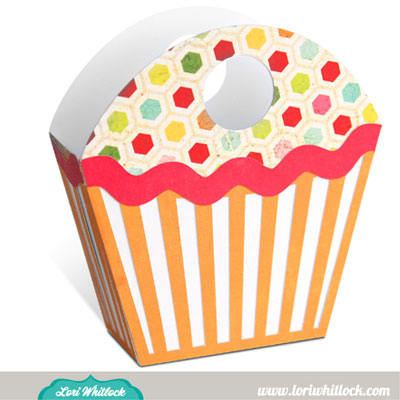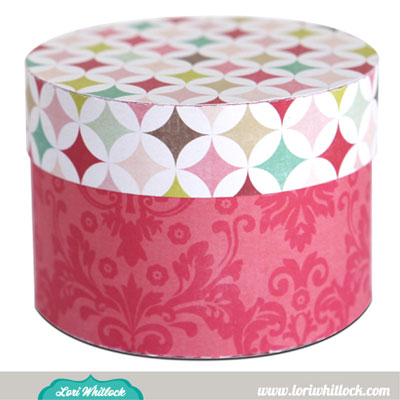
LOOK what I saw when I came to work today! I couldn’t believe my eyes. I held it and looked closely at all sides and the joints and really wondered how Lori created this amazing shadow box. I promise it is made of cardstock and it is quite sturdy, I was shocked! This is such a beautiful project. I can’t wait to make one for myself.
Remember I said I couldn’t believe my eyes, yes there is more. I was like a kid in a candy store. Look what you can do with paper. The bottom is woven together then there is a rim piece that folds over the woven section to add stability. 

I don’t think words can describe this beauty. STUNNING (and yes this is still paper)


She had so many fun things to share today. I wanted you to be as excited as I was and get to see as much detail as possible, so I shared BIG pictures. Sorry, no scratch and sniff option is available at this time, so you will have to imagine. All these boxes have video tutorials that you can find in the shop. After going to the shop, then descending order, choose the project you want, and the link is on that page. Happy crafting… Lisa

Absolutely stunning, you’re genius! LOVE it!!!
These are fantastic! I can’t wait to try them out!
Very cute !
Thanks ladies! I’m so glad you like them! They were fun to make and it’s fun to see them all put together!
Wow! I think Lori must have read my mind. Just yesterday I was wondering if I could make my own shadow box and then today I open my e-mail and see it right there! Thanks for reading my mind, Lori!
I just couldn’t stand it! I had to get them all~lol!!!
Love your vision. I have purchased the shadow box. However, I have the Silhouette SD – which is not 12×12. Is it possible to resize these files successfully? I
I love this and just cut it but it would be nice to have instructions on it’s assembly, off to figure it out thanks.
Mary, you’re in luck! I do have instructions for the shadow box. they are located on my You Tube Channel. Here’s a link: http://www.youtube.com/watch?v=cxiLw0dTd1E&context=C4aed77aADvjVQa1PpcFPoRHkyTN5mWV0WjgJe5w_Pu1oW4eMgLwI=
Thanks Lori I guess I should have looked a little closer at your blog because after I finished putting it together my way I saw the videos. Your instructions were great the next time I cut it I will make it your way as it was easier than the way I did it. The shadow box is absolutely adorable and I can’t decide what to do with it just yet. I will be makeing a few of these so much fun, thanks!
hi lori-
i bought this brilliant file (add to my lori whitlock stash) set and just realized the 12 X12 card stock is not going to fit in my silhouette sd.
i could cut everything (i think) except the front and back pieces. Is it possible to re-size this, if so how?
thank you,
mari
Mari, The face frame, the edge pieces and some of the windows won’t fit on an 8.5×11 as is… But, you can certainly resize everything to fit an 8.5×11. You’ll need to resize it all the same %. But, I just designed and uploaded an 8×10 version of this shadow box to the Silhouette Online Store. So, that might be something you consider to maximize your paper size.
I love the shadow box! I’m mid assembly right now, and your video is great for explaining how. One quick question… If I’m putting a backer sheet on, can I skip the frame piece on the back?