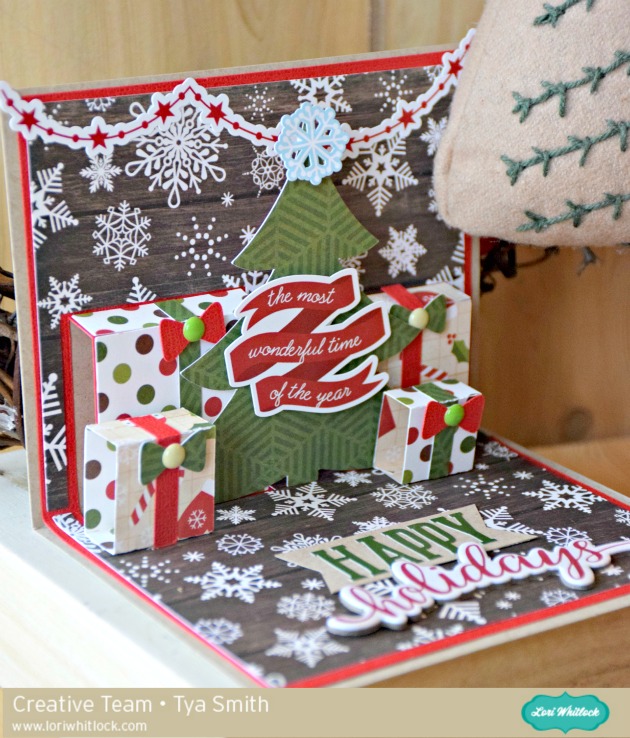
Hi Lori Whitlock friends – it’s Tya here and I am up on the blog today with a tutorial for this awesome card. I love the little scene in the photo, it’s so fun and festive! I used the Christmas Tree Scene Pop Up card and it can be found here (LW Shop) or here (Silhouette). I am also using Lori’s The Story of Christmas Paper, stickers and embellishments.
Let me show you how to make this card:
1- Open up the file and cut out all the pieces as shown.
2- Starting with red cardstock, fold on all the scored lines to create the pop up feature of the card.
3- Glue red cardstock to kraft cardstock card base.
4-Add background paper to red cardstock.
5- Put together the presents that go on the popped out sections of the card. Add them to the card base.
6- Glue edges of Christmas tree to the presents. Add stickers for decoration.
7-Glue together 3D presents. Add them to the card base.
8- Add Chipboard sentiment. Hand cut a banner shape and add letter stickers to banner.
There you have it! This would be such a fun Christmas card to give to someone special. They will love the pop up feature! Happy Holidays!


What a fun Christmas card! I appreciate your detailed instructions.
This is such a gorgeous card – I love the way it gets put together so nicely.
I just made this card — and I love it — wish I could share the picture of it.
This is gorgeous! I was looking for a Lori pop up card tutorial and this one is perfect. So beautiful – wish I had seen this earlier . . .