Lori Whitlock SVG Envelope Necessities
Hello Crafty Friends!
Today I would like to share my Top Ten Envelopes that are a must-have for any crafter. How many times have you made an awesome card and stuck it in an ordinary, thin, white envelope? It happens all of the time, which is why I’ve compiled this easy-to-reference list so you can find the right size and style for almost any card. I’ve also included some tips and embellishment ideas too!

All of the following envelopes are my very favorite. I know that they’ll be yours, too! All can be sent through the US Post Office, with the exception of the Money Holder. The Money Holder envelope is meant to be hand delivered, but it’s a great envelope to have on hand, so I included it too!
| Envelope | Card Size | Lori Whitlock
SVG Shop |
Silhouette Design Store | Features |
| 1. A2 Envelope Liner Card Base | 4.25” X 5.5” | A2 Envelope with Liner & Card | Design Id# 50776 | Includes Liner & Card Base |
| 2. #10 Envelope with Liner Card Base | 3.75” X 8.5” | #10 Envelope with Liner Card Base | Design Id# 50783 | Fun Size, Liner and Card Base |
| 3. A7 Envelope Liner and Card Base | 5” X 7” | A7 Envelope Liner and Card Base | Design Id# 50780 | Nice Larger Size, Includes Liner & Card Base |
| 4. Straight Flap Envelope | 4.25” X 5.5” | 3 Envelopes | Design Id# 24862 | Great Basic Envelope for Average Sized Card |
| 5. 3” X 4” Envelope | 3” X 4” | Design Id# 4212 | Smaller Notecard Size | |
| 6. A2 Thick Envelope Bracket | 4.25” X 5.5” | A2 Thick Envelope Set | Design Id# 135341 | For Thicker Cards w/ Embellishments |
| 7. 6.5” Square Thick Envelope Curve | 6.25”X 6.25” | 6.5” Square Thick Envelope Set | Design Id# 135392 | Holds Large Square Card w/Thick Embellishments |
| 8. Valentine Print & Cut Unicorn Card | 3” X 4” | Valentine Print and Cut Unicorn | Design Id# 286426 | Cute 3”X4” Envelope with Cut-Out Heart: File Includes Card |
| 9. A7 Thick Envelope Card Bracket | 5” X 7” | A7 Thick Envelope Set | Design Id# 135353 | Thicker Size for cards with lots of embellishment |
| 10. Money Holder Envelope* | US Currency | Money Holder Envelope with Tag | Design Id# 209573 | *Not to be mailed. This money holder envelope includes a print & cut tag |
That seems like a lot, but there’s more! Did you know that there’s an entire category for envelopes at the Lori Whitlock SVG Shop? You can find them all here!

You can make your envelopes in advance too! I like to use Easy-Tear Double Sided Tape. Simply leave the tape liner on and when you’re ready to seal the envelope, remove the tape liner and press firmly. It certainly beats licking the envelopes! Currently, a standard size envelope can be mailed First-Class mail for 55-cents. Square, oversized, thick, or oddly shaped envelopes start out at 70-cents. I always take mine to my local Post Office to be weighed. You can find out where your local branch is at: usps.com.
Want to make that envelope extra special? Make a coordinating label! I love the “Label 3 Dingbat Font.”
Label 3 has many different shapes and you can customize the size to fit your envelope. You can find the font at the Lori Whitlock SVG Shop, or at the Silhouette Design Store.
Curious about the samples posted above? They were made with Lori’s “Forward with Faith” Echo Park Paper line. I love, love, love the colors!
Bookmark this page so you will be able to create the perfect envelope for any project. Now, get those cards in the mail!
Happy Crafting!
Summer Magnetic Bookmarks with Lori Whitlock SVG Cutting Files
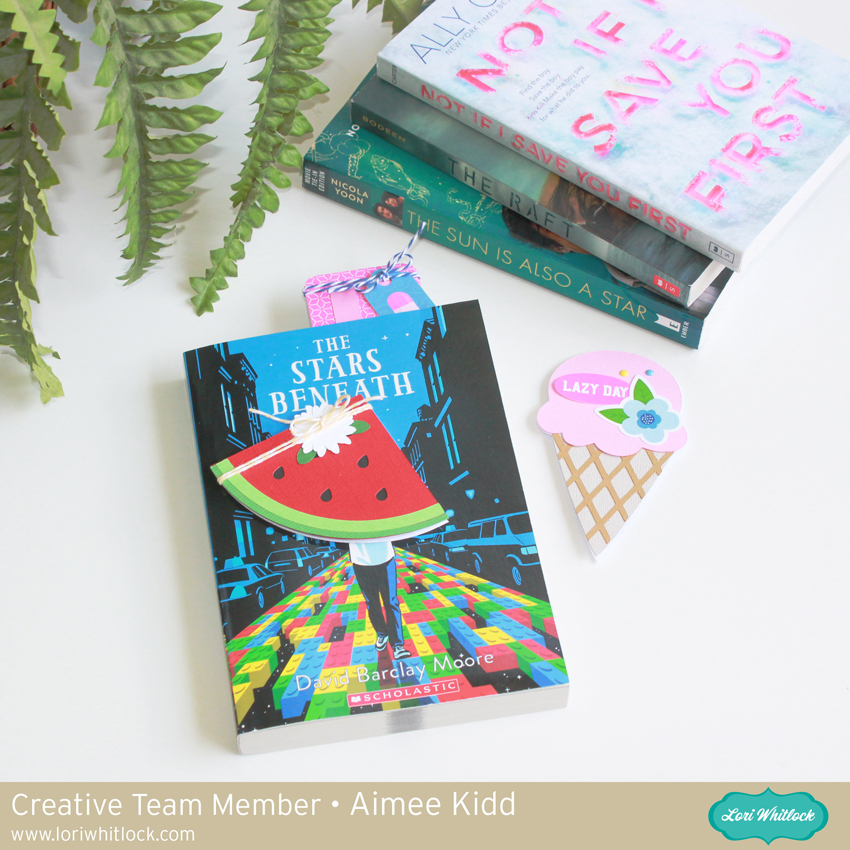
Hello friends! Aimee here with a tutorial on making some fun Summer magnetic bookmarks! My daughter is a voracious reader so every Summer I get her a handful of books to read over Summer break. This year I thought I would make her some bookmarks to go with those books.

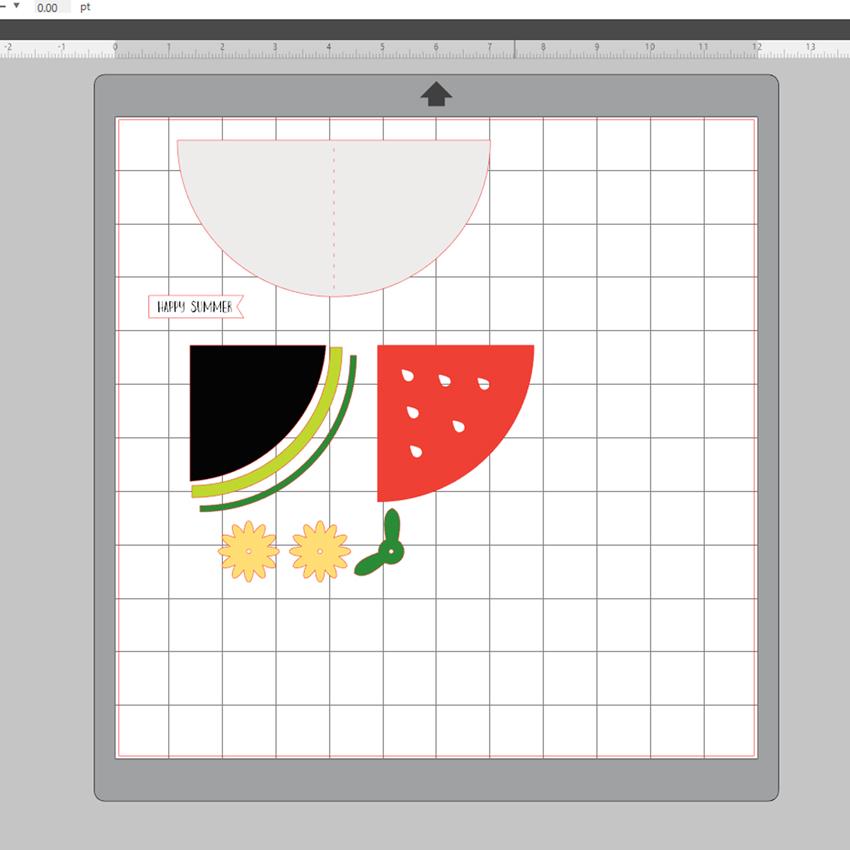
Lori has a lot of fun and cute Summer files to choose from. I chose Popsicle (Lori’s shop, Silhouette Store) , Ice Cream Cone ( Silhouette Store), and Watermelon Shaped Card (Lori’s shop, Silhouette Store).

I opened the 3 Popsicles file to show you how to take a cut and make it into a fold over bookmark.

To get the basic shape of the popsicle, I opened the Trace option and highlighted the shape and clicked on “trace outer edge”. That will give me the entire shape of the popsicle to create the base of the bookmark.

Then I duplicated the shape, flipped the one vertically, aligned it with one above the other, and then welded both pieces together. After I cut that piece out, all I have to do is fold it in half and add the decorative top layer.

If you would rather try your hand out with something a little easier you could always use one of Lori’s card svg files.

Now comes the easiest part of this tutorial and that’s adding magnetic strips to the insides of the bookmarks. I have a roll of sticky back magnetic strips so I just cut a couple of pieces off and added them to each one.

And now comes the funnest part of this tutorial and that’s decorating each bookmark.

I used some stickers and die cuts from Lori’s new I Love Summer collection to make my bookmarks pretty! That’s all from me today! Hope everyone is having a great Summer!
A New Friday $5 Bundle
Hi Everyone! Today we have a new Friday $5 Bundle! It will ONLY be available until Midnight Sunday and when it’s gone it’s gone. These SVG files can be used with Cricut Explore, Silhouette Studio (with the Designer Edition upgrade), Scan N Cut, and any other cutter that will work with SVG files. Help spread the word by telling your friends and announcing it on social media!
Now through Sunday, you can pick up this Birthday Bundle including 5 fun SVG files for just $5!
The cost of this bundle is $5, for $9.95 worth of SVG files, over a 49% savings! Make it your resolution to never miss a birthday! But don’t wait, this bundle will only be around until Sunday at midnight!
Have a great day!
Father’s Day Shadow Box Card with Ashley
Today I’m sharing with you a Shadow Box Canoe Card that you can use for a Father’s Day Card.
You can find this in Lori’s Shop and at Silhouette.
I have some tips for this card if you are using Cricut Design space. When you open this file, the envelope is just slightly too big for the 11.5″ cutting space in Cricut Design Space. To remedy this, you will want to select all the pieces and just resize them a little.
After you have resized, ungroup and select just the envelope to make sure it is under 11.5″. If not regroup all the pieces and try resizing a bit more.
I edited the file a bit further. I recolored the covering panels since I wanted them the same paper as the frame panel.
After cutting all the pieces I started assembling. Lori has a video tutorial here that can help you with the hidden binding. I decided to add a few touches. I added an orange and blue paper behind the canoe to give a little different look. I also inked the greenery in the front of the card. I used Lori’s paper line with Echo Park called Summer Adventure.
The back of the card is where you glue a panel to include a notecard.
And folded flat, this card fits into the envelope.
Have a great day!