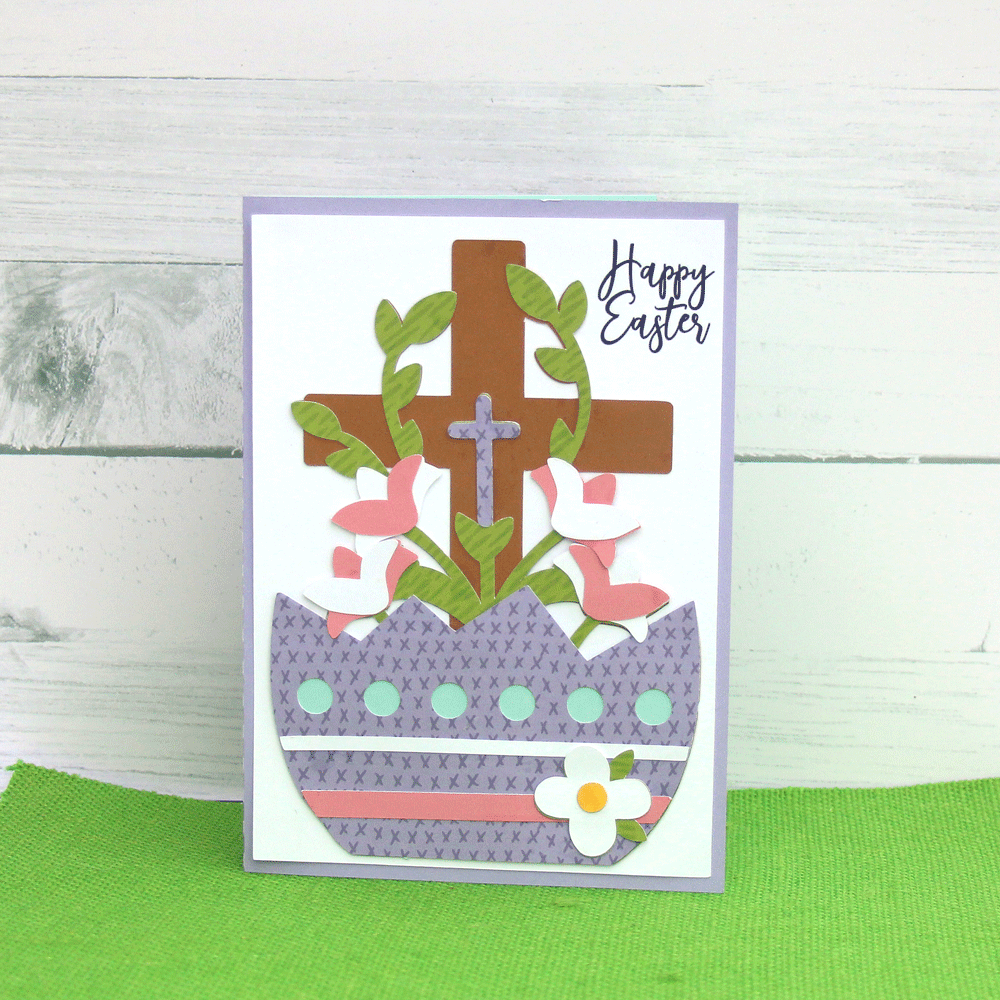
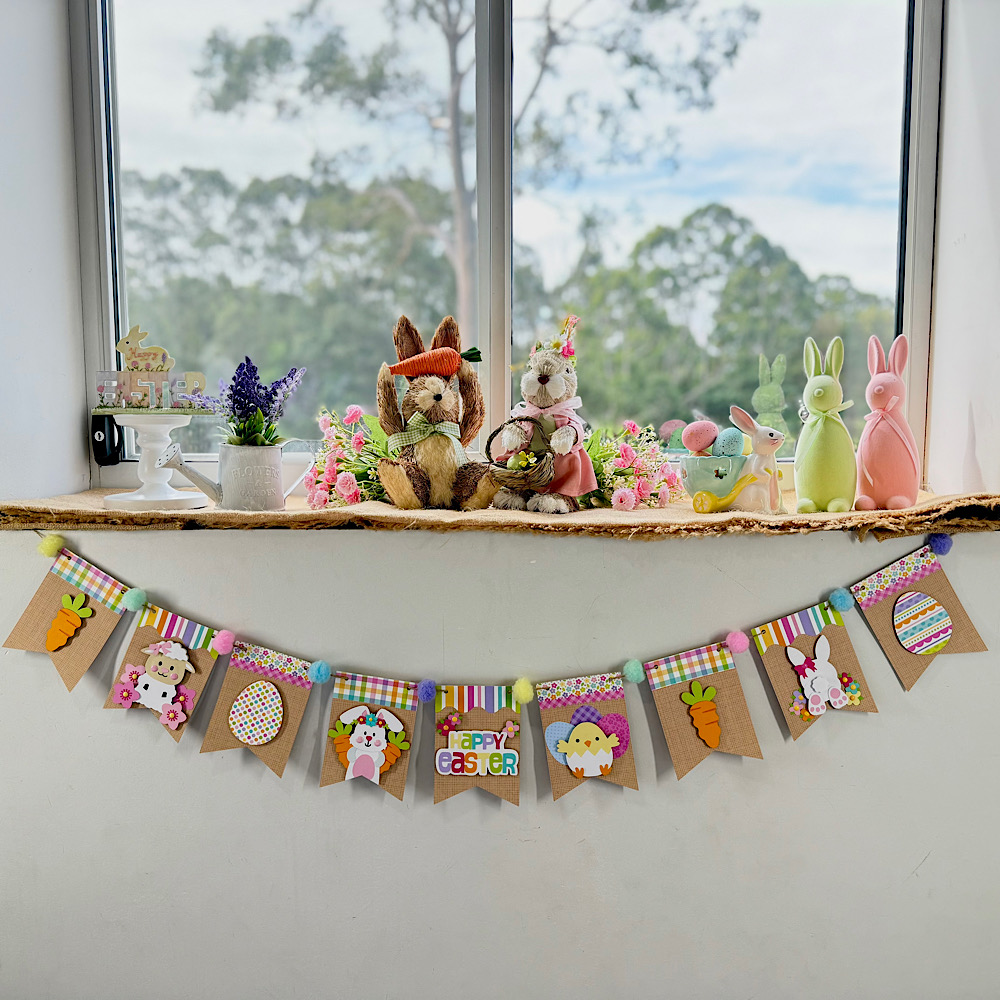
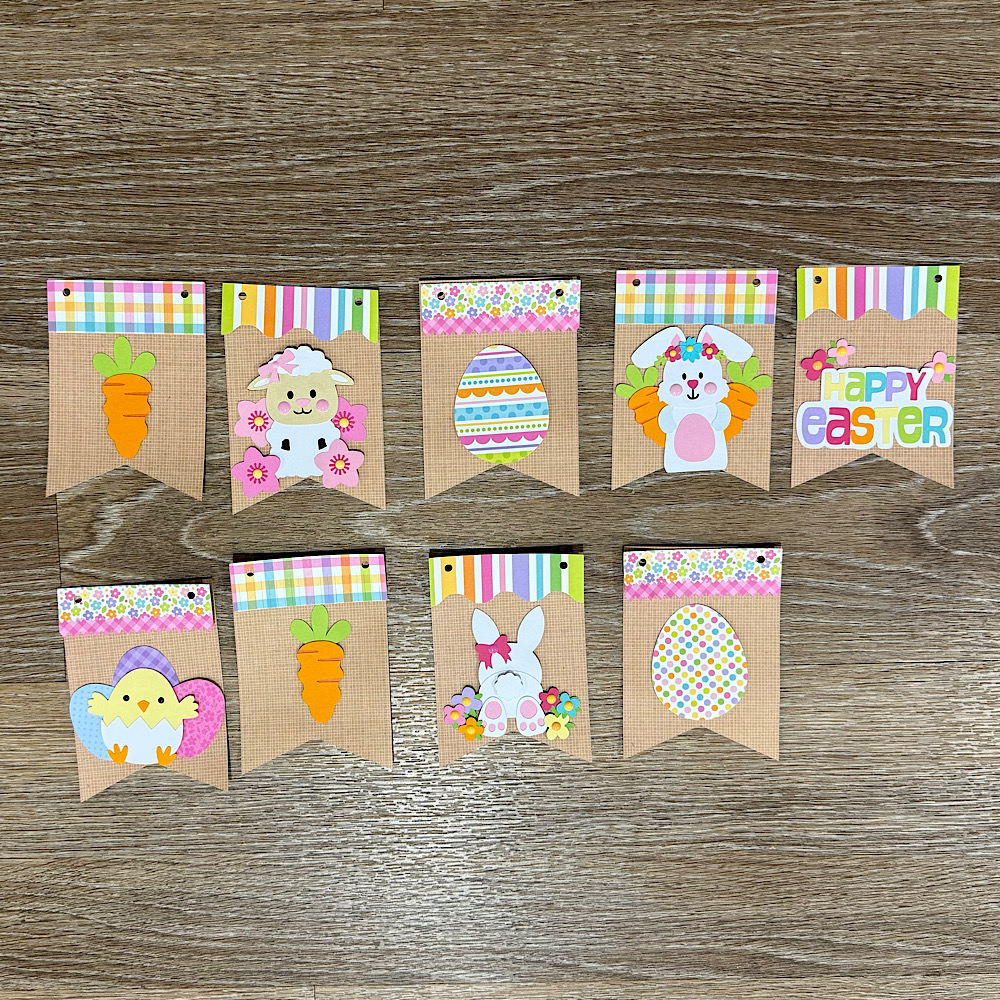
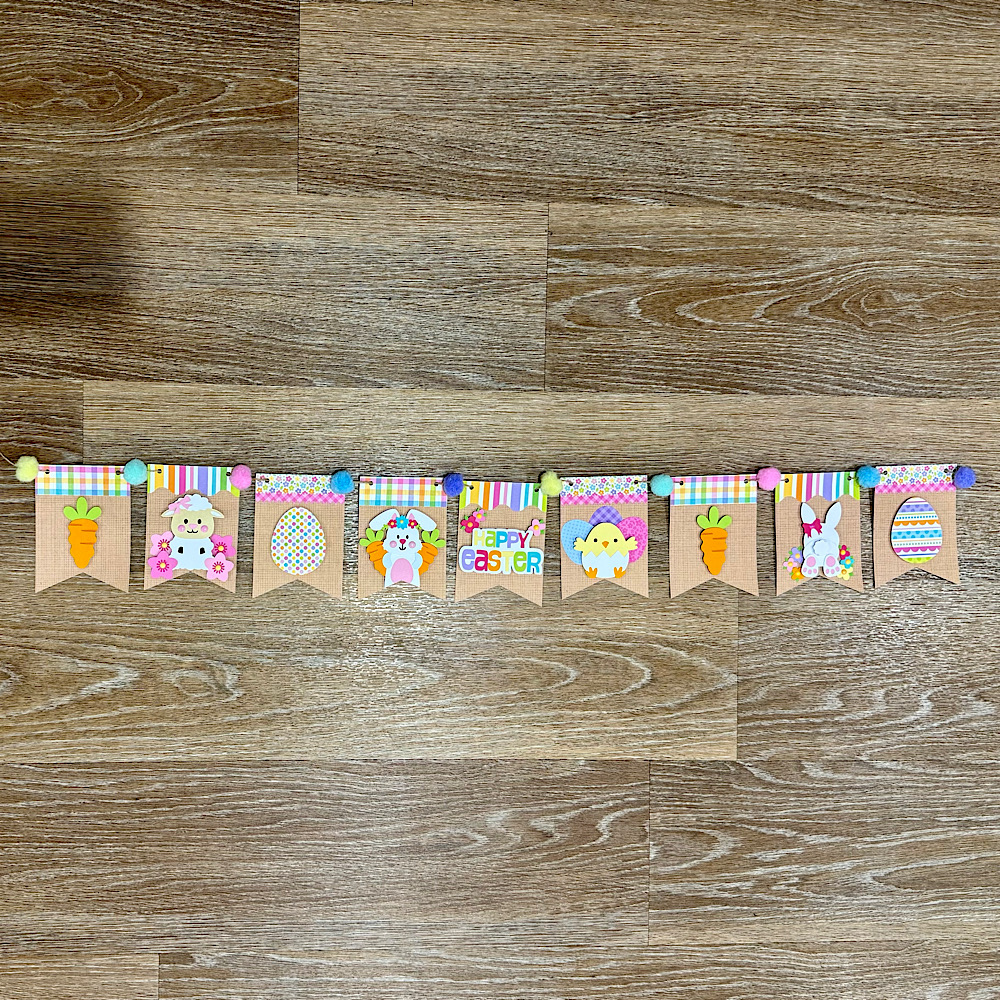
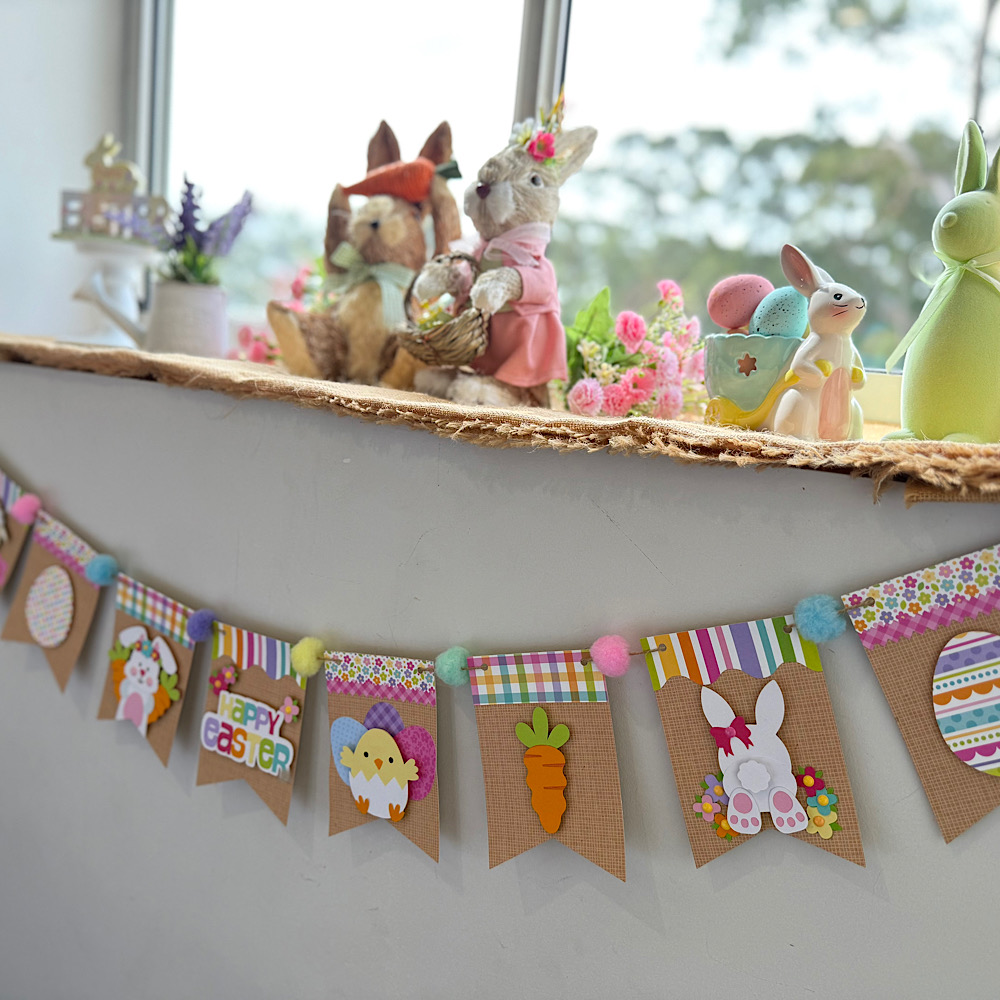
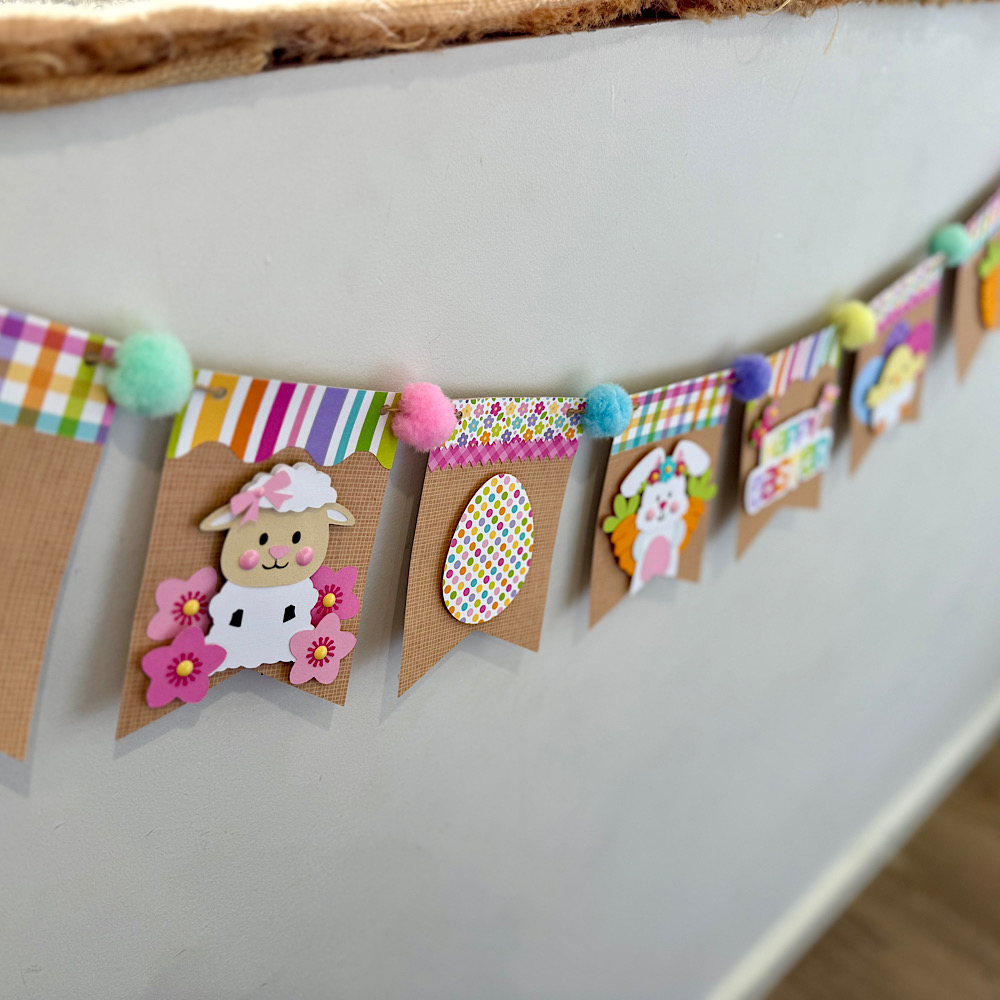
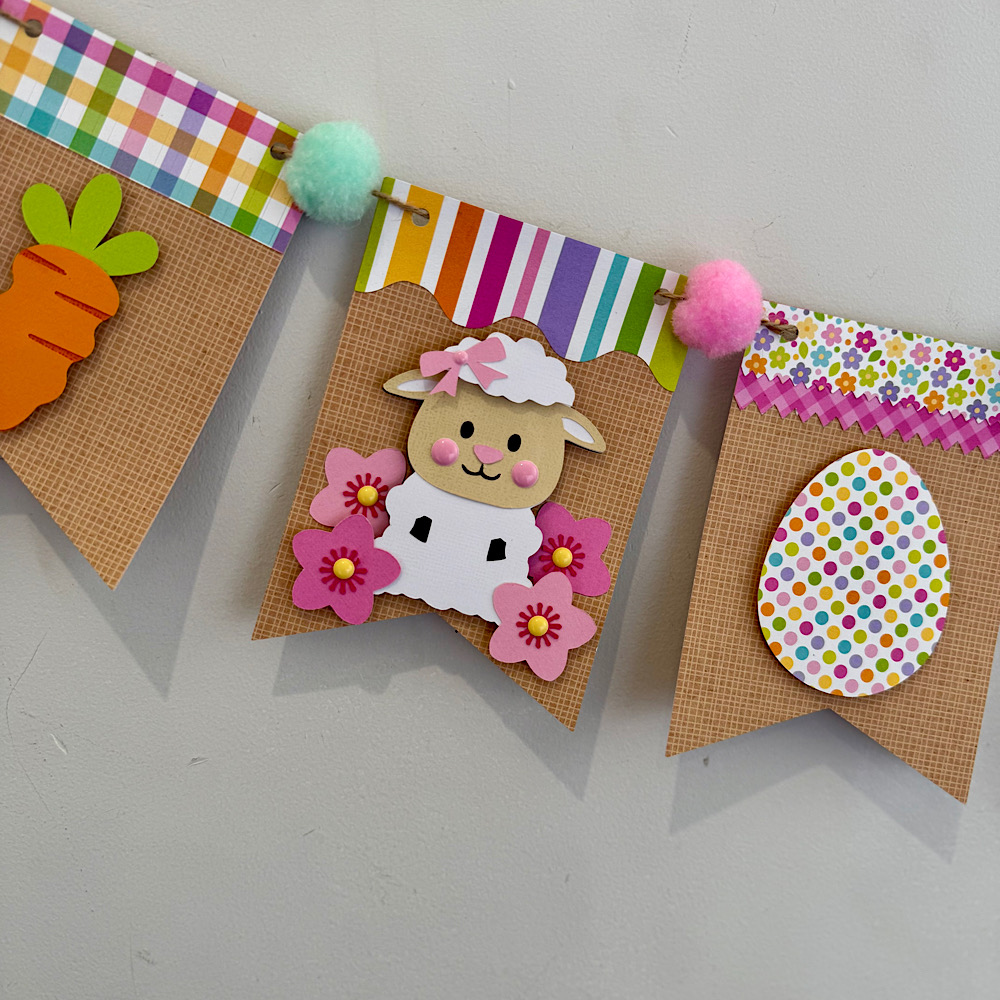
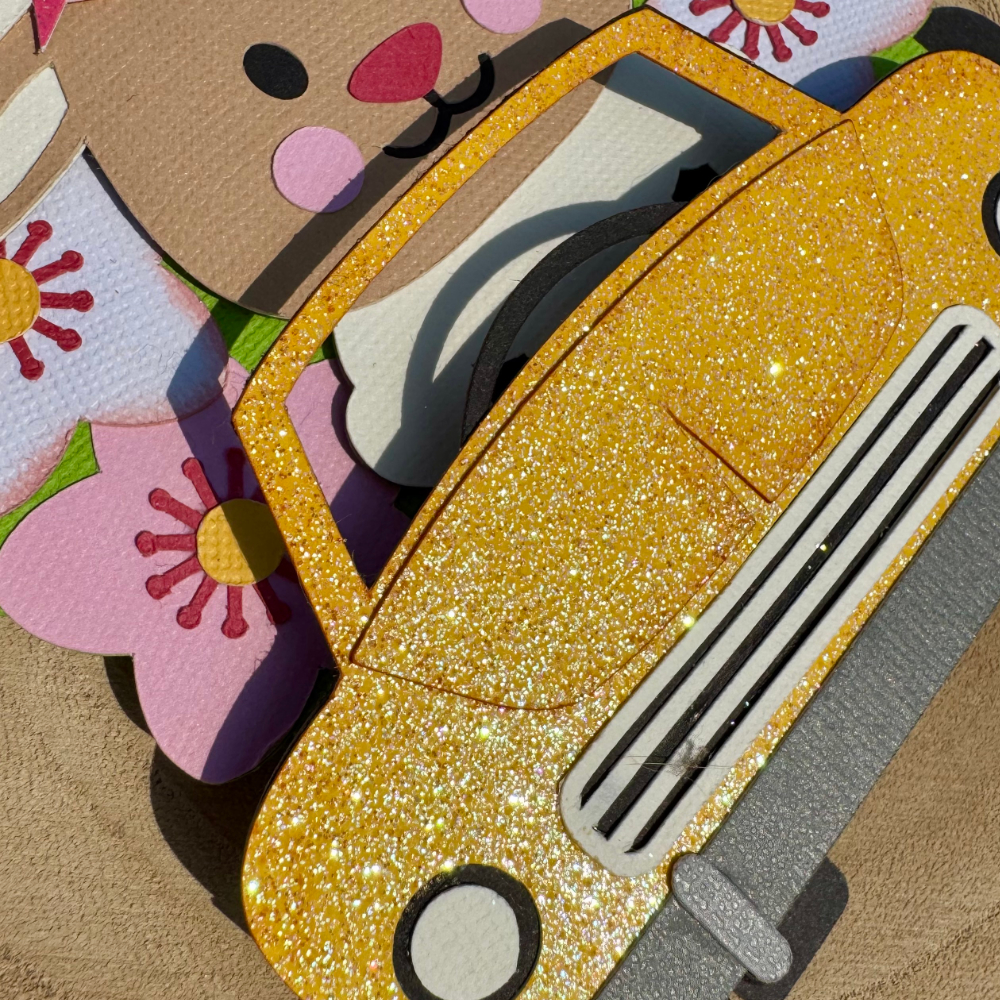
Hello crafty friends. Today I want to share with you how I made this cute Easter banner using 6 Lori Whitlocks Files:
I wanted my banner to have a pastel rustic feel. I chose some Doodlebug kraft gingham cardstock for my bunting base. Then some coordinating coloured papers to match.
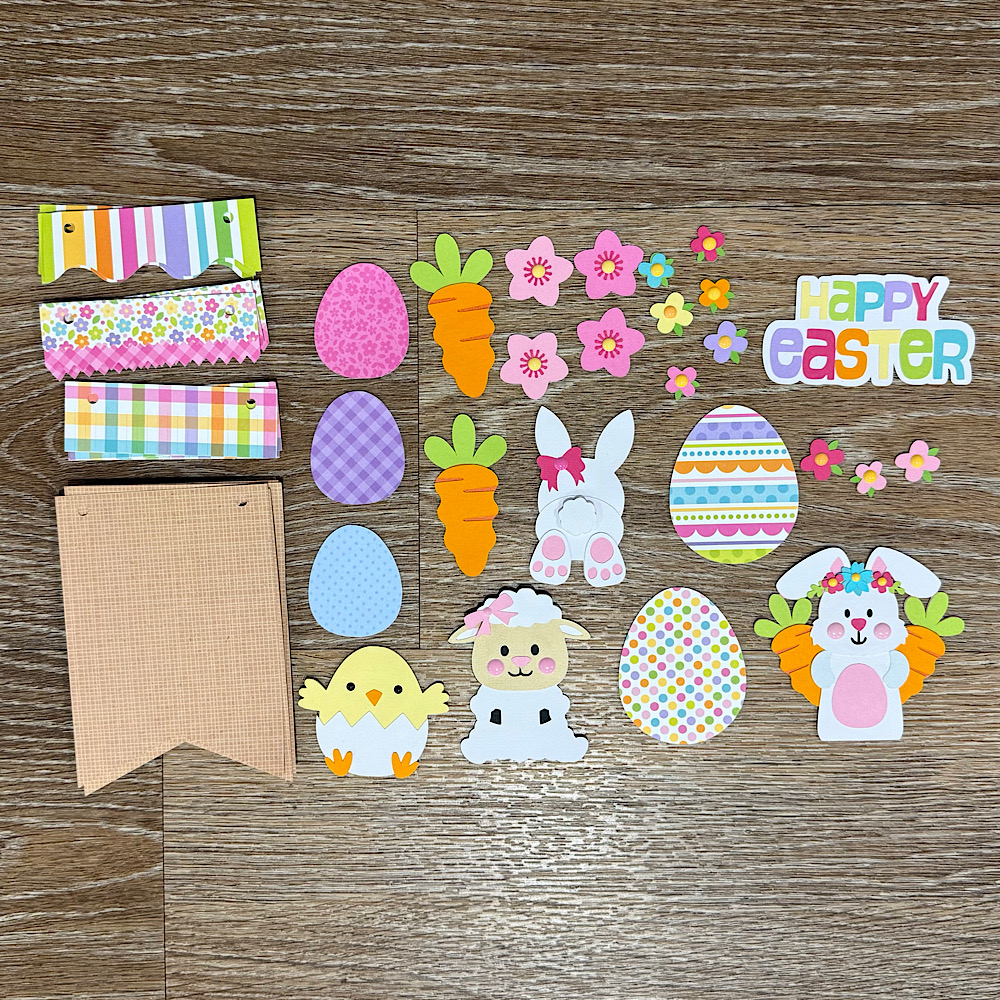
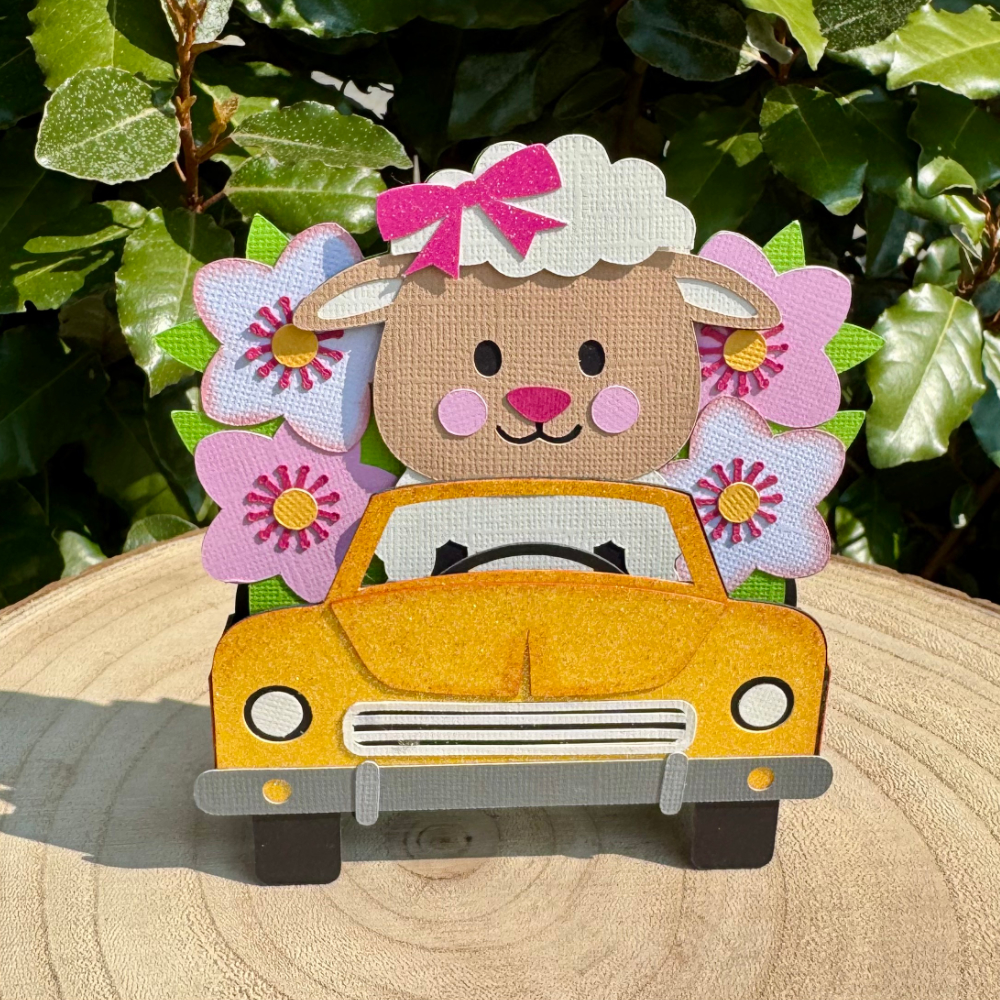
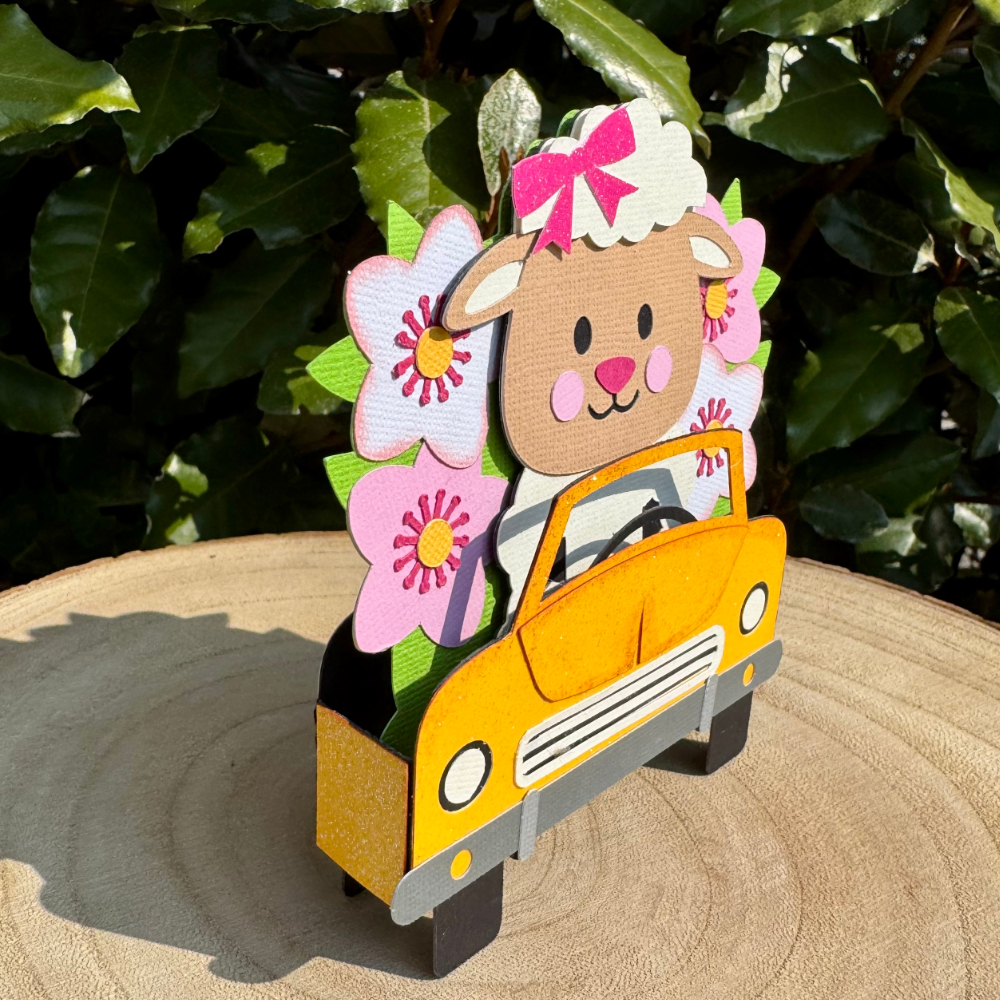
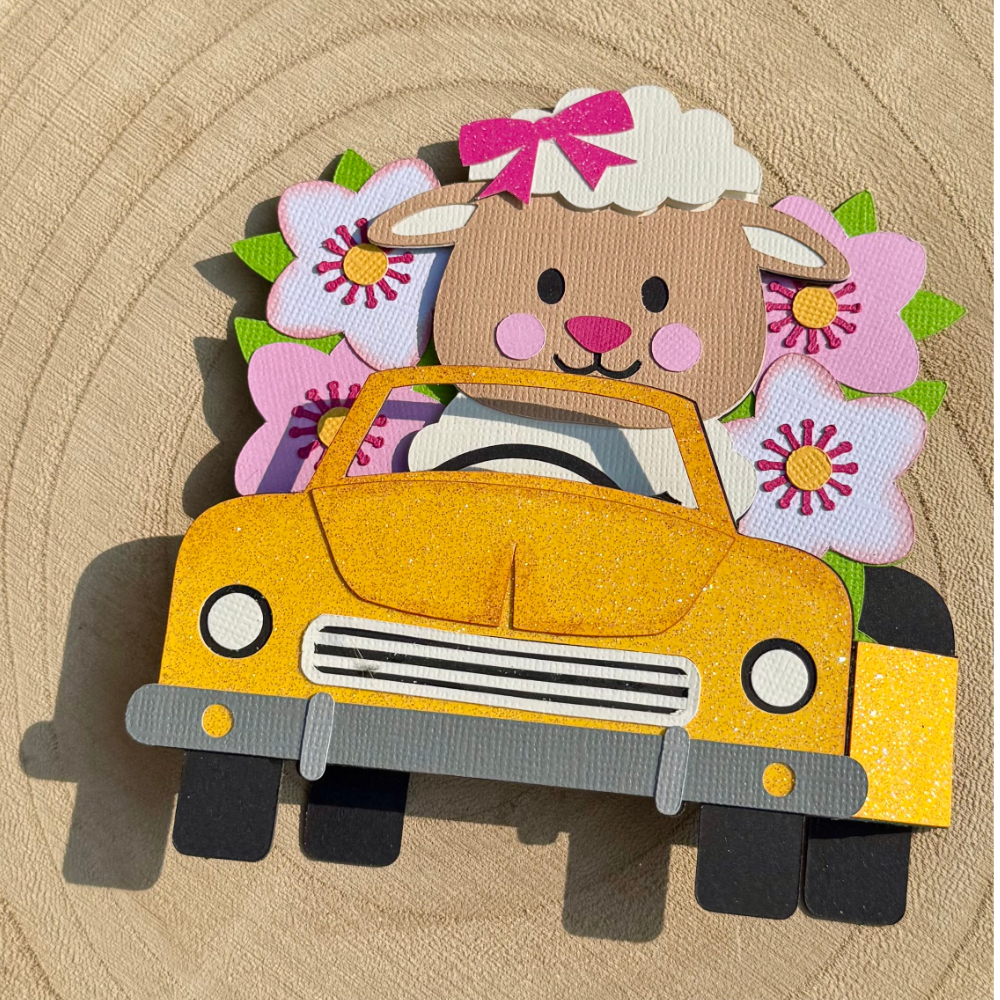
To start my project I opened all the files in Silhouette that I wanted to use. I deleted the parts I didn’t need then I copied them onto one page with the bunting. You will see I have used the similar bunnies from the 5×7 Easter Bunny Card & Easter Bunny Car box card. I did this because the carrots in the box card are whole carrots once you ungroup everything. Also she has more of a body. I omitted her bow & used the floral head piece from the 5×7 card. You can just use the Bunny from the Easter Bunny Car box Card if you wish. I also took the extra step of using the egg from the topper to give the bunny a belly like the one in the 5×7 card. To do this I used the same step below by sizing it onto the bunny.
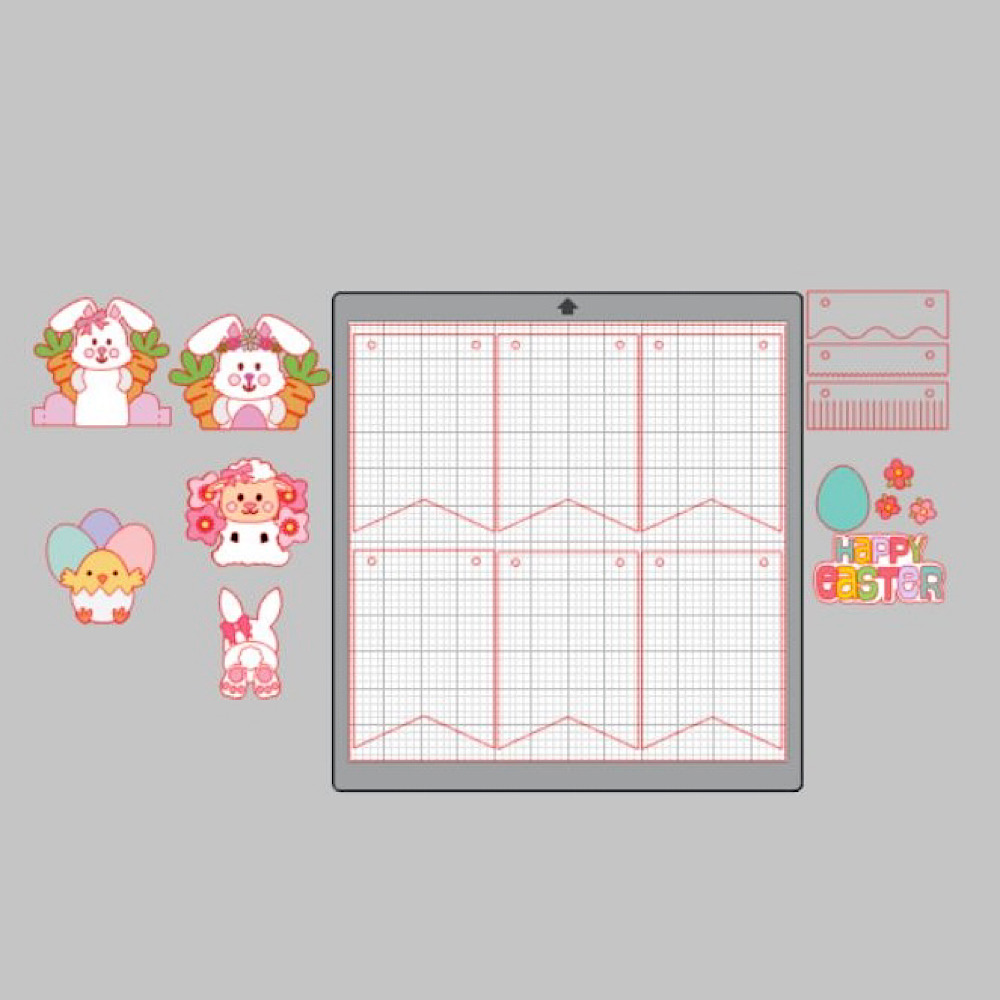
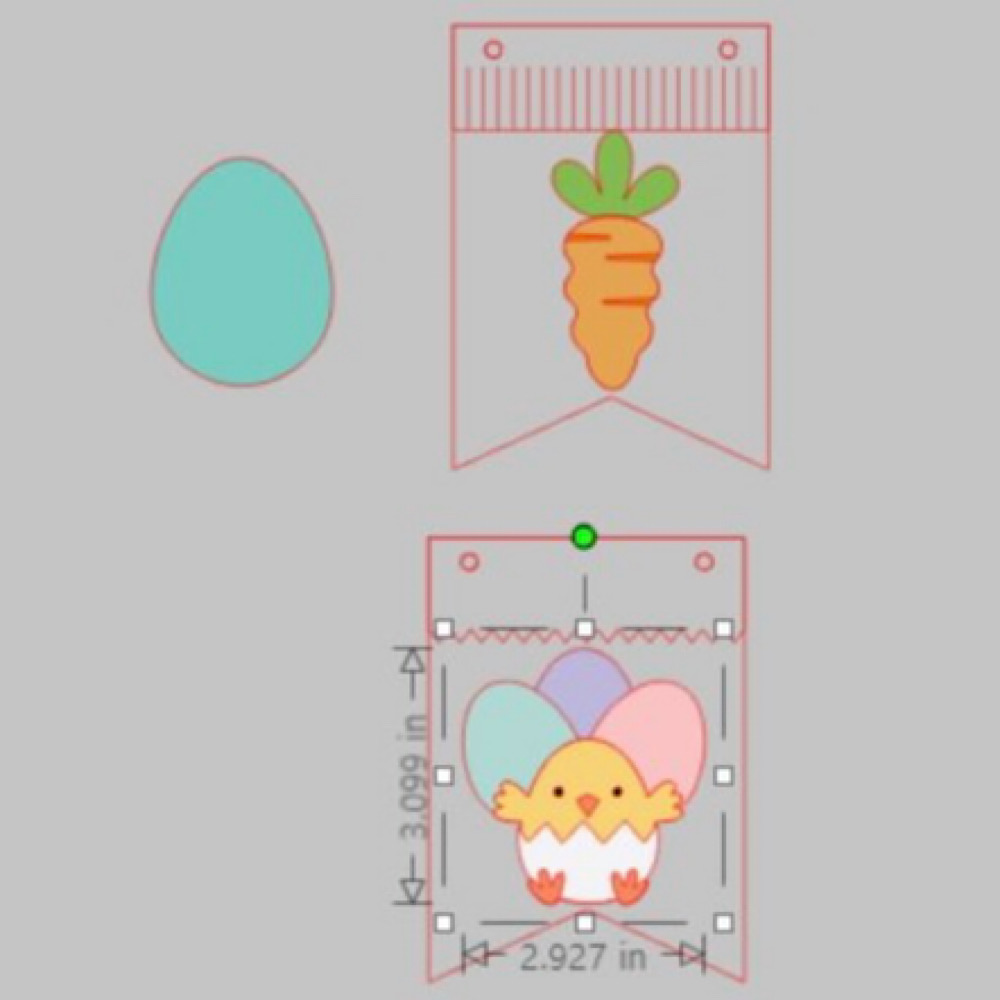
When you open the Bunting file it will have 3 bunting shapes across the page. I right clicked over all 3 & enlarged by dragging the corner just enough so that all 3 bunting pieces fit across my page. I then coppied all 3 & pasted another row. You can make yours bigger or smaller however you please. I did mine this way as it will give me the most bunting pieces, (6 in total per page), without too much scrap. I cut 9 bunting panels in total. Next I sized my images one by one. To do this I copied a bunting panel to the side of my page. I then placed my image piece inside & enlarged or reduced the size making sure it fit inside. Make sure you place the little panel across the top of the bunting as well as I did in my image below. Do this step for all your pieces.
Now once you have all the sizes correctly cut out all your pieces & glue together all your image pieces.
Then just place everything onto the panels to see what order you want everything to sit. Once you are happy with it, it helps to take a photo so that you remember where to glue everything.
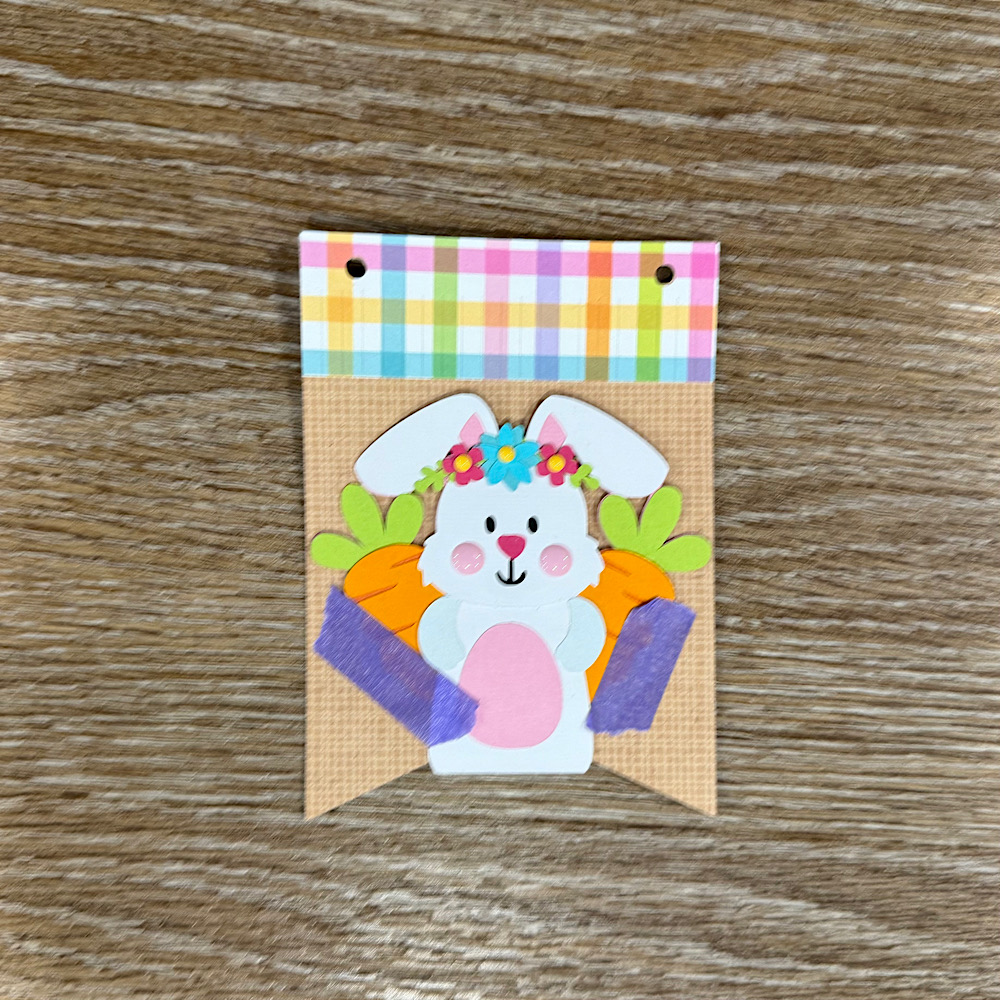
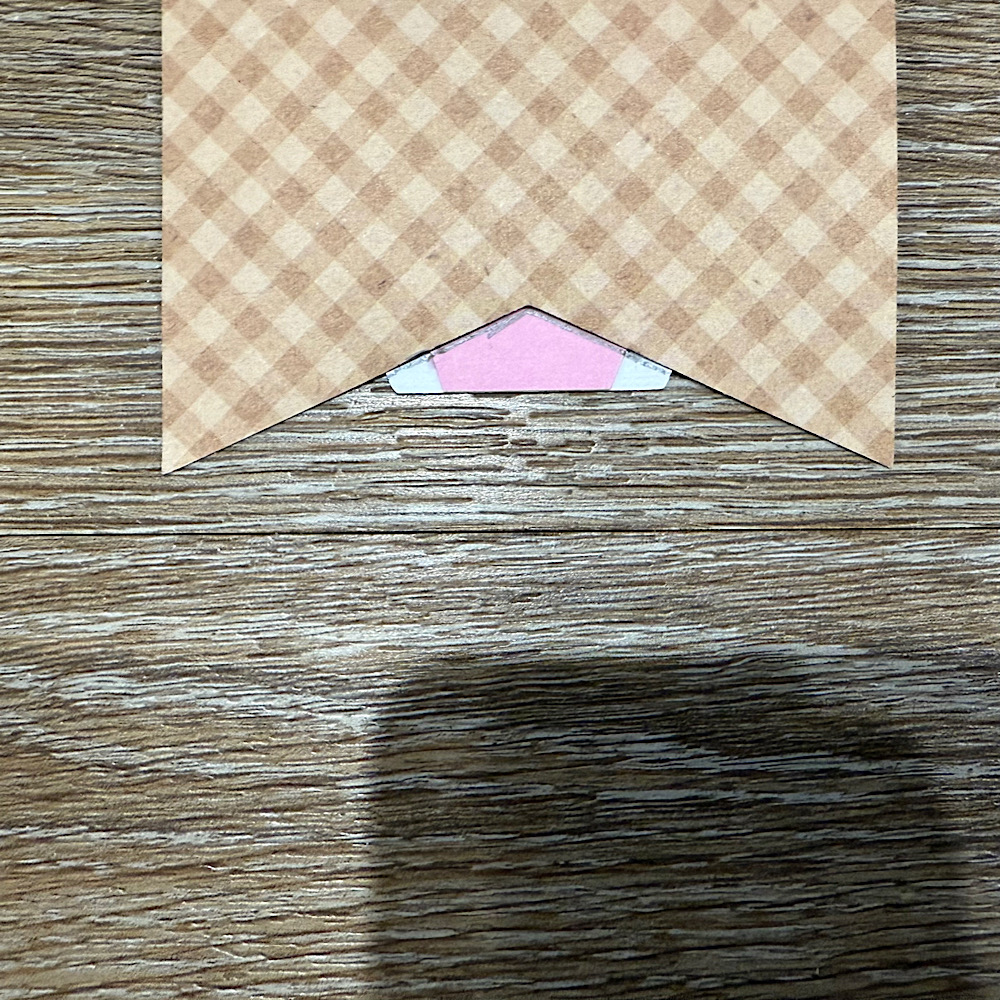
Now glue the panels onto the bunting base. You will notice that the body on the bunny is a little long. Before I stuck down the bunny I placed her onto the bunting with washi tape, then I turned the bunting over & traced the edge with pencil along the back of the bunny. I then cut along the pencil trace & proceeded to stick the bunny onto the front of the bunting.
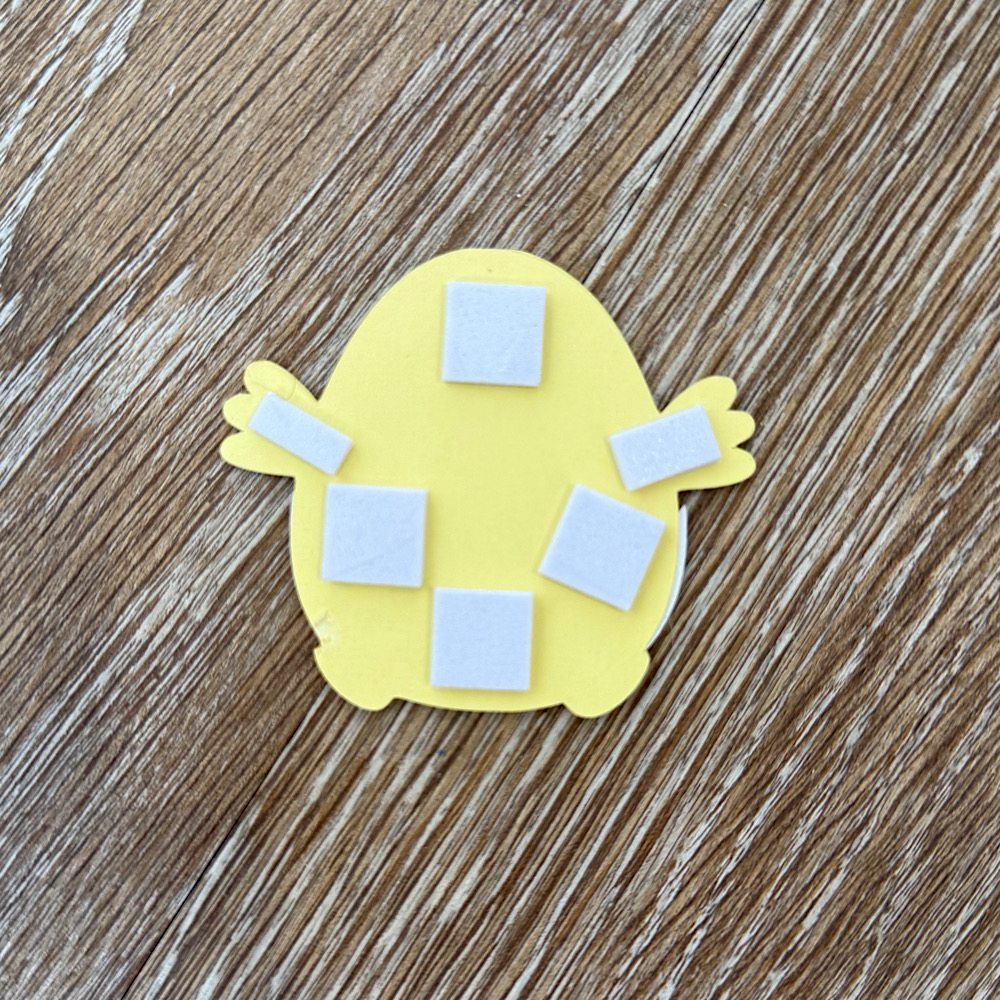
I used foam squares to stick down my image pieces. This gives them a raised look.
Once you have all the bunting pieces ready the last step is to thread some twine & pastel pom poms through to finish the banner.
You can use as little or as many files as you wish. The possibilities are endless. I just love Lori’s files & couldn’t resist the temptation.
I hope I have given you some inspiration today to create an easter bunting banner!
For more inspiration, check out my
Instagram!
Thanks for stopping by!
Hugs
Noelene 🙂