March Creative Team Blog Hop

March is here, and it’s the perfect time to jump into some fresh creativity! 🌷 Our Creative Team has been busy crafting beautiful projects to inspire you—from fun celebrations to springtime designs. Each designer has created something special, and we’re excited for you to see it all.

Be sure to hop along to each blog for plenty of inspiration. You’re bound to discover new ideas and projects you’ll want to make yourself!

Lori Whitlock <<<(you are here)

💗 March Blog Hop Sale is Here! 💗

From March 10–14, enjoy 30% OFF all digital files at Lori’s SVG Shop — including commercial licenses! Use code MAR2026 (case-sensitive) at checkout and stock up on new designs for all your upcoming projects. SHOP HERE.

As a thank-you for hopping along with us, we’ve got a little treat for you! For today only, you can download the A2 Insert Card Flower 2 SVG file absolutely FREE. Simply add it to your cart and complete checkout—no codes, no catches, just a fun gift from us to you. 💝

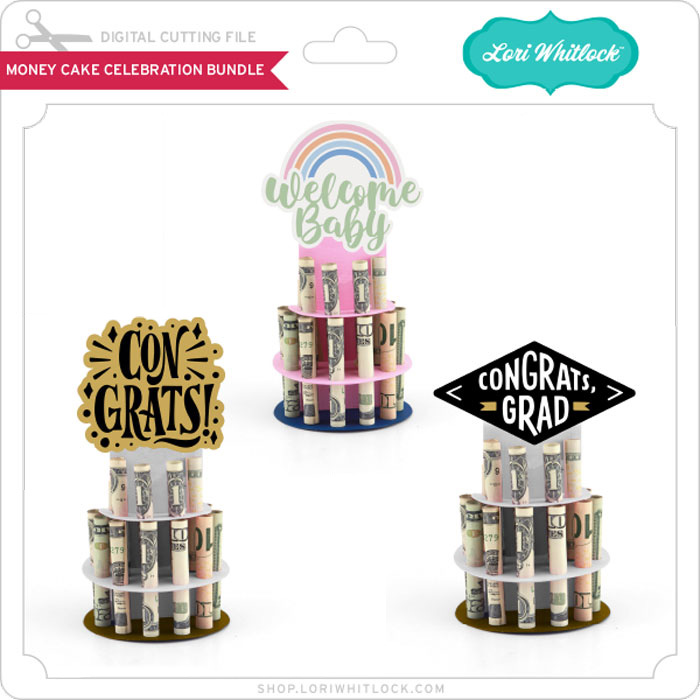
I’m also excited to share my Money Cake Celebration Bundle! This fun and unique project lets you create a tiered “cake” that holds rolled bills or small treats—perfect for gifting at graduations, baby showers, weddings, and other special celebrations. There’s also a couple of birthday ones in the shop from last week.

This is such a creative way to give money that feels festive and thoughtful, and it makes a fantastic centerpiece or party display!

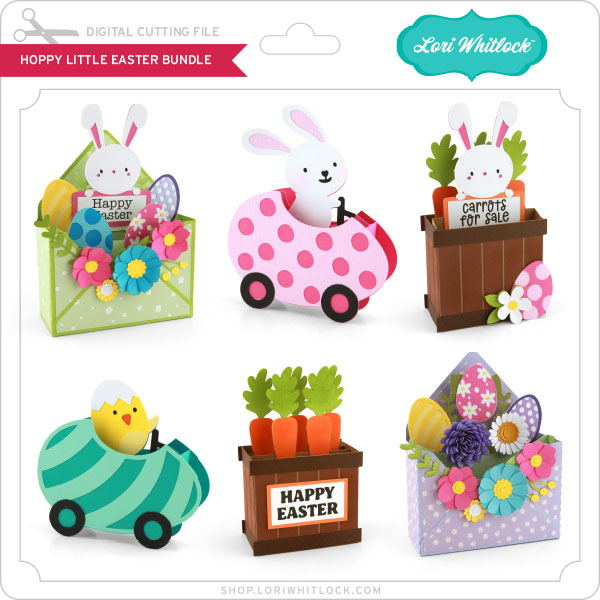
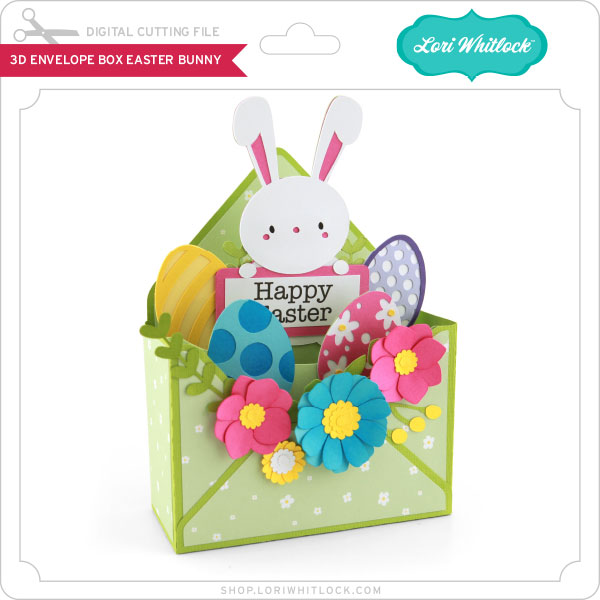
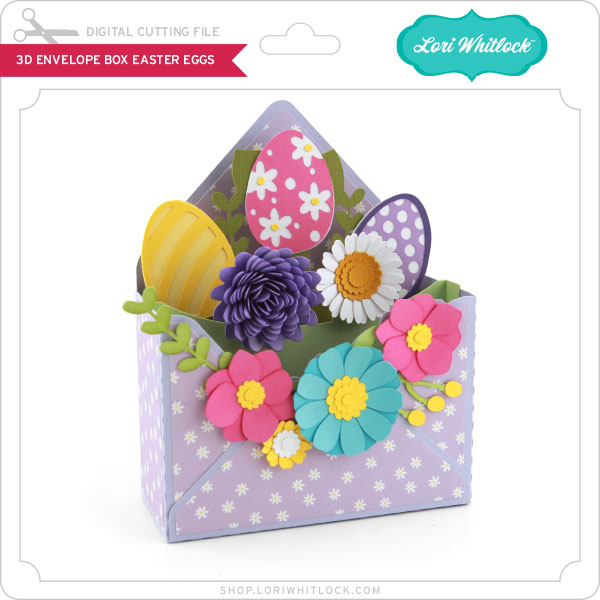
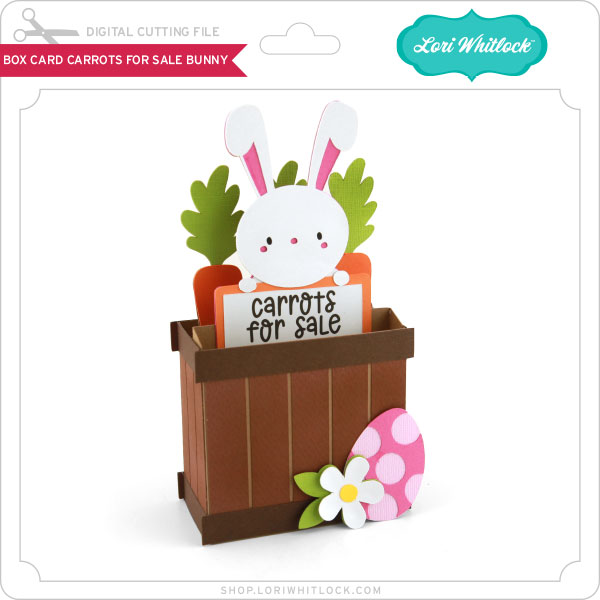
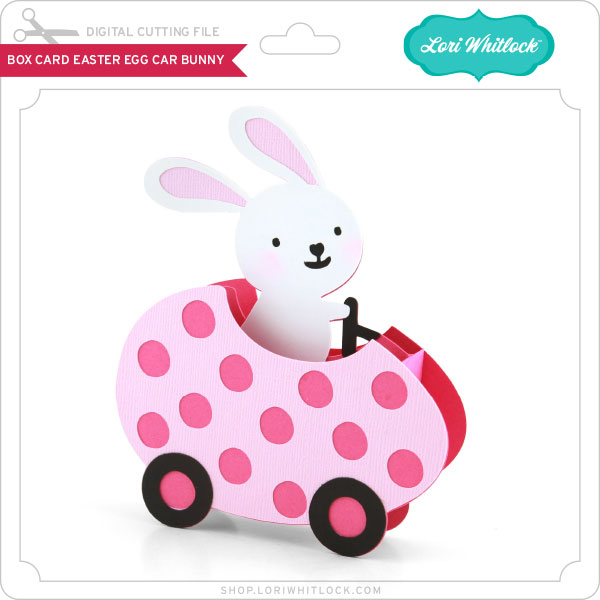
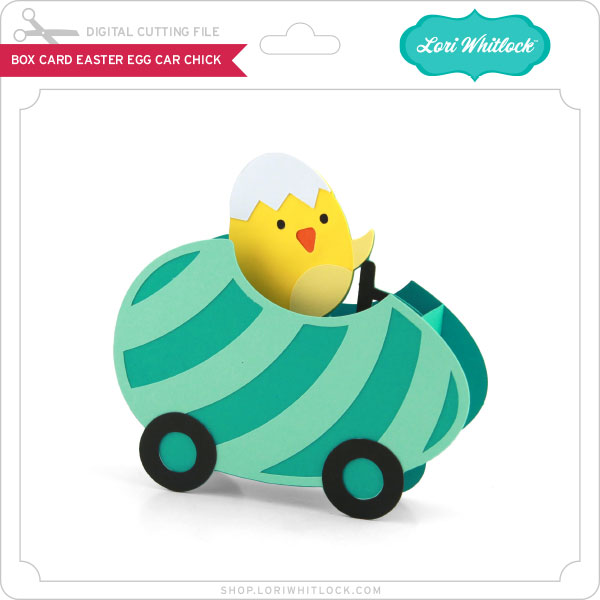
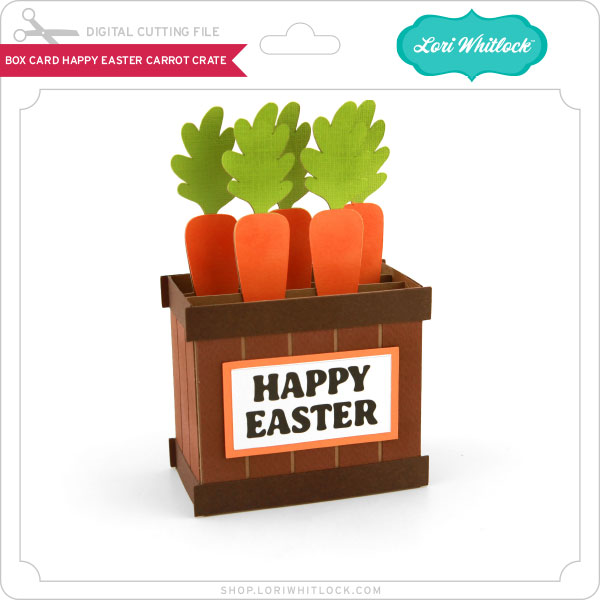
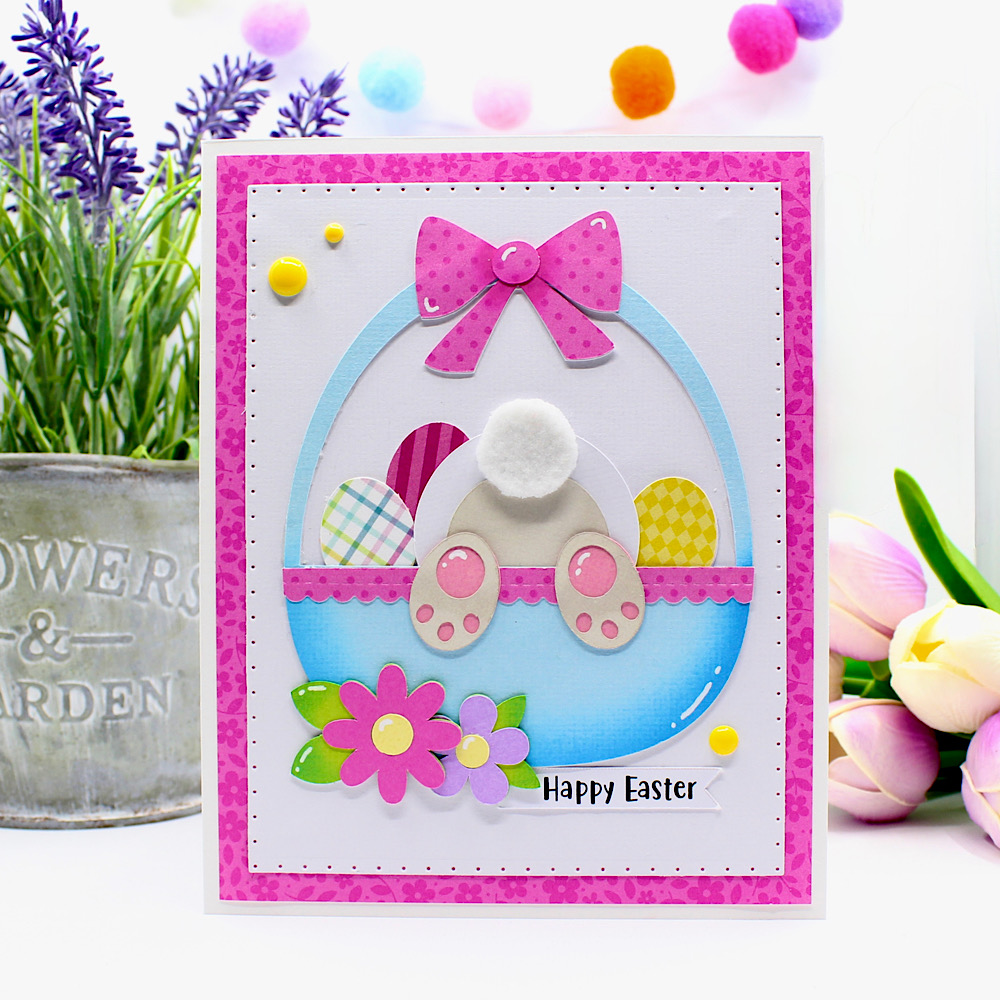
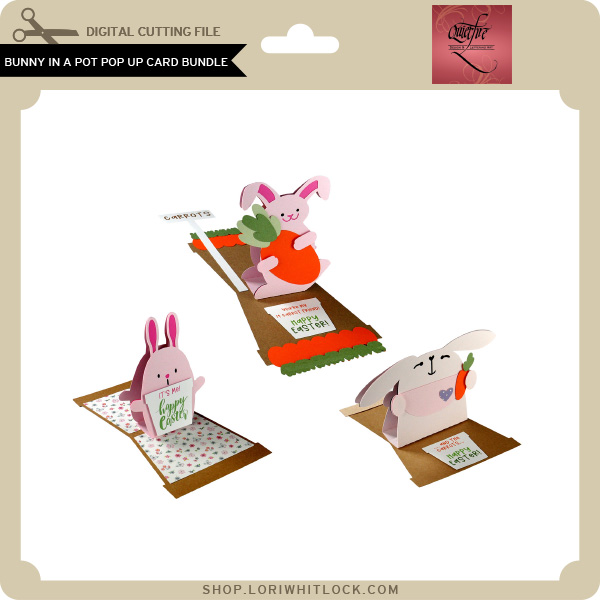
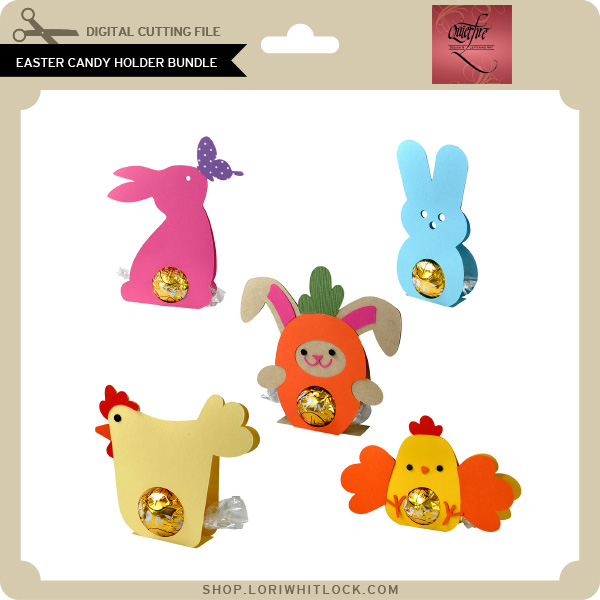
Check out Quietfire’s darling new Easter files…

***CLICK HERE TO GO TO THE SHOP***

How about a giveaway? You’re in luck! Enter our giveaway below, and we’ll announce the winner on the entry form right here on this blog post. Keep an eye on your inbox—you might be the lucky winner!

Be sure to visit all of the Creative Team member blogs listed above for even more inspiration. Thanks so much for stopping by, and happy crafting!

~Lori

Lucky To Do List -Lets Make it Today!

Hi friends, it’s Holly! Today I’m excited to share a fun “to do list” project using a file from Lori Whitlock and Doodlebug’s “Lucky Me”paper collection. This “tutorial” will guide you through creating an easy “to do list” folio. This is the perfect size to tuck down in your purse when you are on the go, or gift it to a special friend.

Files used: SVG, Silhouette

Happy crafting!

Holly

5×5 Mini Album in a Box

Hi ladies! Traci here and today, I’m sharing a super cute mini album with a video tutorial. I’ll walk you through how I made this scrapbook using one of Lori’s amazing cutting files. It’s a fun project that’s perfect for photos of spring, family, friends, St. Patrick’s Day, and fun every day memories!


Since my Lori Whitlock and Doodlebug Design Team Projects fell on the same day, I combined their products to create this happy and colorful keepsake. I used Lori’s 5×5 Album with Box File (SVG, Silhouette) and Doodlebug’s cute Lucky Me Collection.


The cut file makes a box and a mini album that fits perfectly inside. I cut the base out of white cardstock, then decorated it with lots of 12×12 pattern papers and fun embellishments.


I made this with a spring theme but you could use ANY collection and create it for Easter, Mother’s Day, a birthday, summer, etc. What a great gift idea, and … it comes with it’s own box, lol!


The 
album is a perfect size. At 5×5 inches, it’s not too big, not too small … but just right for pictures of a fun event, family, friends, or baby pics. I’m thinking cute mom / grandma’s brag book!


Inside, there are 12 scrapbook pages (6 double-sided). I covered them in bright and cheerful 12×12 pattern papers, then added lots of cute die cuts, colorful enamel dots, and photo mats. 

Here are a few more pages … 


To watch my step-by-step YouTube Video Tutorial for this project, click on the video below …


I hope you like this fun mini album and it inspires you to create one too with Lori’s 5×5 Album with Box File (SVG, Silhouette). Have a great day and happy scrapping! 😊


Blog * Shop * Facebook * Instagram * Pinterest * YouTube

Let’s Make an Easter Basket!


Hi everybody, it’s Holly! Today, I’m excited to share a fun “easy diy” project perfect for spring. This “Easter craft” tutorial shows you how to create an adorable hexagon Easter basket using a file from Lori Whitlock. It’s a great “do it yourself” “craft idea” that results in a lovely “handmade basket” for your holiday celebrations! The paper collection I used “Easter Basket” is also by Lori Whitlock. The beautiful pastel colors in the collection will make you SMILE!

Lori Whitlock Shop 

Silhouette Design Store

Echo Park Paper

Happy crafting!

HollyJo

https://youtu.be/x6GSseC-r6g

https://www.youtube.com/@SmilebyHolly


Easter Basket Boxes

Hello there! Today I am  moving on from Valentine’s Day and on to Easter. I am looking forward to bunnies and chicks!

For my projects today I played with the new Lori Whitlock Easter Basket Collection!

I cut several of Lori’s boxes and added all the fun Easter Basket elements. I spent an evening with my little Sidekick die cutter and die cut my self silly. When I am doing this, I put on a good movie and cut a bunch of pieces out of the different colors and just sort of mix and match away-always sure to have extra pieces because I tend to lose tiny pieces! I had fun adding the sticker elements to the finished boxes as a little extra special touch. Everything was just so fun! 

I die cut 3 baskets and lots of fun little eggs and flowers/leaves in all the different colors included in the new collection. I did cut out some grass from this file to use at the base of the boxes. I removed the scoring lines from the grass piece to cut one long strip and trimmed  pieces to fit each box at the base. As for the boxes themselves, I like to add a little extra matting to allow the patterned paper to pop a bit more. To do that, I open the offset panel and chose offset, distance of .050 and the square corner. In these projects I used white for the extra matting pieces. 

3d  No Glue Suitcase (SVGSilhouette )

Box With Handle  (SVG, Silhouette)

***This tip will help you with these tiny dies.  I used washi tape to adhere the tiny dies on to my paper. I poked out the cut pieces but left the dies taped on to the paper. You can just put these on top of your next paper each time. Just keep the dies in place with the washi tape and store them that way as well. You won’t lose those tiny eyes or rosy cheeks that way! 

Easter Basket: Classic Bundle

Or other products purchased individually as well:

Easter Basket Collection Kit

Easter Basket Solid Kit

Easter Basket Element Stickers

Easter Enamel Dots

Easter Basket: Filled Easter Basket Medium Die Set


Hope you enjoyed these fun boxes!