Hi ladies! Traci here and today, I’m sharing a super cute mini album with a video tutorial. I’ll walk you through how I made this scrapbook using one of Lori’s amazing cutting files. It’s a fun project that’s perfect for photos of spring, family, friends, St. Patrick’s Day, and fun every day memories!
%20%20-%202026-03-02T101053.017.png)
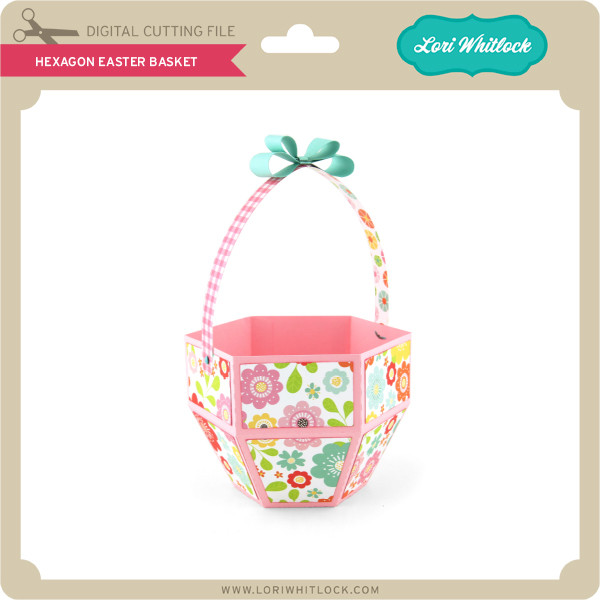
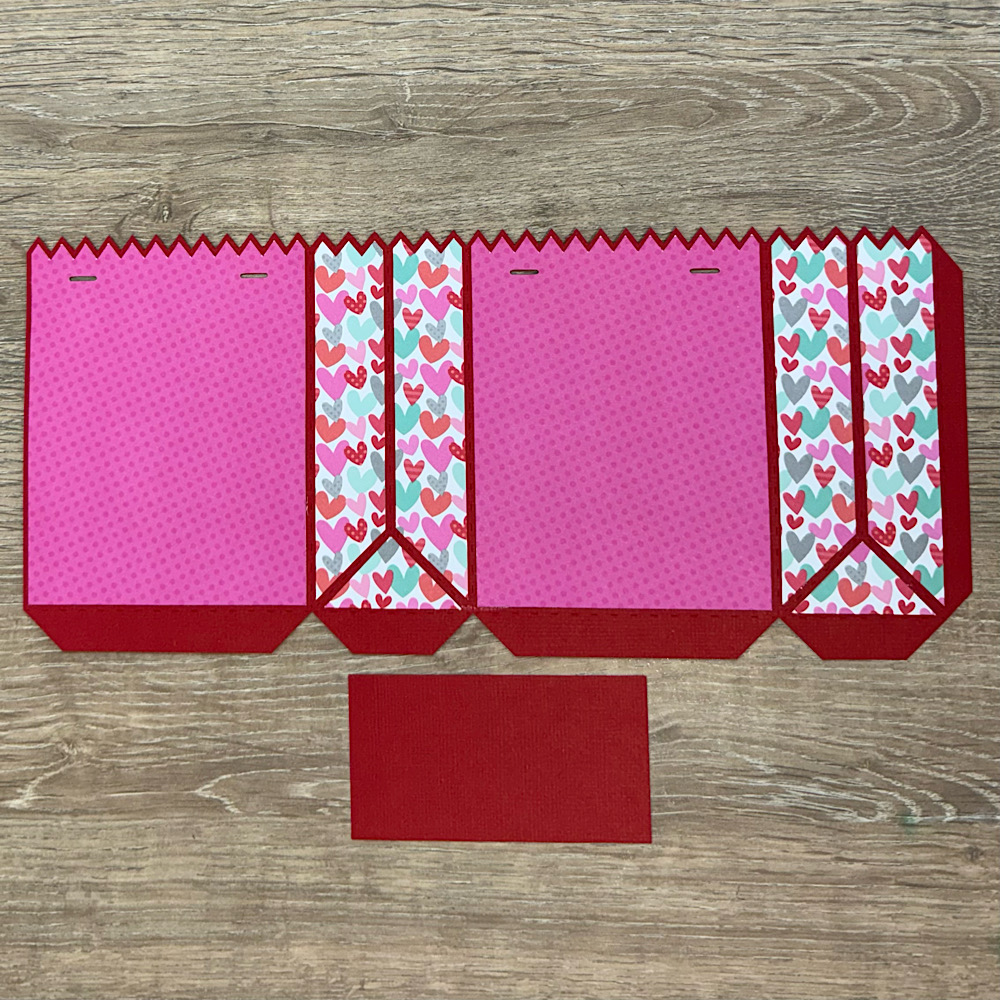
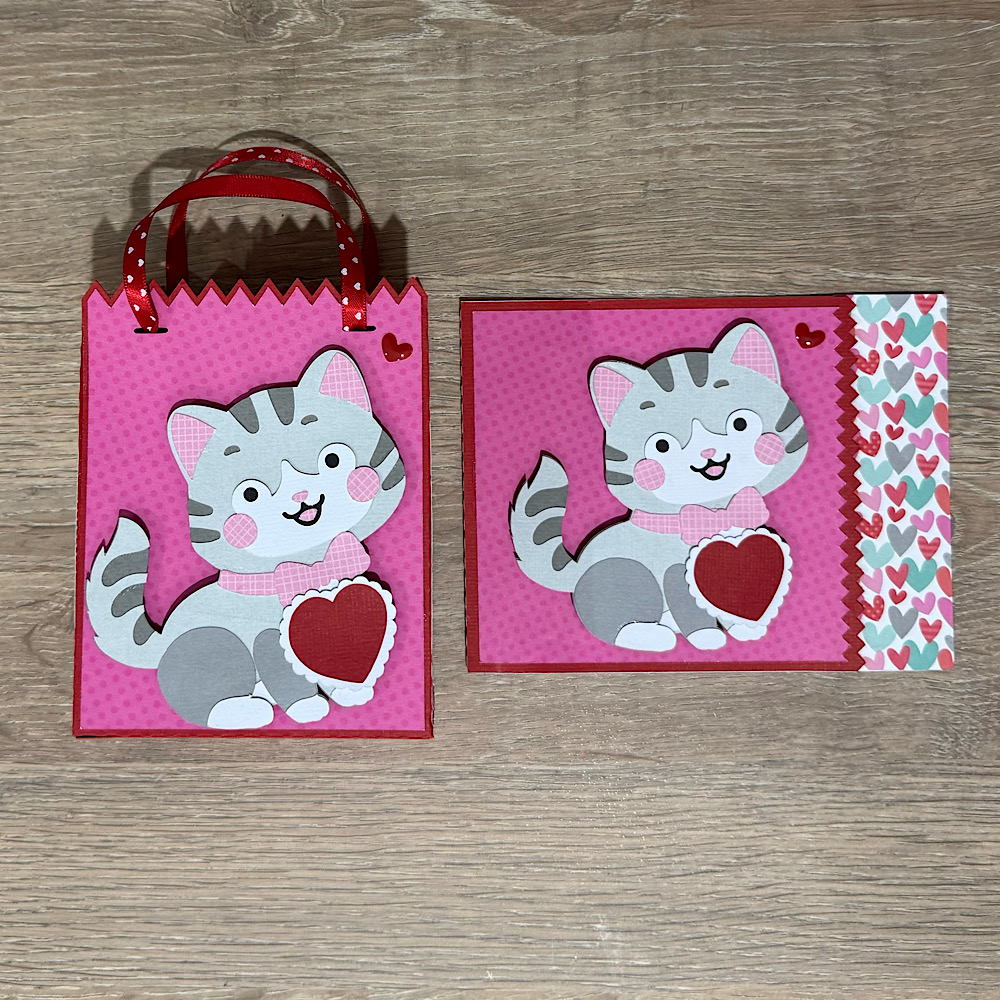
Since my Lori Whitlock and Doodlebug Design Team Projects fell on the same day, I combined their products to create this happy and colorful keepsake. I used Lori’s 5×5 Album with Box File (SVG, Silhouette) and Doodlebug’s cute Lucky Me Collection.
%20%20-%202026-03-02T101046.416.png)
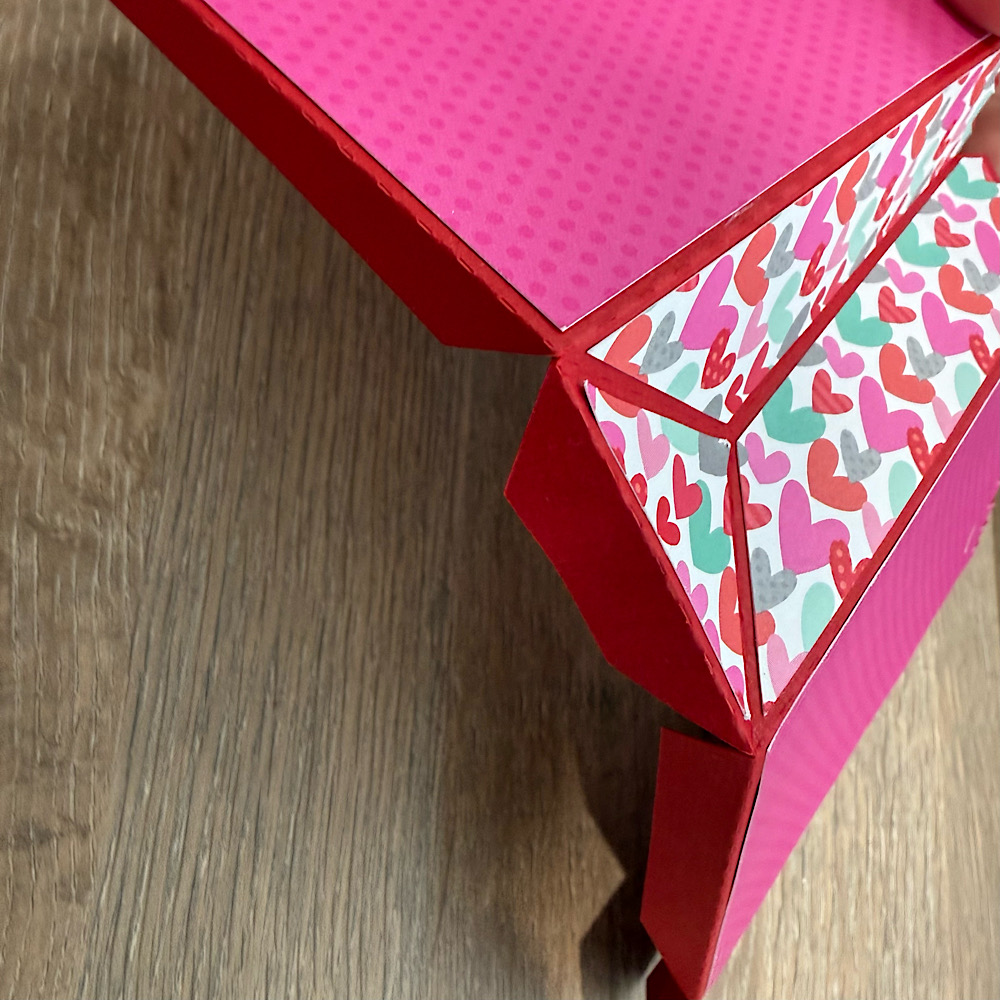
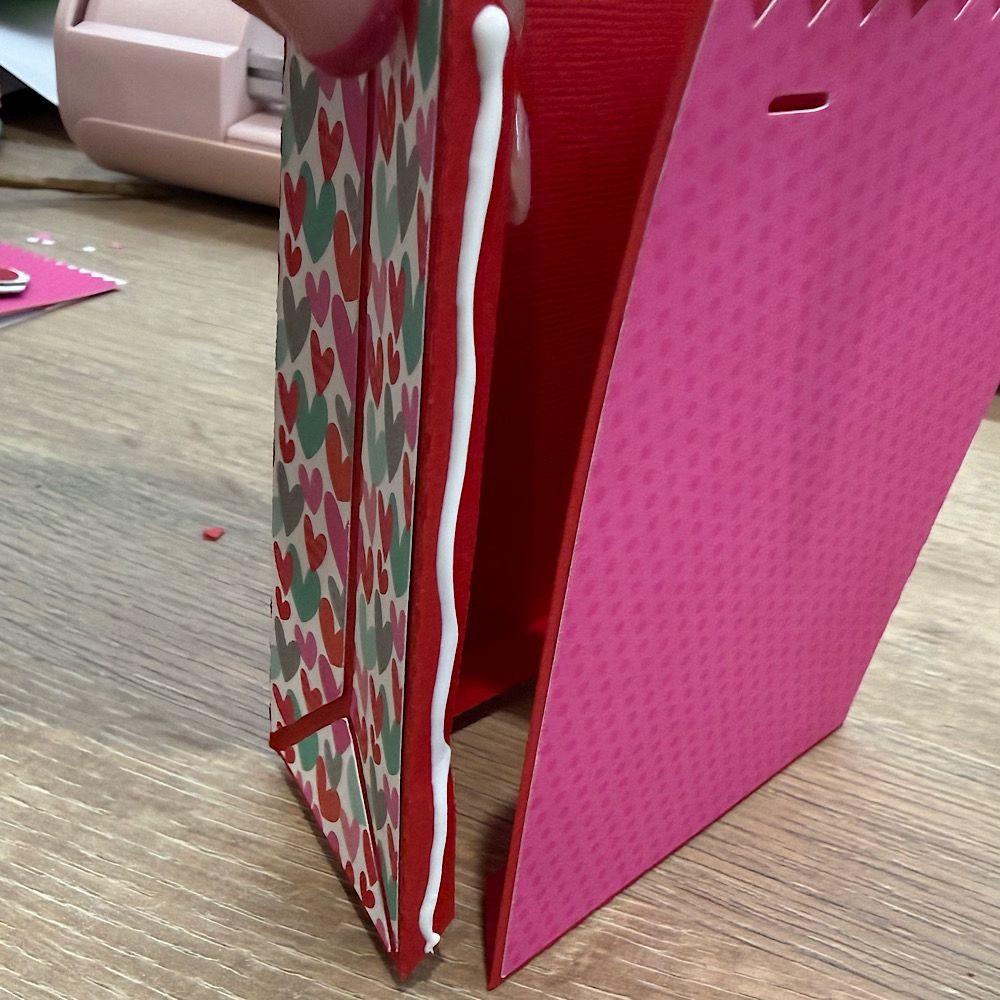
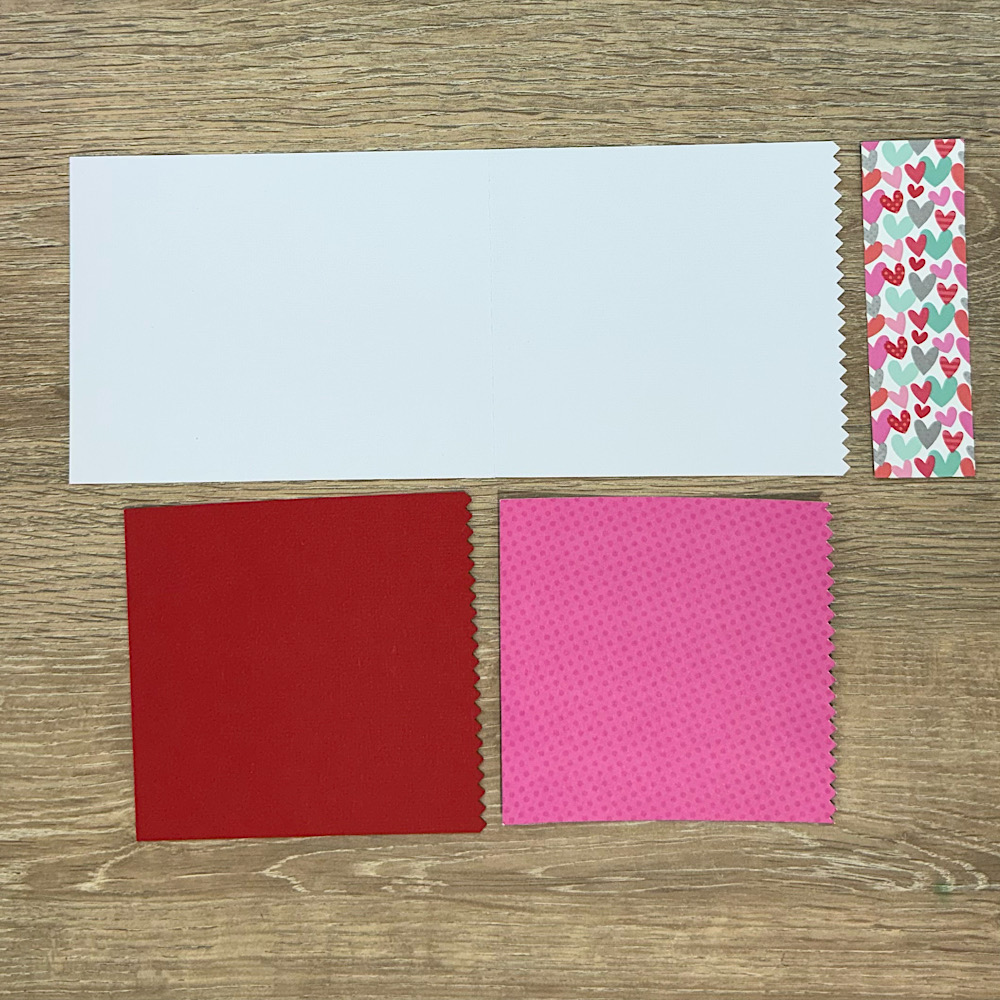
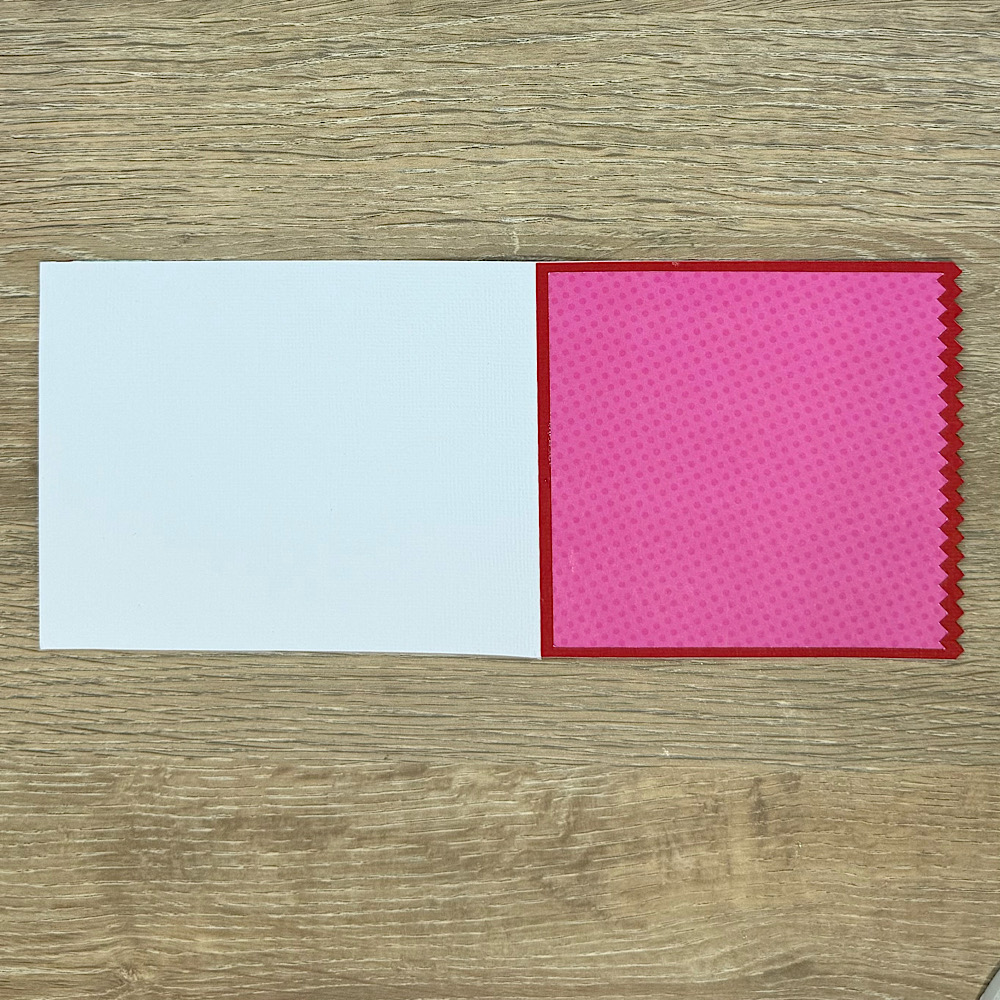
The cut file makes a box and a mini album that fits perfectly inside. I cut the base out of white cardstock, then decorated it with lots of 12×12 pattern papers and fun embellishments.
%20%20-%202026-03-02T101039.821.png)
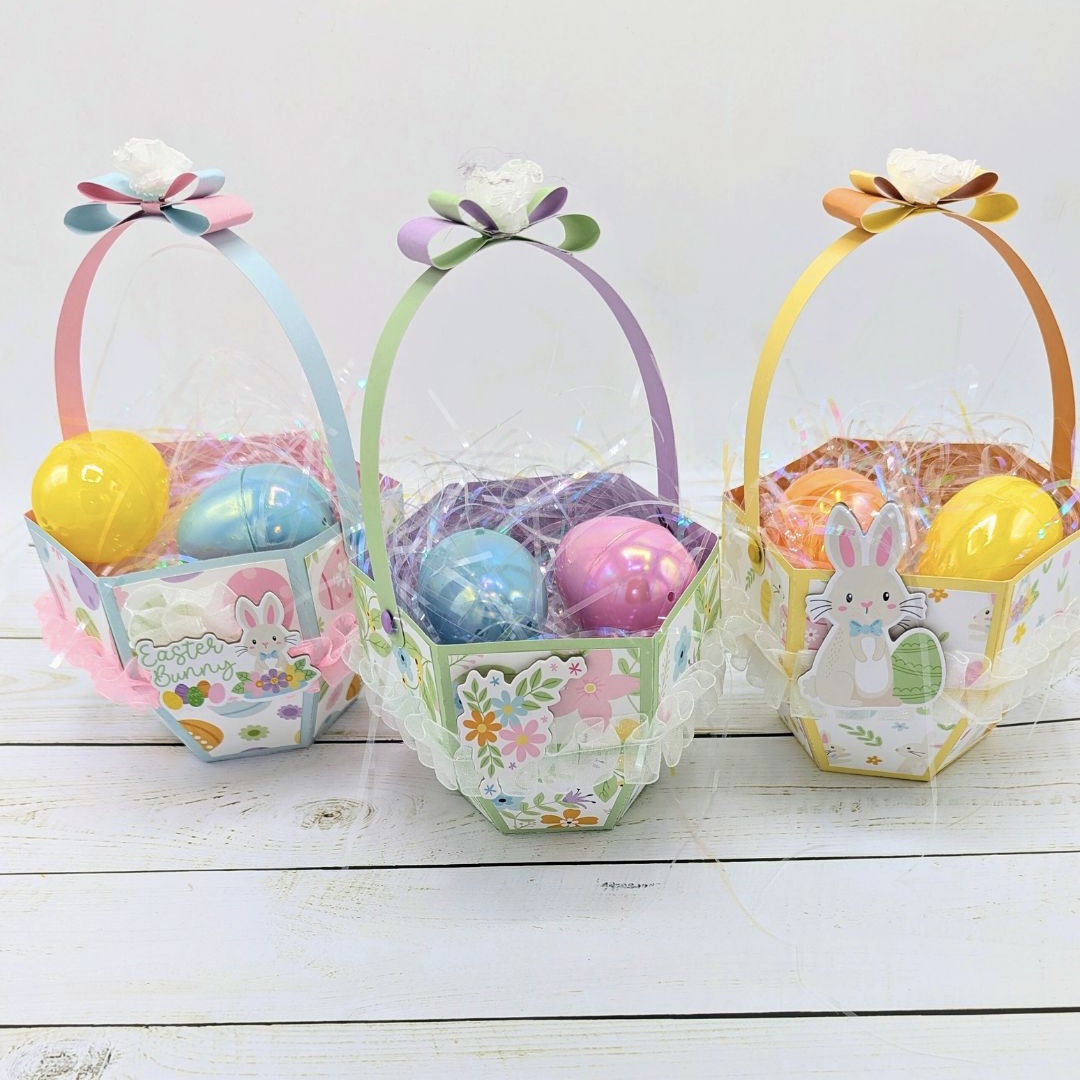
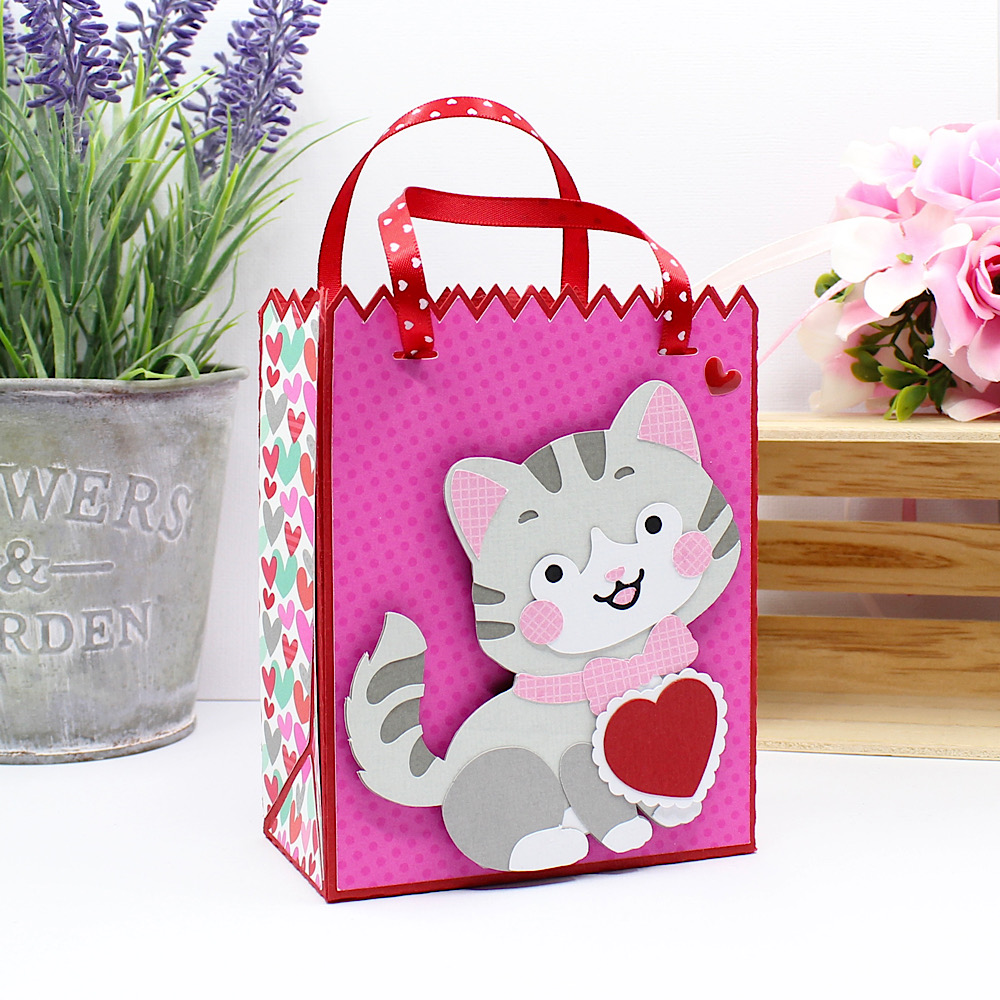
I made this with a spring theme but you could use ANY collection and create it for Easter, Mother’s Day, a birthday, summer, etc. What a great gift idea, and … it comes with it’s own box, lol!
%20%20-%202026-03-02T101035.136.png)
The album is a perfect size. At 5×5 inches, it’s not too big, not too small … but just right for pictures of a fun event, family, friends, or baby pics. I’m thinking cute mom / grandma’s brag book!
%20%20-%202026-03-02T101032.804.png)
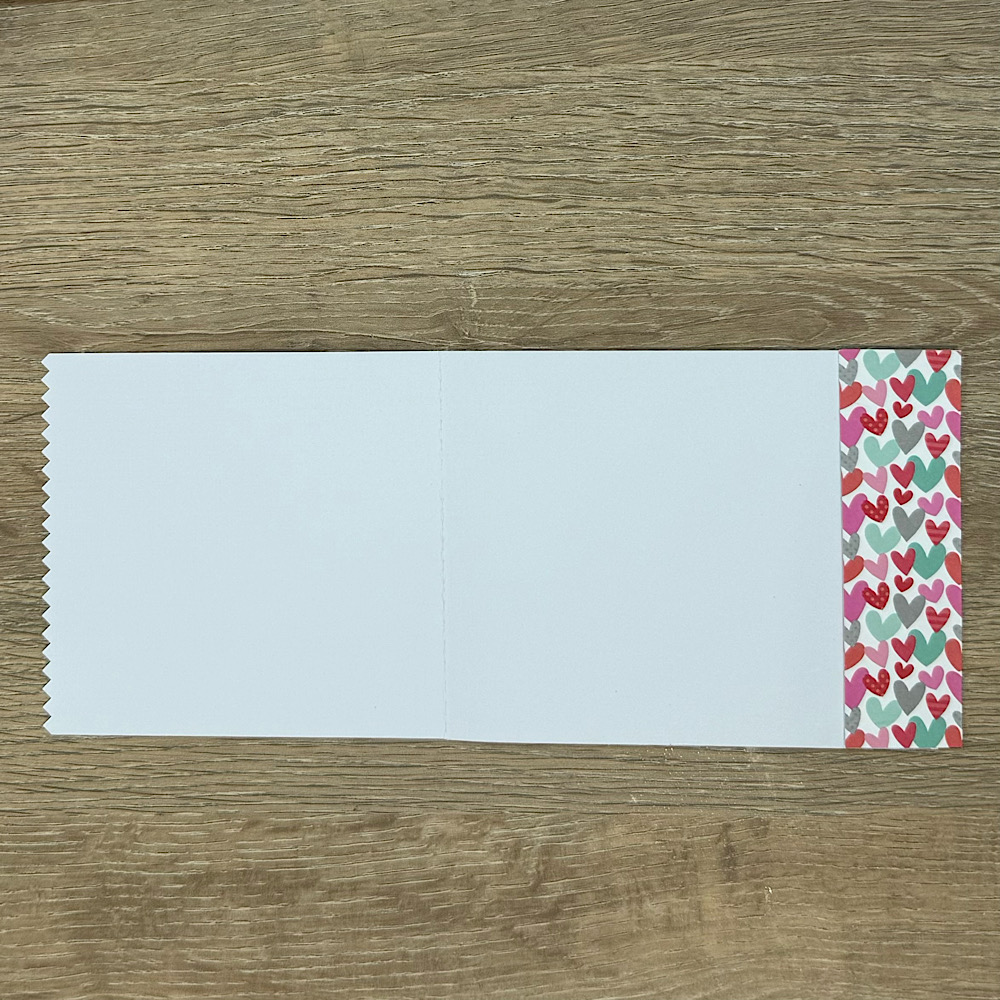
Inside, there are 12 scrapbook pages (6 double-sided). I covered them in bright and cheerful 12×12 pattern papers, then added lots of cute die cuts, colorful enamel dots, and photo mats.
Here are a few more pages …
%20%20-%202026-03-02T101028.307.png)
%20%20-%202026-03-02T101023.538.png)
To watch my step-by-step YouTube Video Tutorial for this project, click on the video below …