New Product Feature: Light Boxes

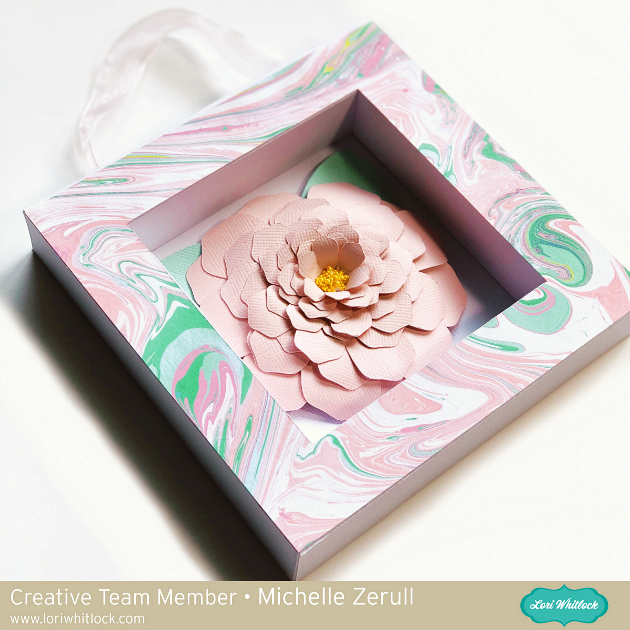
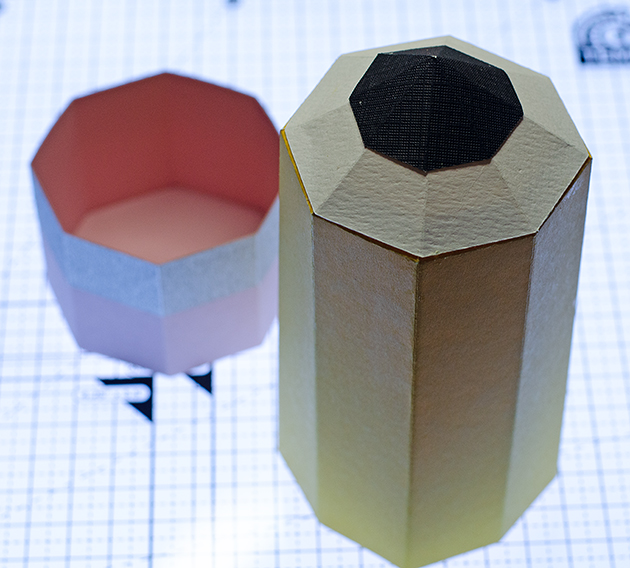
Hi Everyone!  Have you seen the new Light Boxes (SailboatCastleBird) in the shop this week?  These fun boxes measure 8″ x 6″.  They have clear acetate on the front and vellum on the back and look great set in front of a window or with a tea light behind them!  


The frame is nice and solid and stands well on it’s own!  I recommend using at least 80#-100# cardstock for these projects. I created an assembly tutorial to show you how to put them together on my YouTube Channel.  The new Light Boxes (Sailboat, Castle, Bird) are 25% off this week! I hope you enjoy working with these new files. Have a great day!

Tag Mini Album Tutorial with Brandie

Hi there crafty friends! Brandie here with a tutorial on how I made this tag mini album. I know this project isn’t anything we haven’t all already seen before, but it is a great reminder of all the great basic shapes Lori has available.

I used several cut files. 12 Tags (SVG, Silhouette) Tag Mini Album (SVG, Silhouette) Pine Trees (SVG, Silhouette) Fill Life with Adventures (SVG, Silhouette) and Fish (SVG, Silhouette).

Once I had everything uploaded I resized everything to fit 3.5 x 2.5 inch picture. I wanted some varying sizes on the tags so I made some a little smaller and some a little bigger.


I got everything cut out and glued the tag pieces together. I cut 12 tags and printed 36 pictures so I needed a way to include a few picture on each tag.

On a couple of the tags I stacked 3 or 4 pictures together, punched a hole in the top left corner, inserted a brad, then flipped the tag over and added washi tape to the prongs so that I wont have to worry about snags or tearing on the next tag.

Another way to add several picture to a tag is to create a washi tape hinge. Place a strip of washi tape at the top of each picture, stack the pictures in a cascade, turn over and adhere to the tag, flip each picture over and apply another strip of washi tape to the back of the picture.

To embellish each tag I used a variety of stickers, washi tape, die cuts, word strips, and twine. I also did a little mixed media on a few of the tags for added texture.

I printed the Fill life with adventures not things on a transparency and placed it on top of a group picture.

The patterned papers and ephemera are from the Gone Camping Collection by Carta Bella.

Thanks for stopping by and happy crafting!

Brandie

Matching Mandala Card and Box Set by Aimee

Hello everyone! Aimee here with you today with a tutorial on creating a matching Mandala card and box set. I absolutely love the beautiful mandalas and wanted to create a box that has that same beautiful design. I feel this would be a perfect combo to give a friend on her birthday.

I started off making the Mandala Card 3 (Lori Whitlock store or Silhouette store) as my inspiration and then started the process of making the matching box. I opened up the Favor Box Ribbon Tie Scalloped SVG (found in the Lori Whitlock store or at Silhouette) along with a mandala SVG (Lori Whitlock store or at Silhouette). I resized the mandala to fit the front cover of the favor box.


Then I highlighted both pieces…right click, scroll down until “make compound path” was selected and left click.

Now the cut should look like this and ready to cut. The center pieces of the circles will cut but I chose not to use them on my project.

Next comes creating a circle that will fit behind the mandala to mask the pattern paper.

Make sure that the circle is big enough to cover the backside of the mandala but small enough not to peek out from behind the layered box piece.

Now everything is ready to cut!

And here are all of my pieces cut out from pattern papers (with the exception of the back cover panel).

Because the mandala svg is so intricate I used a small tip glue bottle to apply adhesive.

Now that I have the green circle adhered to the panel cover I am ready to pre-fold my box and then adhere it together.

Here is my box assembled and the front panel cover adhered to the front of the box.

Decorating is the fun part and there are so many options such as sequins, gems, ribbon, etc for decorating.


Thanks for joining us today for this tutorial! I hope this gets the creative juices flowing on how you can mix and match different svg cuts to create a whole slew of projects.


Aimee

New Product Feature: Explosion Boxes

Hi Everyone!  Have you seen the new Explosion Box Bundle in the shop this week? These fun little boxes are for those occasions when just a card won’t do and they are on SALE 25% OFF this week!  There are 4 new boxes, take a peek…

Here are some more photos of the Explosion Box Baby Crib Girl… so cute!


These boxes are easy to assemble, they are very similar to my standard box cards.    I’ve put together some graphics below showing how to put the pieces together.

If you need more help with adding the inserts, my Box Card Video will help, the inserts are done in the same manner.  Once all of the pieces are assembled,  fold the sides of the box up and add the cover.  When the recipient opens the box, the sides will “explode” out for a fun surprise! The baby explosion boxes are made with my Sweet Baby Girl and Sweet Baby Boy paper collections. The unicorn explosion box is made with my Perfect Princess paper collection. You can find the files for the Explosion Box Bundle in the shop. Watch for more Explosion boxes in the near future. If you have any theme requests, please feel free to leave a comment on this blog post : )

Have a great day!


Flag Day Banner Tutorial With Anita

Hi Everyone:

Happy Flag Day.  Anita here with a banner that you can use for Flag Day as well as for the Fourth of July, Memorial Day and any other day that you want to celebrate our great country.  I used several different cut files of Lori’s to create this banner.

Happy Birthday Banner – 2   SVG,  Silhouette
Layered Pinwheel     SVG,  Silhouette
3D Lori Whitlock Spiral Flower   SVG,  Silhouette
5X7 Box Card 4th of July   SVG , Silhouette
American Flag   SVG,  Silhouette
3D USA Décor Blocks   SVG, Silhouette

I love mix and matching Lori’s cut files to create new projects.  I am going to show you how I prepared the fabric for cutting in my Silhouette machine. 

Here are the supplies that I used for this project.  Terial Magic is a wonderful product that comes in a spray bottle and you can get it on Amazon or at your local quilt shop.  I sprayed the fabric liberally and checked the back side to make sure that it was soaked on both sides.  I hung the pieces on my shower rod  to let them drip to just damp.  I recommend you put something under where you hang the fabric so that it doesn’t make a mess.  It’s sticky, and rubber gloves might have been helpful to use as well.


Here is a photo of the fabric as I was in the process of ironing it.  You can see the bottom left looks still darker and wet and the right part is done and the fabric feels like paper.  I ironed my fabric on a towel to absorb any extra of the Terial Magic Fabric Stabilizer.

You can see how this fabric stands up once it is ironed.

I used the strong grip mat from Cricut and a brayer to make sure that the fabric didn’t move.  You will want to slow down your cutter in addition to choosing fabric as your material to be cut.

I laid out the blocks to see how they would look and switched around the banners and embellishments.

Earlier in the week on Tuesday we had our June blog hop and I have included a photo with the quilt block centerpiece and the banner that I made.  I am going to put this out for the 4th of July.

Hugs,

Anita