Thanks for stopping by today. I have a tutorial that I would like to share with you on how to take a shape and make it into a belly band. I used the 7 Shapes files so using this technique, you could have 7 different belly bands or decorative edged paper to decorate with.
This cute litte pencil cup and Post It Note Holder would make a great gift for friends, teachers, coworkers, or even look great on your own desk. I know that is where mine is going to stay. Even in a world filled with digital devices, I find myself reaching for a piece of paper and pencil all of the time.

Here is a close up of the belly band that I created from the label. I also decorated the outside of the Post It Note Holder so it looks pretty even without the belly band on it.

So to make the belly band for your own Post It note holder, just follow these few easy steps.
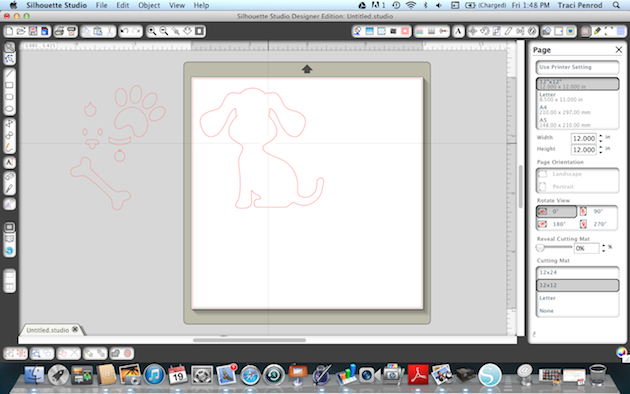
1. Open up on your mat, the 7 Shapes from the Lori Whitlock store. Ungroup them, and move away all but the bottom left shape.

2. Go to the Replicate panel and click Row of Four.

3. Click on the first one and nudge over to the second one until the edges are just overlapping. Do this for each shape.

4. To make sure that everything in lined up, select all, go to the Align panel, click Align Top, and then space Horizontally.

5. Now go to the Modify panel, keeping all of the pieces selected, and click Weld.

6. There will be a few of the middle pieces left. Select them all and delete.

7. This is what your welded shapes look like together.

8. Now we are going to make the belly band part. Draw a rectangle across the middle of the welded shape and make sure it extends about a half inch past both ends.

9. Select both pieces and weld them together.

10. Here are a couple more examples of belly bands that I created using the other shapes in the 7 Shapes file.

For my project, I had to manipulate the size of the belly band on both the pencil cup and the Post It Note Holder. On the Post It Note Holder, I stretched it to make it longer and push the top down to make it thinner. For the pencil cup, I copied and pasted a second one and overlapping them, I welded them together to make a longer piece.


I think it is fun to experiment with different shapes and see if I can make them into other things, like the belly bands. I also used the Birthday Cake Box to create the pencil cup. I only assembled the bottom so that it was open at the top. The pieces that I did use were skewed so that the cup was taller than the original cake box would have been.
I also used the label shape a second time and sized it to fit inside one on the belly band so that I had a mat for the Remember This sentiment. Stickers and paper from the Here and Now collection by Lori Whitlock for Echo Park make this a eye catching ensemble.
Lori Whitlock Supplies Used:
Sticky Note Holder 3 Holds up to 100 sheets of sticky notes
Here & Now Paper and Sticker Collection by Lori Whitlock for Echo Park