Money Roll Gift Bag Tutorial

Hello there! Today I am sharing a tutorial for the Money Roll Gift Bag Birthday file (SVG, Silhouette). For this project I also used the Party Animal collection by Echo Park Paper Co. This little gift idea is perfect for a last-minute gift idea or that hard to shop loved one.

After cutting everything out, I inked the edges of my bag, box, cake, and candles. I glued the decorative panels in place, assembled the cake, and folded all the score lines into mountain folds. Since I used patterned paper for the cake, I couldn’t use the print and cut feature, so I added a few stickers from the collection for the sentiment.
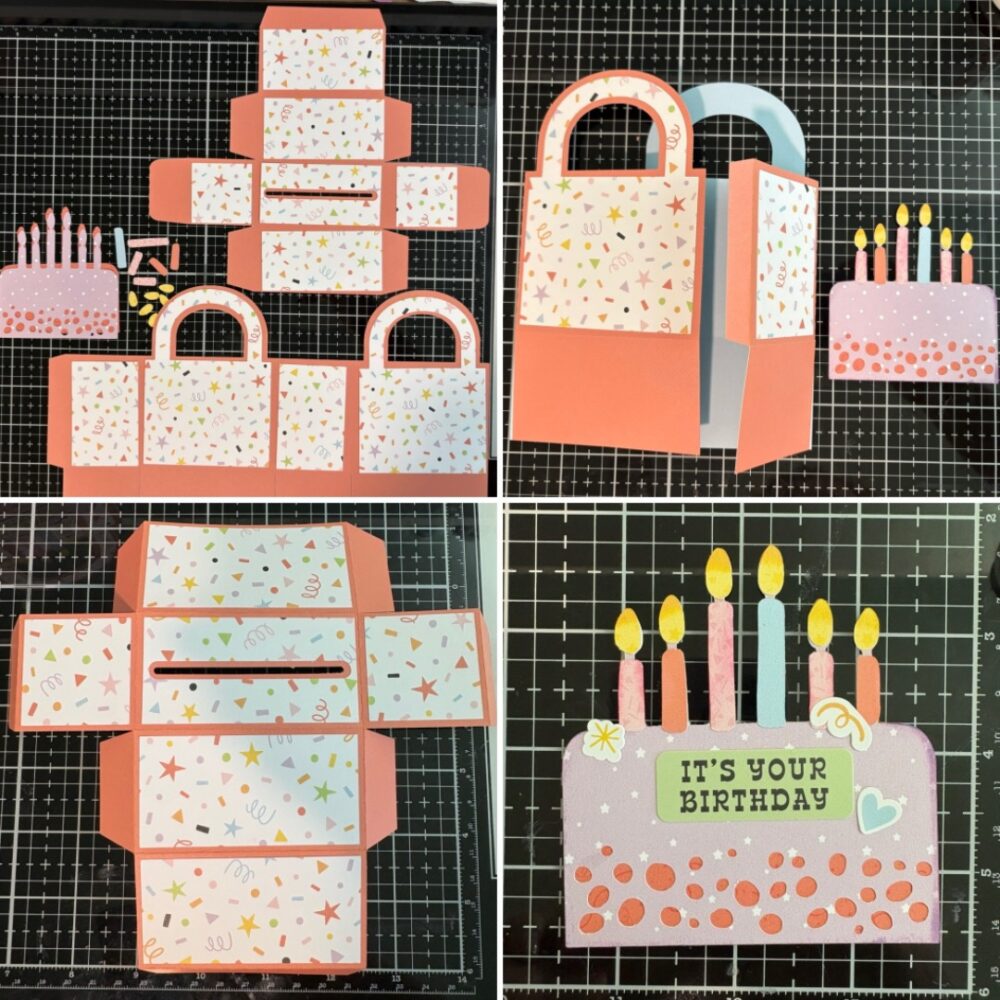
 

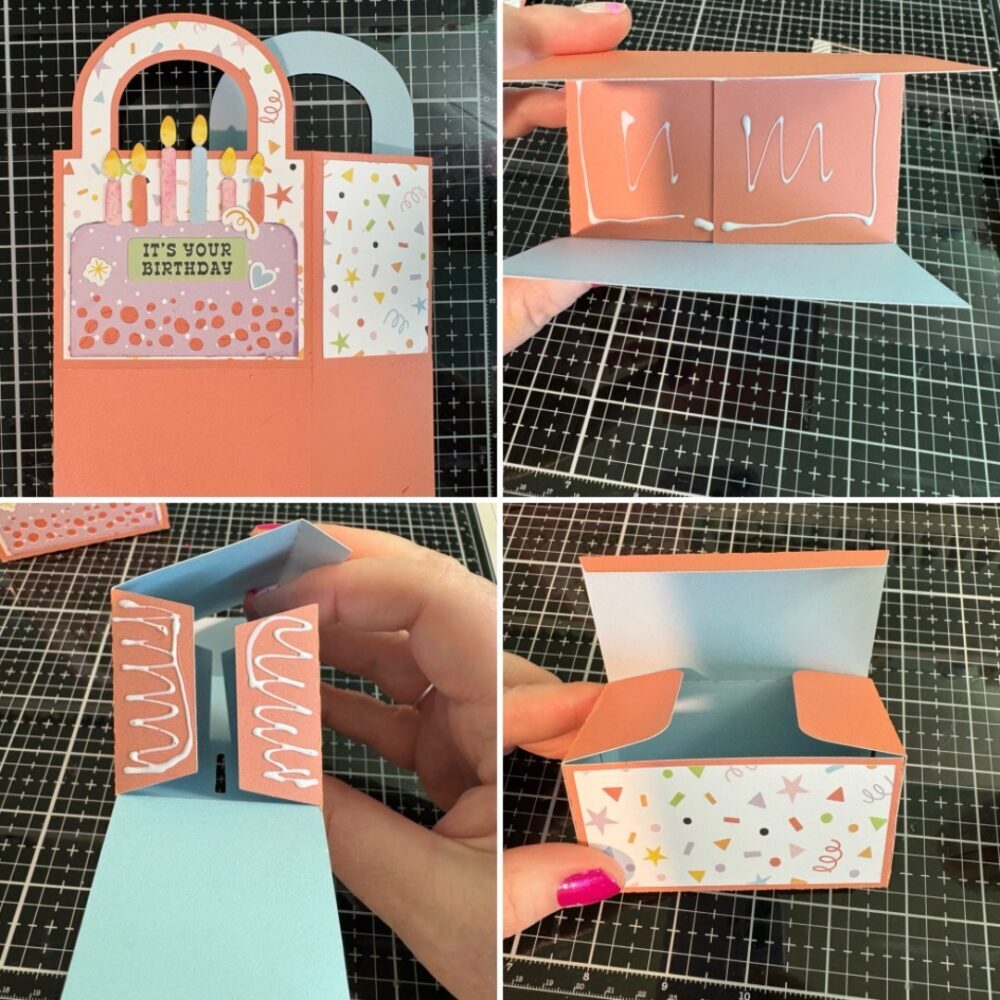
Once the cake was assembled, I glued the back and attached it to the front of the bag. I folded down the bottom tabs and glued each layer to hold it in place. For the money roll box, I glued the smallest tabs and secured each side. The back of the box stays open and will fold shut once the money roll is tucked inside.
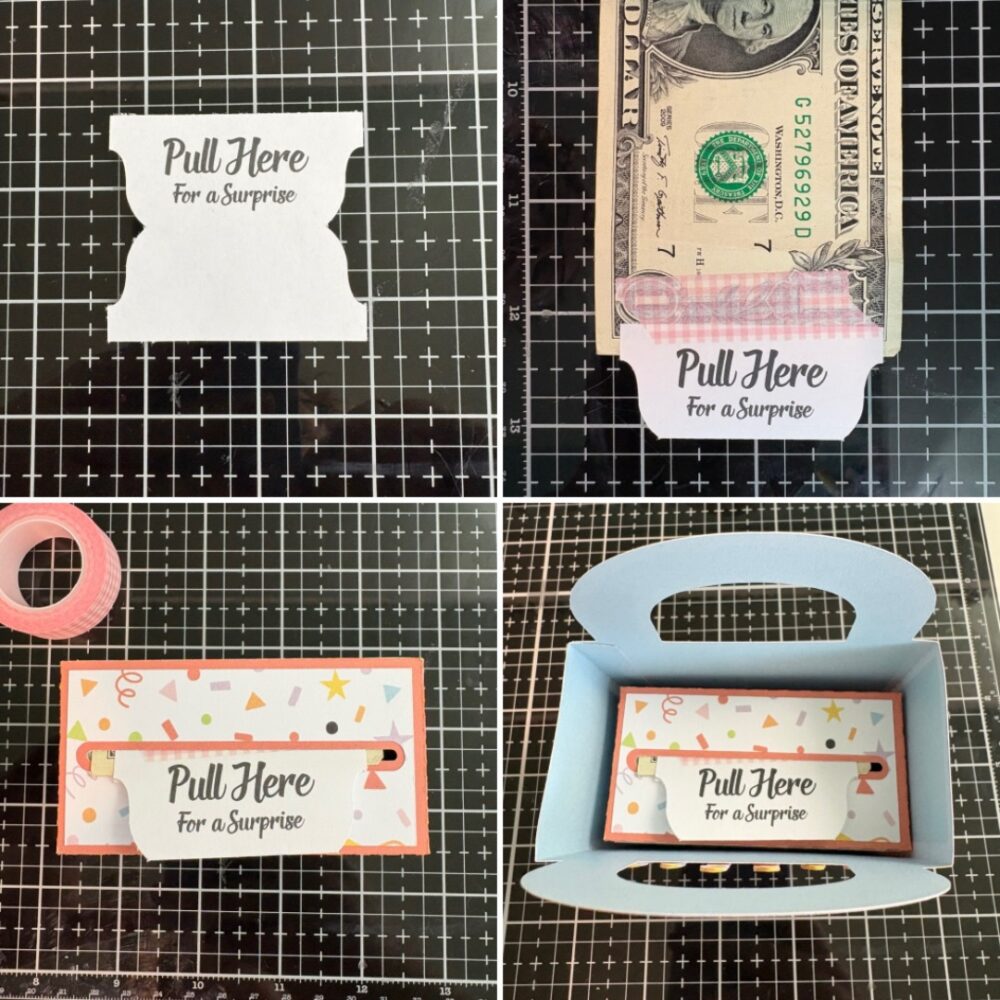
The file includes a print-and-cut tab to attach to the end of the money. I used low-tack washi tape to secure the tab and connect the money end to end. Starting from the end without the tab, I rolled up the bills, fed the tab through the slot in the money roll box, and then closed the box. The money roll box fits perfectly into the bag.
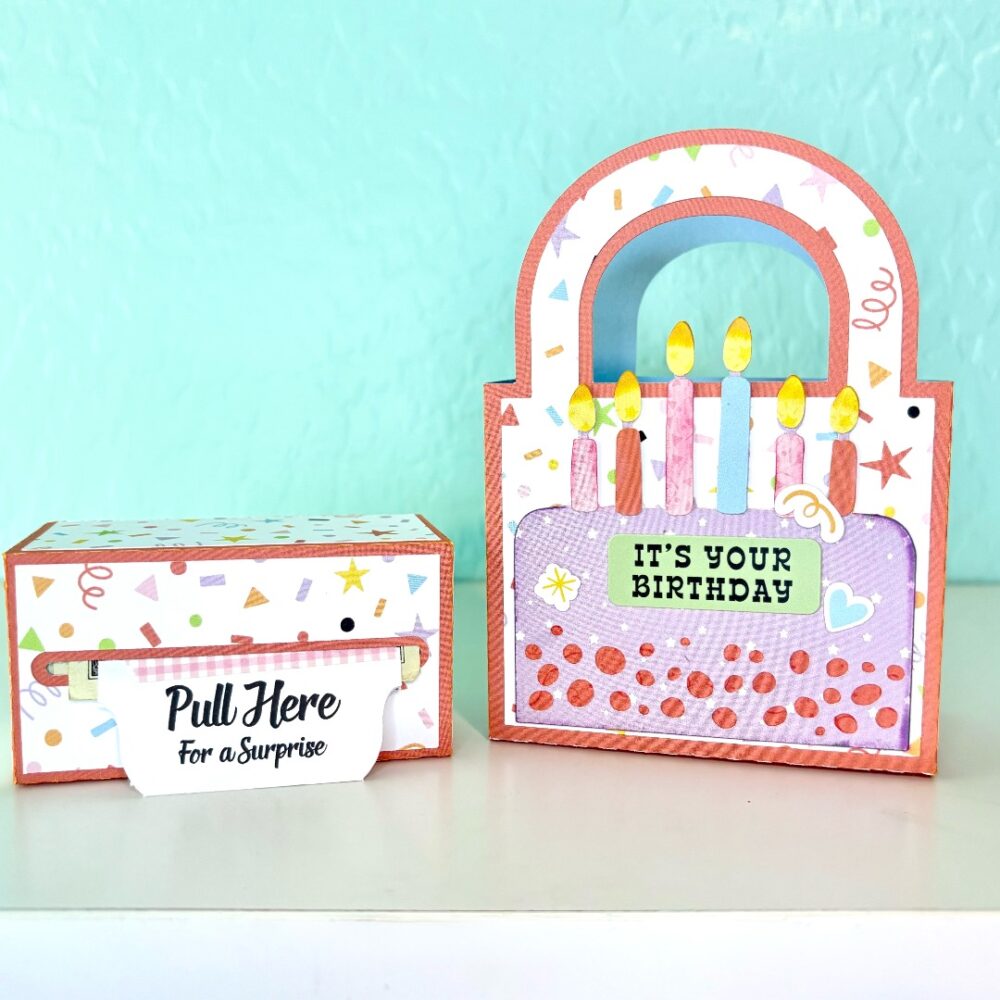
This money roll gift set is sure to be a hit with the recipient and will make gifting money exciting as the tab is pulled. Thanks for stopping by today, and happy crafting!
Brandie

Valentine Cat Bag and A2 Card Gift Set

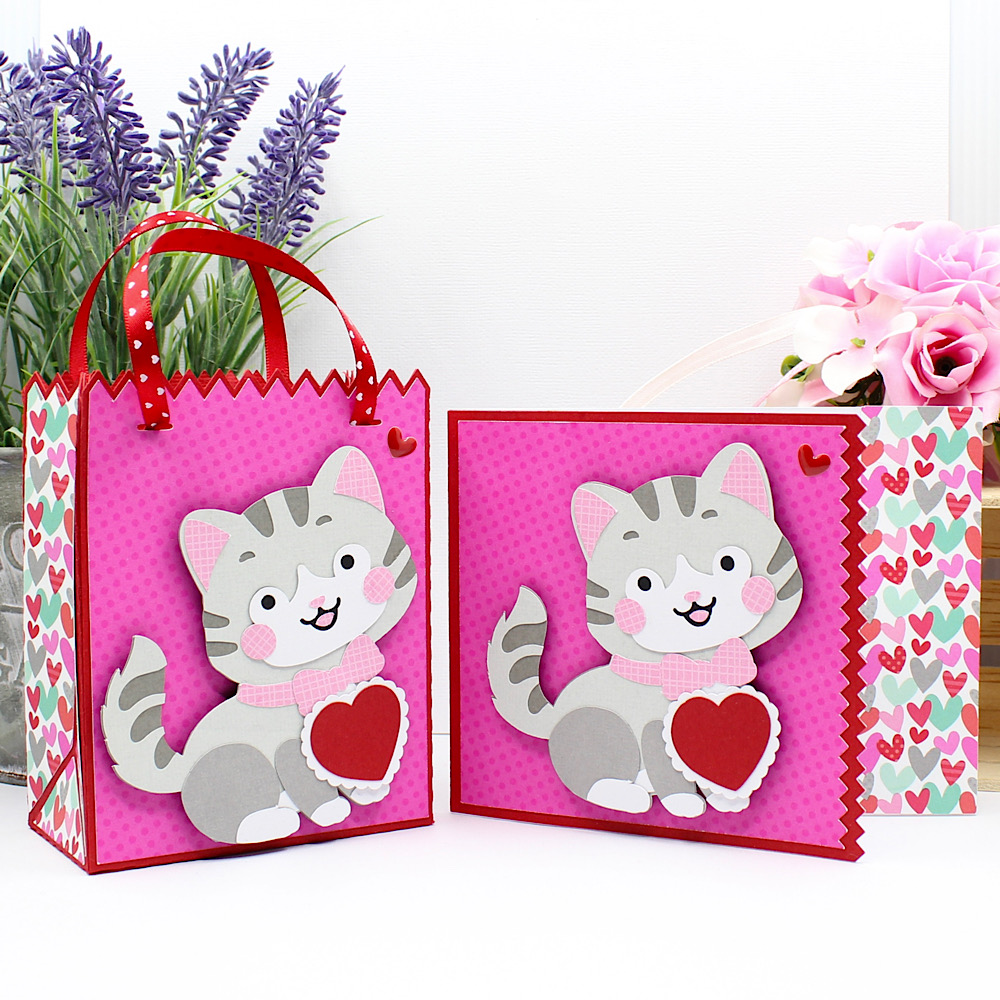
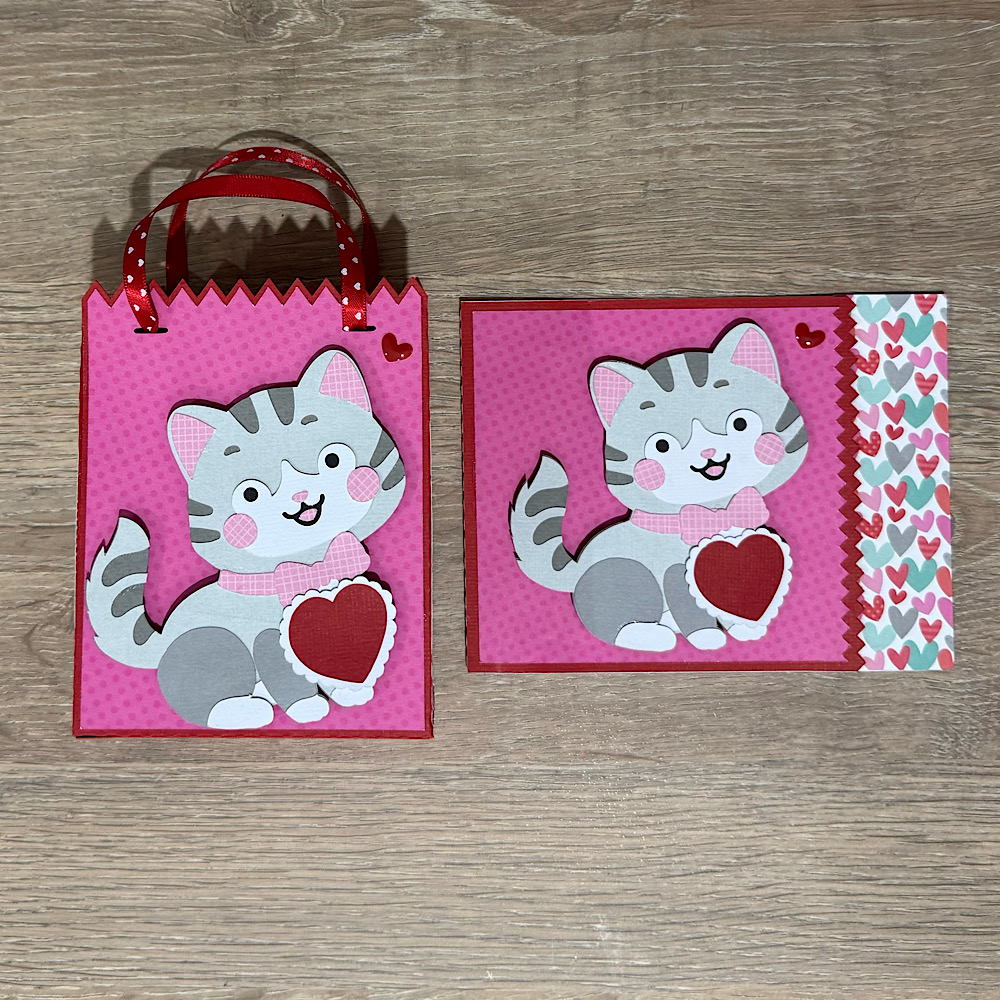
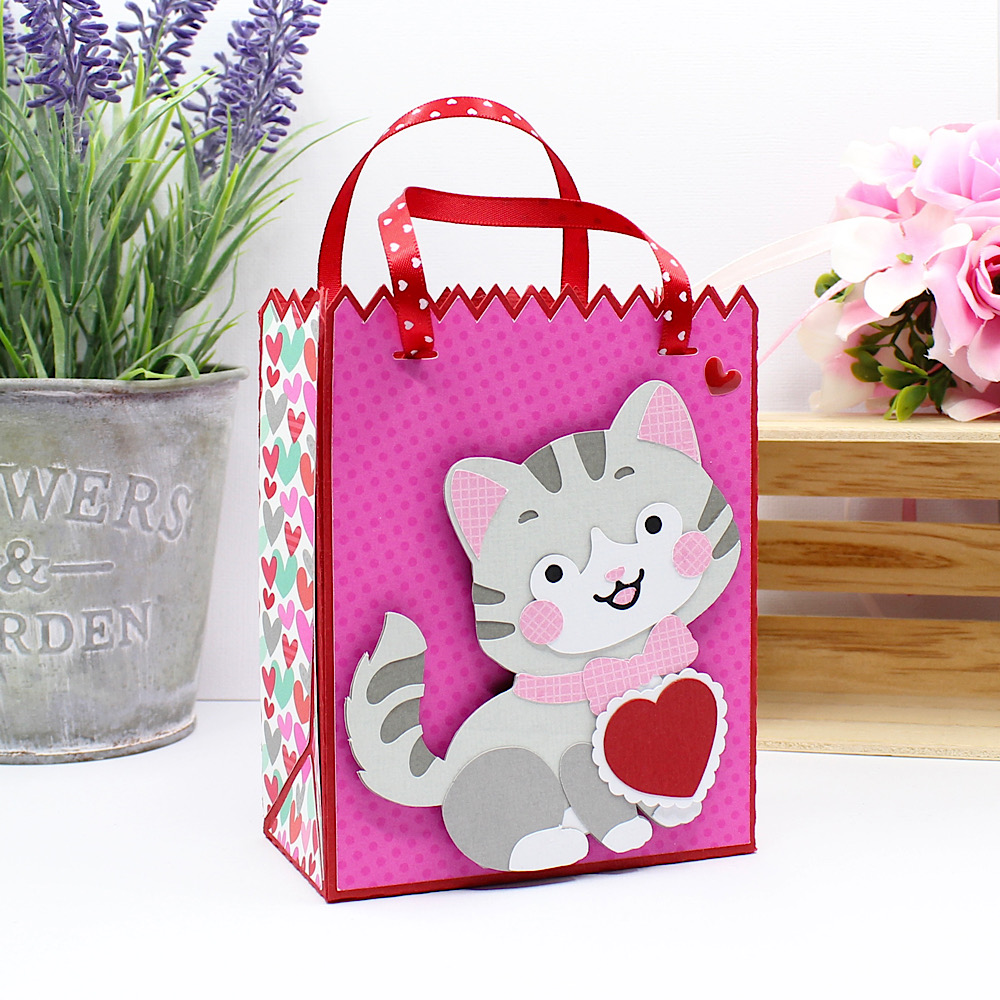
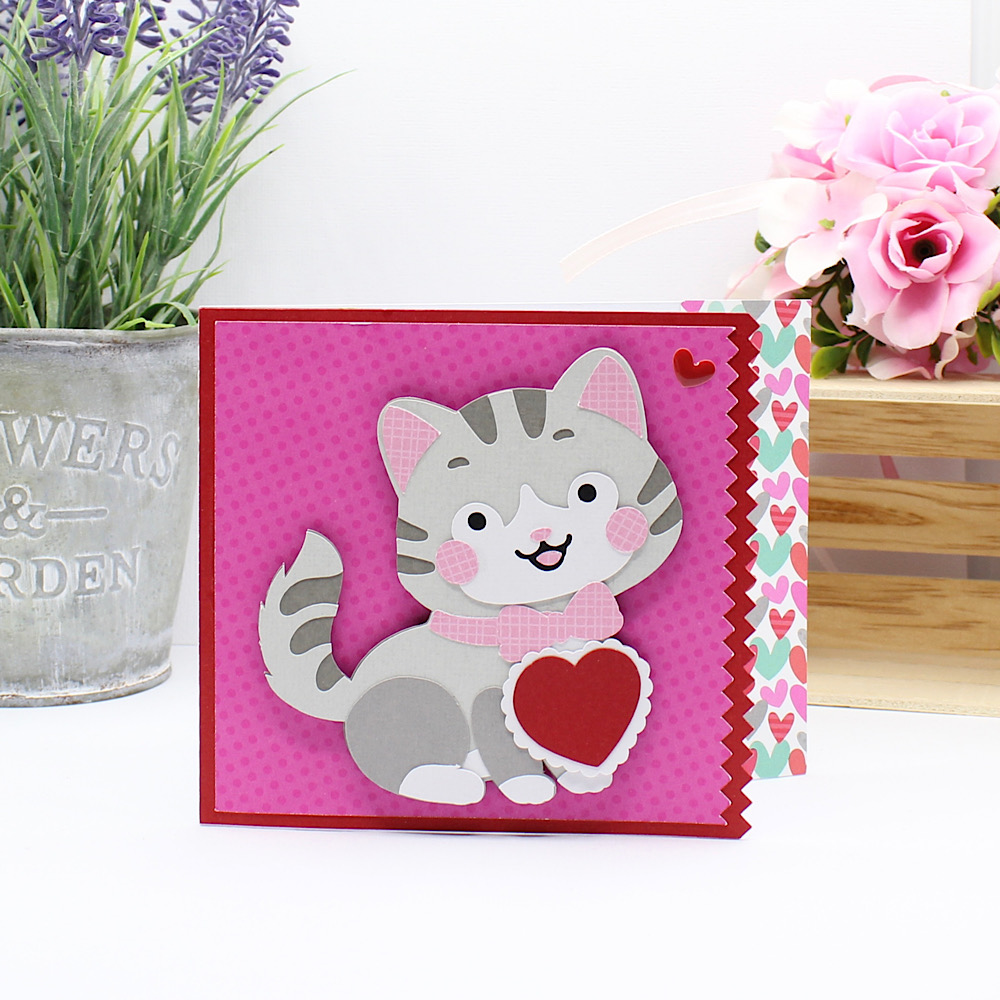
Hello Crafty Friends Noelene here today! With Valentine’s Day less than 2 weeks away today I want to share with you an adorable little bag & card gift set I made using one of the newest files from Lori Whitlock called Valentine Bag Cat (SVG), (Silhouette). I also created a matching card using an A2 card Base (SVG), (Silhouette)
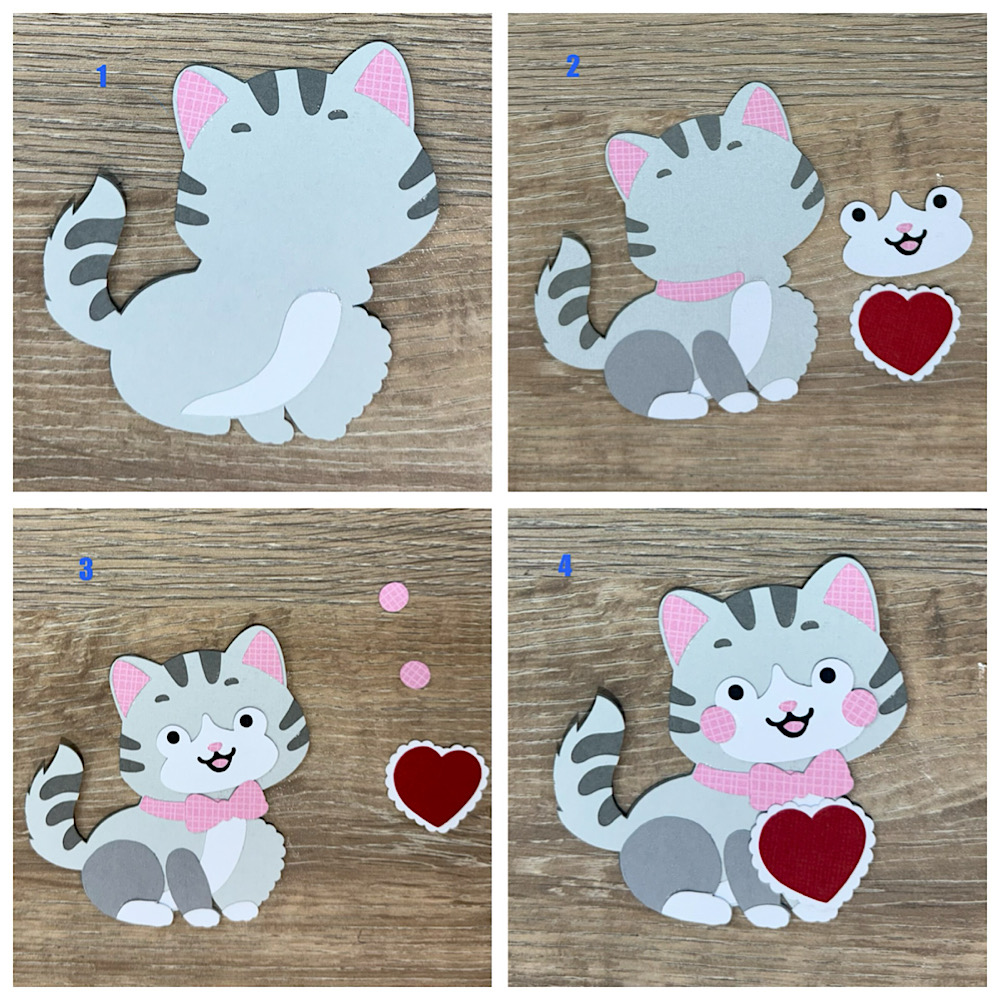
To start off I cut out all the panel pieces for the bag. Make sure you cut 2 of each of all the panels that make the cat, (if you are making the card). I did not need to alter the size of the cat in any way as it fit nicely onto the a2 card base. Now start by putting all your pieces together for the cat by following the steps below.
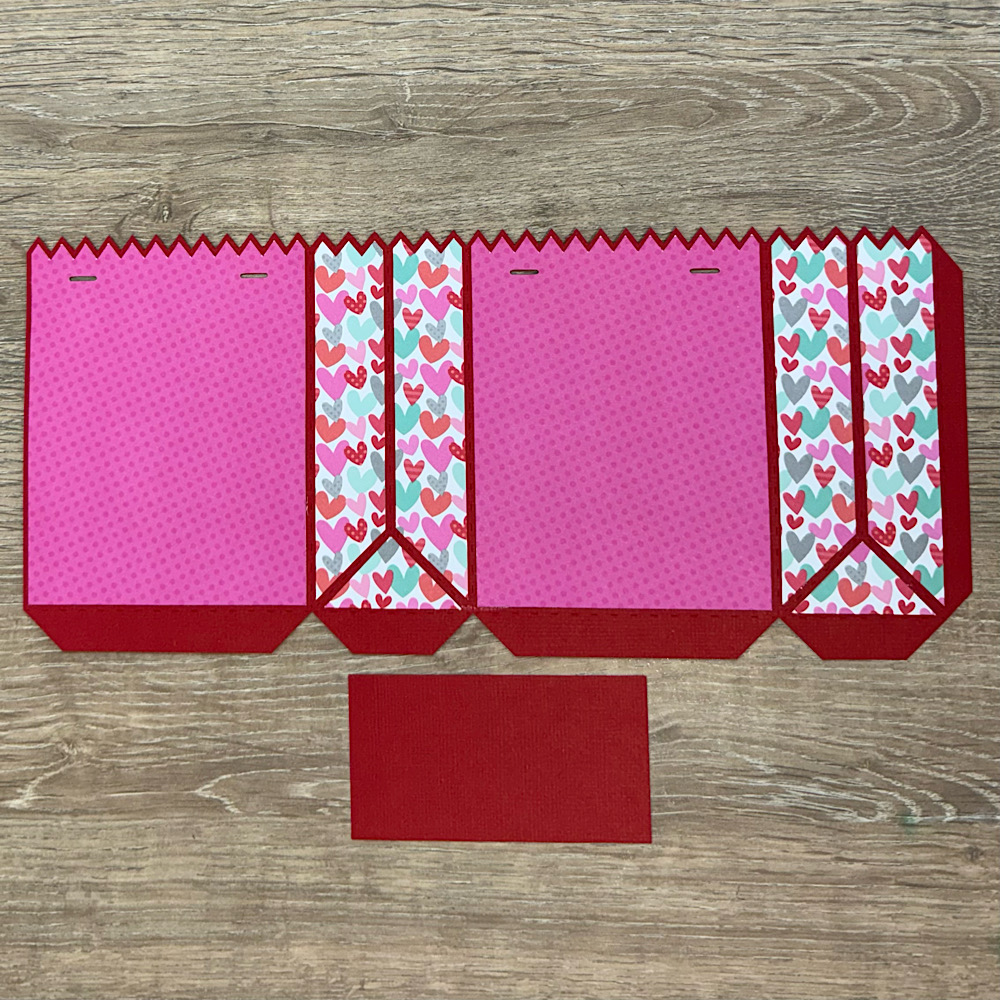
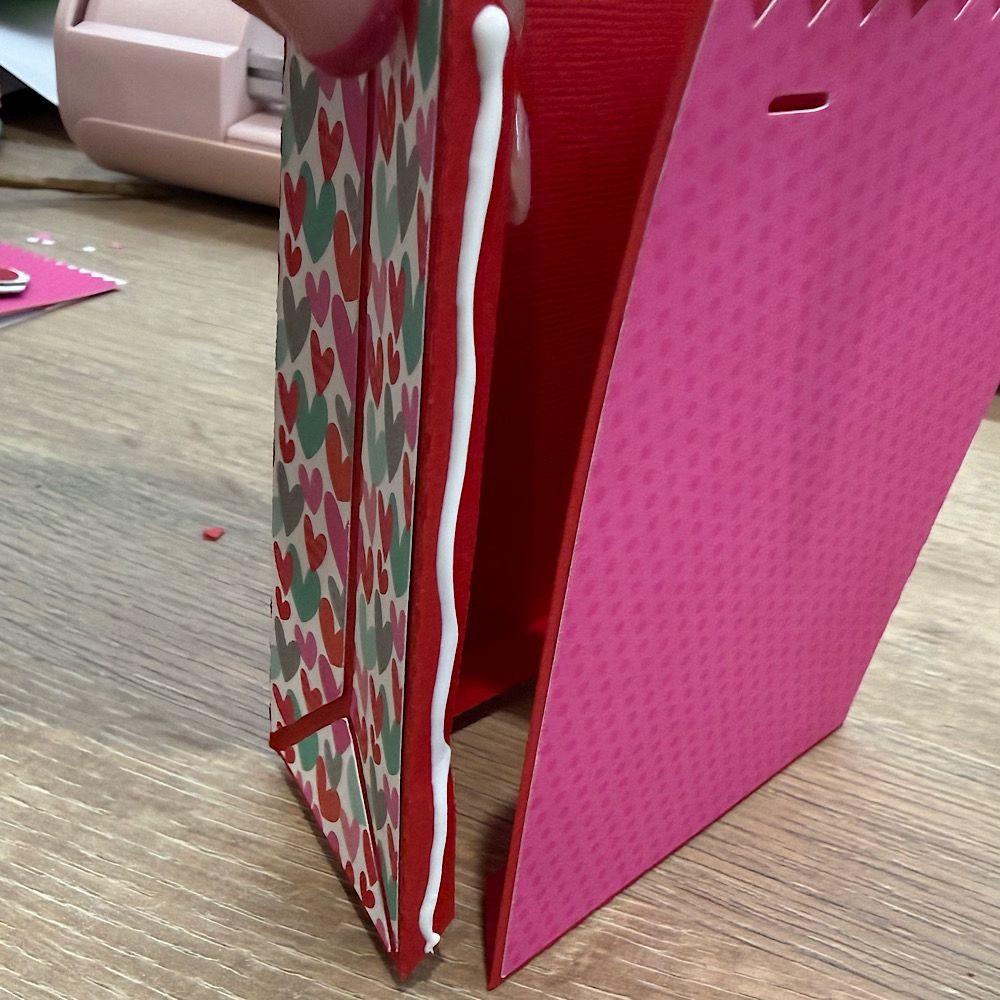
Now it’s time to put the bag together. Glue all your bag panels onto the bag base.
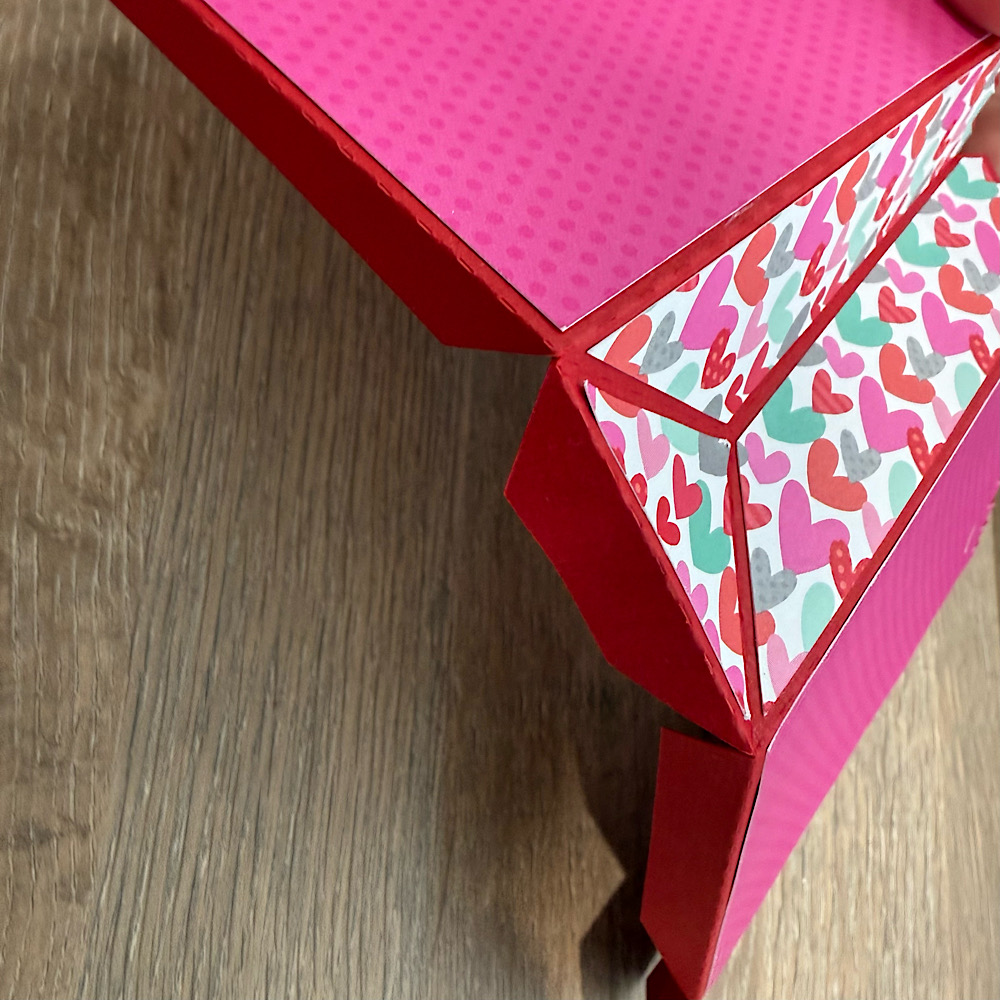
Note the next step I did after glueing the panels, but it may be slightly easier to do before the panels are glued on, as the cardstock will be more flexible. Mountain fold the bottom flaps & valley fold the sides of the bag.
Next glue the side tab of the bag.
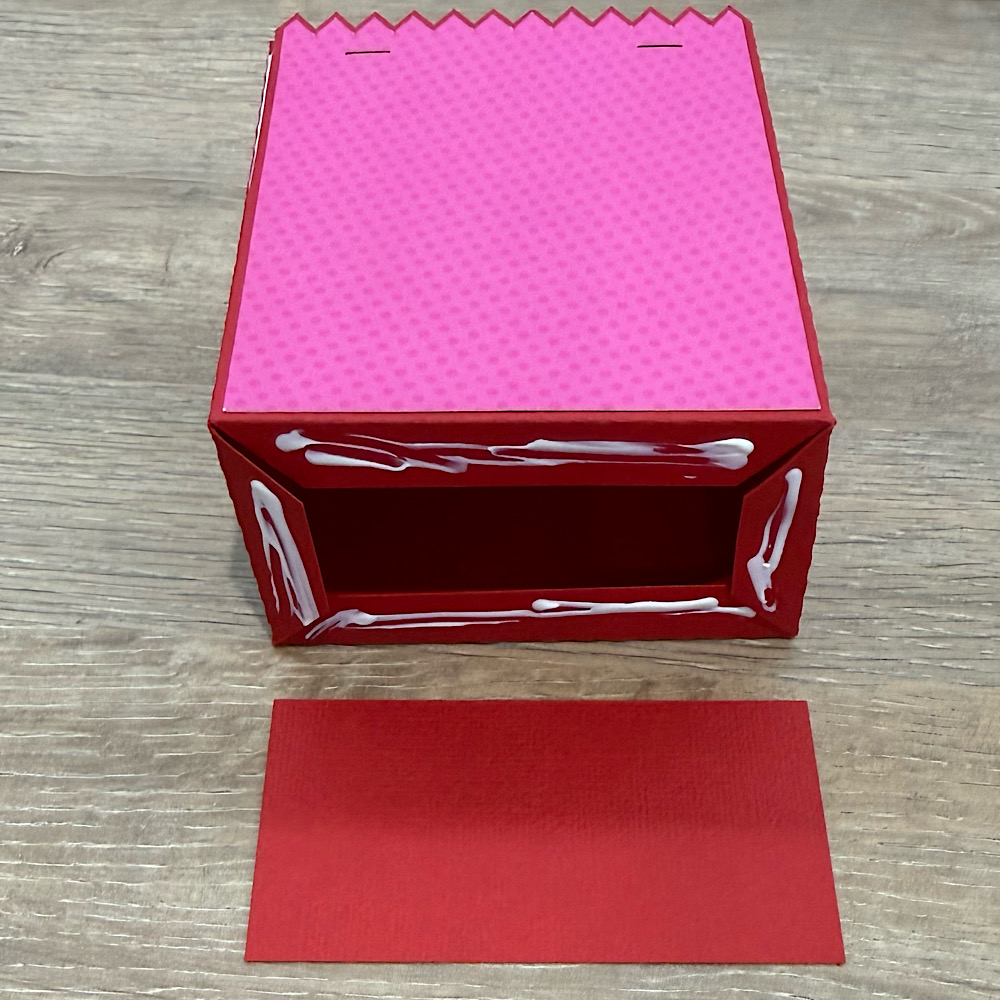
Glue the base then set your bag aside for the time being.
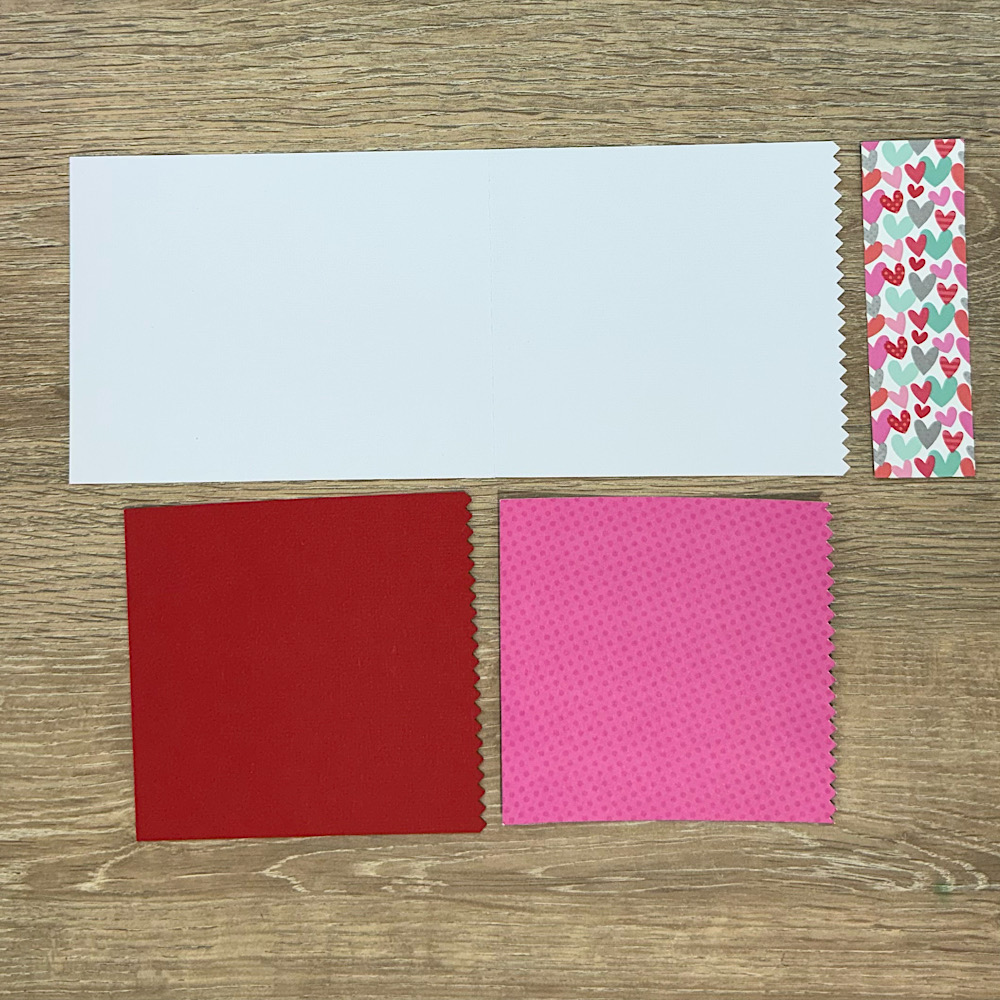
Now to create our matching A2 card. Firstly cut out all the panels. You will see that I have an extra rectangle piece of cardstock which is not in the file. I just cut out a rectangle 1.25″ x 4.25″ with the same paper I used on the side of my bag so that it coordinates with my card.
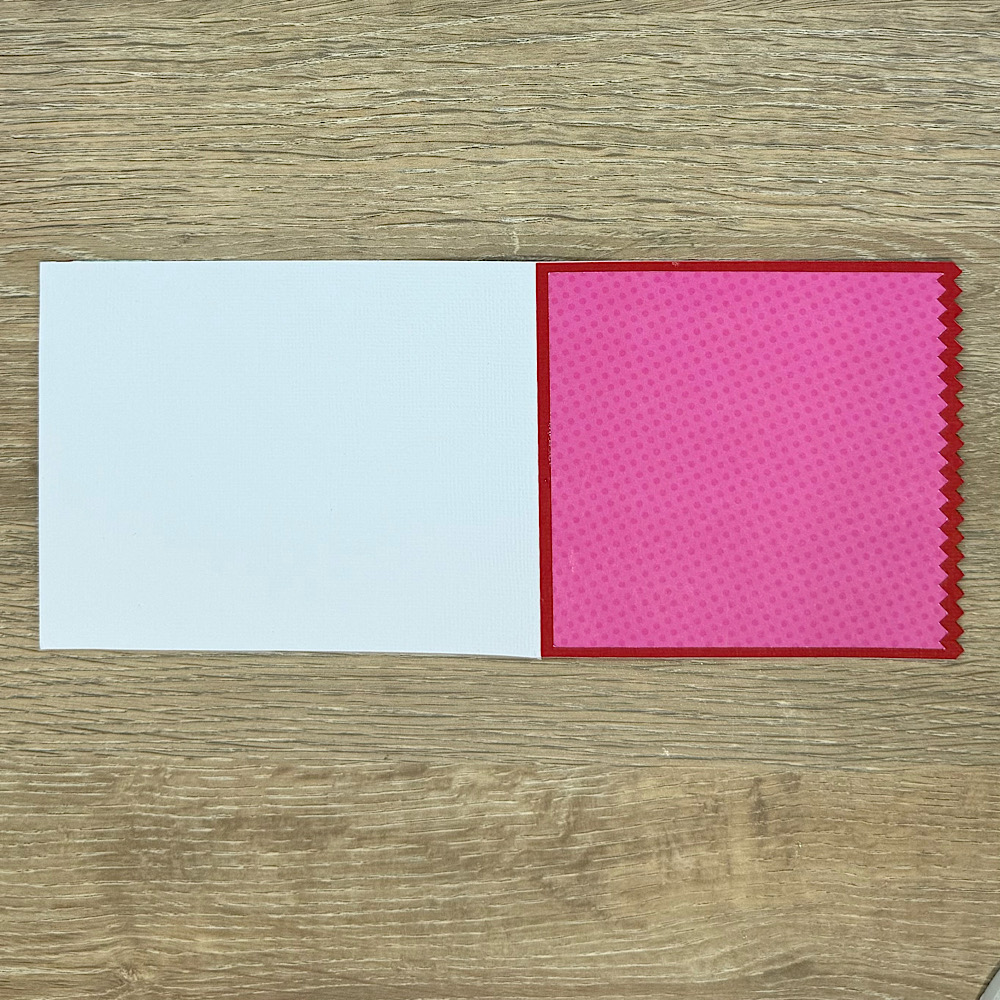
Glue the 2 front panels onto the card base.
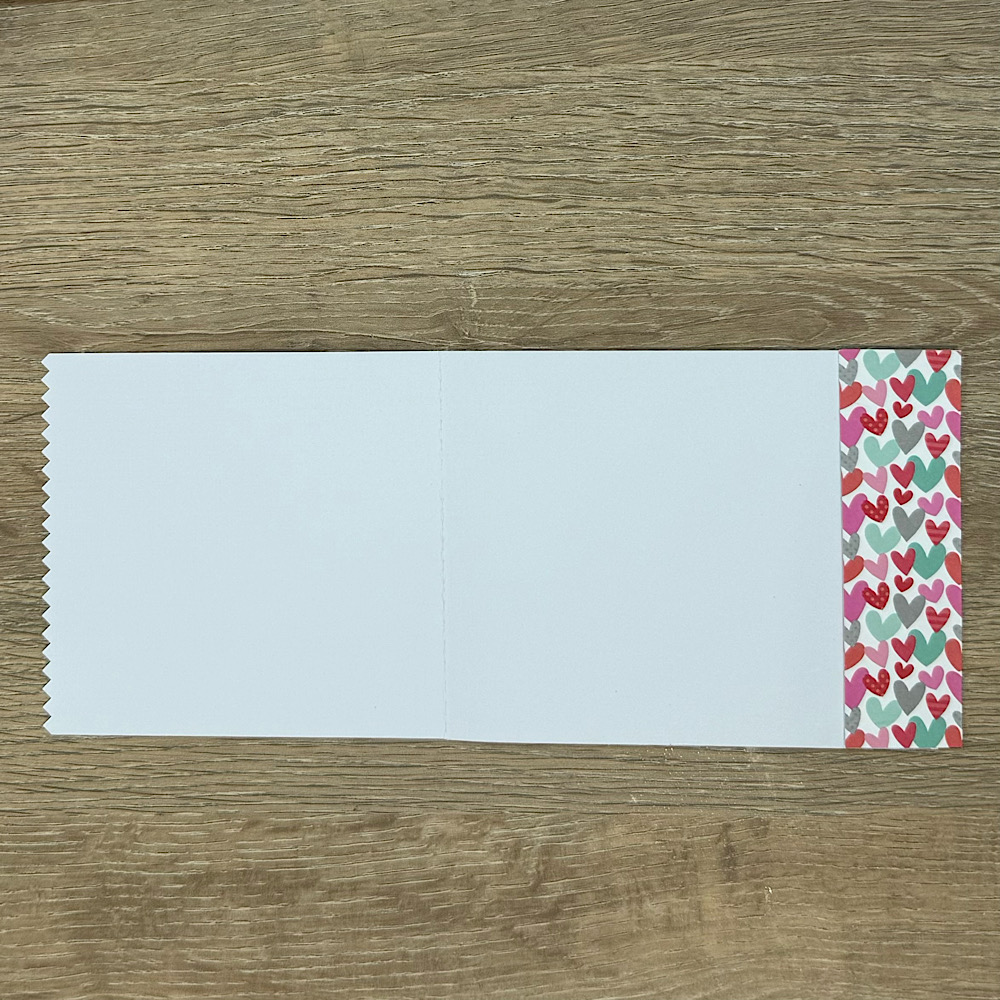
Glue the extra rectangle piece onto the far right side of the inside of your card, so that when you close your card it will be visible from behind the pinking pattern.
Lastly to finish off place a cat onto the front of your bag & another onto the card front. I used foam squares to give it dimension. Then add the ribbon to your bag & any other embellishments you wish. Today I have kept it simple & only added a heart stickle.

For more inspiration, check out my Instagram!
Thanks for stopping by!
Hugs
Noelene 🙂

Mixer Shaped Card

Hello crafty friends, Noelene here. Today I want to share with you a sweet card from the Lori Whitlock files called Mixer Shaped Card (SVG), (Silhouette).
For this card I have combined a few of Lori’s files. I started by puting together all my pieces for the Mixer Shaped card. I have then taken the whisk from Lori’s Box Card Love Apron file (SVG), (Silhouette) & glued that down. Lastly I added some flowers from the Doodlebug Farmhouse Mixing Bowls file (SVG), also available from the Lori Whitlock store.
This file is so versatile. It can be used for many themes including Valentines, Birthdays & Christmas as well!
For more inspiration, check out my Instagram!
Thanks for stopping by!
Hugs
Noelene 🙂

5×7 Shutter Card Tutorial

Happy Thursday everyone!! I’m here with a quick and easy tutorial for you all today.

Here in South Dakota, at least my side of the state, we still haven’t had any snow. So I created this fun little shutter card in hopes of encourging the snow to fly. We also all need a reminder that even the easiest cards bases can turn out super cute and detailed. I used the 5×7 Shutter Card found here…(SVG, Silhouttte). Its such a fun little card base. My paper is from Echo Park Company. It’s Lori Whitlock’s Winter Fun line found HERE.

As usual, get all your pieces cut and organized.

The base itself gets folded on the score lines like the below photo.

Add your first patterened paper to the base remebering there is a bit of a mat on the base so don’t line your patterned paper to the edge.

Go ahead and add your 2nd patterened paper like shown.

And add your white piece to the center. I did use some pop dots to pop mine up a little.

Decorate your card as you see fit. I used some chipboard stickers and some regular stickers. Again, I used pop dots to give my cute fox some dimention. I also added some enamel dots for a little more fun and detail on the card.

How cute is this card with such a simple and easy card base?!


Thanks for stopping by and Happy Crafting!

Grid Pop Up Card Valentine Cactus

Hi friends! Today I am sharing this darling Grid Pop Up Card Valentine Cactus Card (SVG, Silhouette). I love using bright, happy colors for my Valentines, and this design really shines with its warm, cheerful palette. It is such a fun way to spread a little love.

Thanks for stopping by, and I hope this card adds a little extra joy to your Valentine’s crafting.

Brandie