4×4 Accordion Envelope Mini Album

Hello friends! Traci here and today, I’m sharing a tutorial on how to make this fun envelope-style mini album! I love creating small scrapbooks so when I’m looking for a new idea, I know Lori will always have something awesome. For this project, I used her SVG cutting file called  Silhouette4×4 Accordion Envelope Mini Album

Dog scrapbook mini album Tutorial with envelopes


I wanted this to have a dog theme so I chose the super cute Echo Park Pets Collection (also designed by Lori). I used the 6×6 paper pad, both sets of die-cut ephemera, and the 12×12 sticker sheet. 

Dog scrapbook mini album Tutorial with envelopes


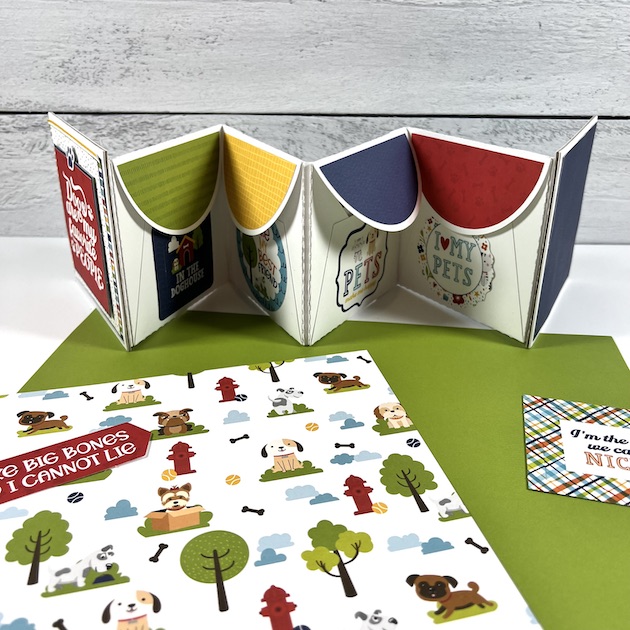
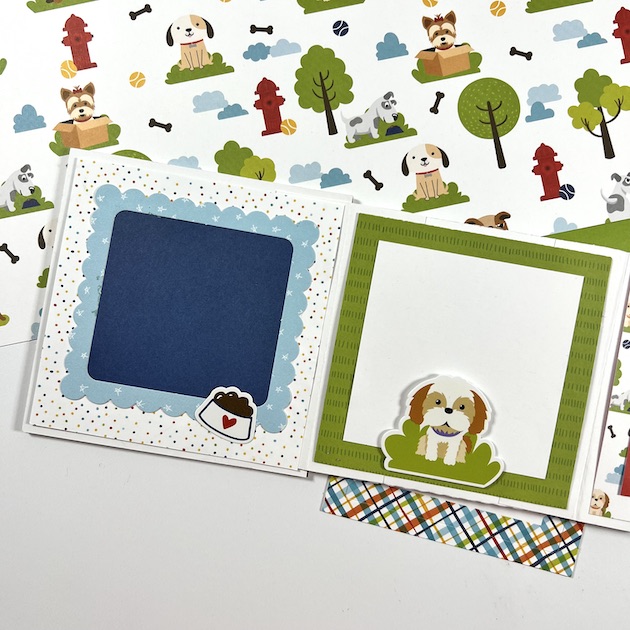
Here’s what this accordion-style mini looks like opened up. On one side there are envelopes where you can store photos and small memorabilia. On the back side, there are mats so you can add more pictures. 

Here’s how I made it …

Scrapbook mini album Tutorial with envelopes

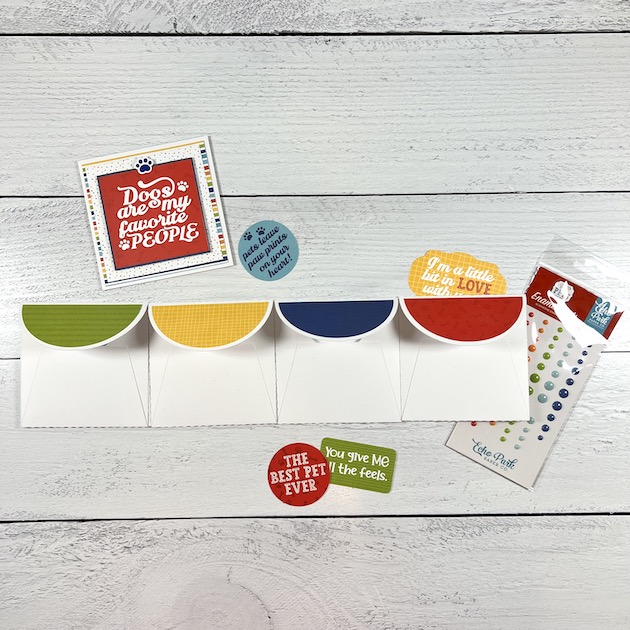
First, I cut out all of the pieces. There are 4 envelopes, 3 hinge pieces, 2 covers, and the pattern papers for embellishing. I used cardstock for everything except the cover pieces. I used chipboard for those.

Now that everything was cut, I created each envelope by folding the 2 sides in and the bottom piece up. I added
double-sided adhesive to the bottom portion to seal everything together, then adhered the colorful embellishment piece to the flap.

Scrapbook mini album Tutorial with envelopes

Next, I attached the 4 envelopes to each other using the 2.25″ x 4″ hinge pieces to create a row. Be sure to leave about 1/8″ in between the envelopes so that there’s room for the fold.

Scrapbook mini album Tutorial with envelopes


Now, it’s time to add the cover pieces to the first and last envelopes. Again, leave a little space in between for the pages to bend. 

Once all of the album’s base pieces are adhered together … fold it, making sure to alternate the direction of each page to create the accordion shape. Now, it’s time to embellish!

Dog scrapbook mini album Tutorial with envelopes

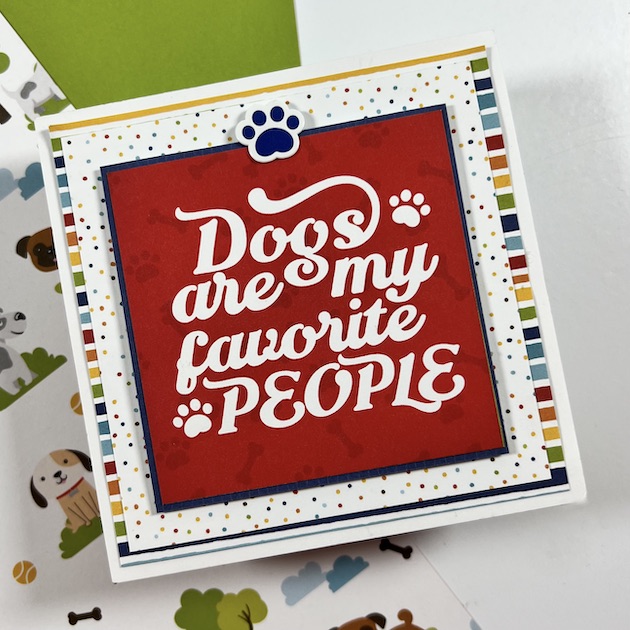
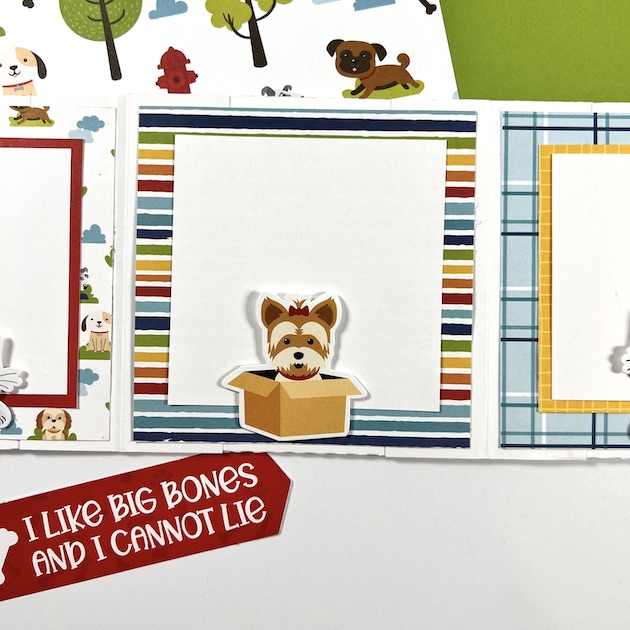
On the cover I layered the stripe, polka dot, navy blue print, and the 3×3 card on
top of each other. These are all from the 6×6 paper pad. 

Dog scrapbook mini album Tutorial with envelopes

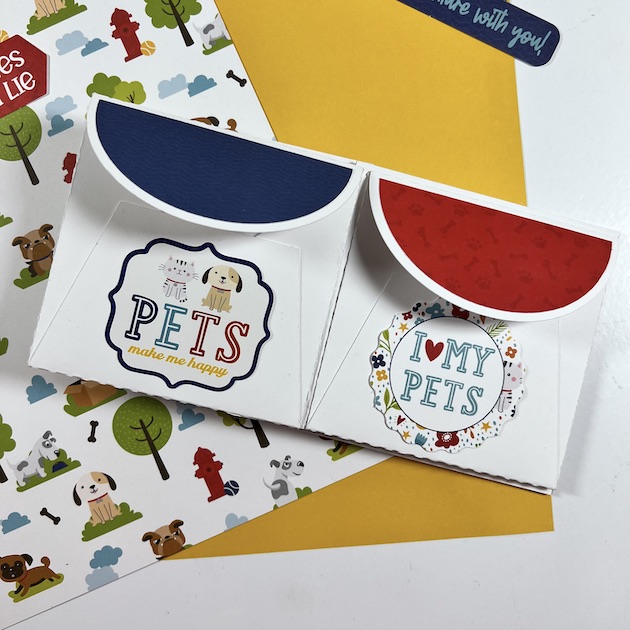
Inside for the envelope pages, I added cute stickers from the 12×12 sticker sheet and die cut
pieces from both packages of ephemera.

Dog scrapbook mini album Tutorial with envelopes


 Dog scrapbook mini album tutorial

For the other side of the envelopes, I created photo mats for lots of cute puppy dog pictures. I added colorful pattern papers and more embellishments.

 Dog scrapbook mini album tutorial

Lori has a great tutorial that shows you how to put everything together here:


This would make a great mini album for your pet’s photos or a sweet gift for
ANY pet parent. The Echo Park Pets Collection even has options for
cats, birds, hamsters, guinea pigs, lizards, fish, and rabbits!

Thanks for stopping by the blog today. I hope you’ll try this cutting file and wonderful paper line for your next project. Have a great day!

Blog * Facebook * Instagram * Pinterest


30% OFF + NEW Spring Grid Pop Up Cards!

This week I designed 12 new spring/easter grid pop up cards. And, what’s great is that you can get them 30% OFF this week in the Lori Whitlock SVG SHOP along with ALL of our digital files and commercial licenses now through Saturday, February 18th ! Be sure to use coupon code: FEB2023 (case sensitive) at checkout in the SVG SHOP


I hope you enjoy making some of these new cards! Have a fantastic day!

~Lori


Hexagon Pop Up Card Wedding Cake

I have reached an age where all of my friend’s children are getting married!  It’s so fun to watch these kids I saw grow up and move on to this next stage.  Last week I had a bridal shower… so I decided to make a fun Hexagon Pop-Up Card Wedding (SVGSilhouette) for the bride.  Take a peek….

I love that you can customize these cards in the wedding colors!  I also added some glitter and enamel dots for some dimension.  The sentiment is a sticker.


Such a fun card! Now off to make a few more for all the other weddings!  That’s it for me today, thanks for stopping by!
Kathy

Friday $5 Bundle!

Hi Everyone! Today we have a new Friday $5 Bundle! It will ONLY be available until midnight on Sunday and when it’s gone it’s gone. These SVG files can be used with Cricut Explore, Silhouette Studio (with the Designer Edition upgrade), Scan N Cut, and any other cutter that will work with SVG files. 

Now through Sunday, you can pick up this Valentine Project Bundle including 5 SVG files for just $5**!

The cost of this bundle is $5, for $12.45 worth of SVG files, over a 59% savings! But don’t wait, this bundle will only be around until Sunday at midnight!
 
** Because Friday $5 Bundles are already heavily discounted they are not eligible for further discounts including monthly, seasonal and flash sales.

Have a great day!

Vinyl Application Tutorial on a Travel Mug

Happy Thursday Everyone:

Anita here with a tutorial on the application of vinyl to a travel mug.  I wanted to make this for one of my friends for Valentine’s Day as one of her true loves is coffee.  I used Lori’s SVG called I Only Need Coffee on Days with “Y” (SVGSilhouette).  I used some Cricut silver matte vinyl for my project.  I selected matte vinyl for my cutting surface.  You do not need to mirror the design when using regular vinyl on a project.

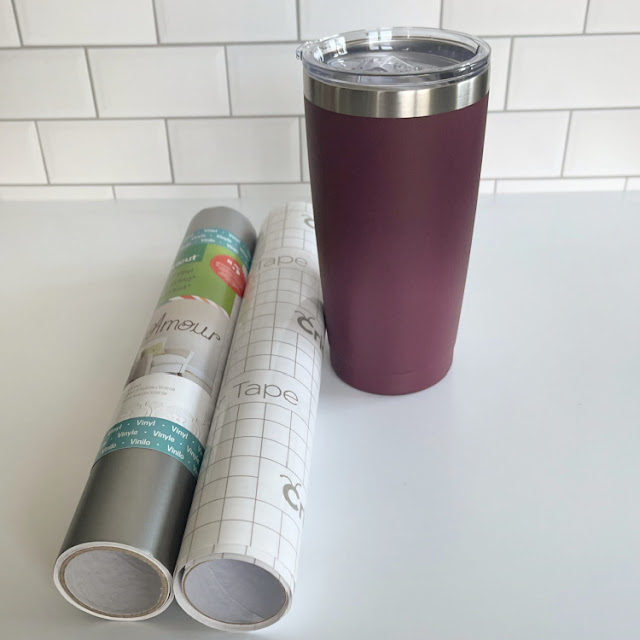
Here are the materials that I used for my project.  You will want to pick up some transfer tape if you don’t have any as it makes these vinyl projects so much easier.

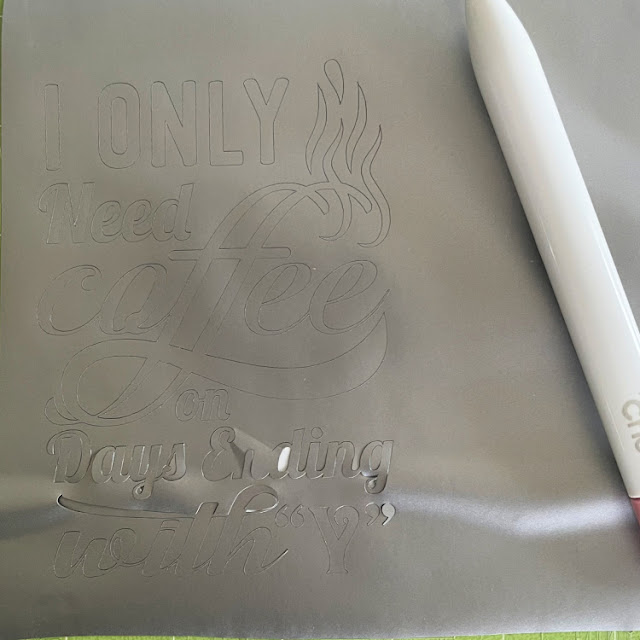
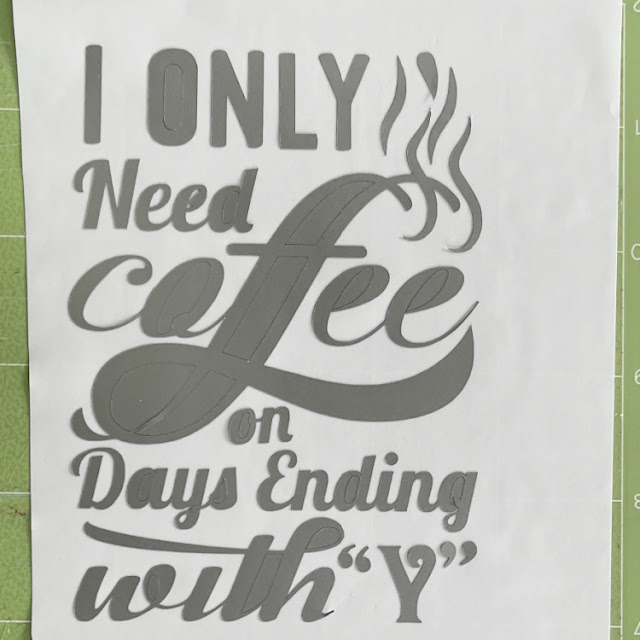
Here is the design cut out and that is my weeding tool from Cricut which is next to the design.  It has a hook on the end which makes fishing out those tiny little pieces so easy.  You can use a pin and I have used a seam ripper in the past too.  You are going to want to remove all of the pieces of design that you don’t need to be there.  I started in one corner and slowly peeled the excess away from my design.  If there are fine elements to your design you might need to hold onto the design with one hand as you pull the excess away so that your design doesn’t tear.

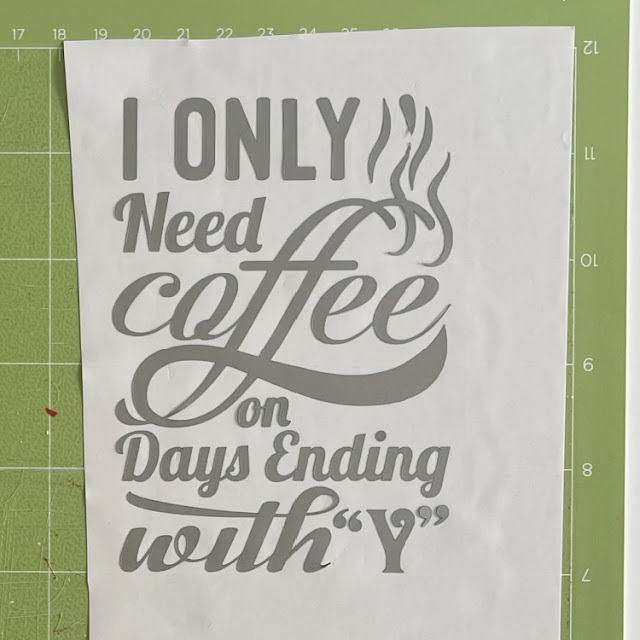
Here is what my design looked like after I peeled away all of the excess piece which came off in one piece,  Next, I needed to go in and grab those extra little bits to help define my design more.  I used my weeding tool for this.  You can use a pin as well.

.

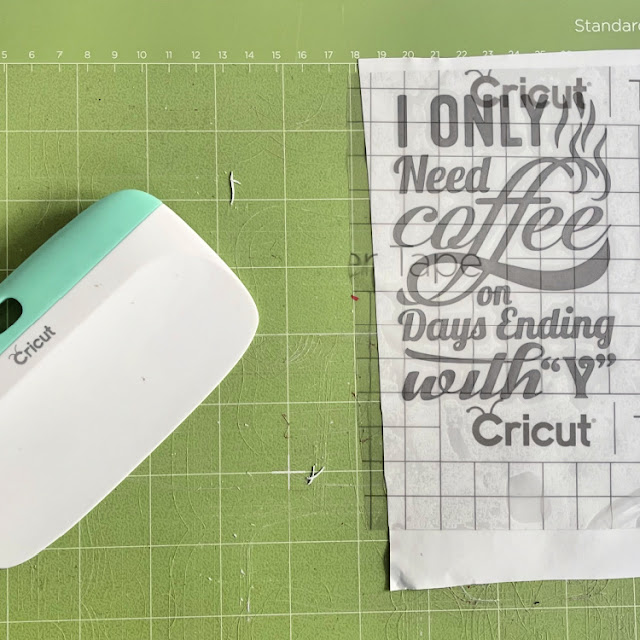
My design is now all weeded and ready for the transfer tape to be applied directly on top of the design.  I cut a piece of transfer tape a little larger by 1/2″ or so around your design.  Then I peeled off the white piece on the transfer paper leaving the sticky side exposed and then stuck that down on top of my design.  I leave my design on my mat through these steps as it is easier to work with.  At this point, you need to burnish the transfer tape onto your design.  Essentially you want the tape to pick up just the vinyl from the backing paper so that you can adhere it directly to your mug and see exactly where it will go.  I used my Cricut scraper that I bought but you can certainly use a popsicle stick for this step.  Check to see if you successfully got the vinyl to adhere to the transfer tape.  If not, continue to burnish until it all comes off the backing paper.

This photo shows the transfer tape on and the tool that I used to burnish the vinyl onto the transfer tape. And my well-loved mat, lol.

Lastly, I placed my transfer tape onto the mug.  I started carefully at one edge laying it on and let it gently fall where it wanted to given that the cup is rounded.  I then used my fingers to smooth out the transfer tape.  Once I was happy with the placement, it was time to again burnish the design to get it to adhere to the cup.  It came out great and I’m sure that she will love it.

Thanks for looking and have a great day.

Hugs,

Anita