Lantern Mini Album

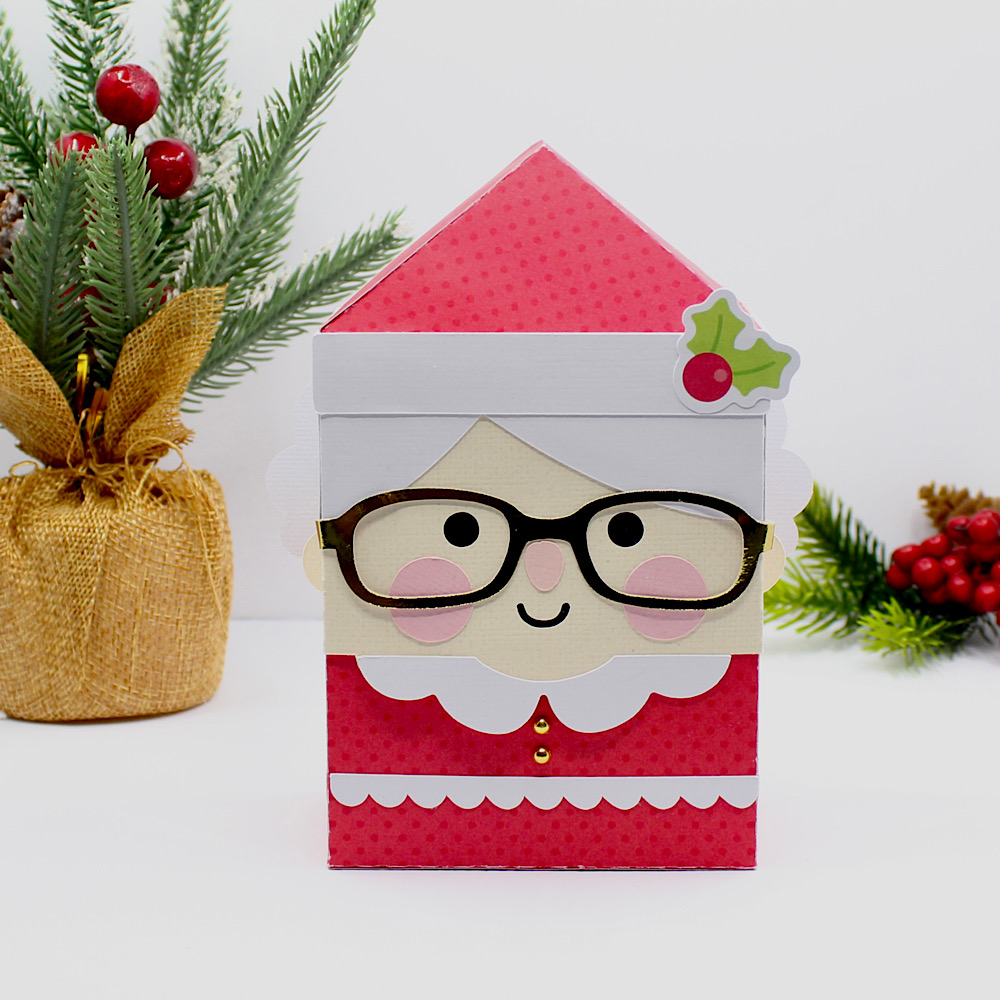
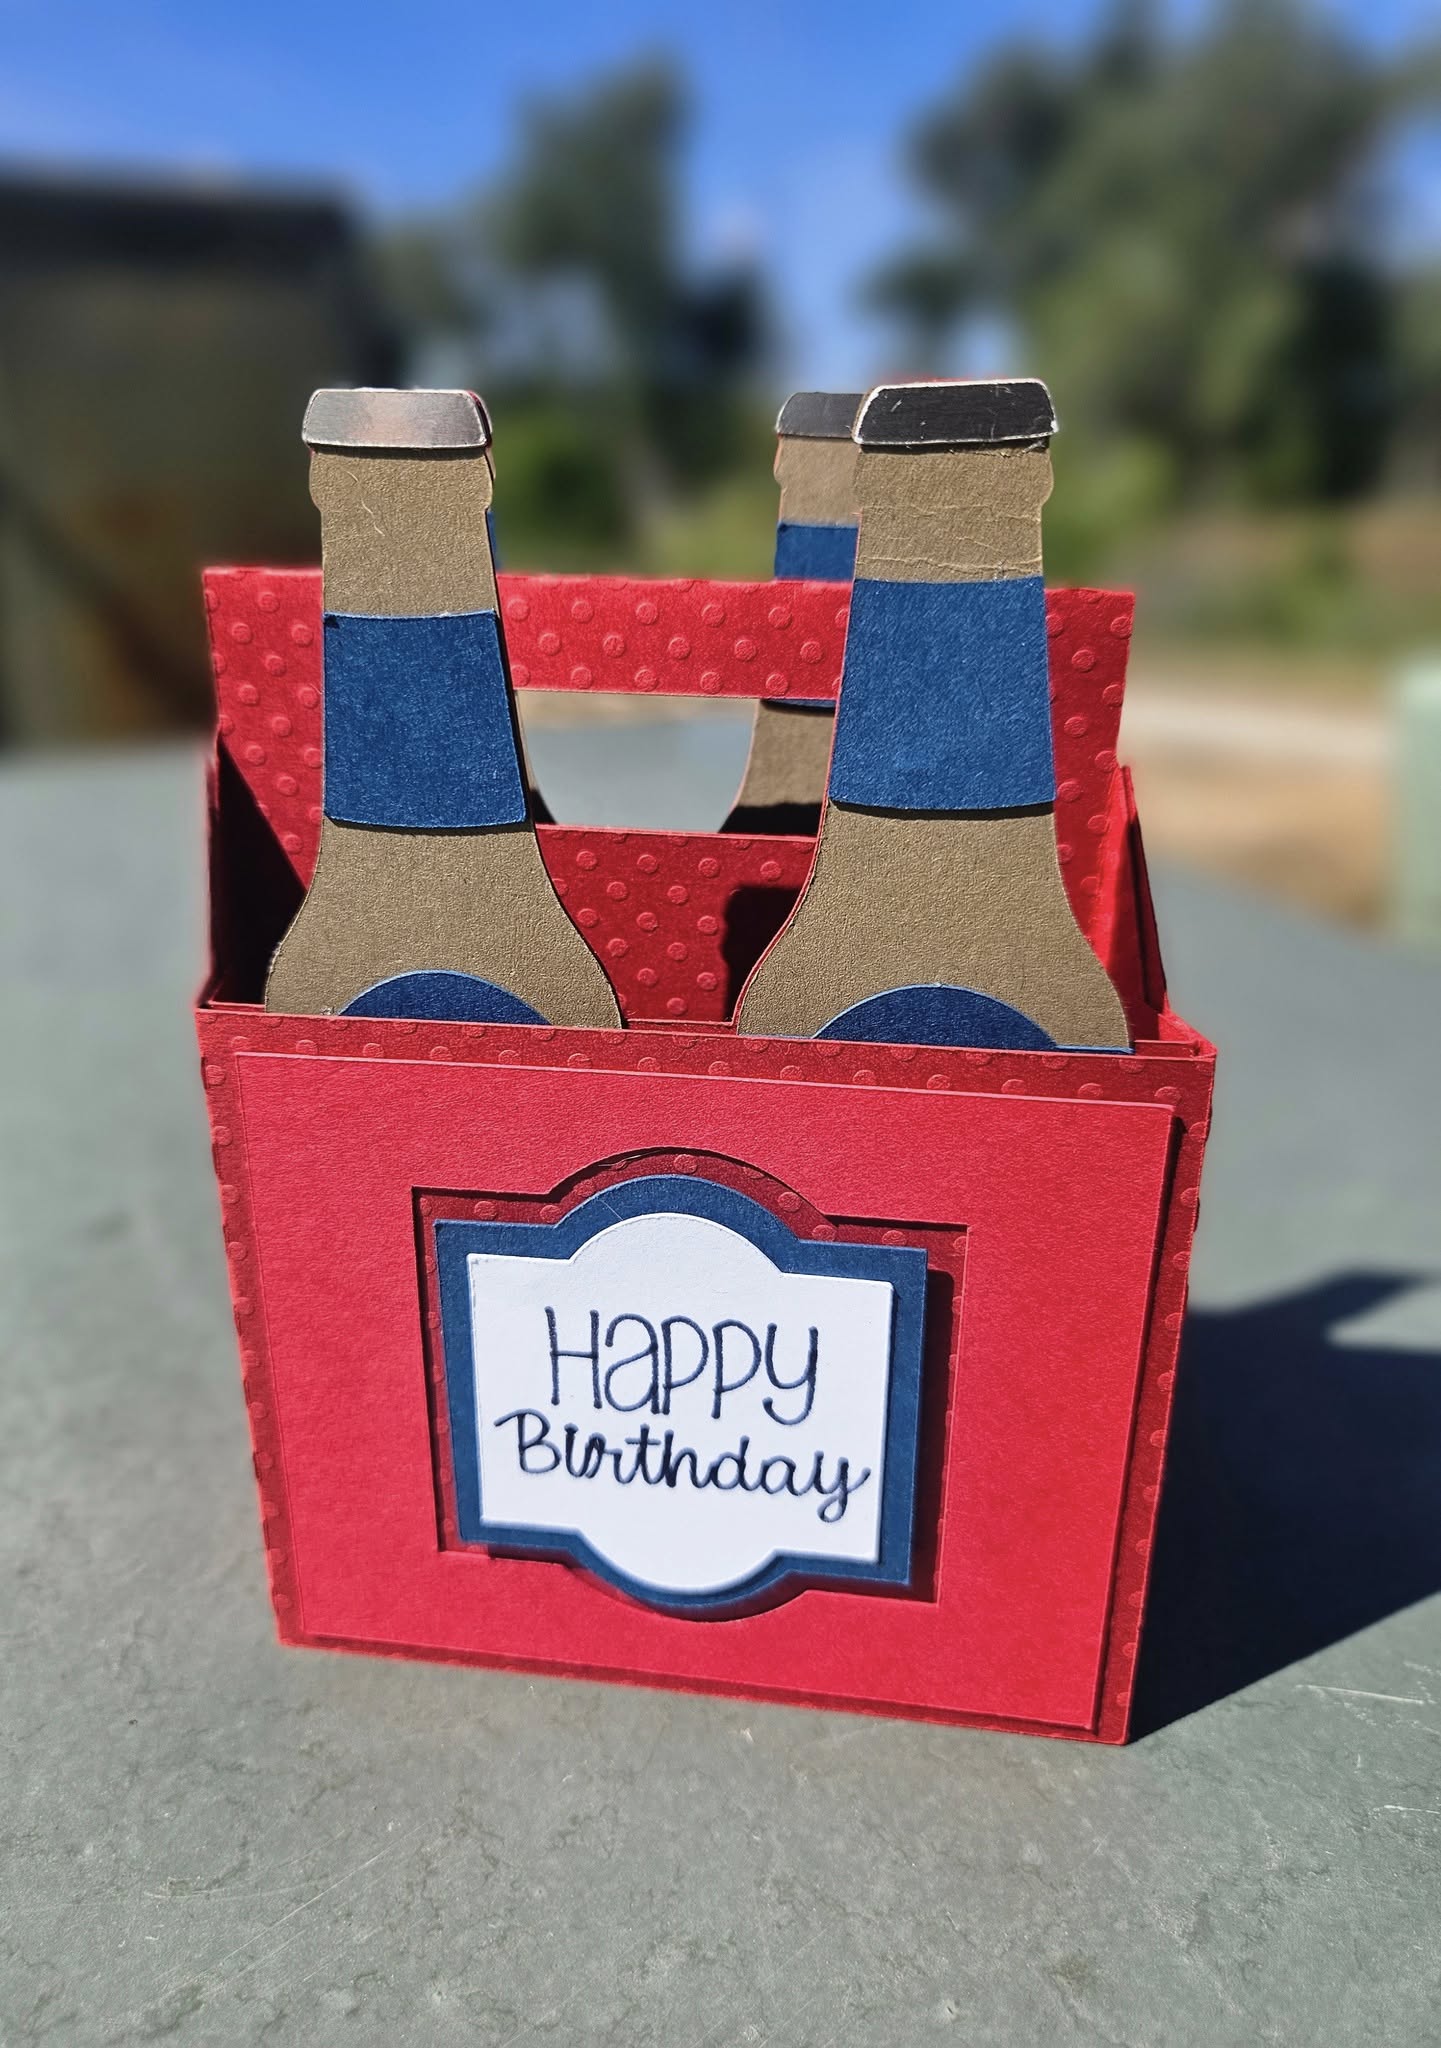
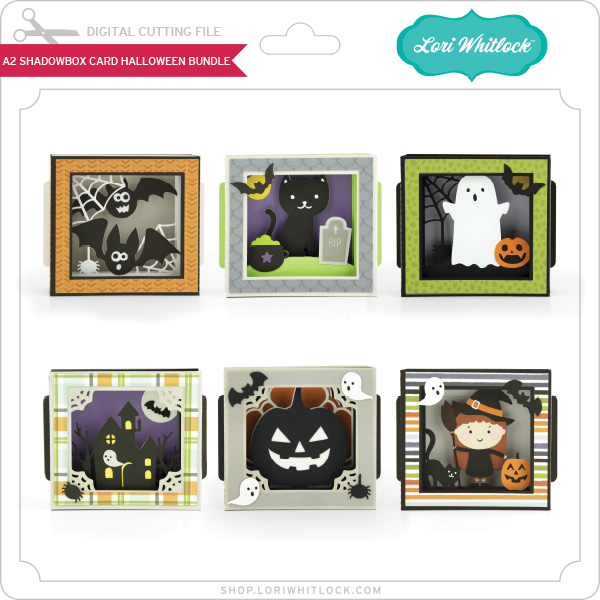
Happy Monday friends!  Traci here, and I’m excited to be back on Lori’s blog with my latest mini album, using one of her amazing svg files!  For this one, I used the Box card Fall Lantern file.


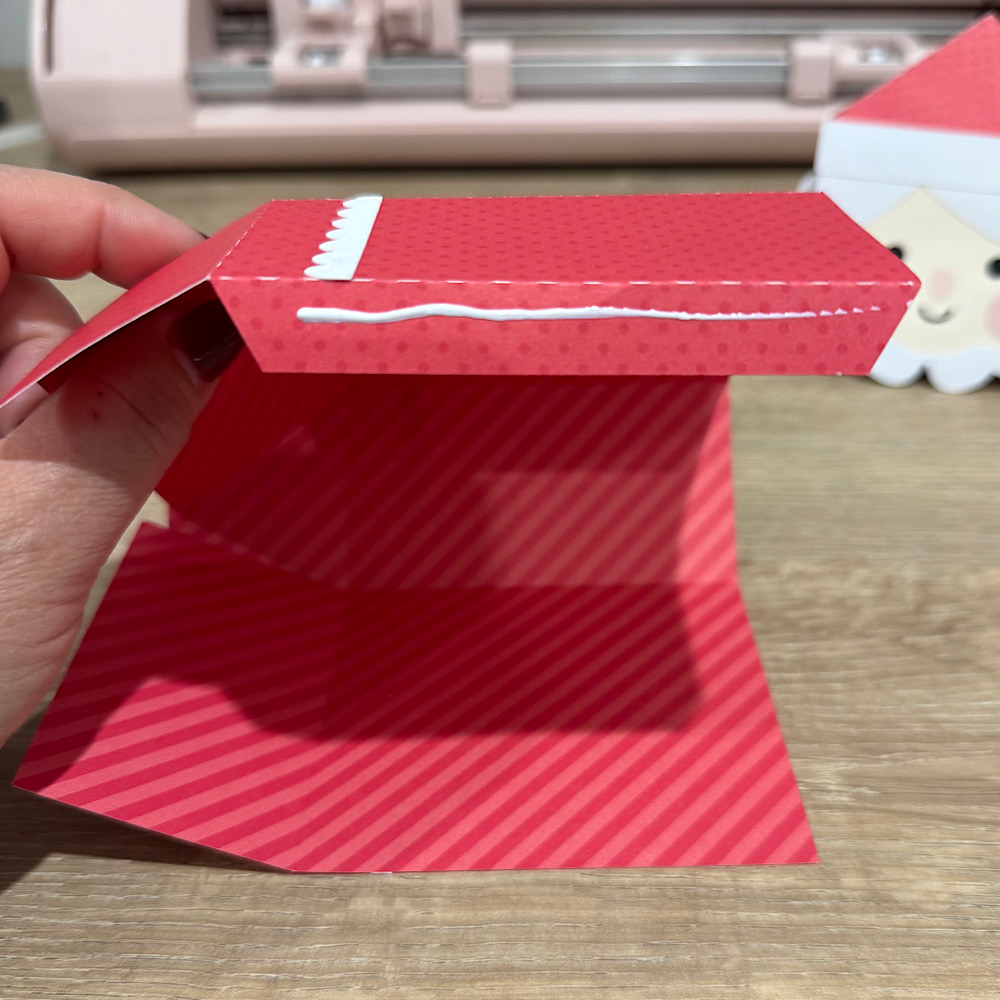
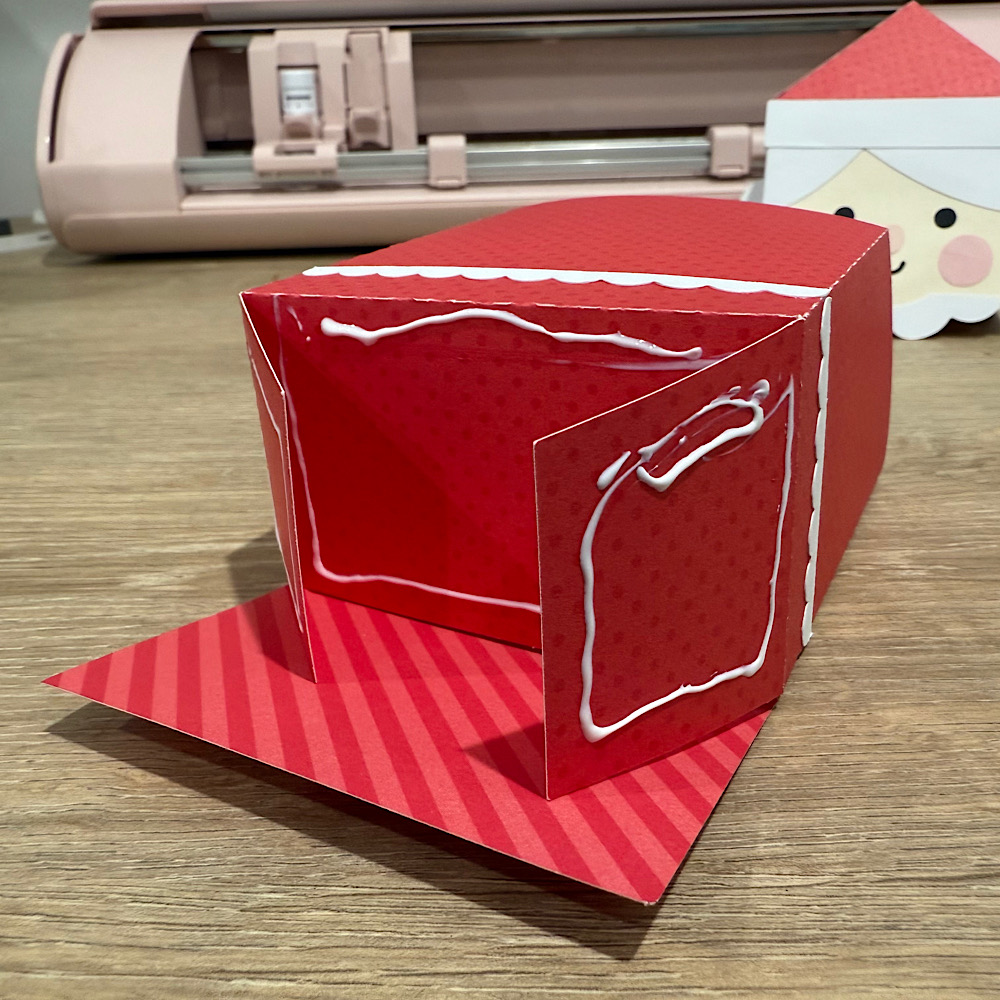
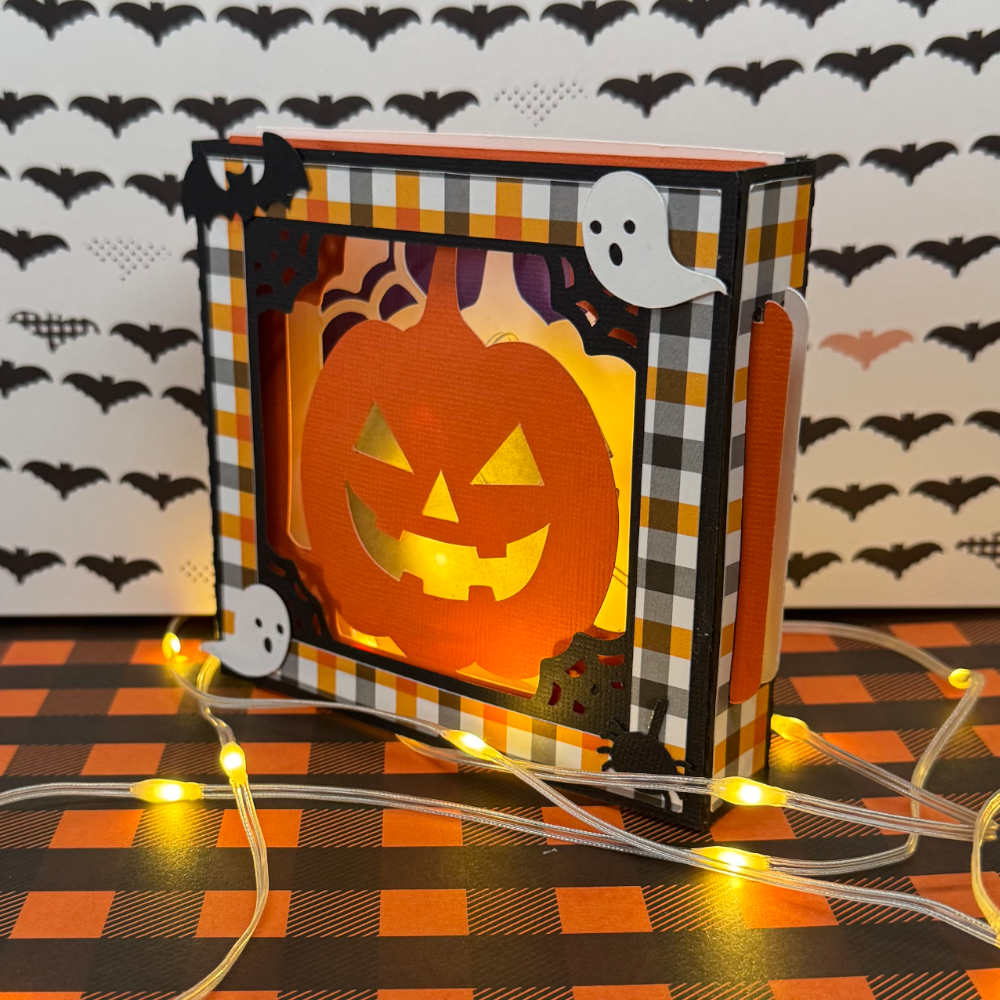
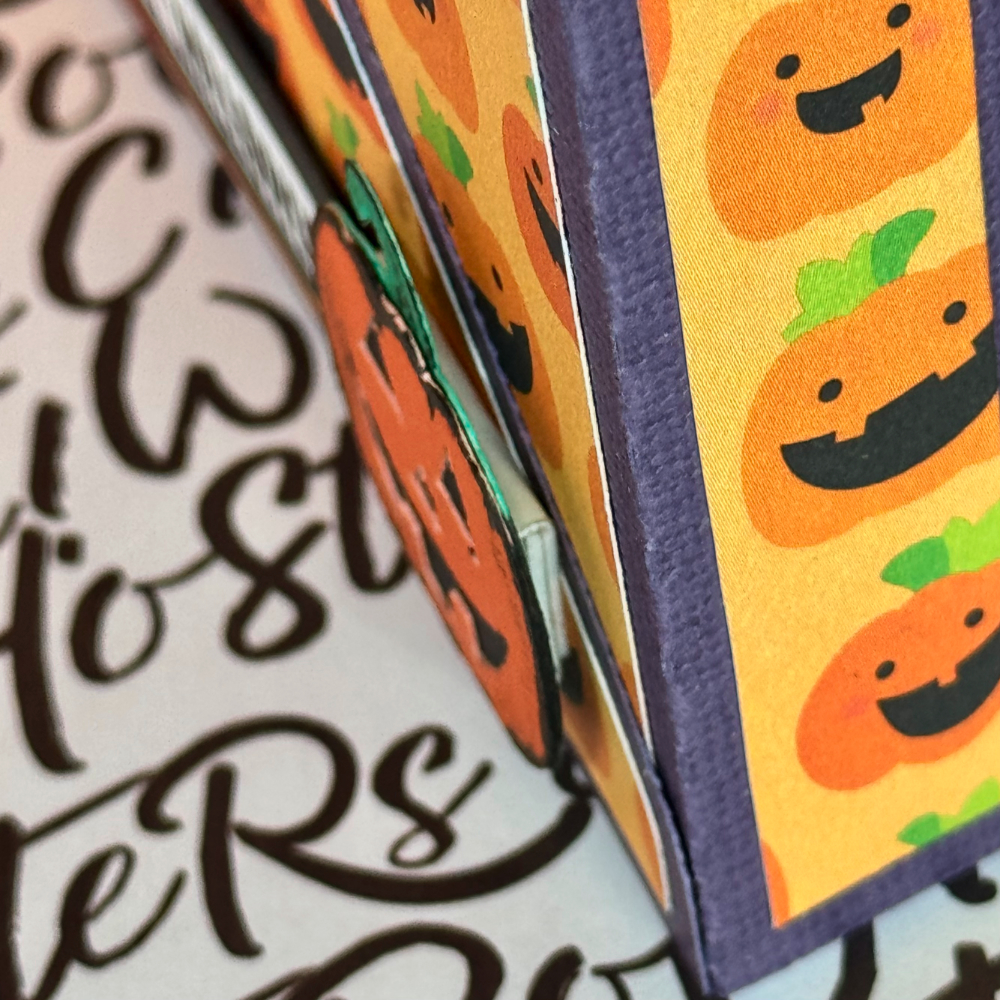
I cut the cover shape out of acrylic, but you could easily use card stock.  The cutting file includes lots of cute pieces for the front of the lantern … the mushroom, pumpkin, flower, and even some fall pieces that I didn’t include at the top, so you get lots of options in this cutting file.


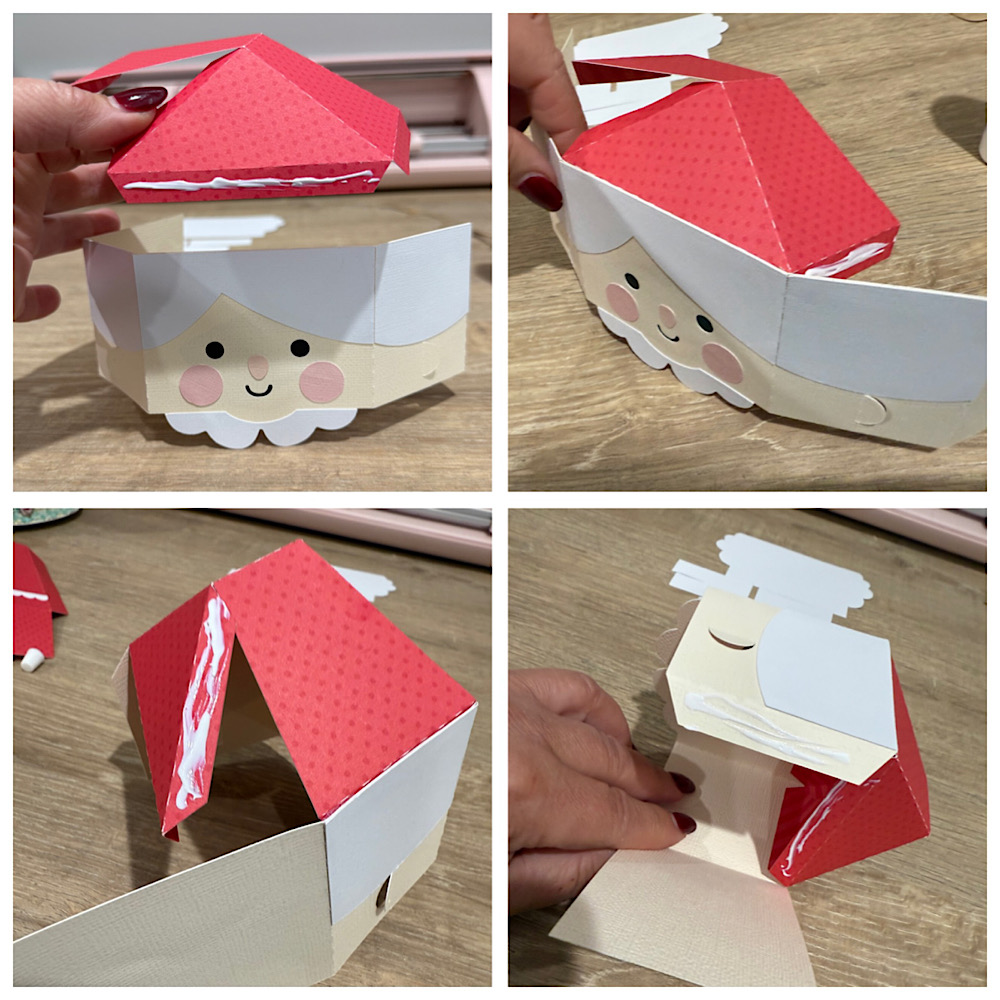
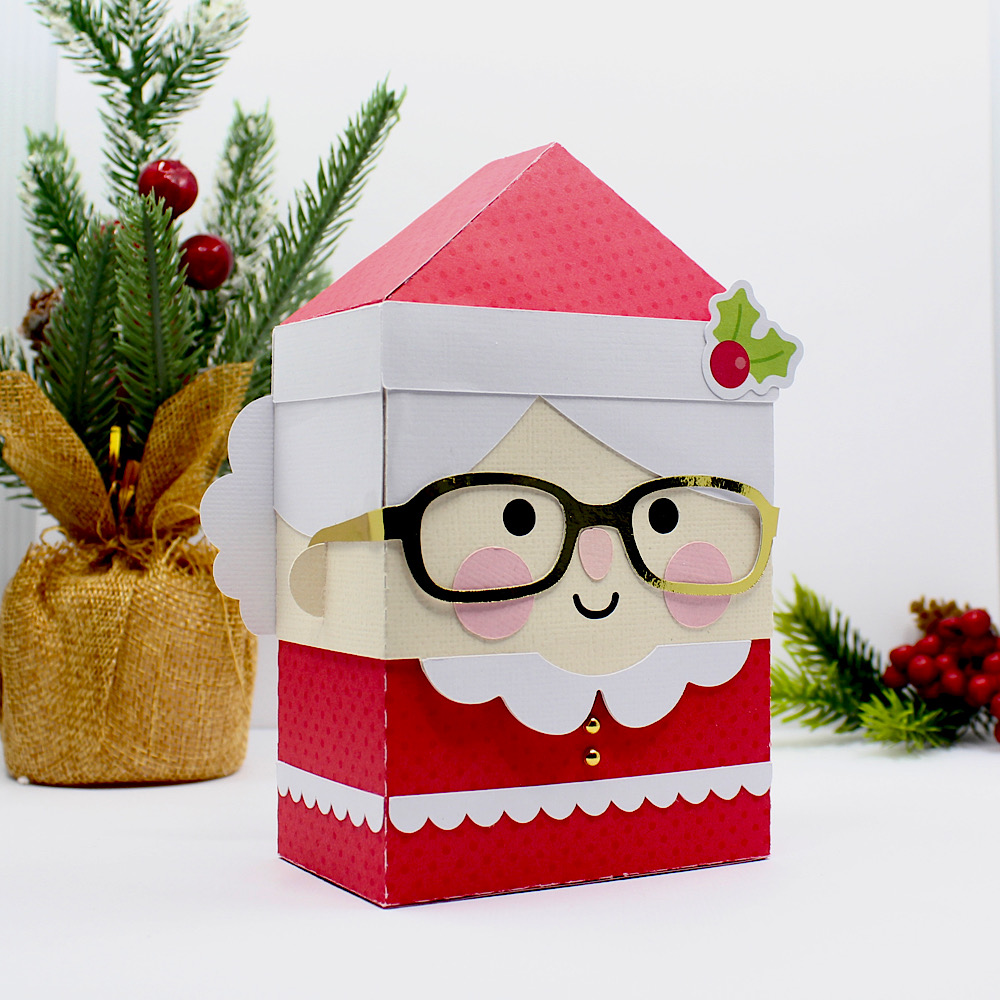
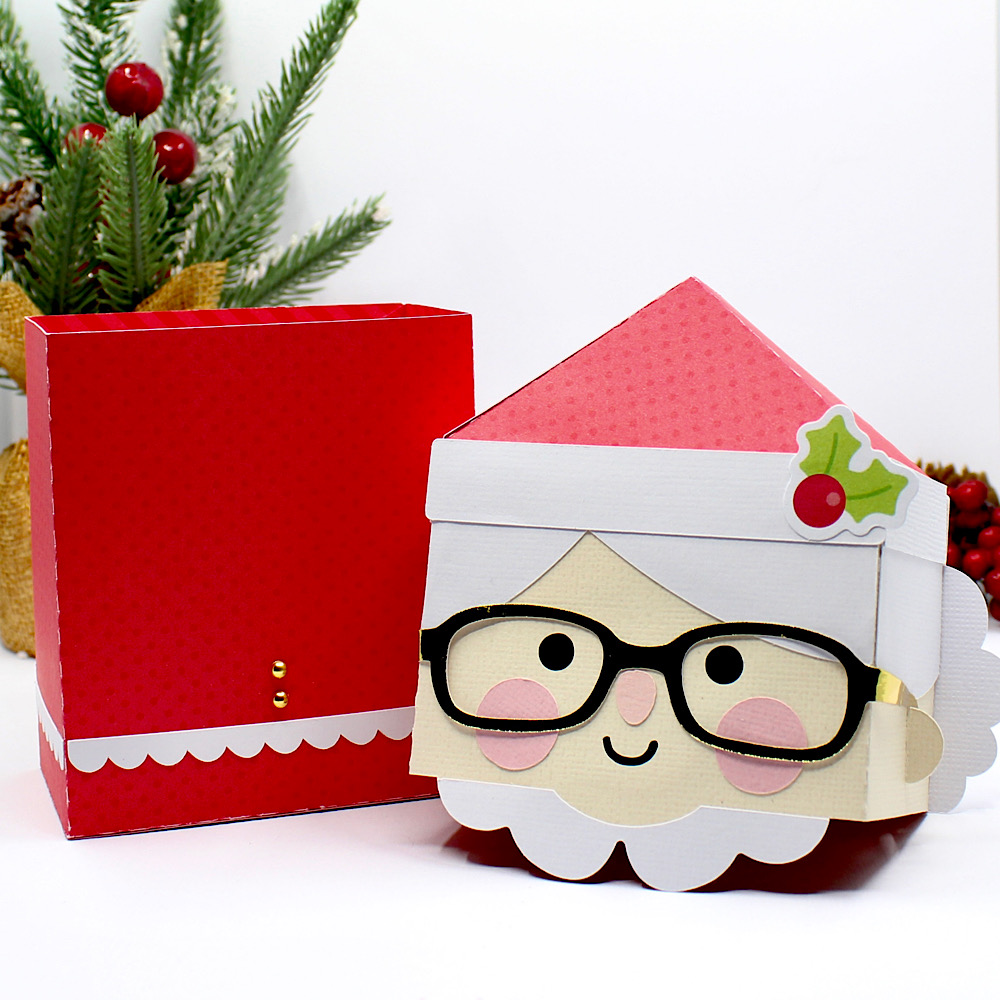
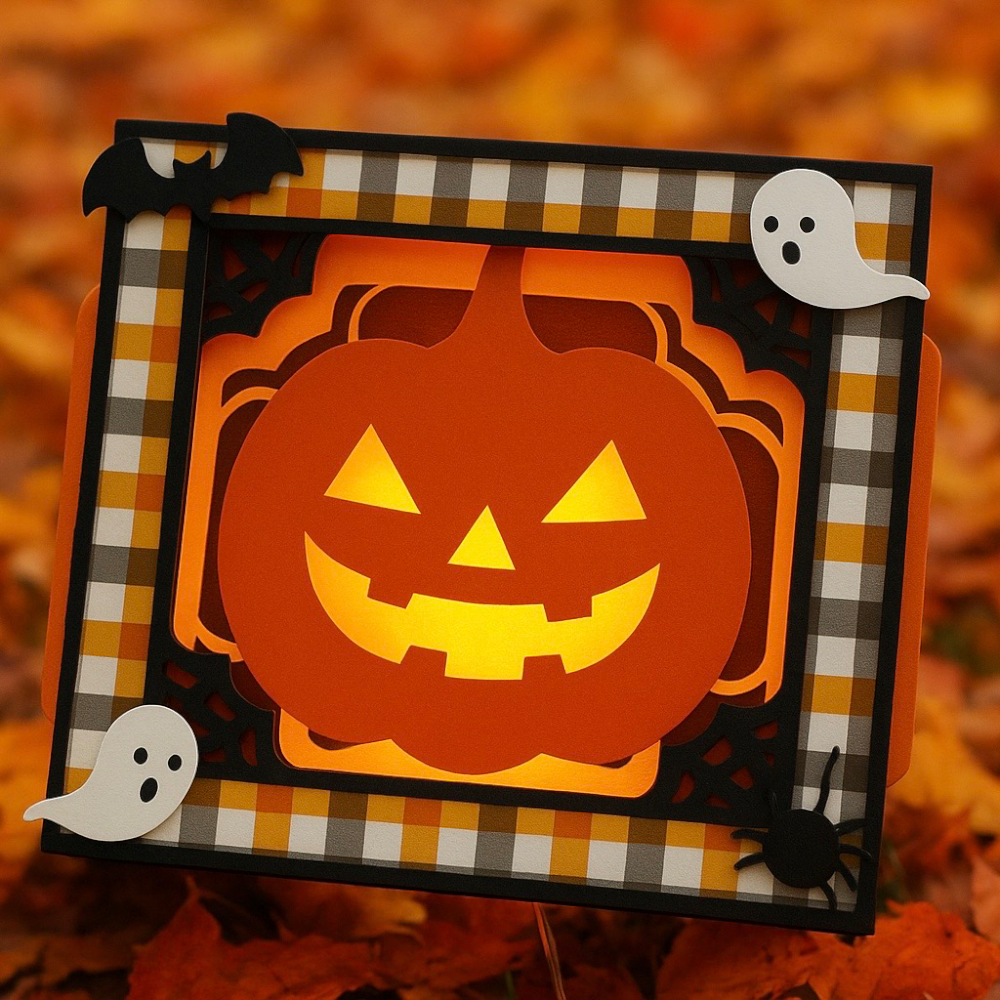
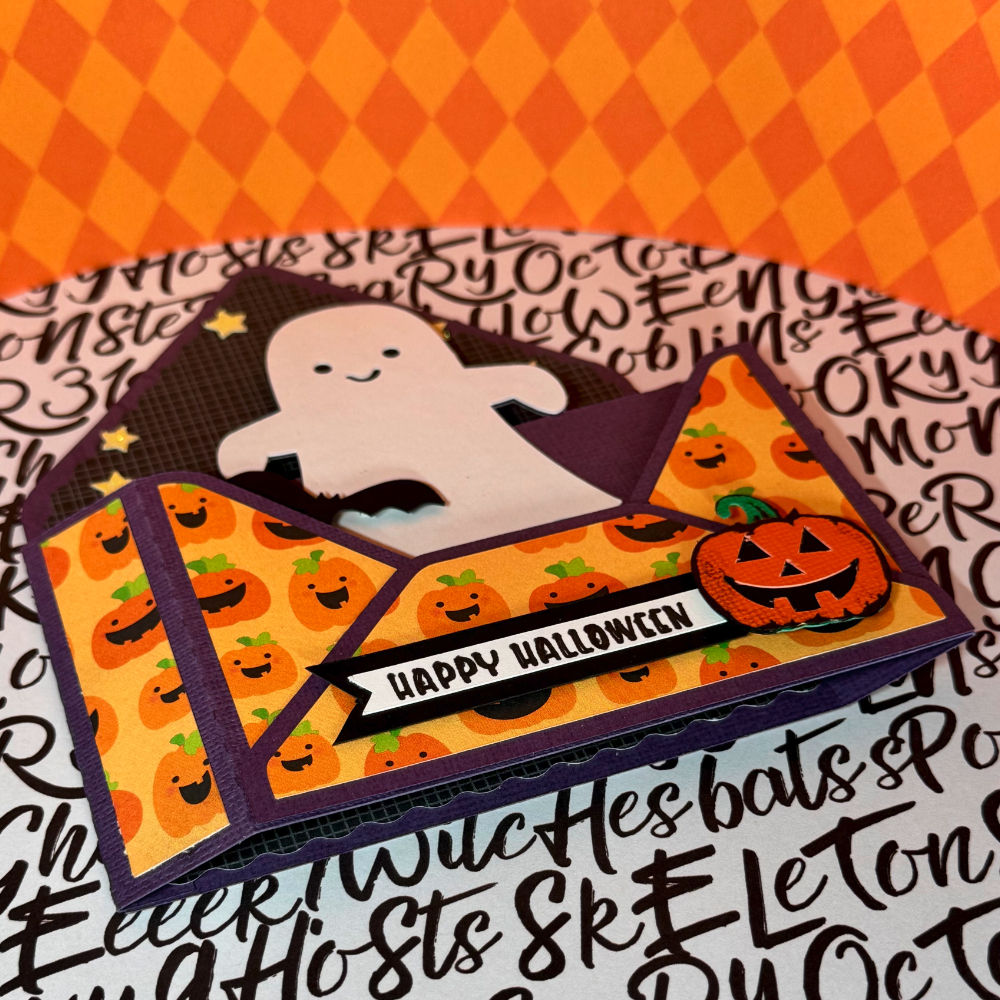
This cutting file was created as a box card, which you’ll have to check out because it’s a fun design for sending a sweet fall greeting.  But you know me … I’m a mini album girl so I always see album options when I see a cut file and this one did not disappoint!


How cute are the pumpkin and flower pieces at the bottom of this lantern?  And that mushroom?  Adorable!!


In addition to using the cut file for the cover shape, I also used it to cut 4 card stock pages for the inside of my album.  

Hmmm…this page is a little crooked Traci!  LOL!


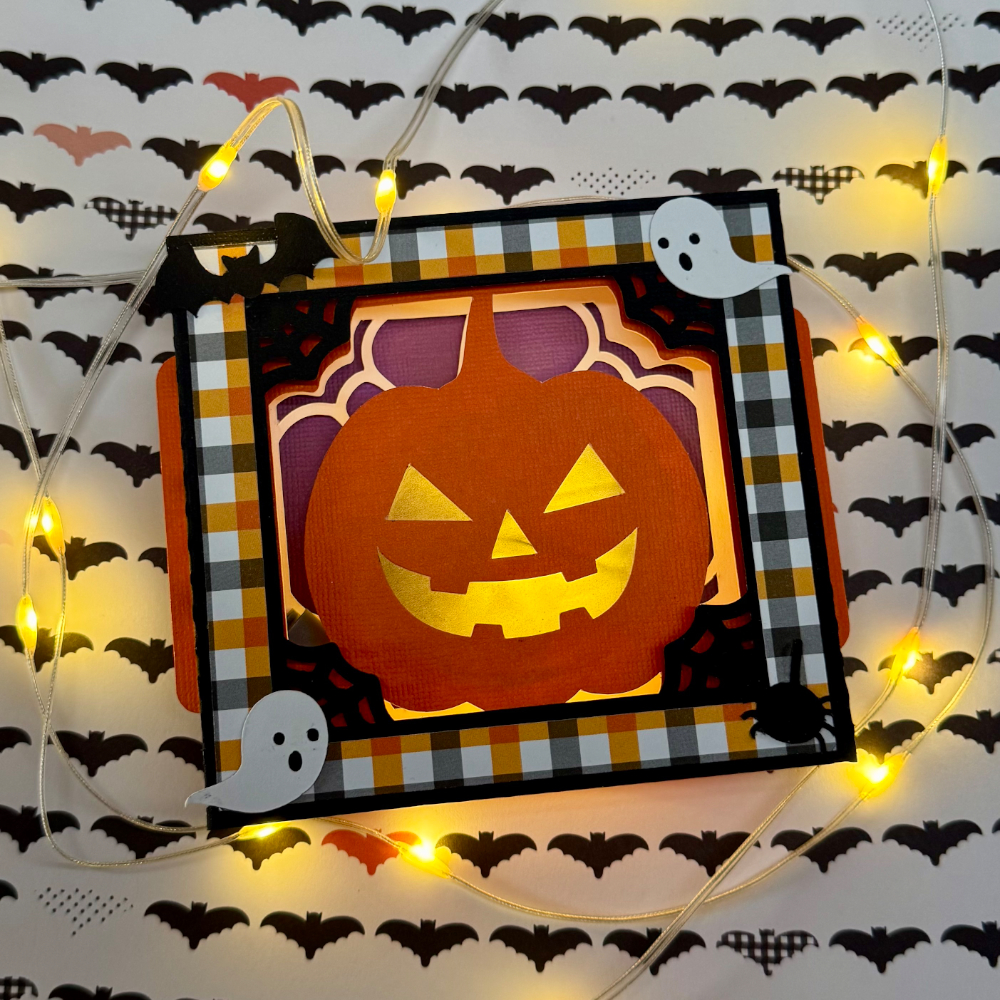
I added 4×4 photo mats to each page and added adorable die cuts from the Doodlebug Farmer’s Market collection.  This is why I like minis … I get to incorporate ALL THE THINGS!


I hope my project inspires you to think outside the “box card”.  Not only do you get a wonderful card with Lori’s file, you also get the chance to turn the pieces into a mini album, or add the pieces to a scrapbook page!  Have fun crafting friends!!

Blog * Shop * Facebook * Instagram * Pinterest


Mrs Santa Slip Lid Box

Hello Crafty Friends, Noelene here today. I know most of you are preparing for Halloween but in my house it’s never too early to start preparing for Christmas. Today I want to share with you one of the newest files I am using from Lori Whitlock called Mrs Santa Slip Lid Box (SVG).
I started out by cutting all my pieces then glued on the corresponding panels to the top & bottom box sections like pictured. I folded the score lines first as this helped me to correctly align when I glued down. I left the glasses till last as I found this was easier to glue in place once box was made.
Next I started to put together the lid of the box glueing the flaps of the hat to the head, starting with the front then working from sides & finishing off at the back.
Now glue the hair panel on the back of the lid.
Then glue down the white strips of hat trim along the top.
The next step is to assemble the base of the box. Start by glueing down the side flap.
Then finish off by folding down the inside large rectangle base followed by glueing the 2 small side bases on it & then glue the outer rectangle flap over the top of the small side 2.
Lastly I glued on my glasses which I cut with gold metallic cardstock & embellished with a holly cutout onto the hat & 2 gold sprinkles for buttons.
For more inspiration, check out my Instagram!
Thanks for stopping by!
Hugs
Noelene 🙂

Box Card Bottles Father’s Day with a Twist

Hello everyone! Today I’m showing you a Father’s Day card I turned into a birthday day card. I used this file, SVG or Silhouette.

I edited the text box to accommodate what I needed the card for, a birthday.

I used some dot cardstock from Bazzill and some metallic cardstock on the bottle caps.

I love these little box cards. They’re always so easy to assemble and the recipients always love them.

Thanks for stopping by and happy crafting!

Chelsea

A2 Shadow Box Card Jack O Lantern

🎃 Halloween Shadow Box Card – Jack O’ Lantern 🎃

Hi everyone!
Today I’m excited to share a fun Halloween project with you — a Shadow Box Card designed by Lori Whitlock, called “A2 Shadow Box Card Jack O’ Lantern.”

I decided to give this spooky little project my own twist by changing up the colors from Lori’s original version — and it’s amazing how a few color changes can create such a different look! 🧡🖤💜


For the layer behind the pumpkin’s eyes, I used vellum so the light can shine through beautifully when you place a little LED light or fairy lights behind it. It gives the card a cozy (and slightly spooky!) glow that’s perfect for Halloween nights. 

If you’d like to make this project yourself, the file is sold as a single file and as a cute spooky bundle:

Single file Silhouette / SVG
Bundle  SVG

I’d love to know — which colors would you use?
Be sure to share your version on social media so we can see your Halloween creation! 

Happy crafting Tamara 

Box Card Envelope Ghost

October is creeping closer… and you know what that means Halloween is just around the corner!!

I’m in love with all the spooky decorations, so of course Halloween cards simply cannot be missed.

Luckily, the shop is filled with Halloween files, including “Box Card Envelope Ghost” which I’m thrilled to share with you today!

For this project, I played with design paper from Doodlebug Designs and topped it off with my absolute favorite: glitter cardstock.

Because let’s face it, Halloween stars deserve a little extra sparkle in the dark.

I added some foam tape under the pumpkin and the bat, for extra dimension.

And of course, the card can be folded flat for mailing!

Do you make your own Halloween cards?

Don’t keep them hidden in the shadows, be sure to share them online!

I love getting inspired by your creations.

The file I used is included in this amazing bundle

Shop for it HERE (Silhouette)

Happy Crafting,
XO Tamara