Hello crafty friends!
I created this “Box Card Easter Bunny Carrot Car” because, before you know it, Easter will be here! Follow these simple steps to make your own easter card.
Materials Needed
• Orange, green, white, black and pink cardstock
• Cutting machine ( I used my Silhouette Cameo 5)
• Glue
• Ink (for decorating the carrot)
• Lori’s Cutting file ( SVG / SILHOUETTE )
Step 1: Cut Out the Parts
Using cutting machine, you cut out all the necessary components for your card. This includes the shapes for the carrot, the Easter bunny, and card base.
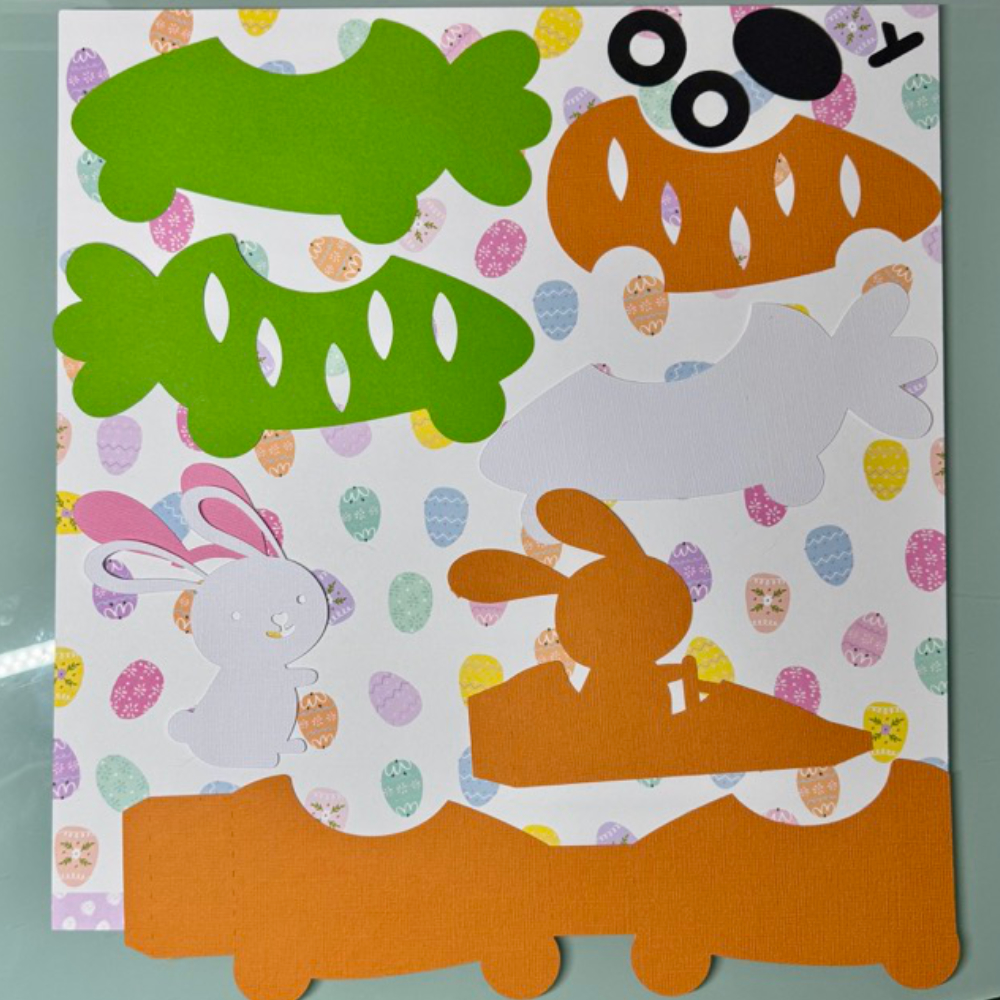
Step 2: Assemble the Orange Card Base
Take your orange cardstock and begin assembling the card base. Apply glue where needed to join the pieces, making sure the base is sturdy and neatly put together. This vibrant orange foundation will set the tone for your design.
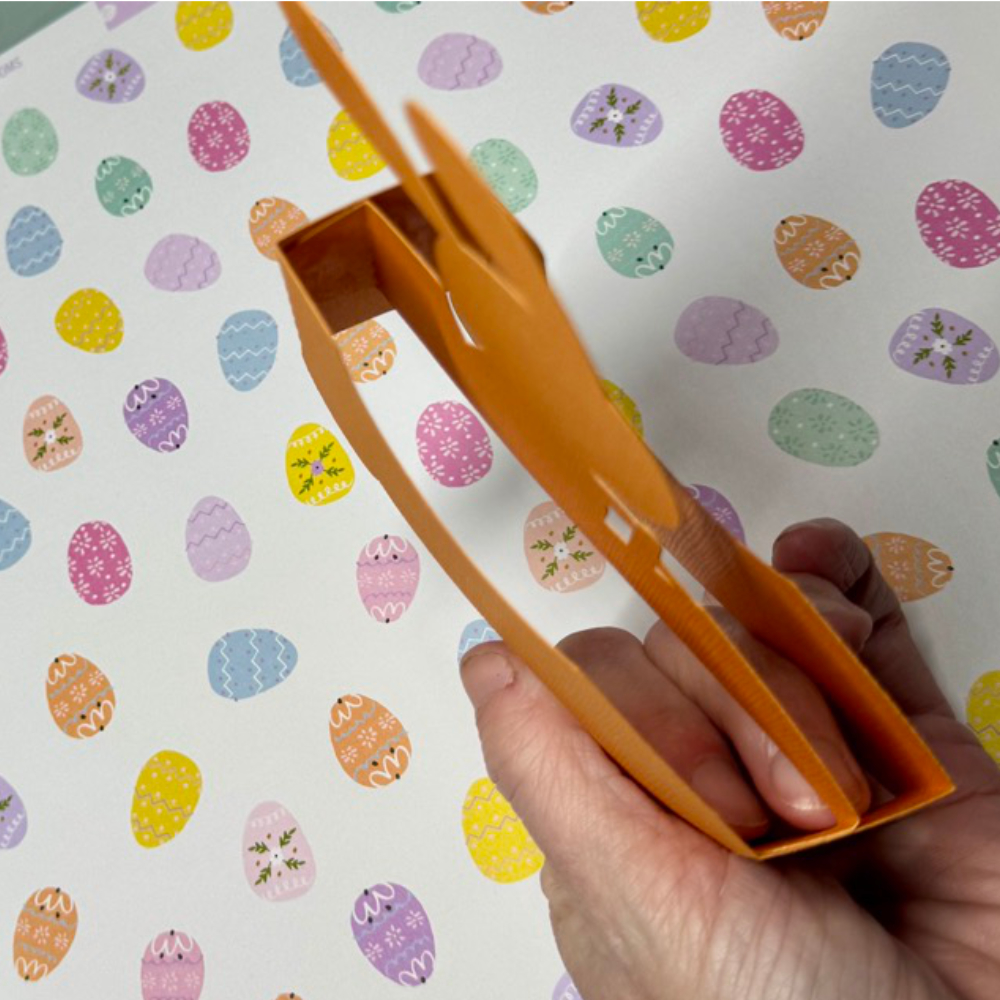
Step 3: Construct and Attach the Easter Bunny
Now, focus on the Easter bunny. Glue the individual pieces of the bunny together until it forms a complete figure. Once assembled, attach the bunny securely onto the orange card base.
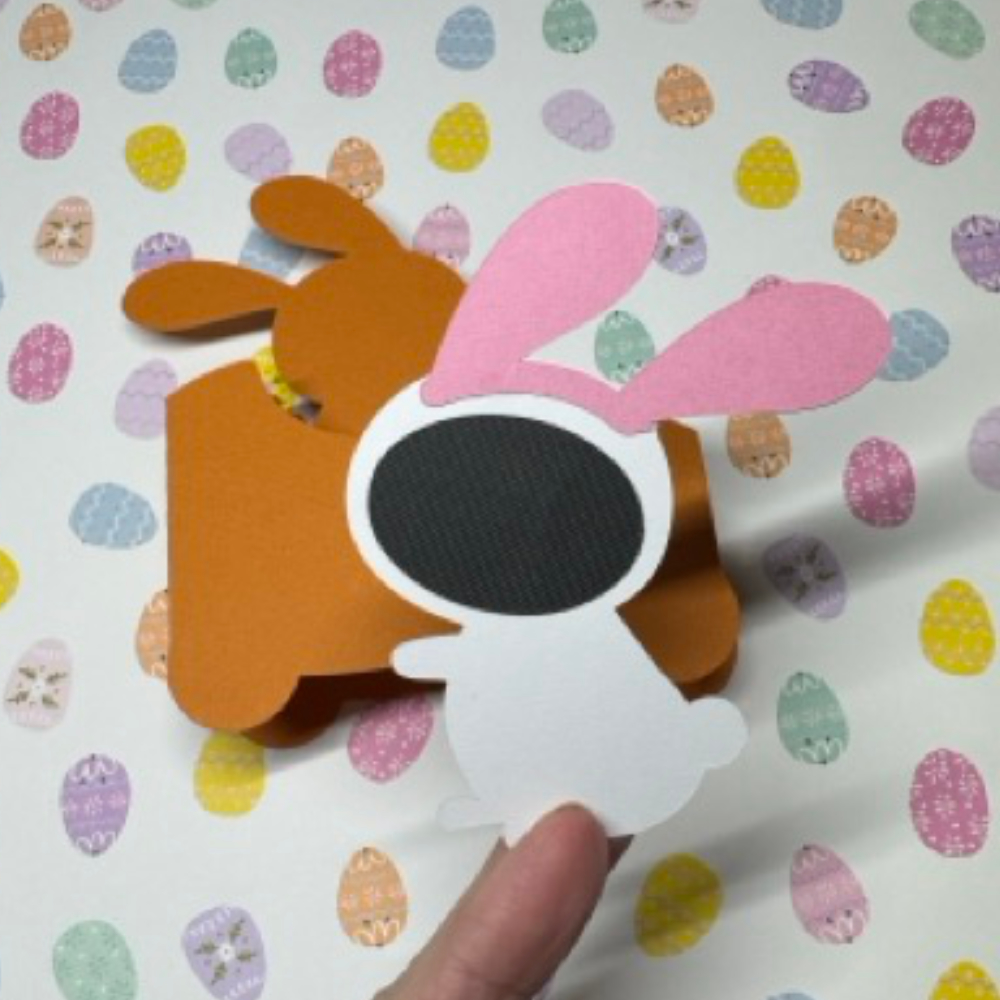
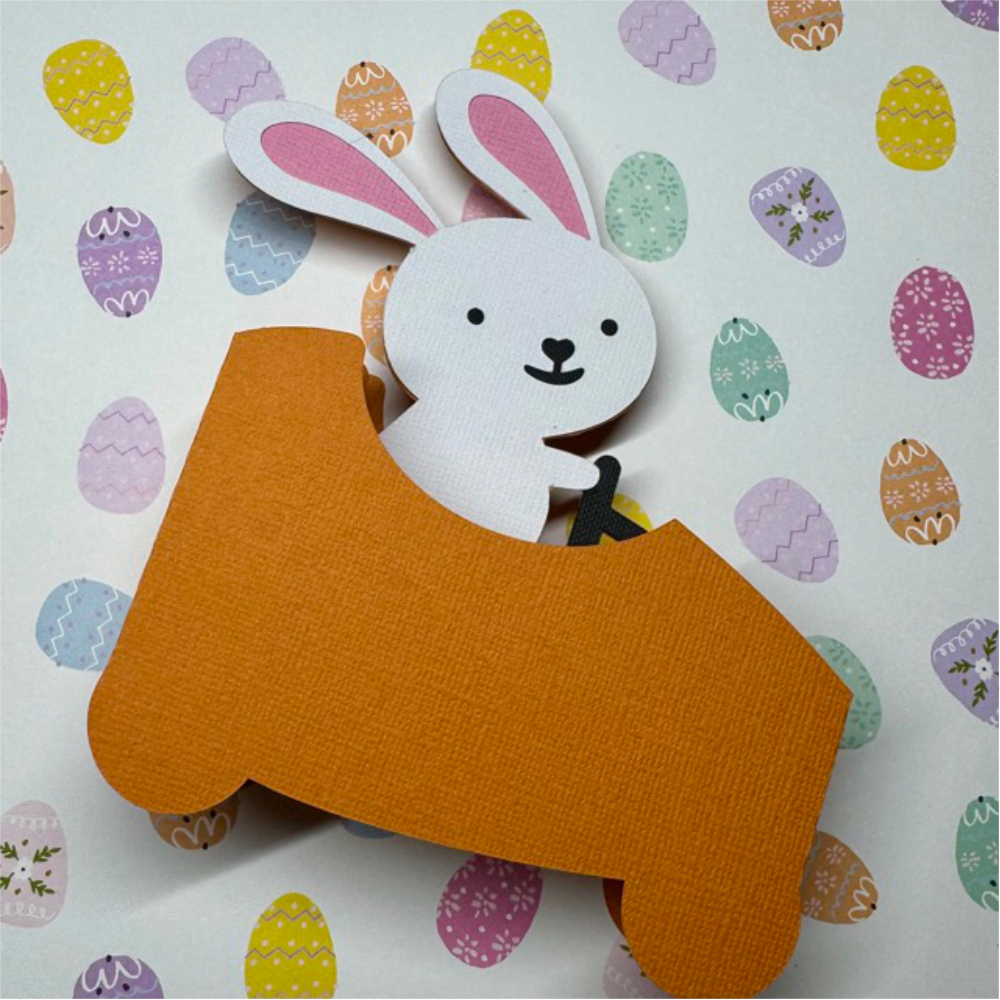
Step 4: Decorate and Assemble the Carrot
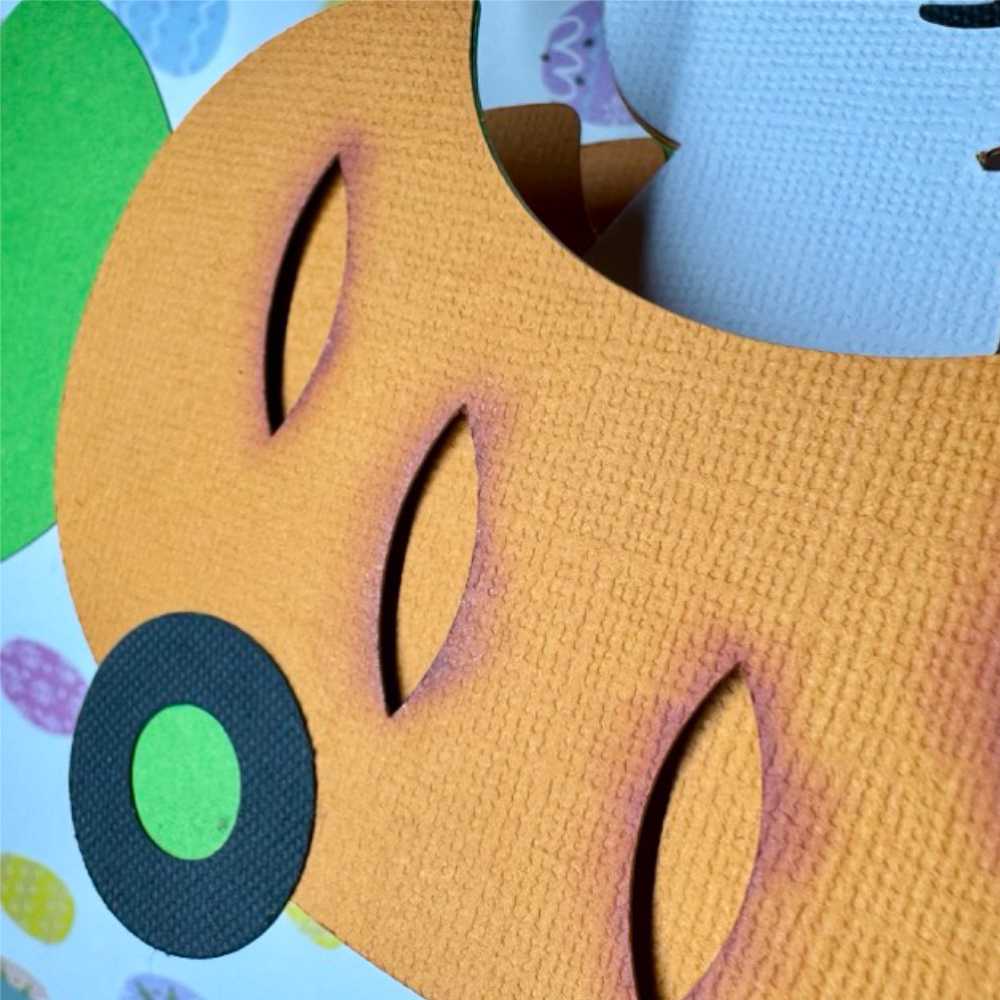
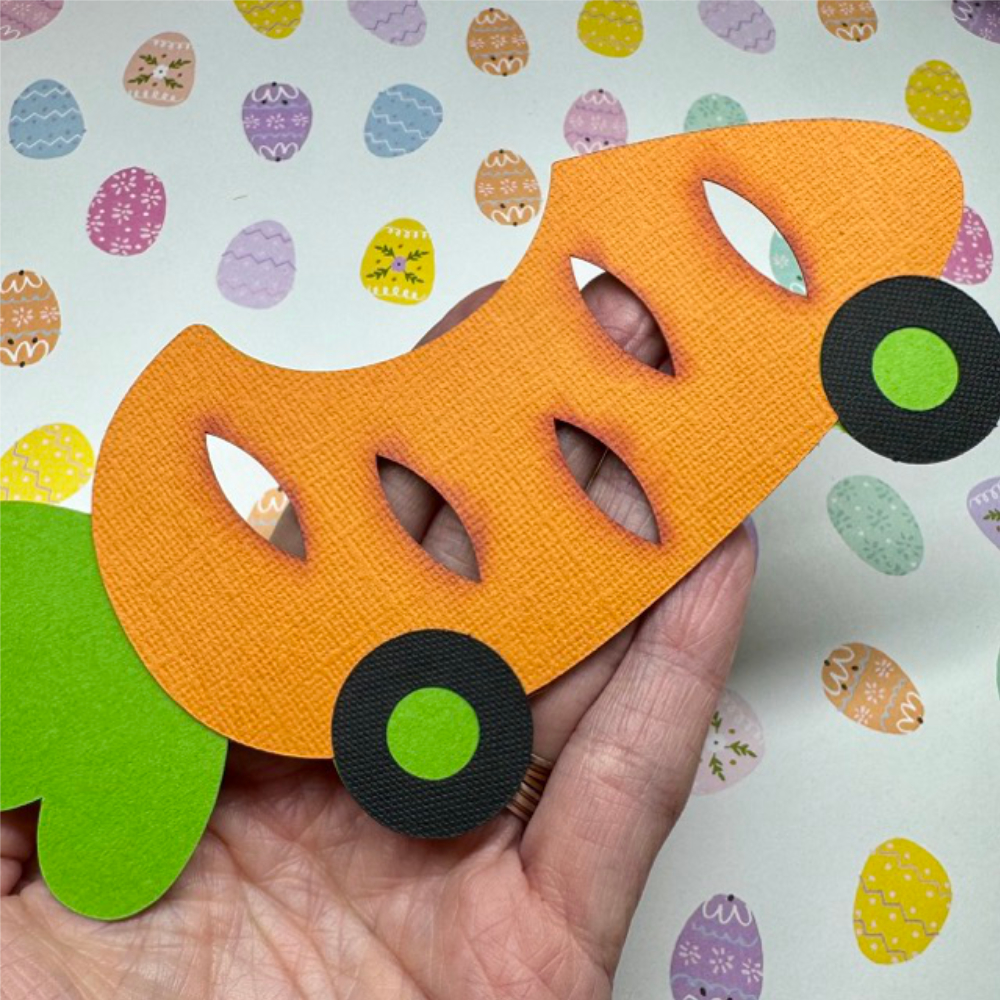
Next, add some creative flair to the carrot. I Use ink to decorate the holes in the carrot piece to create a shadow effect. Glue the parts together carefully. This step gives your card a unique, handmade touch.
Step 5: Attach the Green-White Backside
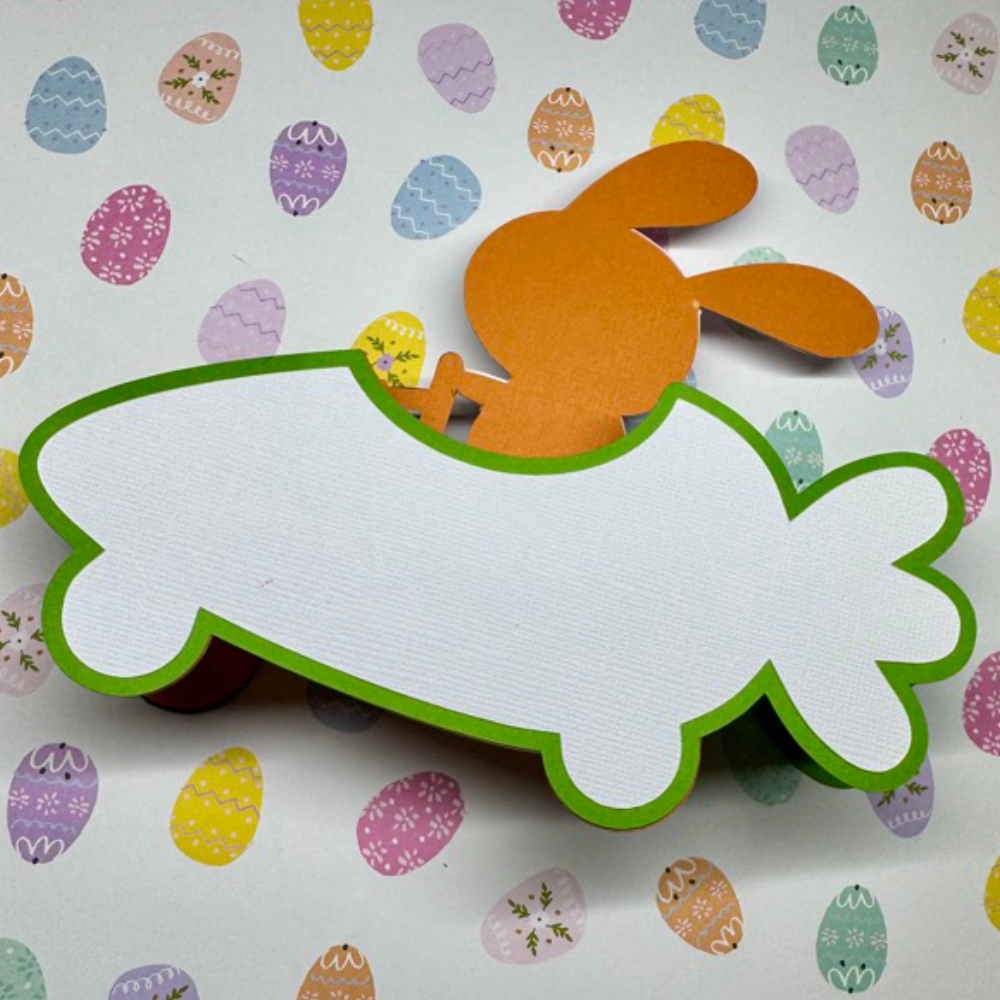
Finally, complete your project by attaching the green and white cardstock to the back of the orange base. This additional layer not only provides contrast but also reinforces the structure of your card. This backside you can use to write your message on.
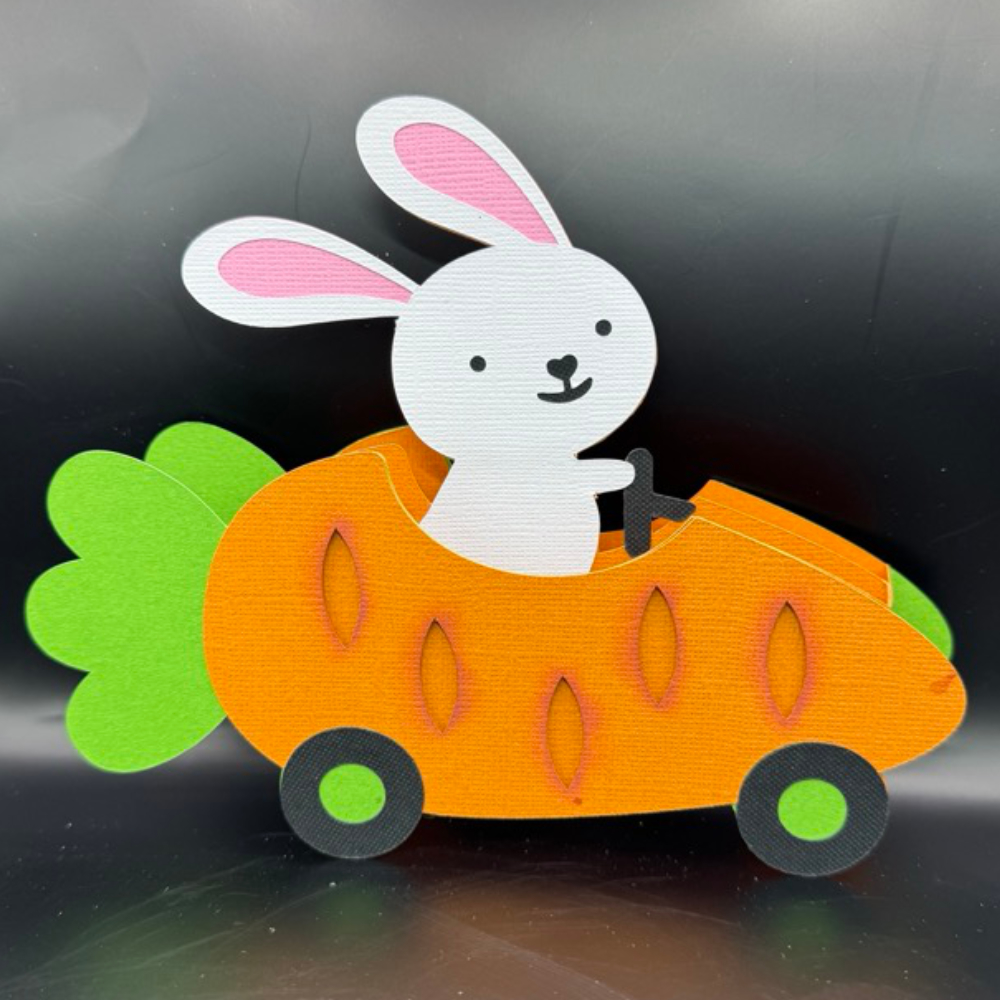
And there you have it, a cute carrot card ready to celebrate Easter!
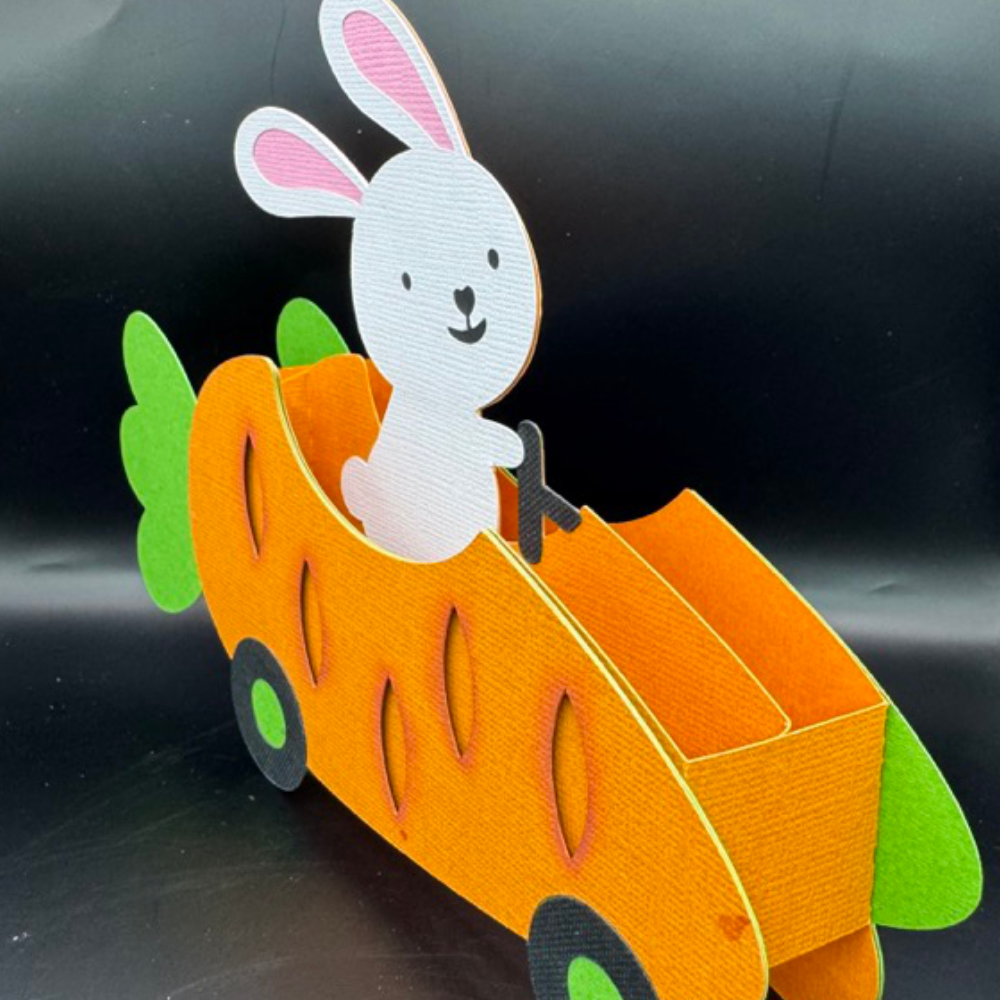
Enjoy crafting and have a wonderful day!
Tamara







.jpg)
.jpg)