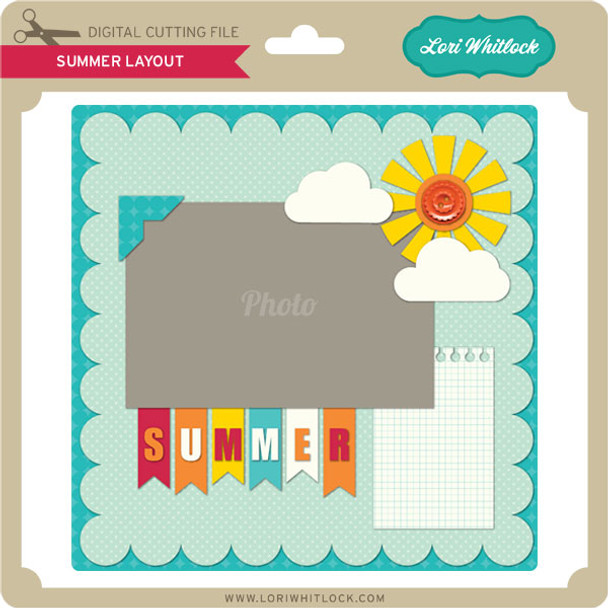
Summer Layout Tutorial

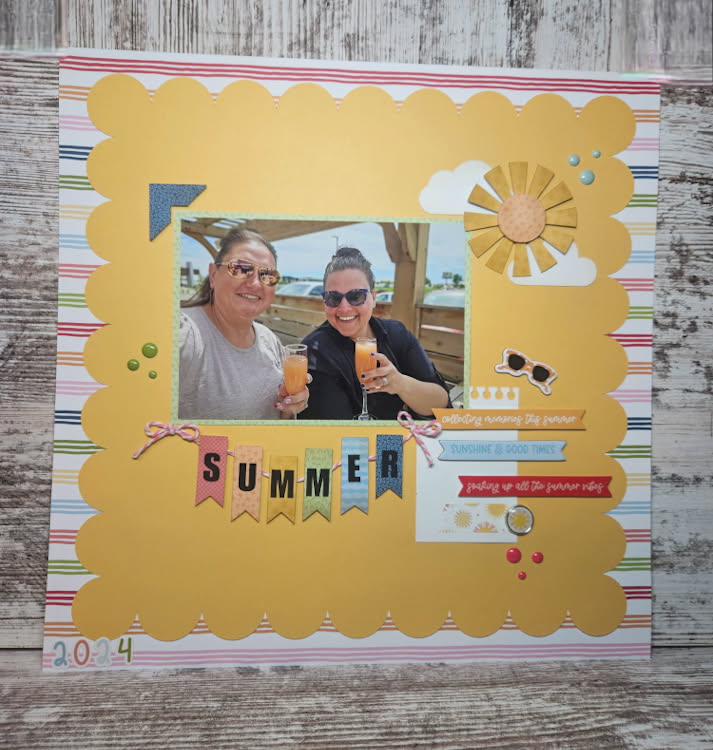
Hello! We got the dreamiest paper in the mail last week and I couldn’t wait to create with it.  Echo Park’s Have A Great Summer designed by Lori Whitlock has all the best colors and papers. It made me think of how fun this layout would be with these papers.

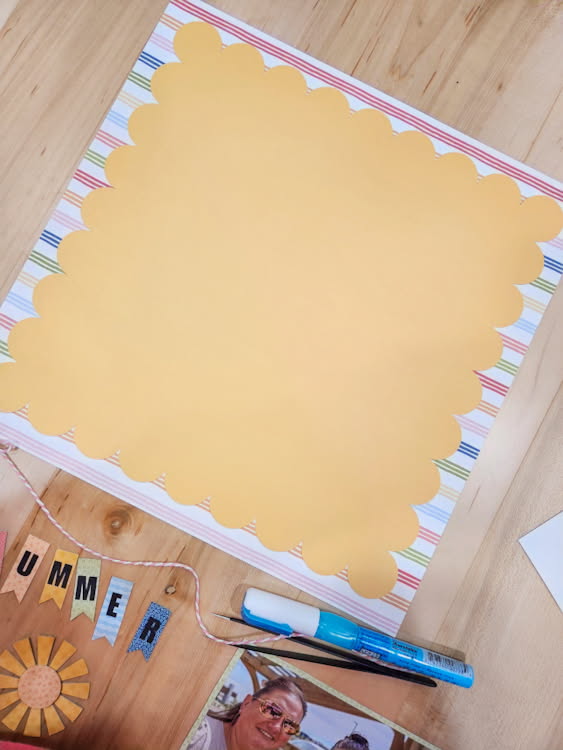
First I decided on papers and made my cuts. (*If you are making this on cricut, check your sizes, my scallop page cut 7×7 so I had to adjust.)

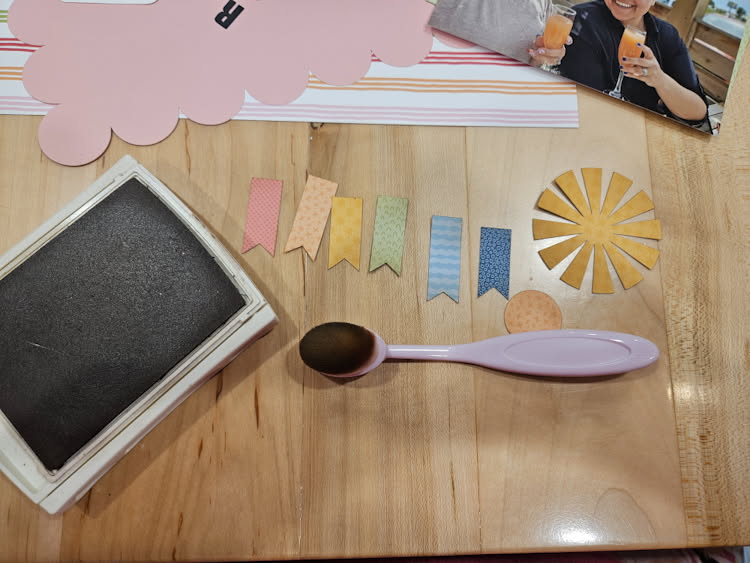
I went ahead and inked all my little pieces

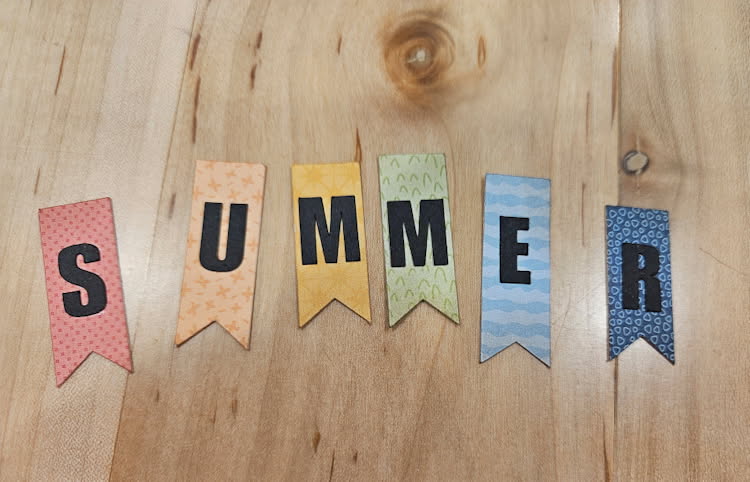
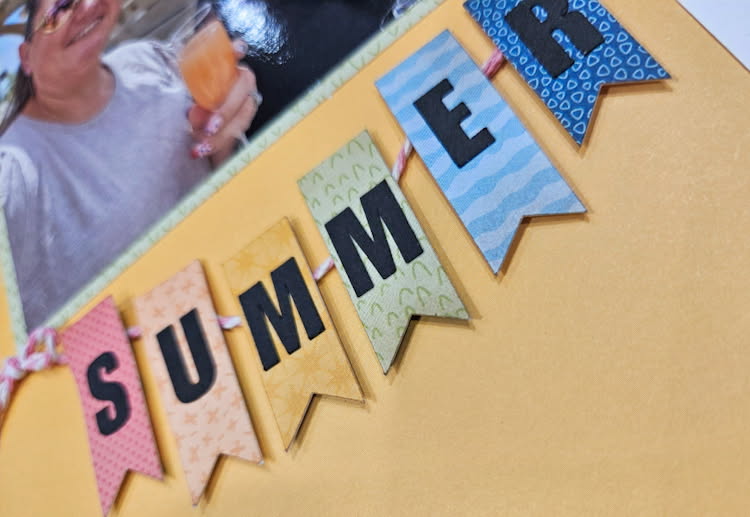
And then I added letters to the banner pieces.

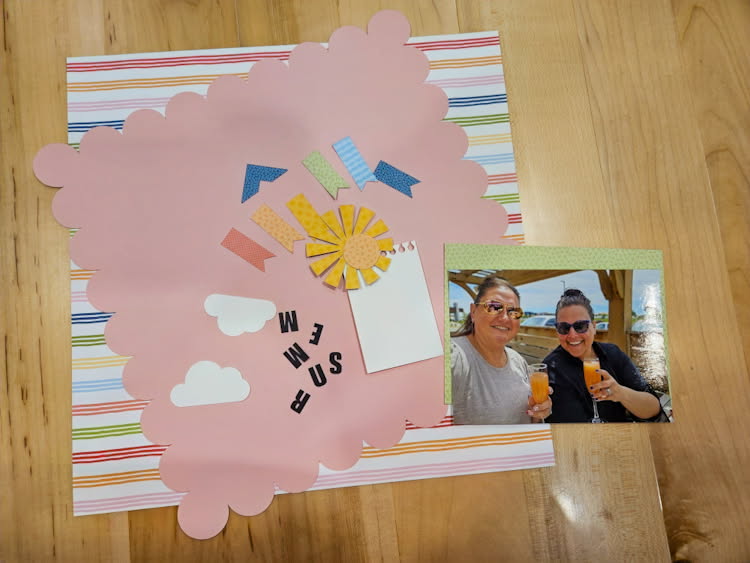
One thing I’ve learned over the years is it’s never a bad things to flip the paper over. I had originally thought I wanted to use the pink side of the solid paper, but it just wasn’t as summery so I flipped it and used the yellow. I love that I did. So bright and fun.

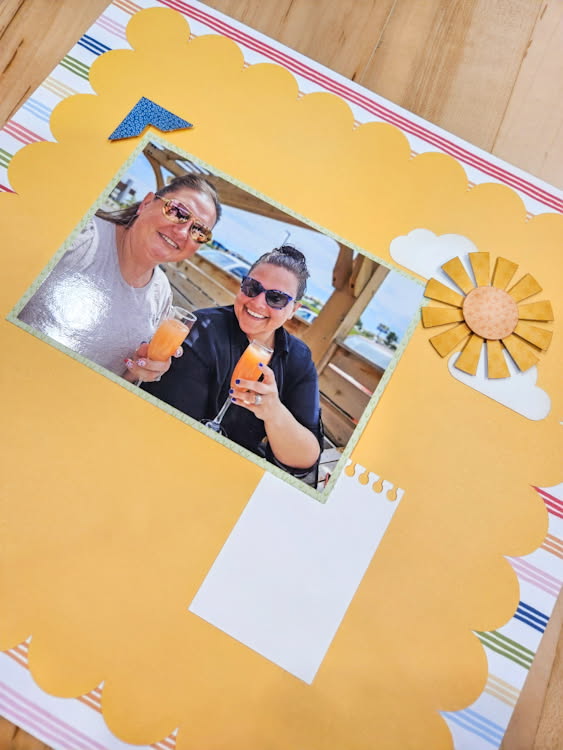
I added my photo and took a few liberties with positioning the other elements. I made sure my sun was over my clouds so it wouldn’t blend into the background and popped the photo corner up on the outside of the photo.

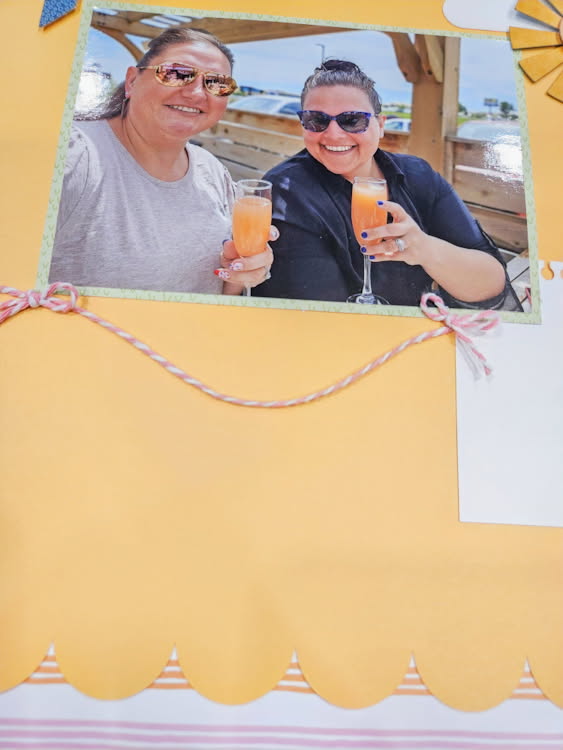
My banner I wanted on a string so I added my bakers twine and then popped the banners up over top of the bakers twine.

Finished off the layout with some chipboard and stickers from the Have A Great Summer line and a few enamel dots.

Thanks for stopping by and Happy Crafting!

Chelsea

Easter Card Cross

Happy last day of March!  Did March go by so fast for you?  It did for me! Any fun plans for April Fool’s Day?

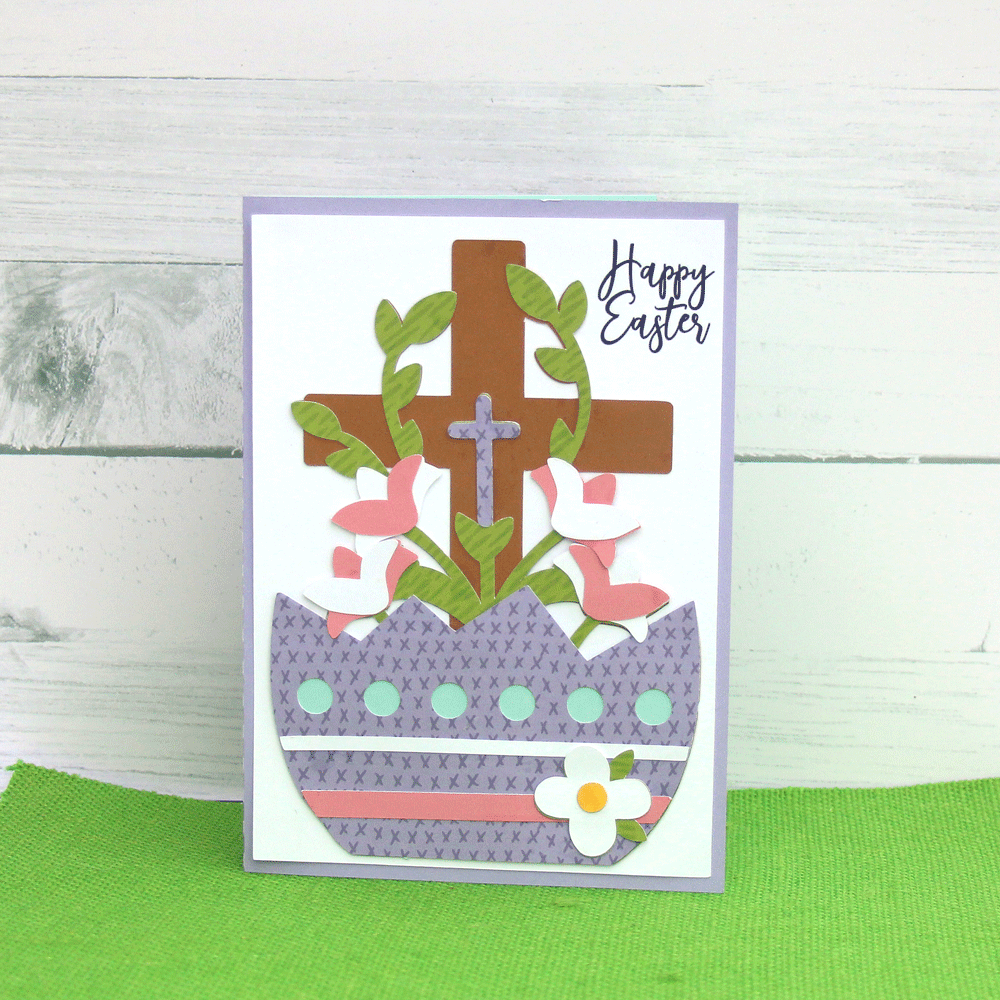
I’m sharing an Easter Card today. Plenty of time to make and send your favorite Easter cards.  Lori has so many great ones to choose from.

Easter Card Cross (SVG, Silhouette).

This card is a 5 x 7 card.  There’s a coordinating treat box in Lori’s shop as well (SVG, Silhouette).

Easter Egg Treat Box Cross

You are going to love this and the other cards and boxes.  Happy Spring!

Ashley

Easter Banner Tutorial

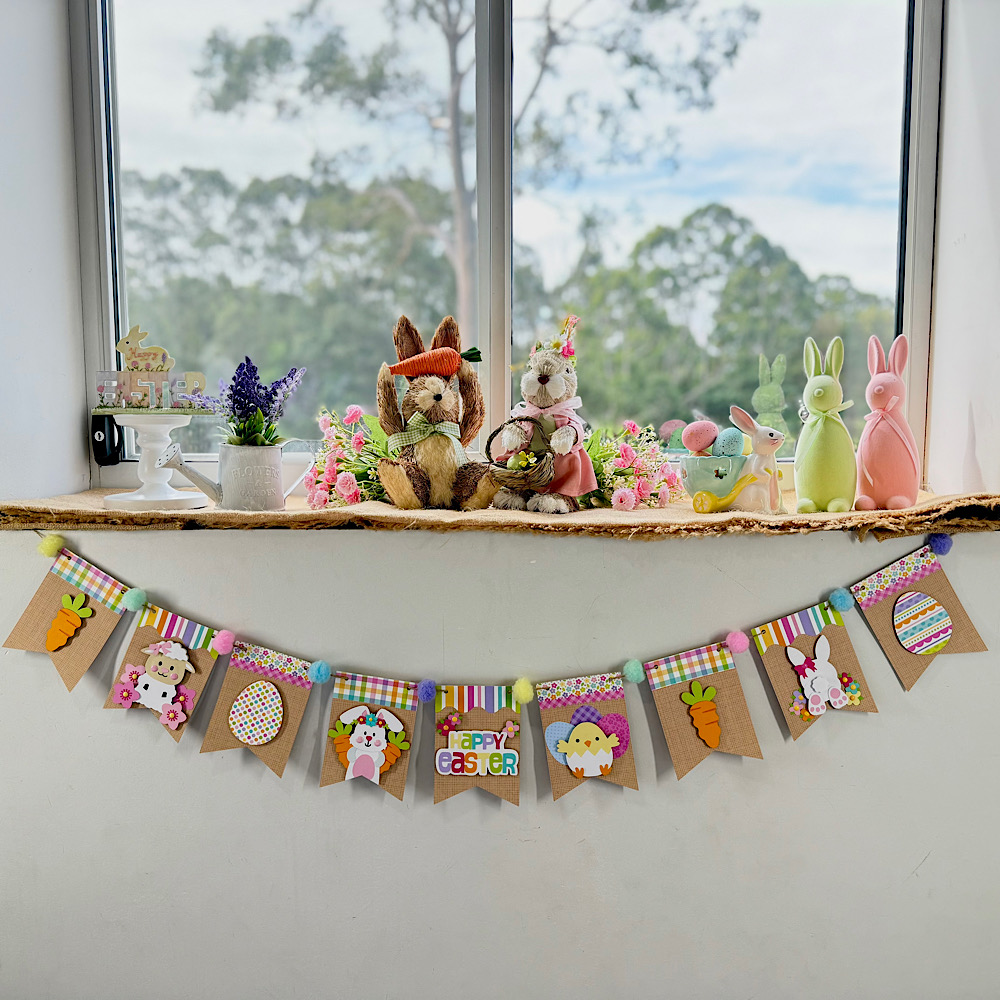
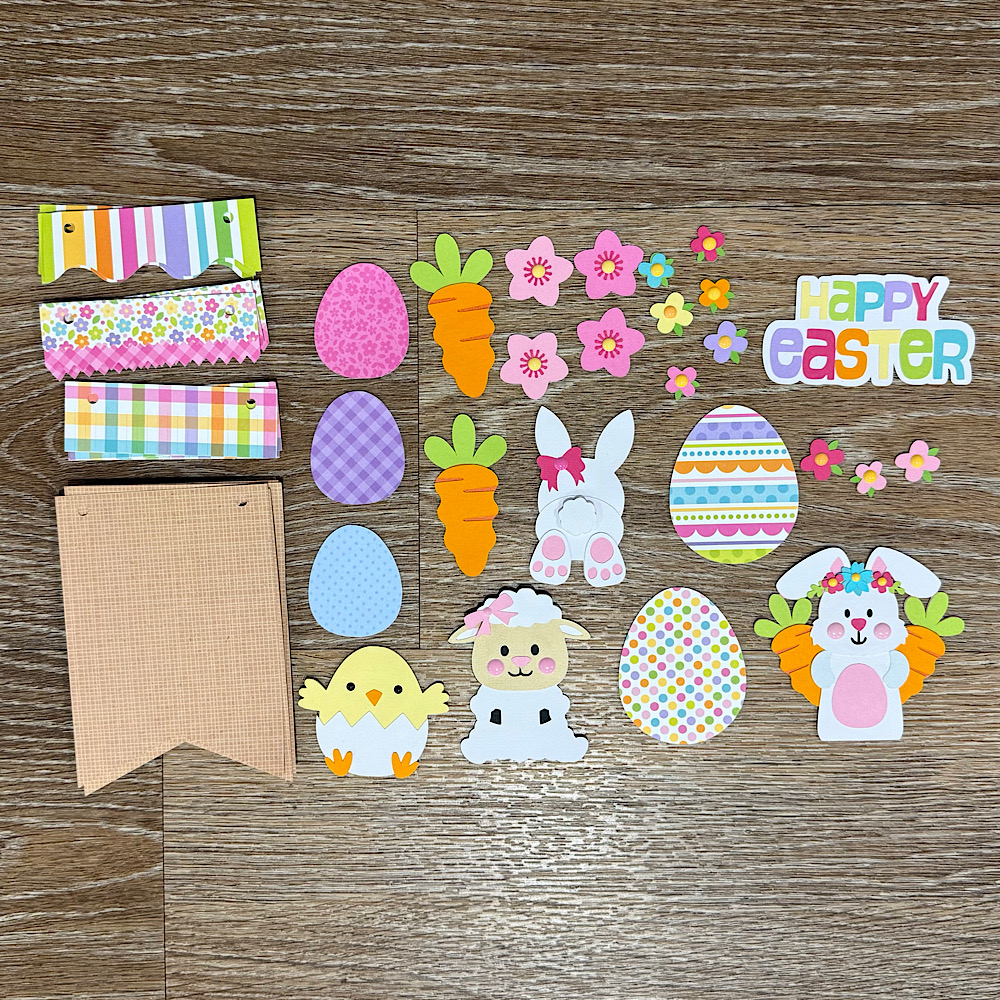
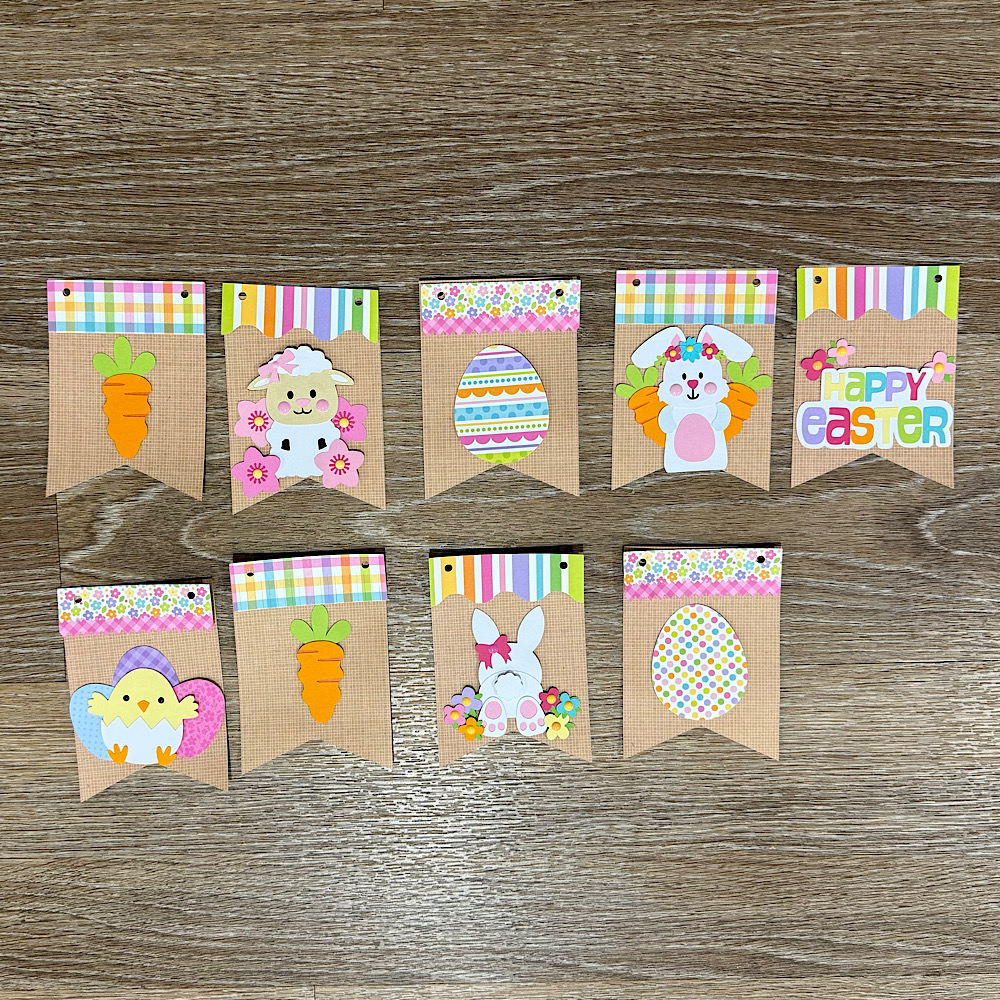
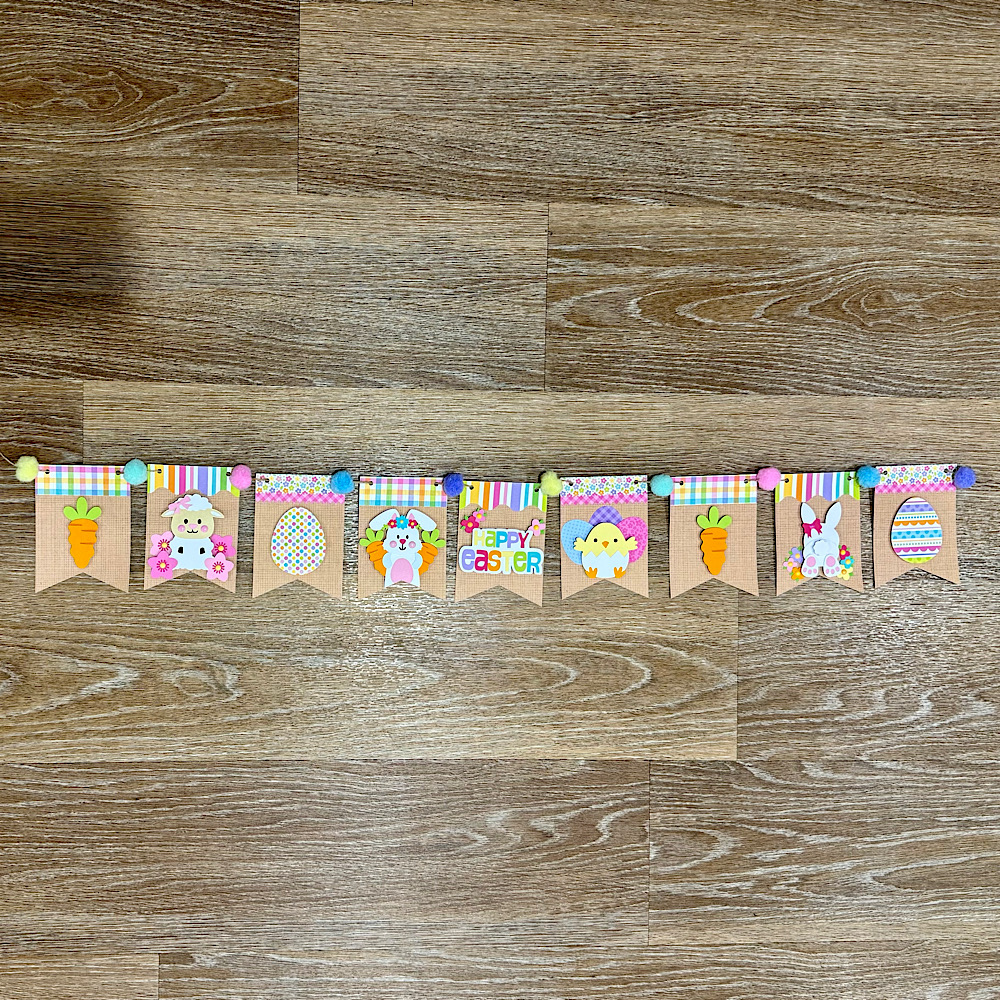
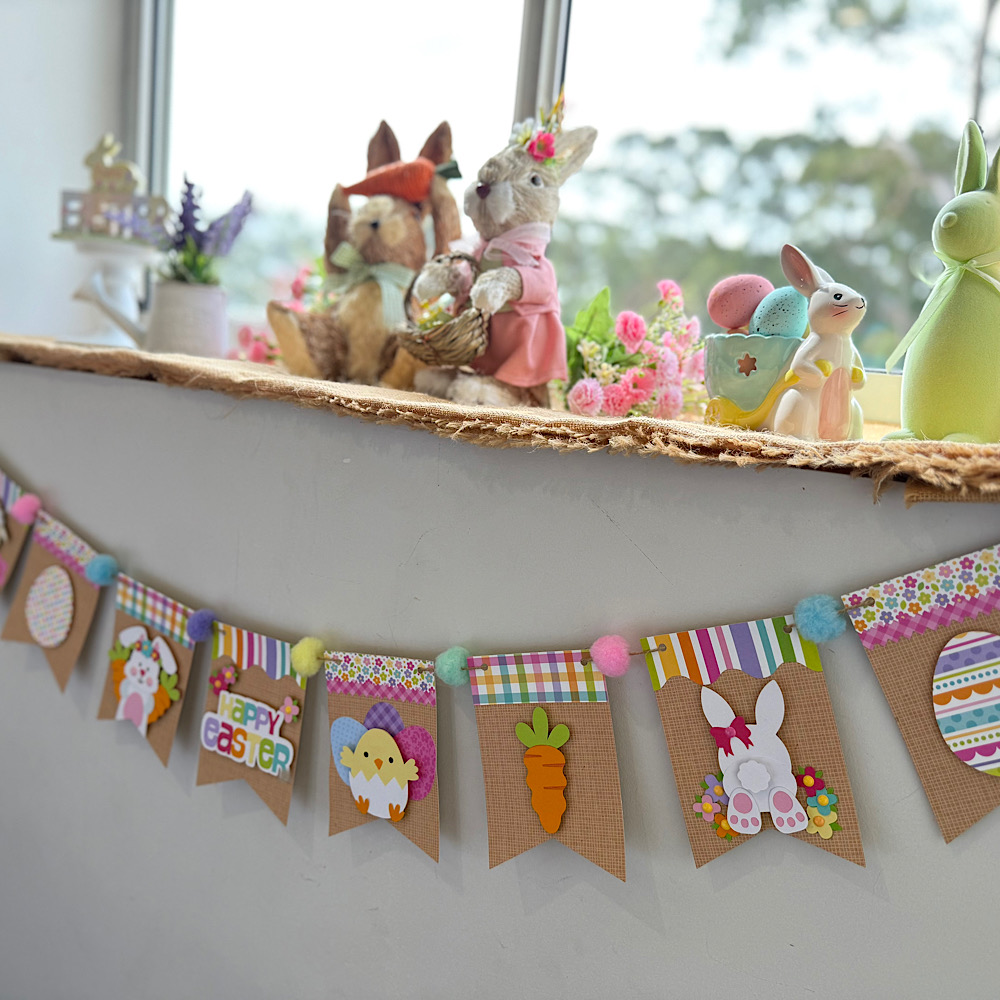
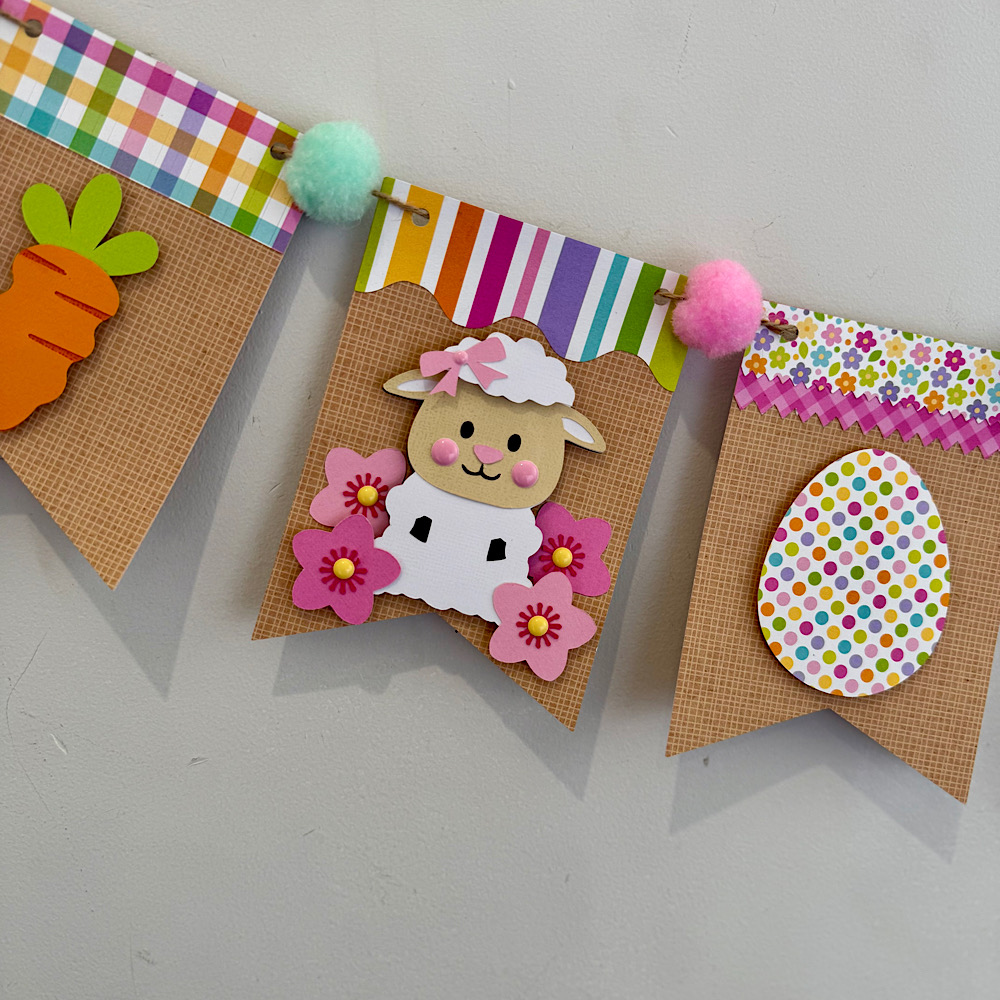
Hello crafty friends. Today I want to share with you how I made this cute Easter banner using 6 Lori Whitlocks Files:
Layered Bunting 2 (Silhouette, SVG)
Easter Purse Topper (Silhouette, SVG)
Easter Sheep Car Box Card (Silhouette, SVG)
Easter Bunny Car Box Card (Silhouette, SVG)
5×7 Easter Bunny Card (Silhouette, SVG)
Easter Basket Chick Box Card (Silhouette, SVG)
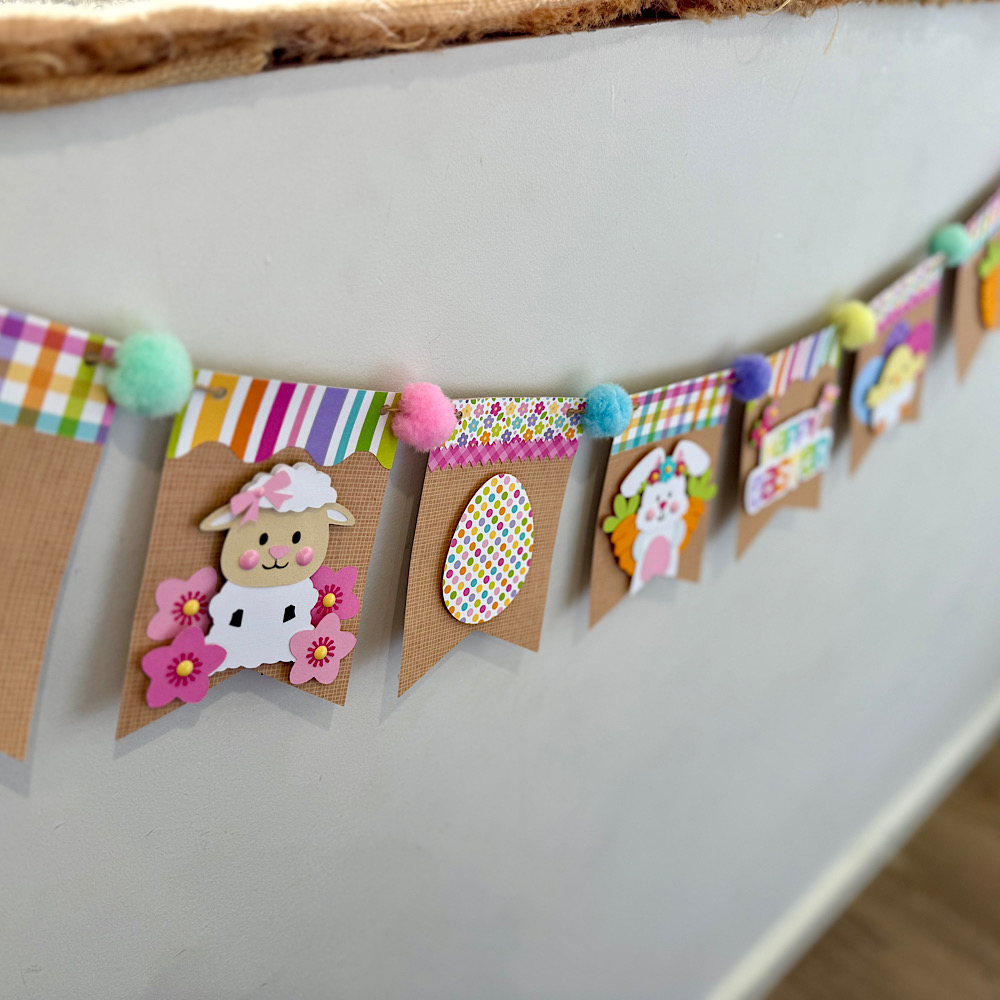
I wanted my banner to have a pastel rustic feel. I chose some Doodlebug kraft gingham cardstock for my bunting base. Then some coordinating coloured papers to match.
To start my project I opened all the files in Silhouette that I wanted to use.  I deleted the parts I didn’t need then I copied them onto one page with the bunting.  You will see I have used the similar bunnies from the 5×7 Easter Bunny Card & Easter Bunny Car box card. I did this because the carrots in the box card are whole carrots once you ungroup everything. Also she has more of a body. I omitted her bow & used the floral head piece from the 5×7 card. You can just use the Bunny from the Easter Bunny Car box Card if you wish. I also took the extra step of using the egg from the topper to give the bunny a belly like the one in the 5×7 card. To do this I used the same step below by sizing it onto the bunny.
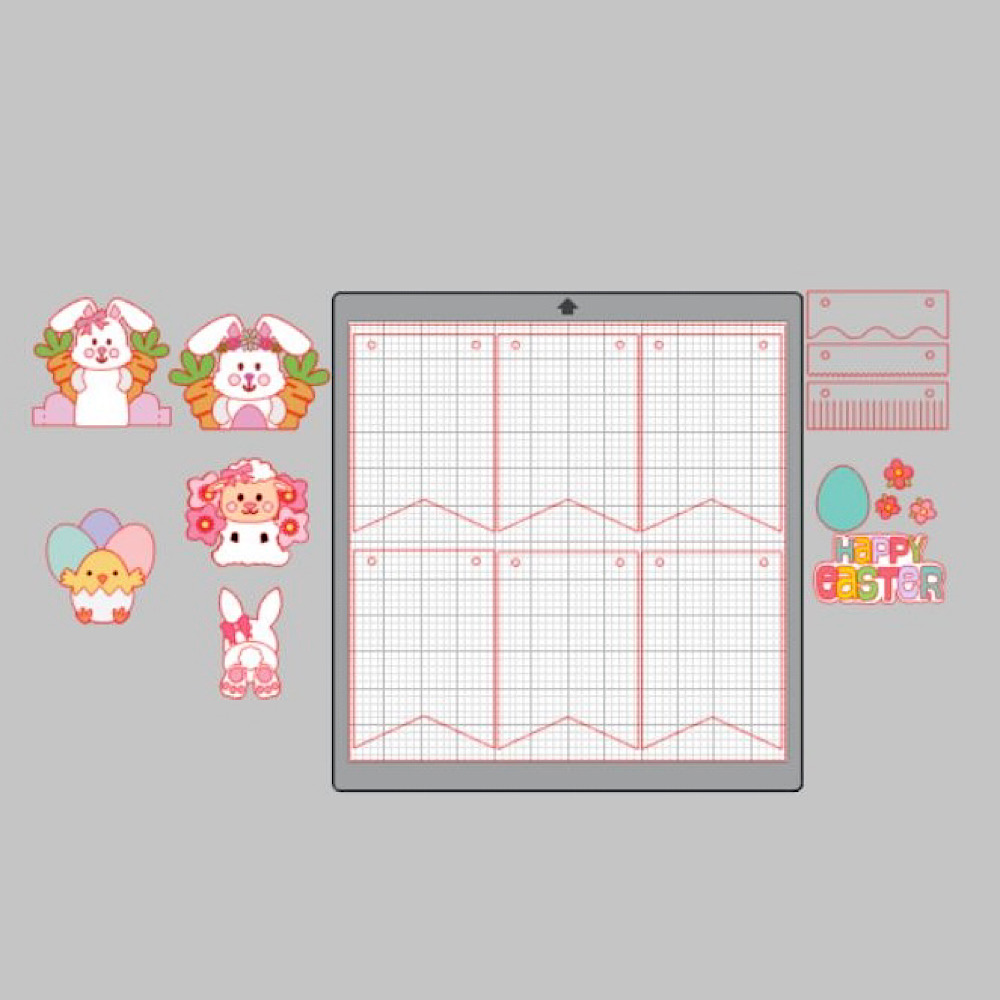
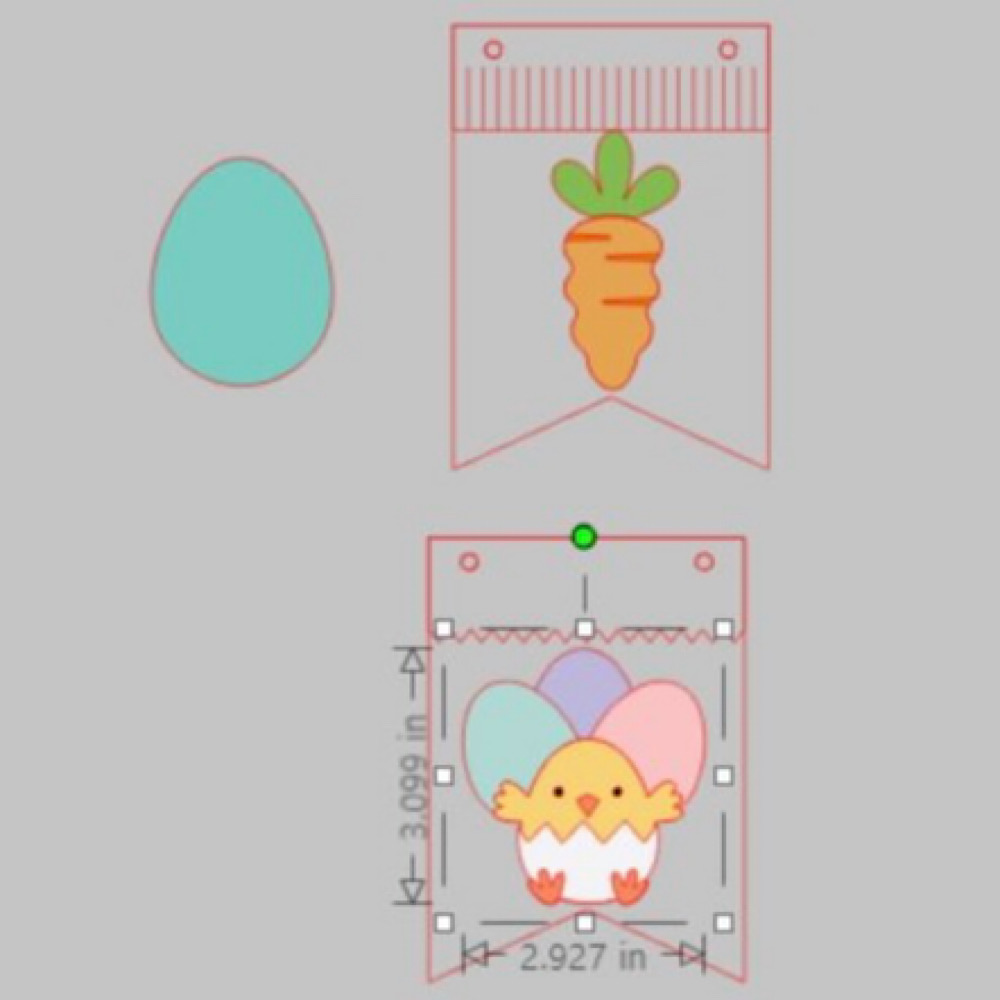
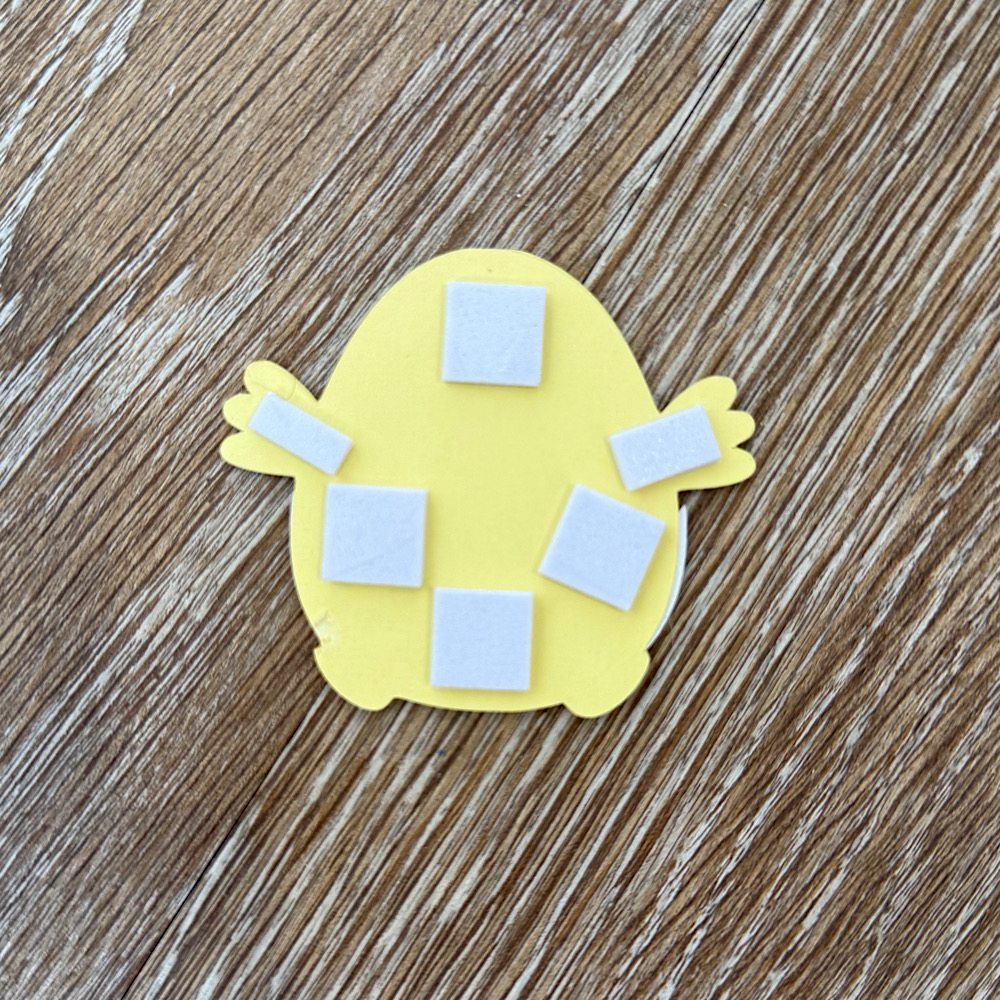
When you open the Bunting file it will have 3 bunting shapes across the page. I right clicked over all 3 & enlarged by dragging the corner just enough so that all 3 bunting pieces fit across my page. I then coppied all 3 & pasted another row. You can make yours bigger or smaller however you please. I did mine this way as it will give me the most bunting pieces, (6 in total per page), without too much scrap. I cut 9 bunting panels in total. Next I sized my images one by one. To do this I copied a bunting panel to the side of my page. I then placed my image piece inside & enlarged or reduced the size making sure it fit inside. Make sure you place the little panel across the top of the bunting as well as I did in my image below.  Do this step for all your pieces.
Now once you have all the sizes correctly cut out all your pieces & glue together all your image pieces.
Then just place everything onto the panels to see what order you want everything to sit. Once you are happy with it, it helps to take a photo so that you remember where to glue everything.
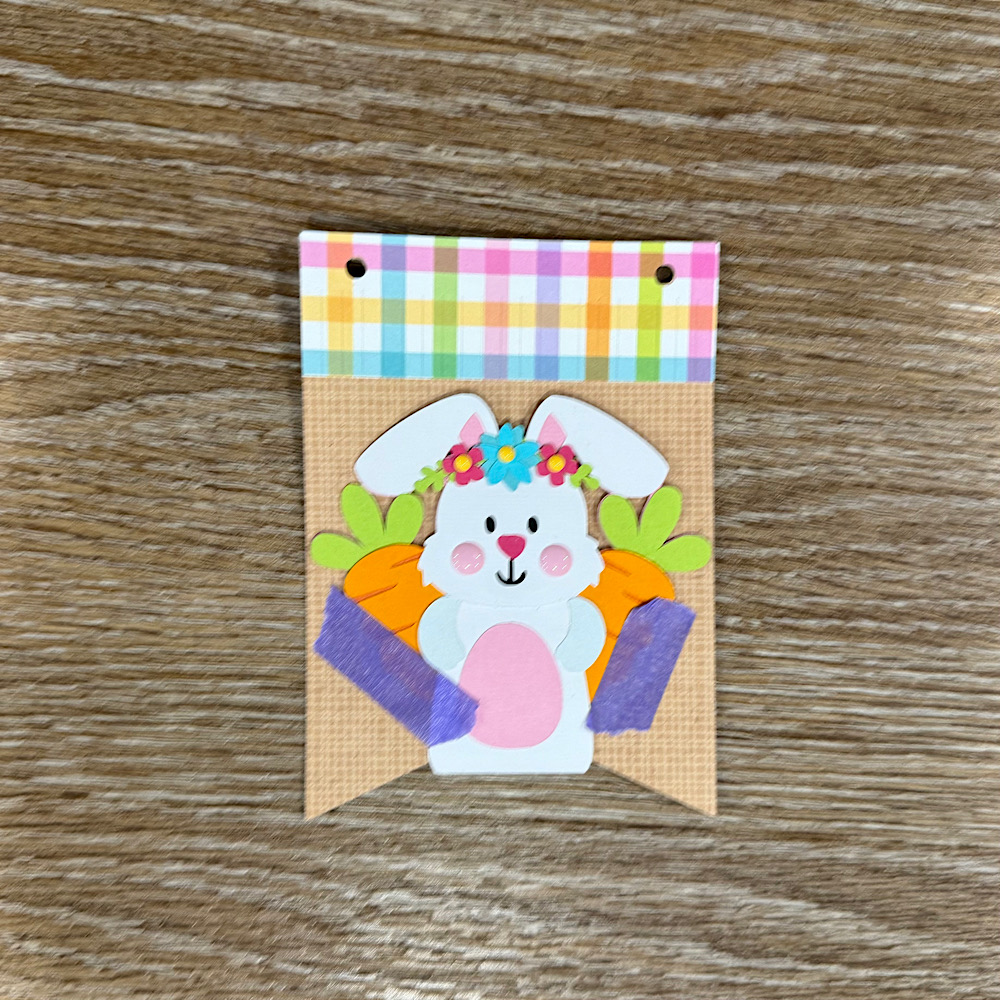
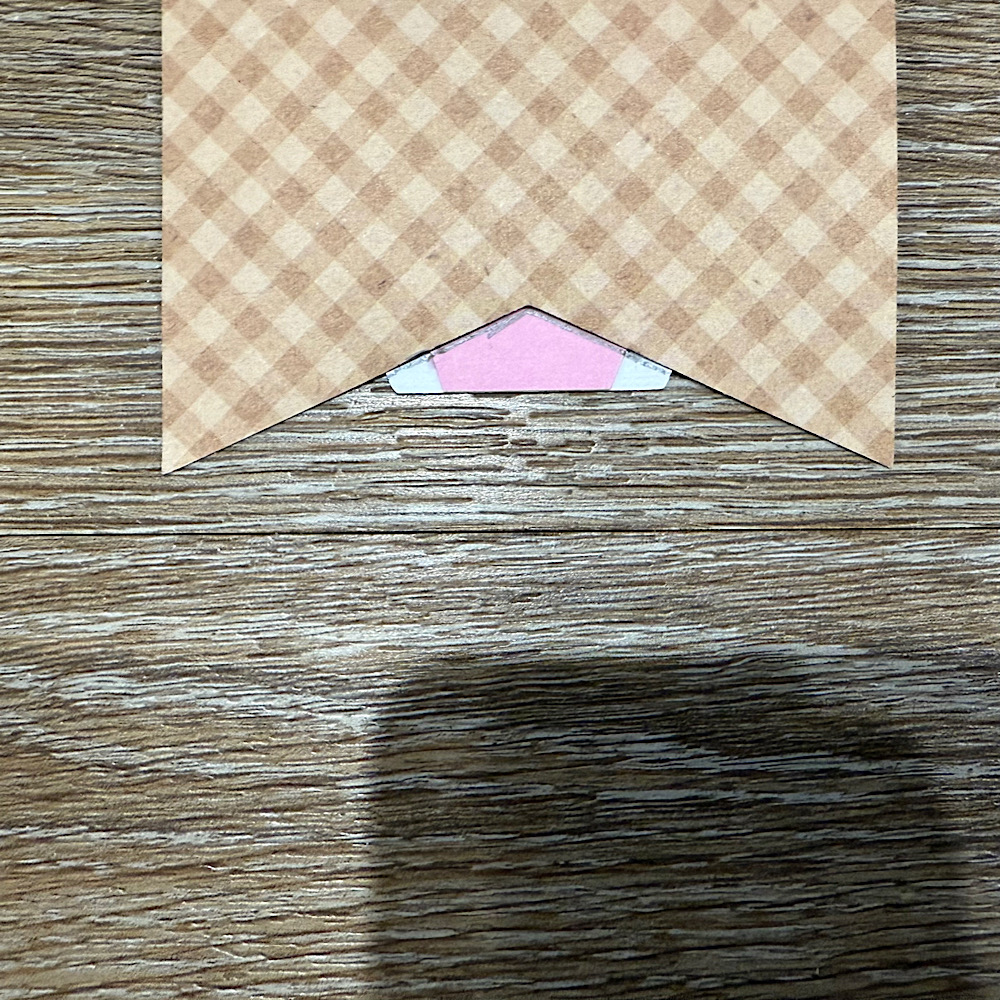
Now glue the panels onto the bunting base. You will notice that the body on the bunny is a little long. Before I stuck down the bunny I placed her onto the bunting with washi tape, then I turned the bunting over & traced the edge with pencil along the back of the bunny. I then cut along the pencil trace & proceeded to stick the bunny onto the front of the bunting.
 
I used foam squares to stick down my image pieces. This gives them a raised look.
Once you have all the bunting pieces ready the last step is to thread some twine & pastel pom poms through to finish the banner.
You can use as little or as many files as you wish. The possibilities are endless. I just love Lori’s files & couldn’t resist the temptation.
I hope I have given you some inspiration today to create an easter bunting banner!
For more inspiration, check out my Instagram!
Thanks for stopping by!
Hugs
Noelene 🙂

5×5 Bug Book Album

Hi everyone!  I have a fun mini album to share with you created with Lori’s new Echo Park collection, Little Things Mean A Lot.  It’s a fun collection, full of bright colors and lots of attention to detail with fun little critters.  I thought it would be perfect to create a mini for a little guy that I know that will love to catch some bugs for the summer and his mama can add some pictures as they go.

I cut one cover, and then I cut four pieces to cover the inside and the outside of the cover.  Three base pages and then 12 squares to cover those and one spine cover.  You also need some twine or thread along with adhesive.

Here is all my pieces cut…lots and lot.  Then my inside pages put together.  Ink all the edges.  The bottom left corner is your cover pieces and the bottom right is just a bunch or borders of Lori’s that I cut to add to my pages for fun and detail.
Top right you can see the inside of my inside pages, top left is the inside of my cover and the bottom picture is the outside of the cover.
Next, just line up the holes of your three inside pages with the holes on the cover and tie them in with twine or string.  How cute it that spine on the cover!!!??!!

Then you get to just go to town embellishing and creating with the amazing collection.  I had so much fun.  I used enamel dots, ribbon, stickers, buttons and just had the best time creating this.  I know he and his mama will love it.  And how cute is that little bug catcher!?

You can find the album here in Lori’s Store or here in the Silhouette Store.

I hope you will give one of these mini’s a try!
~Cathy


Shaped Bug Cards

Hi everyone! Another 60 degree false spring day here in South Dakota so it inspired me to make some bug cards. I used Echo Park Little Things paper designed by Lori Whitlock.

The files for these cute little bugs come in sets. I used the bee from the Bugs 2 set and the ladybug and snail from Bugs set.

I embellished the cards with twine, buttons and the ephemera and frames and tags from the paper line.

Thanks for stopping by and Happy Crafting!

Chelsea