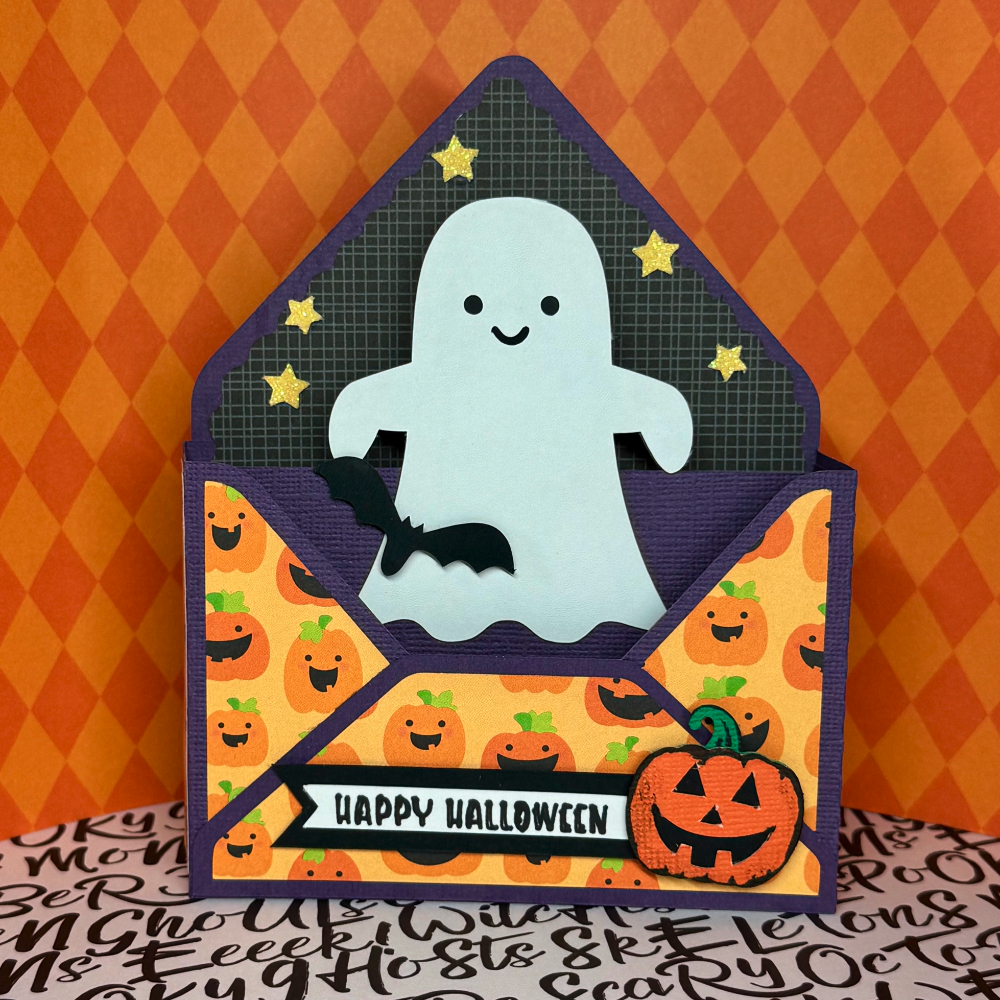
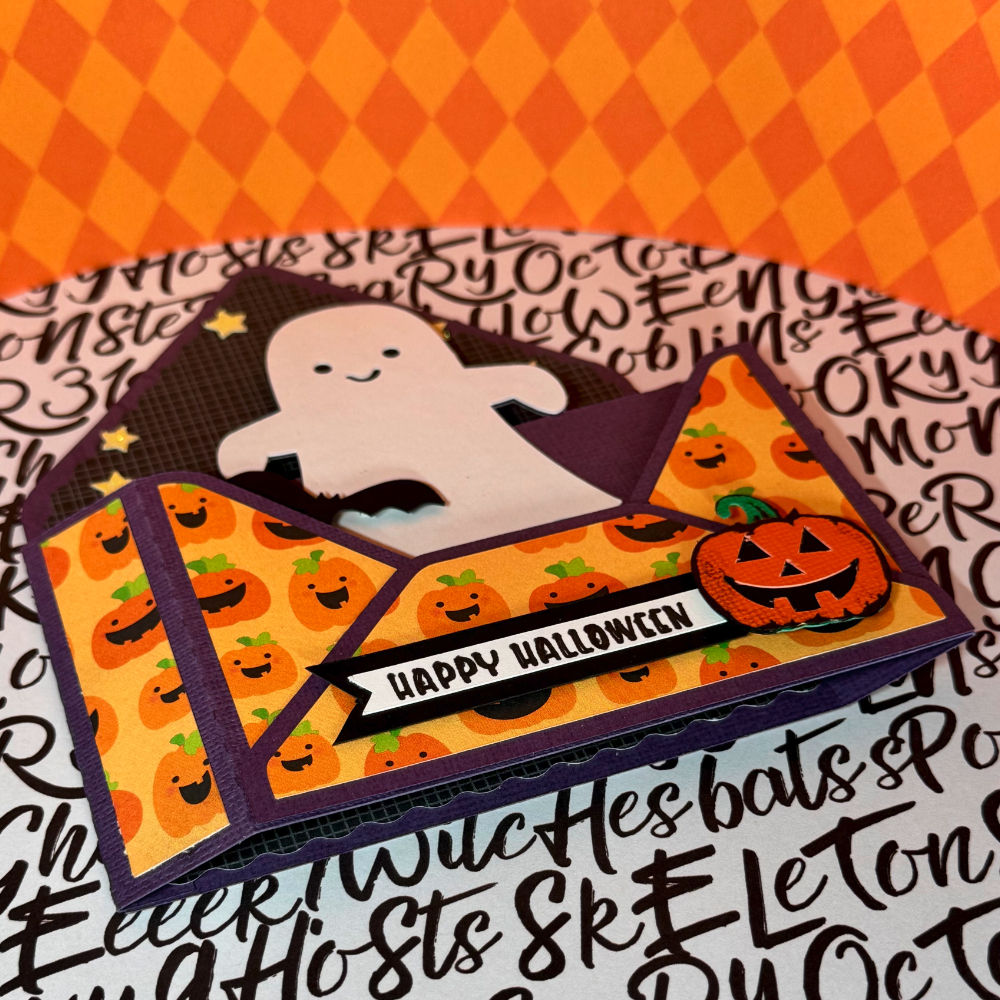
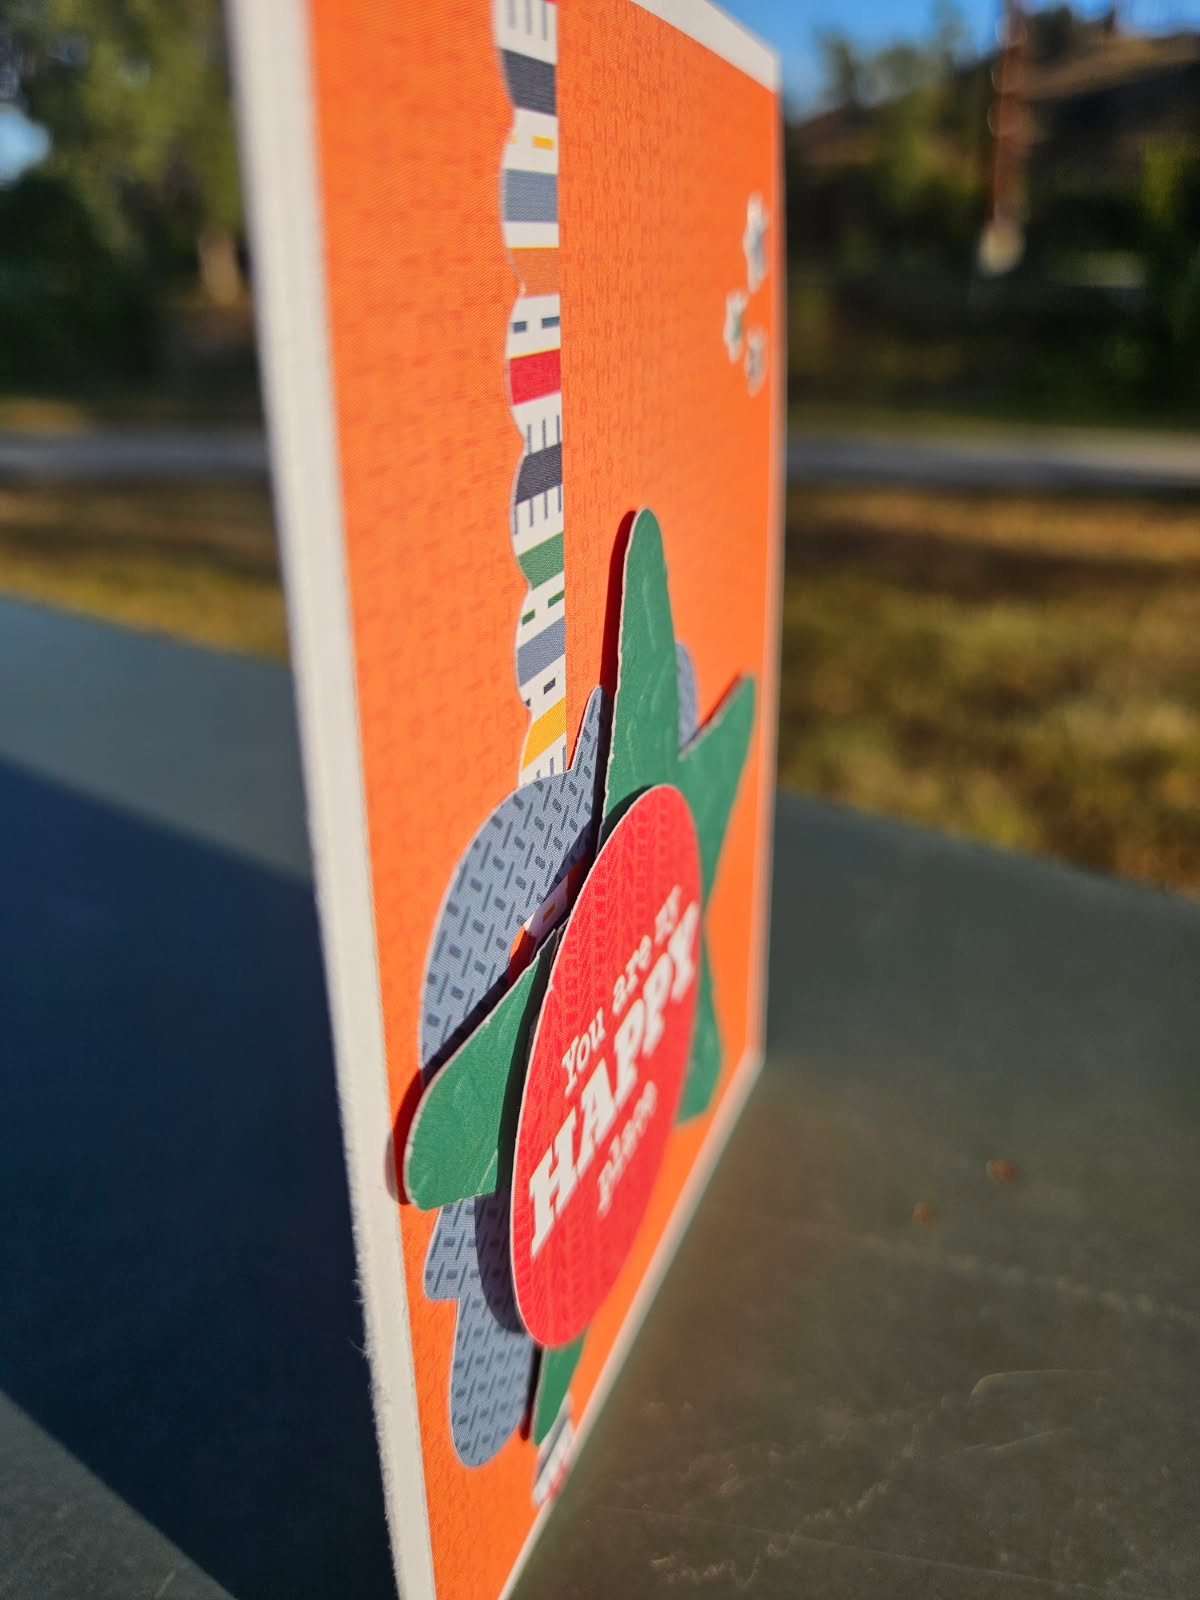
Box Card Envelope Ghost

October is creeping closer… and you know what that means Halloween is just around the corner!!

I’m in love with all the spooky decorations, so of course Halloween cards simply cannot be missed.

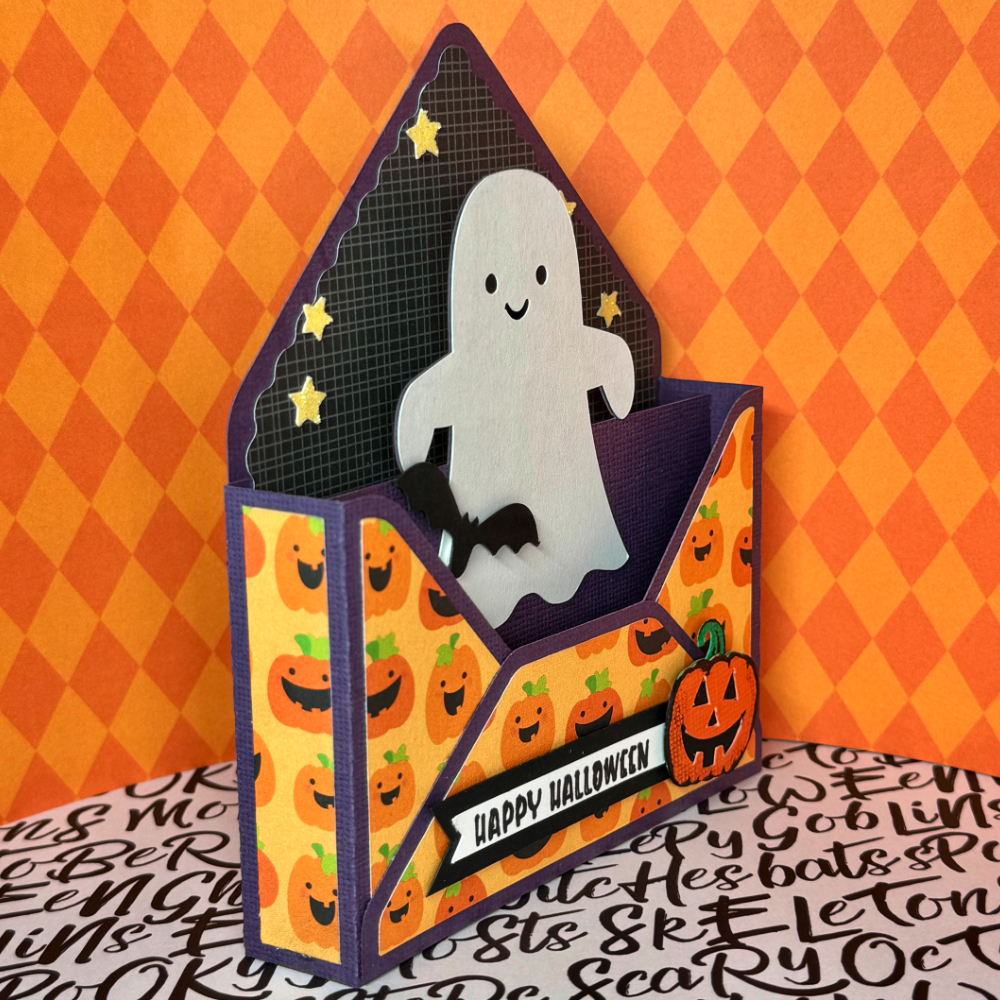
Luckily, the shop is filled with Halloween files, including “Box Card Envelope Ghost” which I’m thrilled to share with you today!

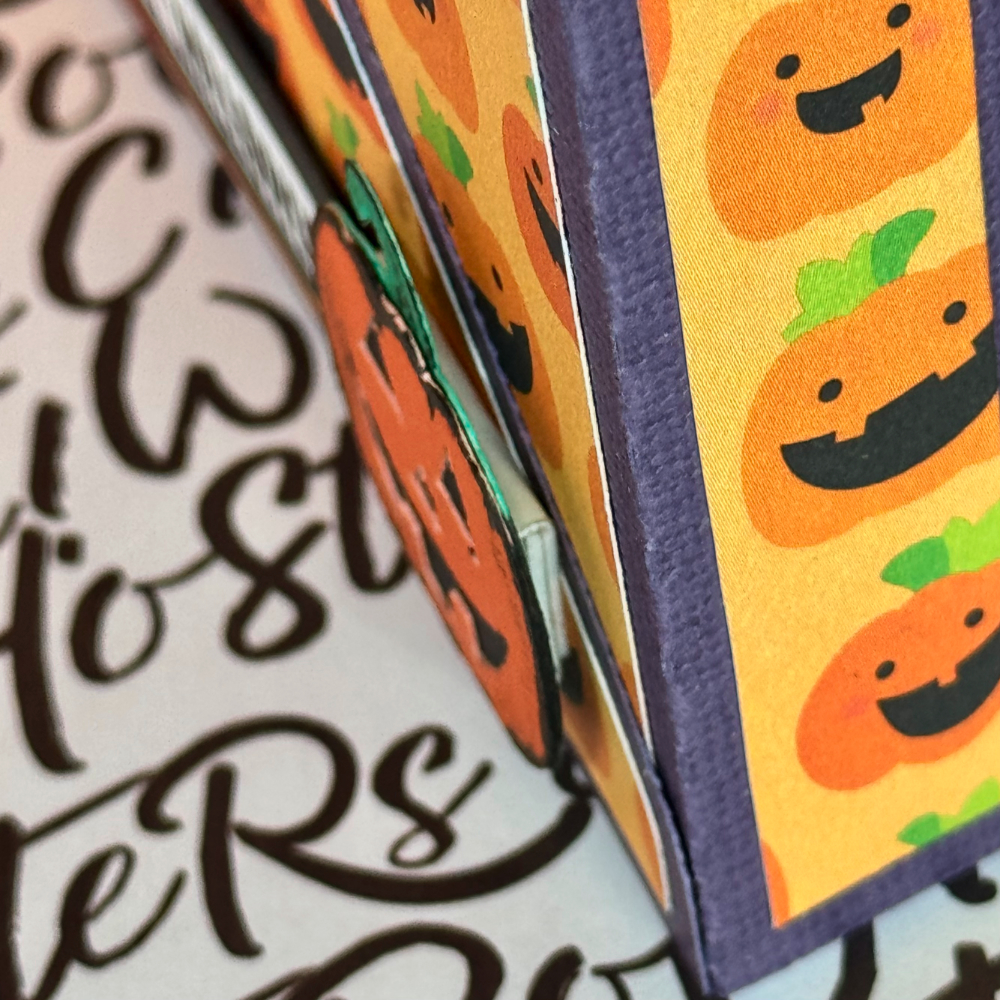
For this project, I played with design paper from Doodlebug Designs and topped it off with my absolute favorite: glitter cardstock.

Because let’s face it, Halloween stars deserve a little extra sparkle in the dark.

I added some foam tape under the pumpkin and the bat, for extra dimension.

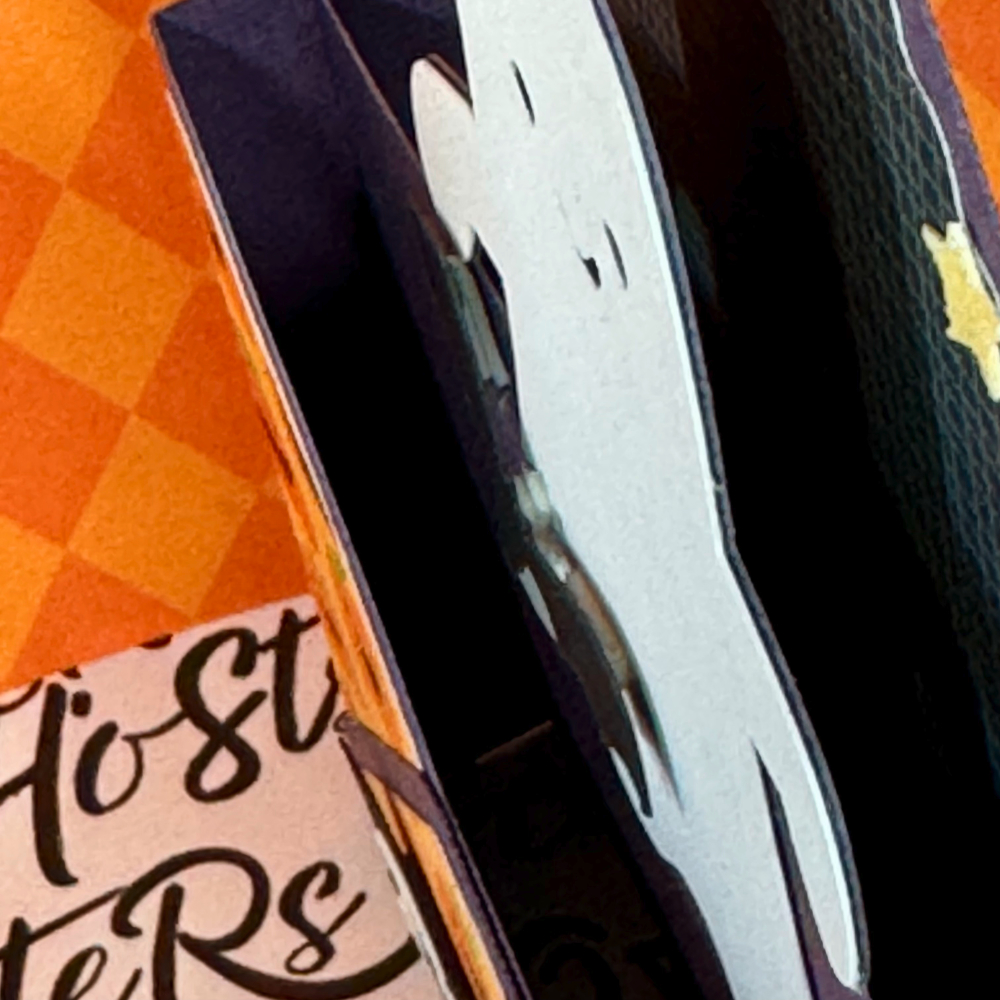
And of course, the card can be folded flat for mailing!

Do you make your own Halloween cards?

Don’t keep them hidden in the shadows, be sure to share them online!

I love getting inspired by your creations.

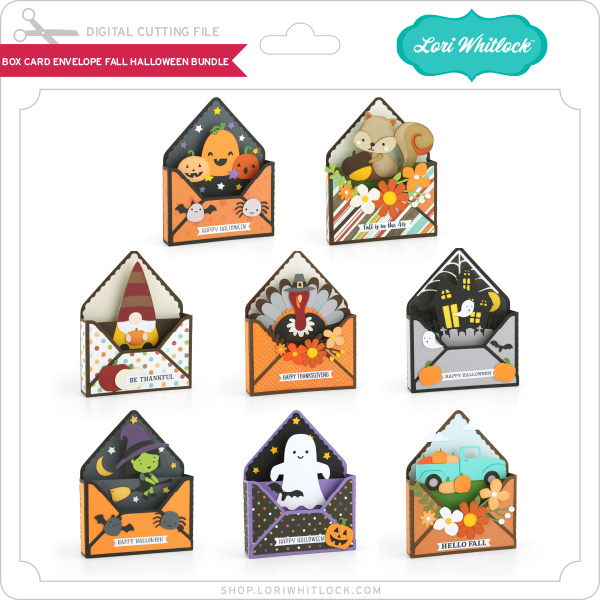
The file I used is included in this amazing bundle

Shop for it HERE (Silhouette)

Happy Crafting,
XO Tamara

New Halloween Favor Boxes

When I saw these boxes, I knew I had to make them all! They are a very simple box construction, but I know sometimes the placement of the pieces can be tricky. Below you can find placement for three of them that have the most pieces. The trick is to remember you have a top and a bottom and keep your pieces facing the correct way. If you use striped paper make sure to rotate the panel piece when cutting so all the stripes go the same way. (ask me how I know LOL)
Note: These cuties are coming soon to the Silhouette Store
This is the glue up for Frankenstein
 
 
This is the glue  up for the jack-o-lantern
 

This is the glue up for the witch (you can add more stripes if you choose)

***
I liked how Lori had two little stem pieces for the pumpkin stem so I did the same thing for the witch’s hat. I cut two hats and glued them together. Stick the tabs through the top slot and fold away from each other. I think the hat stands up nicely. 
 I made this little template for gluing on the little rosy cheeks. The two little circles come grouped where they would land on the face of the box. I took one of the basic panel and cut the circle cheeks out using Lori’s spacing. Then I could just center the panel on the face and add dots of glue where the holes were. Works well if you are making lots of boxes and you like everything to line up. 
 

Favor Box Halloween Witch (SVG)(Silhouette)


Favor Box Halloween Bat (SVG)( Silhouette)

Favor Box Halloween Cat(SVG)(Silhouette)
Favor Box Halloween Jack-O Lantern (SVG)(Silhouette)
Favor Box Halloween Frankenstein (SVG)(Silhouette)

 Favor Box Halloween Ghost (SVG)(Silhouette)

 
I could not just show the top piece of the box—the bottom box piece is designed just as cute!!!
These boxes may be small, but they are mighty! You can add about 4 pieces of snack size candy inside!


Whew, that was fun! I hope you find a chance to make a few of these Halloween treats-or maybe ALL of them!
 
💕 Sue Kment


Stencil Embossing Tutorial

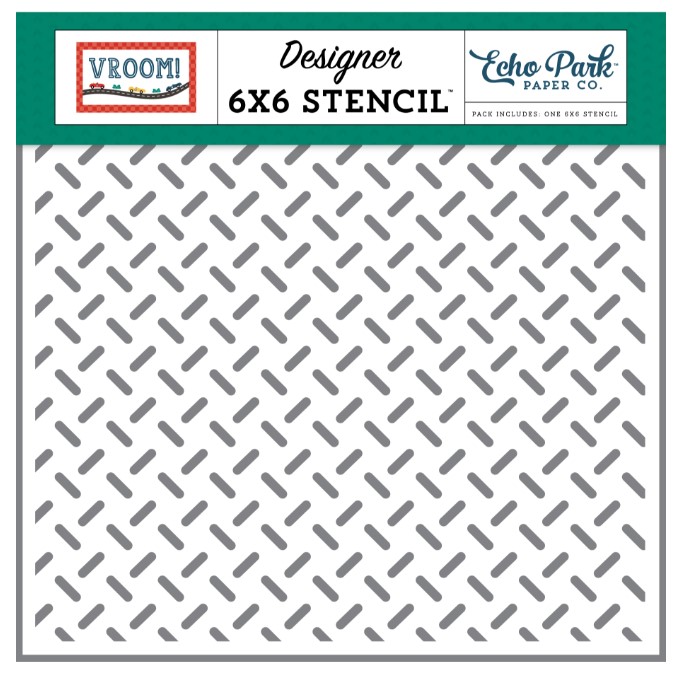
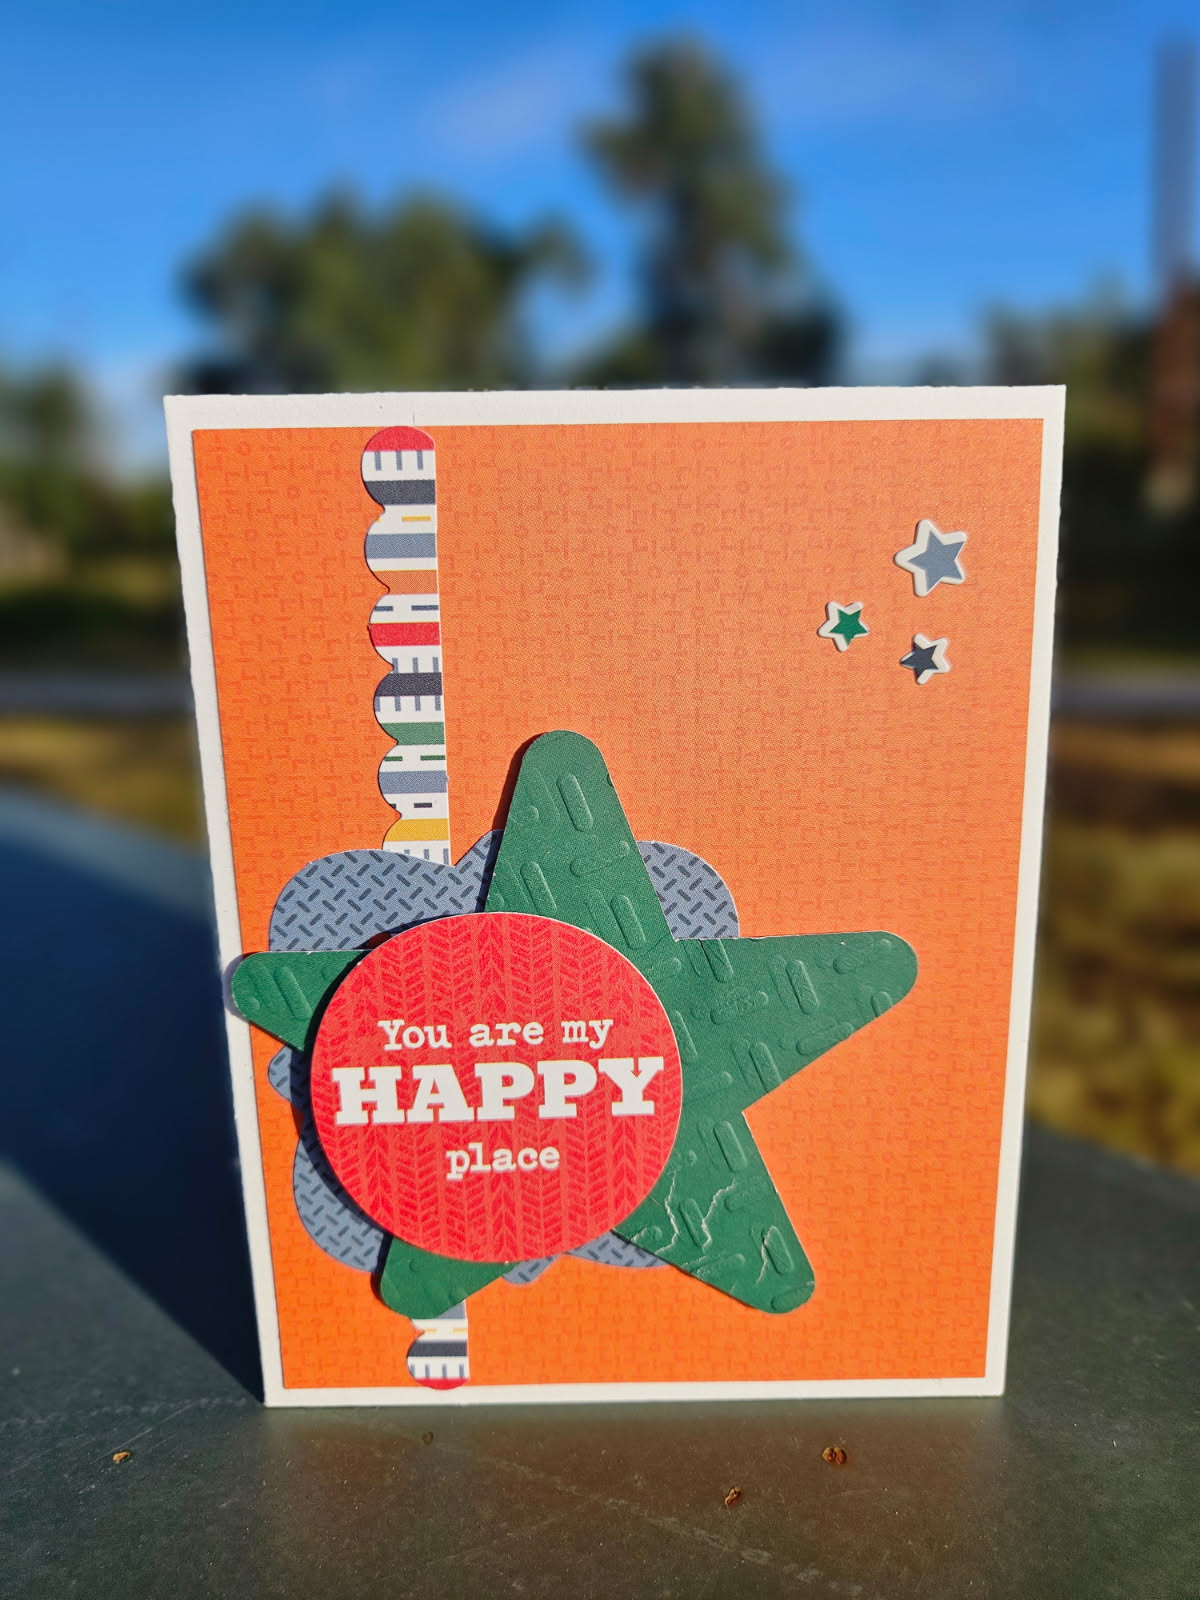
Happy Thursday, everyone! Recently, I learned a fun thing that I wanted to pass along to everyone. A lot of collections now have stencils you can get to match the paper line. Check out Echo Park’s Vroom line. I used this stencil to create a cute embossed element on my card.

How fun is it to emoboss with these stencils?!?!

It’s super easy and the result is so fun. I still have an old school Cuttlebug but I know you can layer your Big Shot plates a very similar way.

What you will need:

  • Cuttlebug or Big Shot or similar machine
  • A plate
  • 2 B plates
  • A rubber mat (use extra shims if you don’t have a rubber mat)
  • Shim
  • Stencil

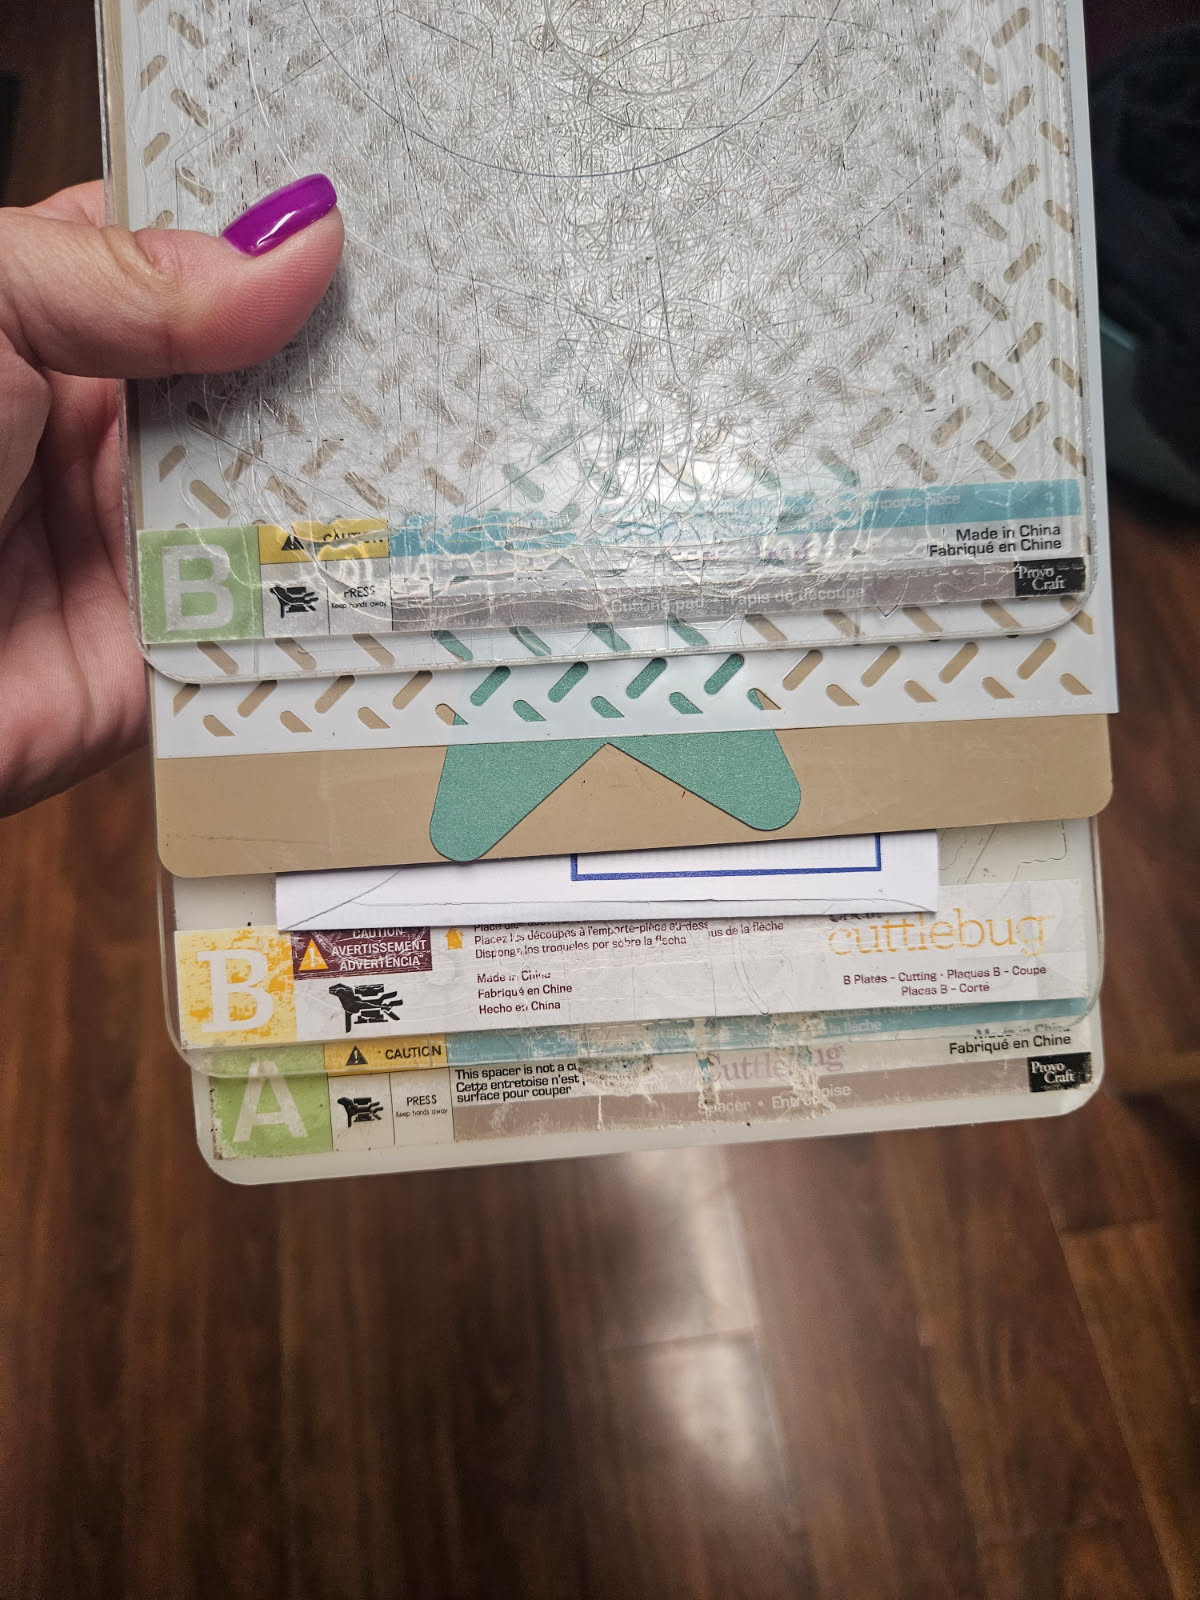
Layer your mats and stencil like below (my mats are well loved). You will build from bottom up. A mat on bottom, B mat, shim, rubber mat (or extra shims), paper, stencil, B mat. Run it through your embossing machine.

I used one of Lori’s nested star (Silhouette)cuts on my card as the embossed element.

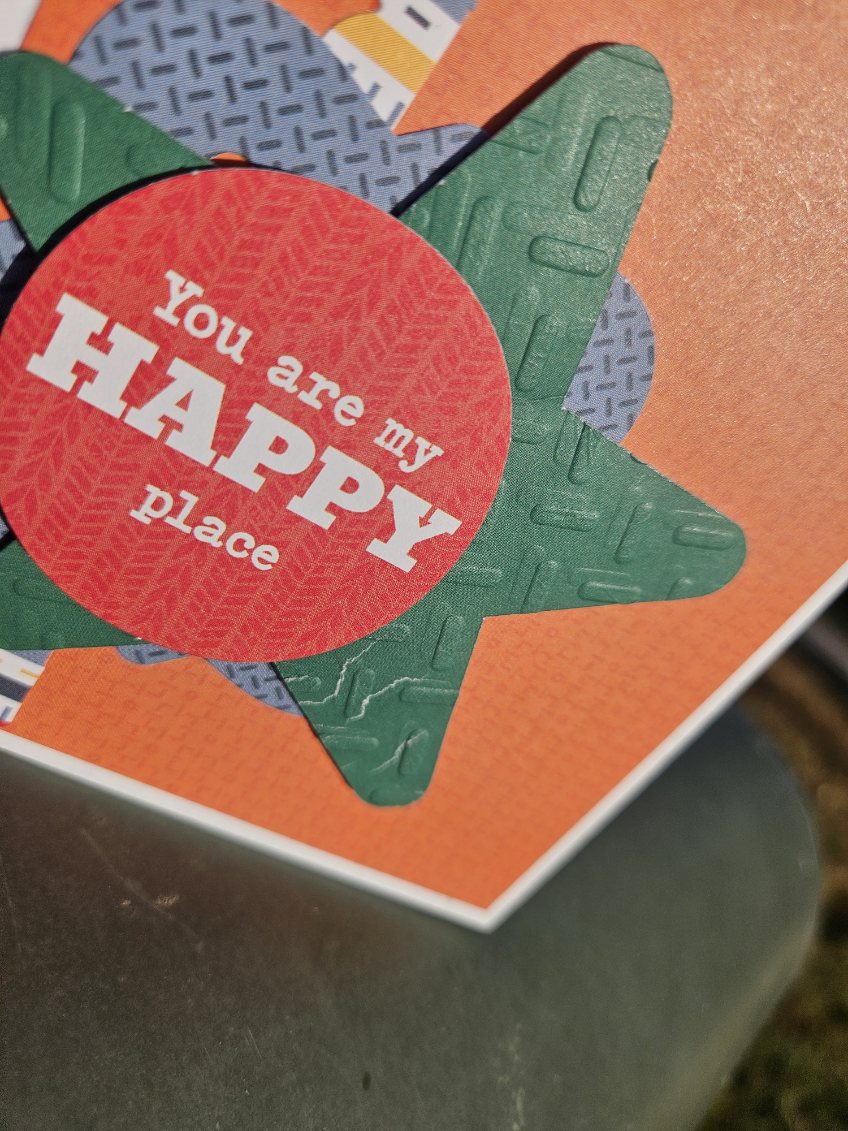
Here is a close up of the embossed star with some added ephemera for layering.

And of course lots of dimensionals to give the card depth.

Thanks for stopping by and Happy Crafting!

Chelsea

Crayon Box Mini Album

Hi friends! Traci here and today, I have a new shaped mini album to share with you. I found a super cute card cutting file of Lori’s called Box Card Back To School Crayons (SVG, Silhouette) and thought it would make a fun scrapbook for new school memories! Take a look …


To make it, I used the card file to
 cut out 2 white acrylic album covers (5.25″ x 6.75″) in the shape of the box. You could also use cardstock for these instead. 


Then, I decorated the front cover with yellow and green paper and Doodlebug’s 6×6 
petite prints in gingham and linen for the crayons. How cute!


The
Back To School title is a print and cut design that comes with the file. Perfect! And the enamel stars are sprinkles from Doodlebug’s Hey Pumpkin Collection (all product links below).


For the inside, I cut 4 white cardstock pages (giving me 8 scrapbook layouts) and filled them with the Bella Blvd, School Is Cool Collection. I added 12×12 pattern papers, photo mats, and lots of fun embellishments.  


On this page, I created a cute shaped photo mat using a 3 inch scallop circle punch and a 2.5 inch circle punch. Then, I added some die cut pieces from the Ephemera Icons and Words.


I love adding interactive elements to my minis. Here I created a mega flippie using one of the 3×4 cards. 


See? It has a few layers with space inside for 4 photos, so … it’s a mega flippie! 😉


This album would be great filled with your child’s or grandchild’s “big memories”. Add pictures of their first day, best friends, teacher, official school photo, classroom, and school bus. 


And don’t forget the fun stuff like … class parties, field trips, sports activities, awards, art projects, school plays, lunch time, their science fair project, and recess shenanigans!   


Need a gift idea for another student, a teacher, tutor, or the class room mom? This album is a great idea!


The mini album looks so cute displayed on my clear Acrylic Display Stand. Set it out in your child’s room, or … add one to the teacher’s gift so she can feature it in her classroom! 

Here is Lori’s Box Card Back To School Crayons cutting file …


I hope this project inspires you create something fun with Lori’s amazing SVG file called Box Card Back To School Crayons (SVG, Silhouette). Thanks for stopping by the blog today and happy scrapping! 😊