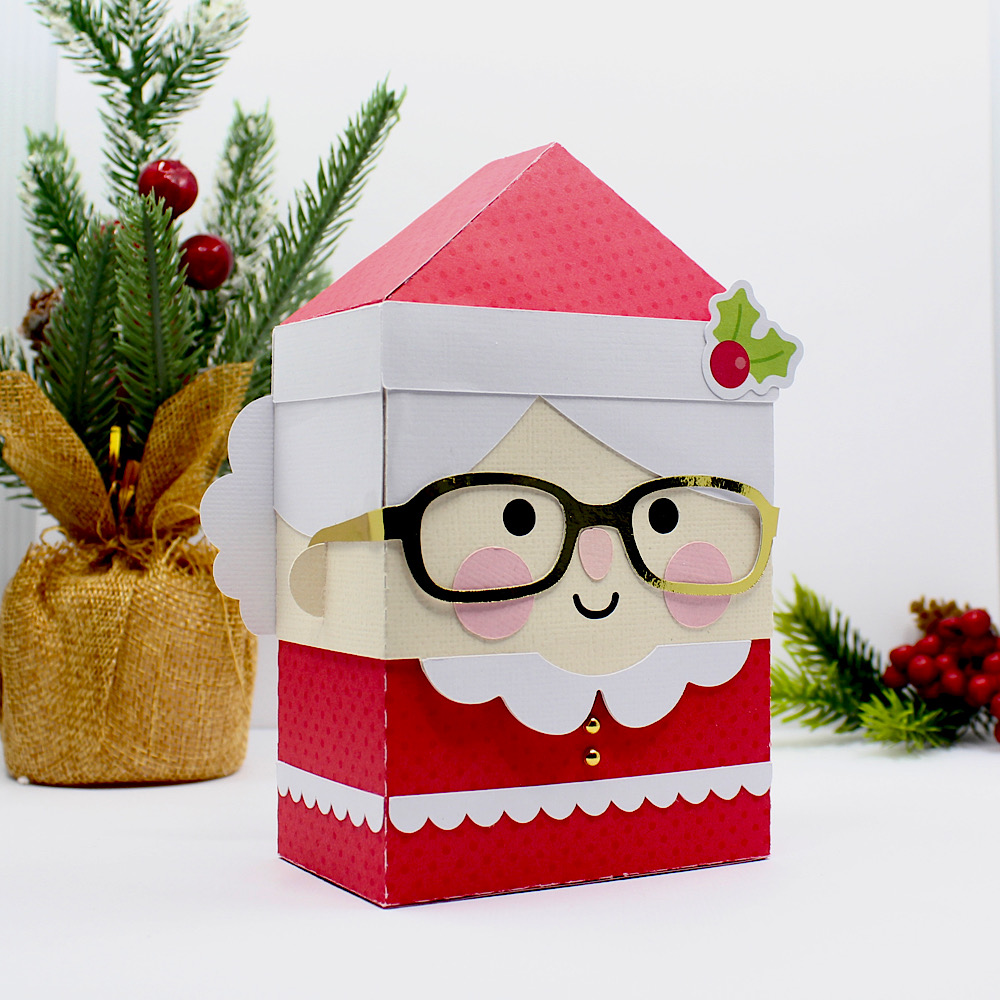
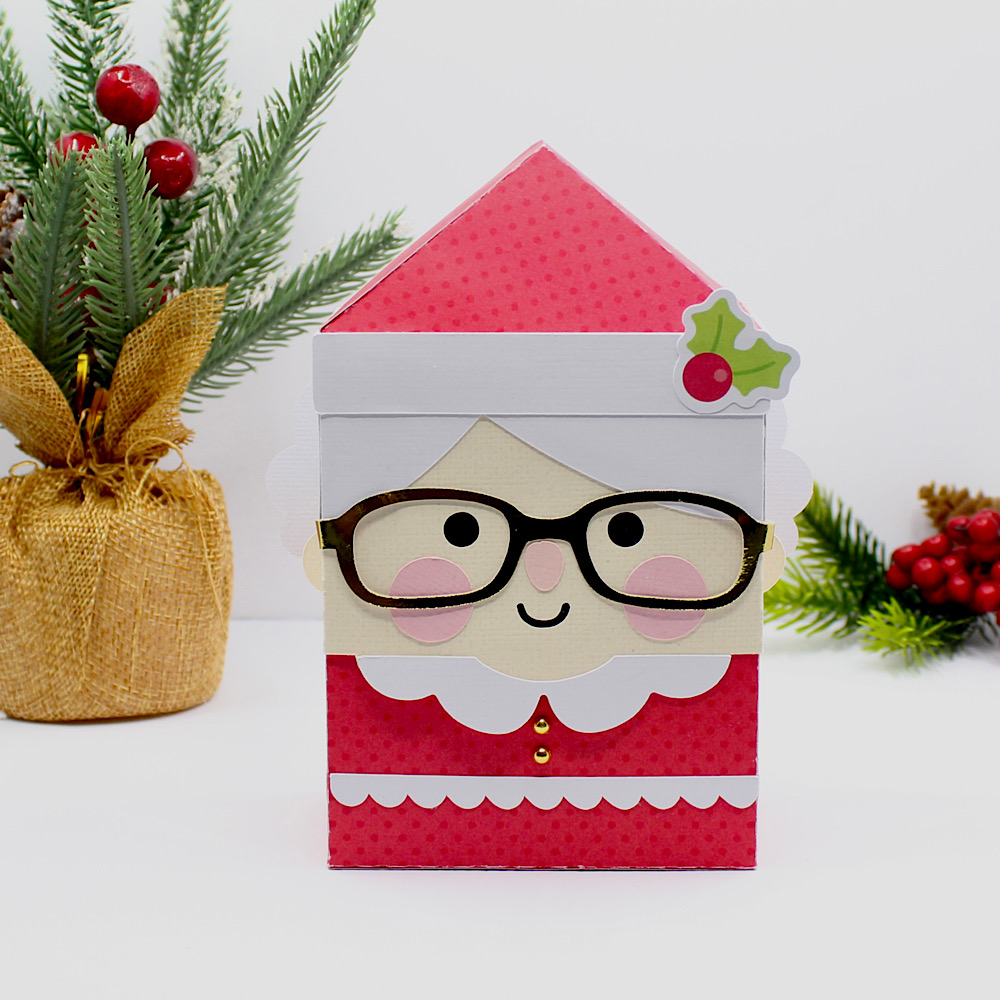
Hello Crafty Friends, Noelene here today. I know most of you are preparing for Halloween but in my house it’s never too early to start preparing for Christmas. Today I want to share with you one of the newest files I am using from Lori Whitlock called Mrs Santa Slip Lid Box (SVG).
I started out by cutting all my pieces then glued on the corresponding panels to the top & bottom box sections like pictured. I folded the score lines first as this helped me to correctly align when I glued down. I left the glasses till last as I found this was easier to glue in place once box was made.

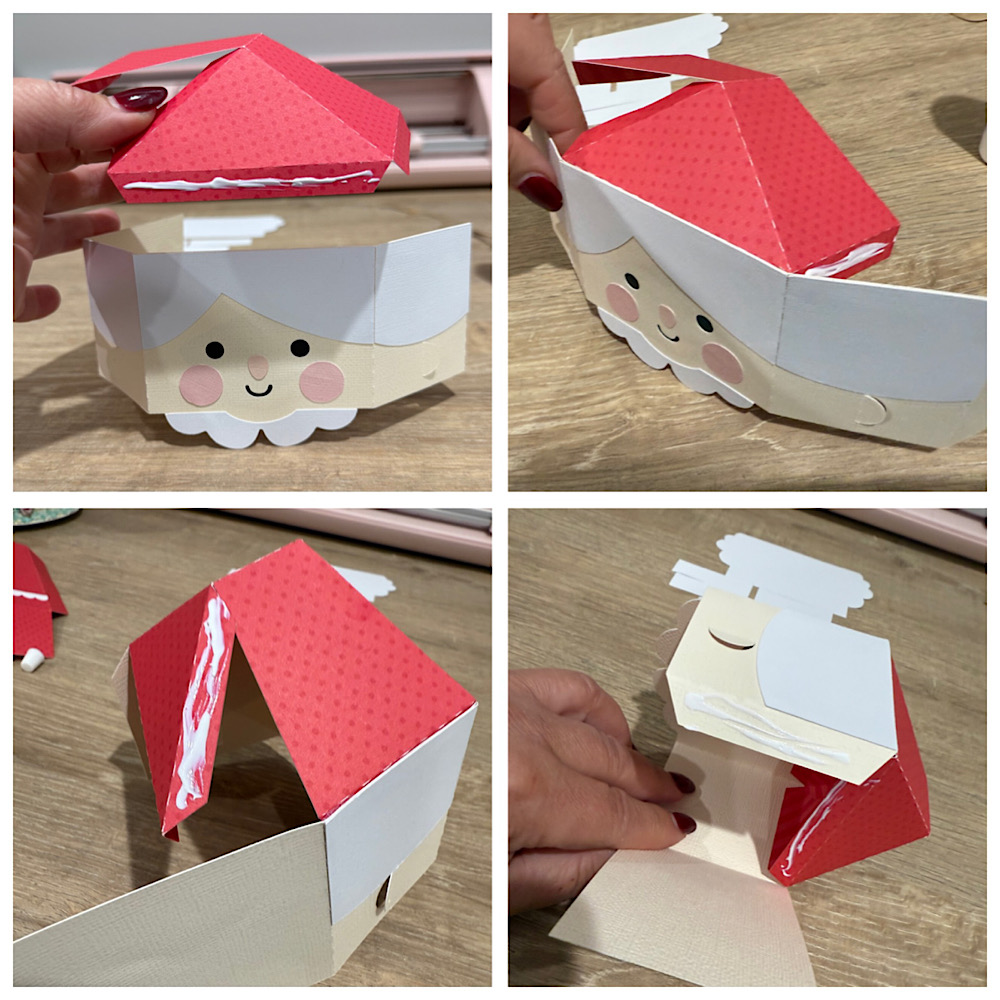
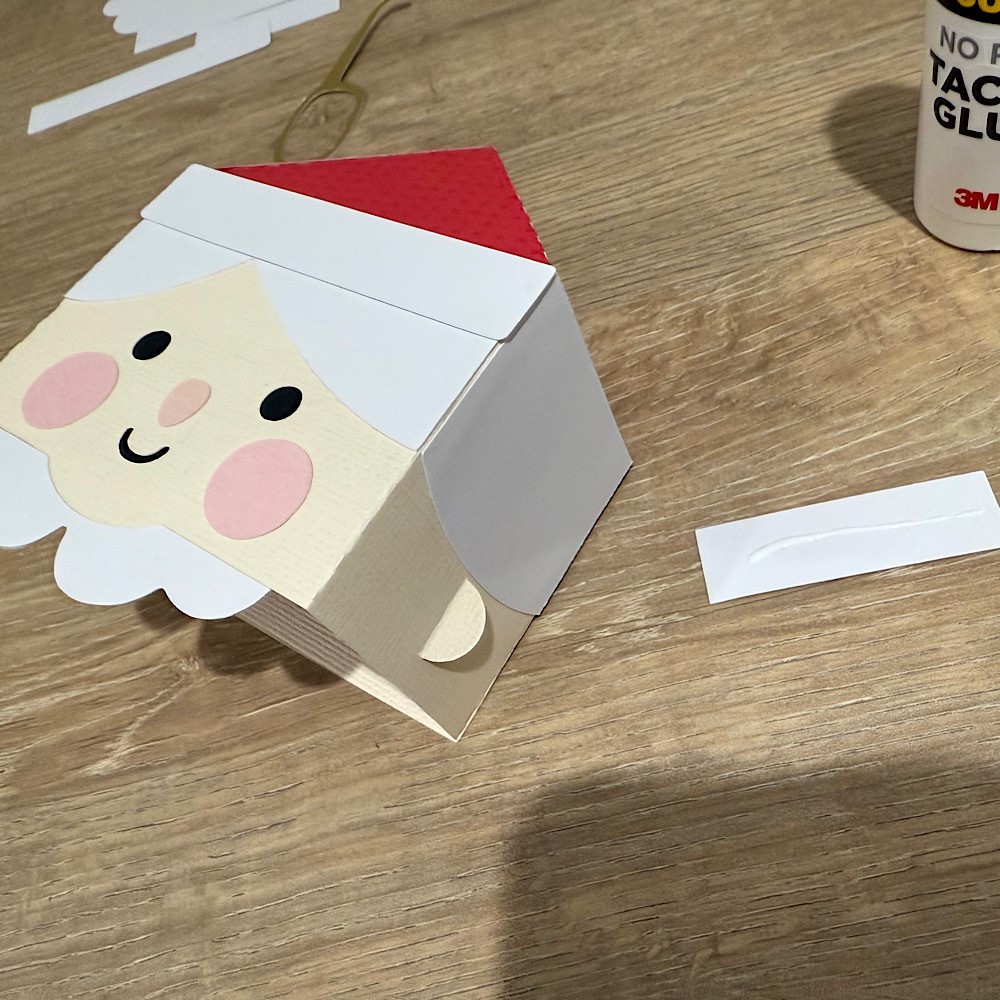
Next I started to put together the lid of the box glueing the flaps of the hat to the head, starting with the front then working from sides & finishing off at the back.
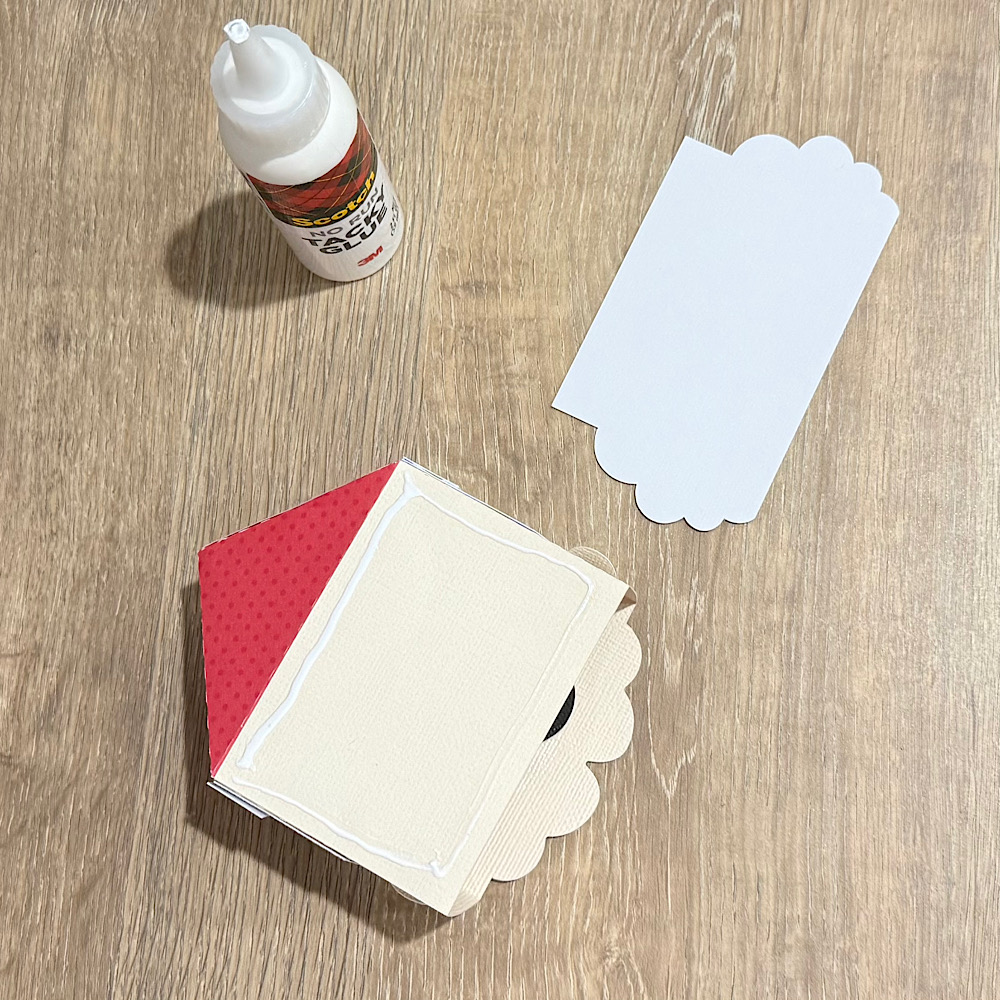
Now glue the hair panel on the back of the lid.
Then glue down the white strips of hat trim along the top.
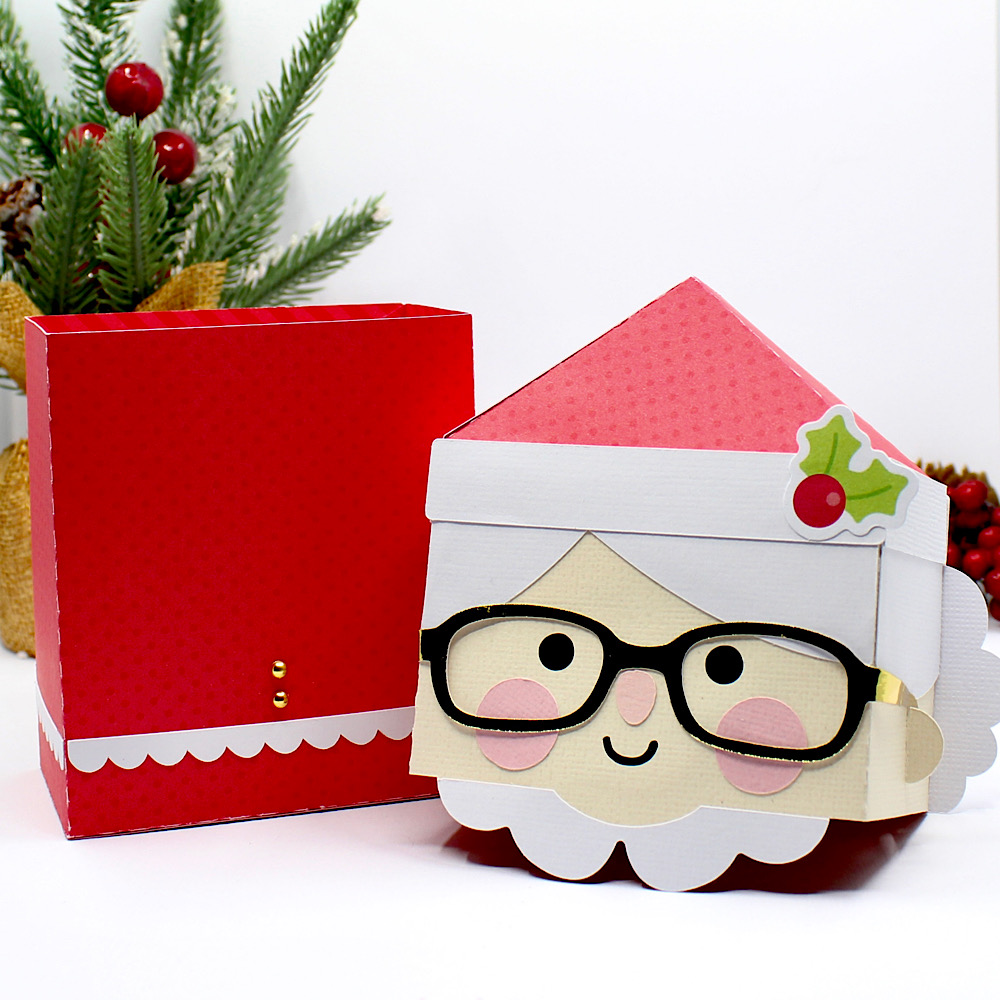
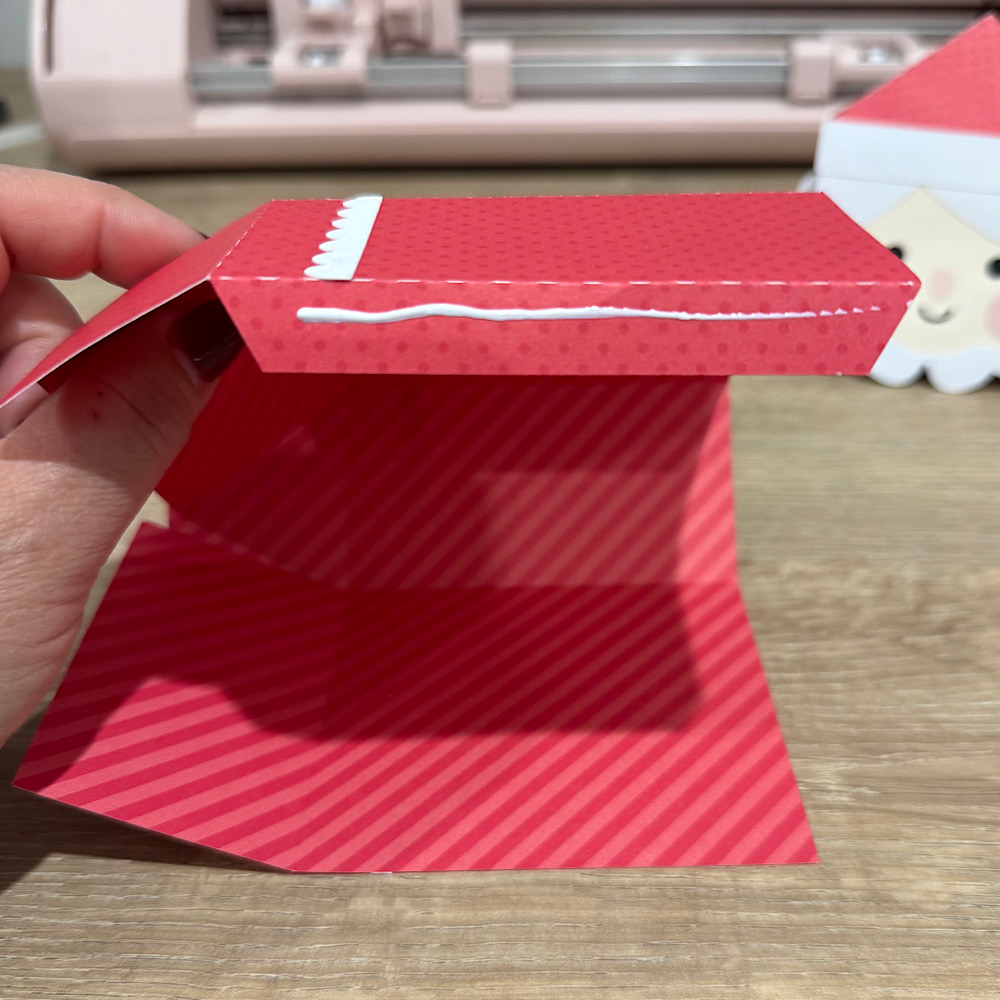
The next step is to assemble the base of the box. Start by glueing down the side flap.
Then finish off by folding down the inside large rectangle base followed by glueing the 2 small side bases on it & then glue the outer rectangle flap over the top of the small side 2.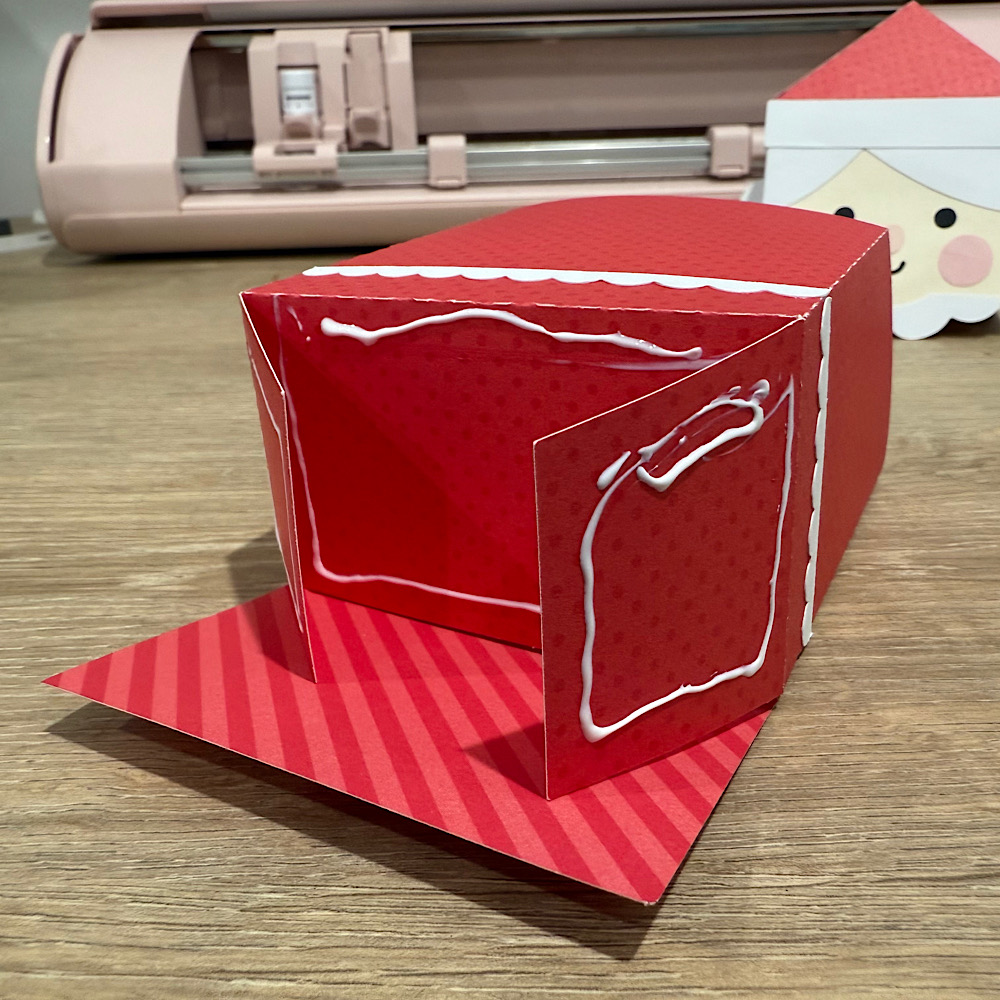
Lastly I glued on my glasses which I cut with gold metallic cardstock & embellished with a holly cutout onto the hat & 2 gold sprinkles for buttons.