I have a fun little project to share with you today, Birthday Explosion Box to celebrate my Cash’s Birthday. I’ll get photos printed this week and add them to the tags in the box. Lori has a brand new Party Animal Collection from Echo Park. This is such a sweet line for Birthday’s of our precious pups. Perfect colors and the cutest embellishments.
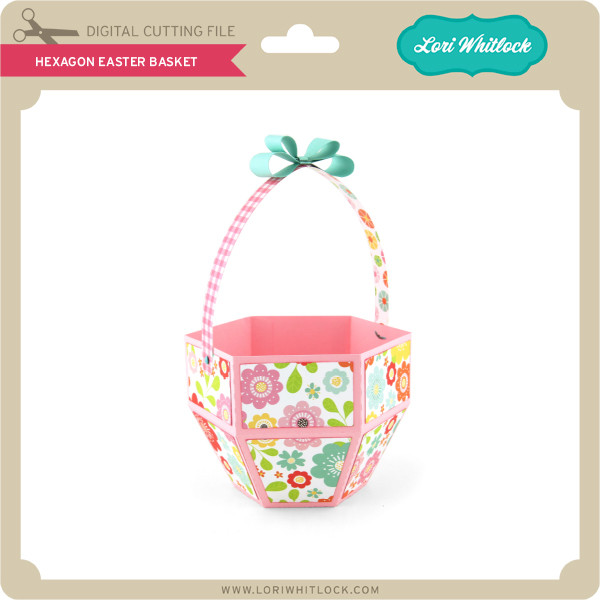
You can find the file here in Lori’s Shop and here in The Silhouette Design Store. It is a really easy project to put together and it has WOW results.
Here is the Birthday Boy! He turned 5 just a few days ago.
We celebrated with a walk and a hamburger!
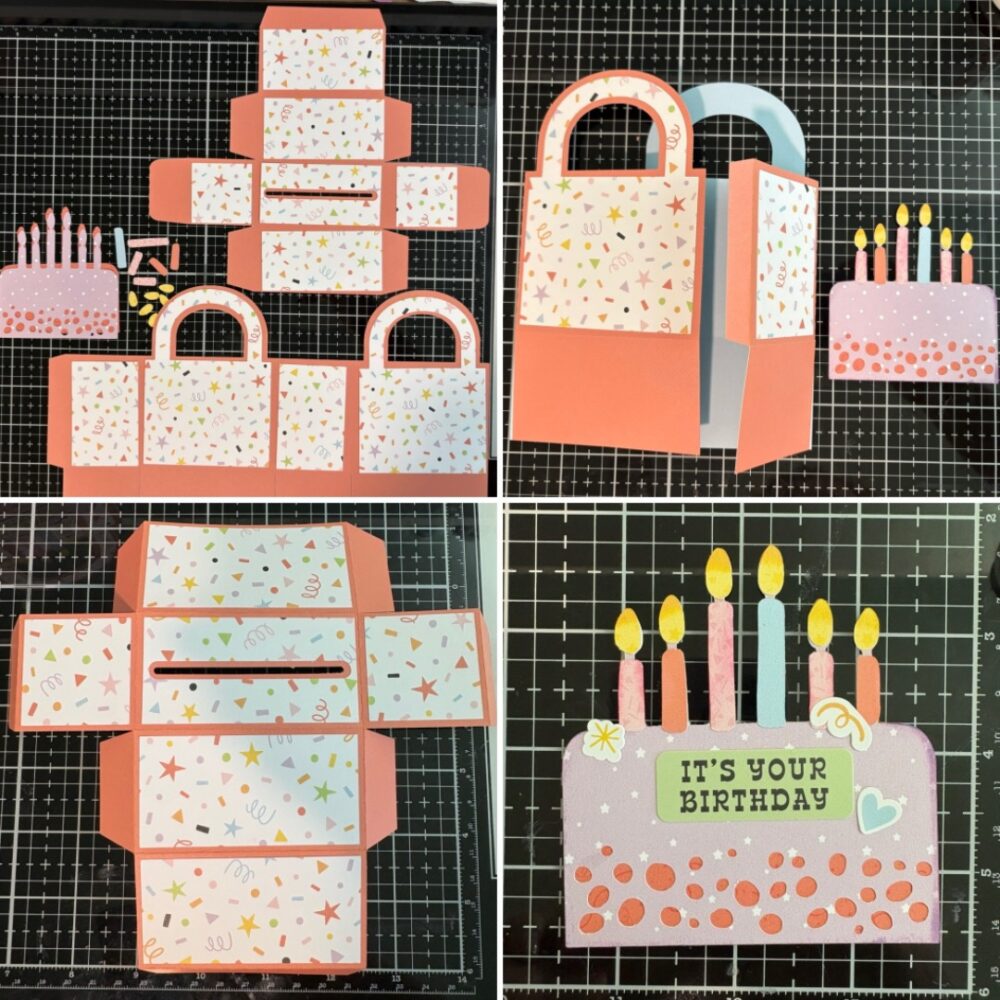
So I’ll walk you through a quick tutorial. First, start by cutting out all your pieces and ink all the edges.
Next, fold your box shape and the score lines.
Easy peasy, put the lid of the box together.
Fold and glue your library pockets. There are four!
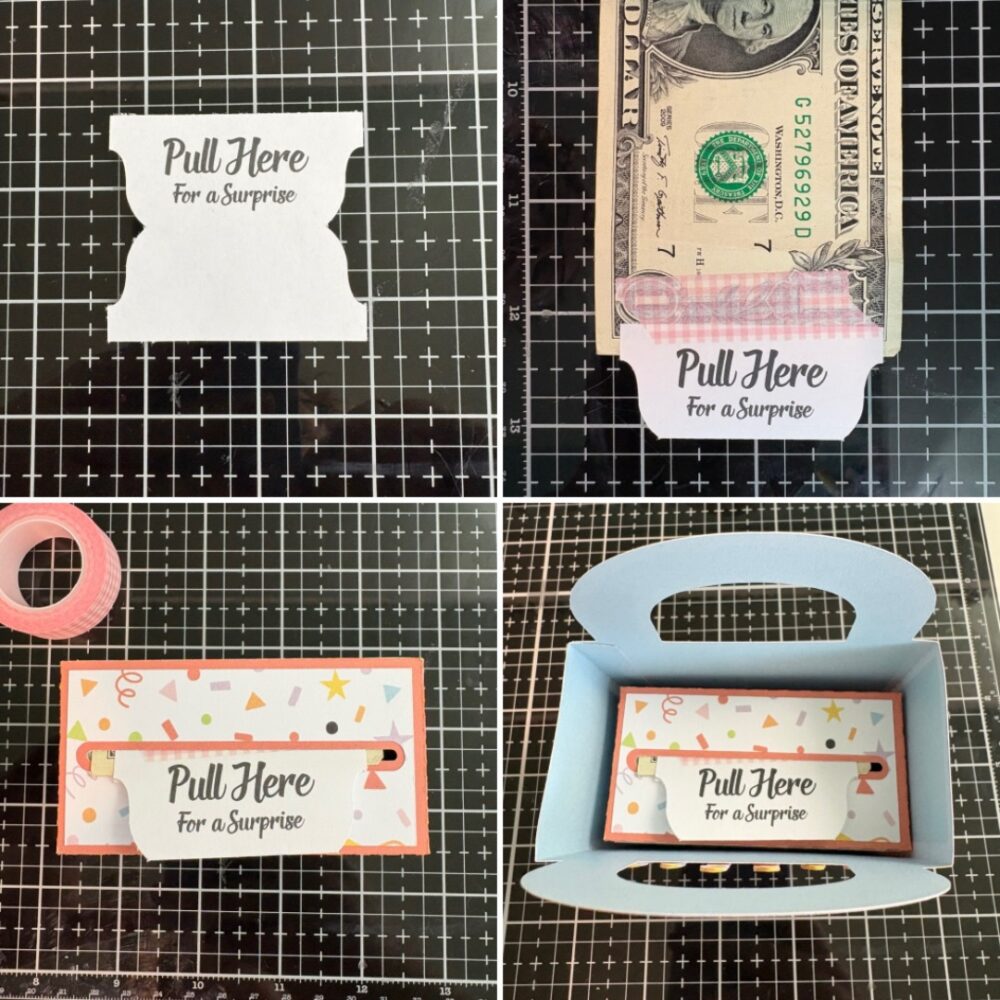
Add eyelets if you wish to your tags.
Then simply adhere the pockets with the tags to the inside of your box.
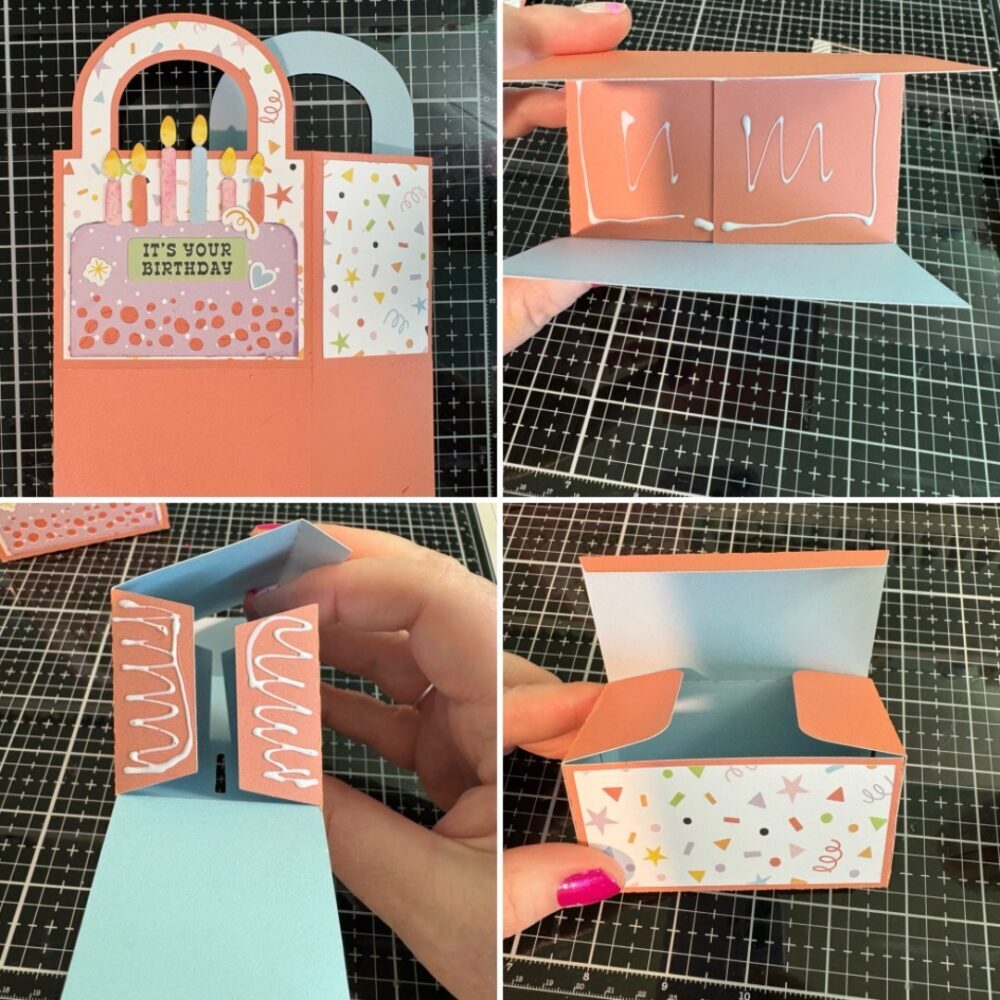
Now for the cake. I used liquid glue to adhere these. This little cake is a box, so you could add little trinkets or a little gift for the recipient. I’m not sure what I will put in there for Cash.
Make both the top and bottom pieces the same way. Fold all the little tabs inward and adhere the ends together, as shown in step two. There are two circles for each box, on the brown piece, one fits in the inside and the other on the bottom. This makes a nice clean finish for the bottom of the cake.
Do exactly the same with the lid. Lori’s file has a sweet little candle but I love to use embellishments from the line on my projects, so I picked a couple of candle stickers and placed them back to back.
Now adhere the box in the center of the box or you could just add it and your recipient can take it out.
That’s it, now fold up your box and put the lid on.
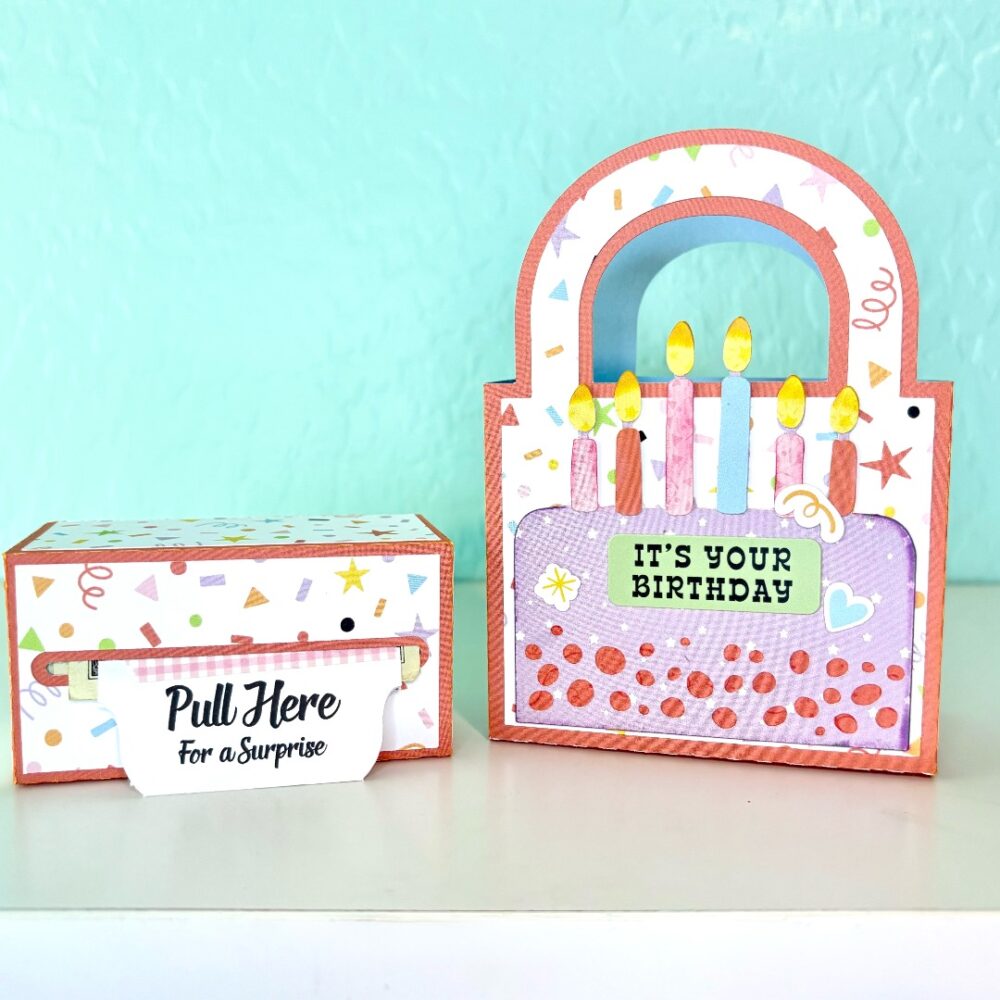
Of course, this is where the fun really begins. You get to embellish and make it your own!
I love this so much!
And this sweet little tag…sit, stay and CELEBRATE!
Thanks for joining us today and I hope you check all of Lori’s Explosion Boxes!

.jpg)
.jpg)


.png)
.png)