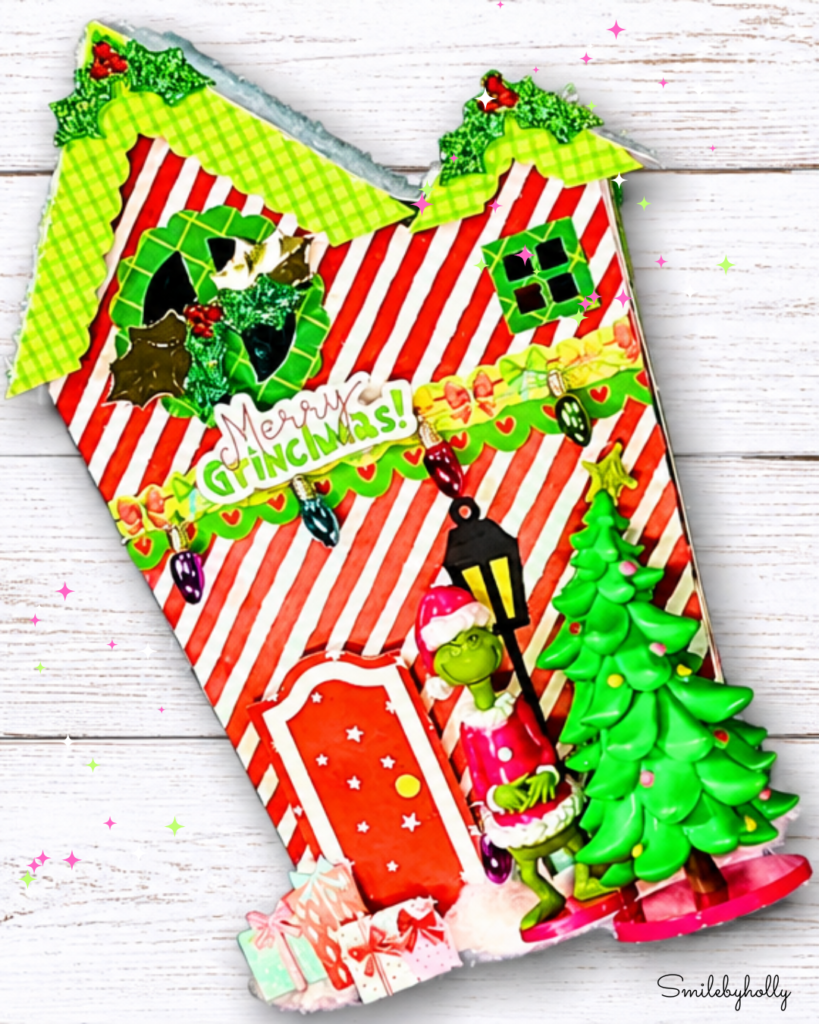
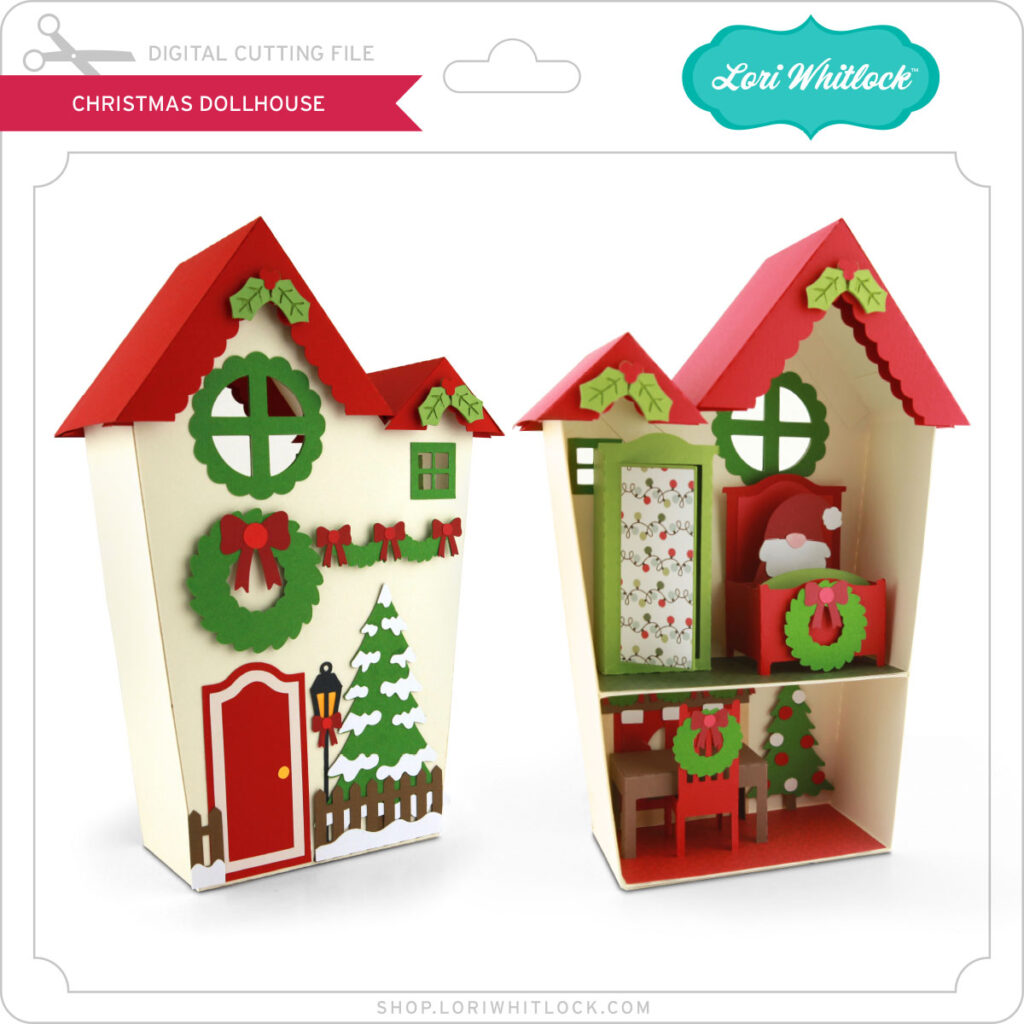
You Won’t Believe This Christmas Dollhouse is Paper!


Create a darling Christmas dollhouse using this file from Lori Whitlock!

Lori’s Shop

Silhouette Design Store

In this video I will show a step-by-step tutorial on how to assemble the base of this doll house. It is a fun and relaxing way to spend an afternoon making holiday decorations. The doll house comes with many embellishments for both inside and out. What will you put in your dollhouse?

Happy crafting!

Holly

Christmas at Pooh’s Place

 Hi friends!  If Pooh had a little house to decorate for Christmas, I think he’d hang his lights just a bit unevenly and save a spot by the door for Piglet.  That’s the little scene I had in mind when I paired the SVG file of Lori’s, here in Lori’s Shop (Silhouette Store) and Echo Park’s Winnie the Pooh Christmas collection.

I started with the red snowflake paper for the house and gave it a plaid roof.  My favorite part was trimming those scalloped eaves.  A few red and green enamel dots along the sweetest string of Christmas lights.  I added a wreath to the front door and tied it with Baker’s Twine.
 
The finishing touch is the little Pooh and Piglet sentiment beside the trees. It reads, “The best thing about Christmas is spending it with you”.  I love that the big sign on the roof wishes everyone a Merry Christmas!
Happy Creating!


Box Card Barn Flowers

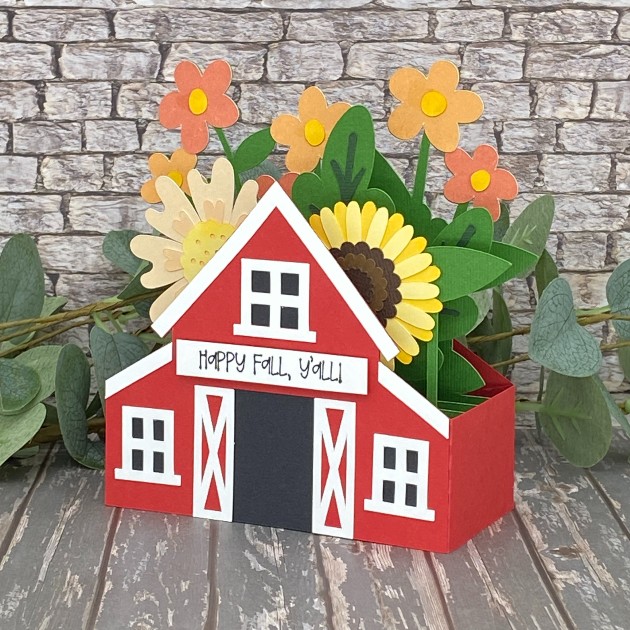
Hi friends, I hope you’re having a great week! Can you believe this month is almost over?! Leslie here, sharing a tutorial for making a Fall themed barn box card. If you love box cards as much as I do, be sure to check out Lori’s shop because she has some really awesome ones. I used the Box Card Barn Flowers SVG cut file (Silhouette)(from the A2 Box Card Autumn Bundle) along with papers from the Pattern Fill Set Autumn Joy for the flowers. So let’s make a box card!
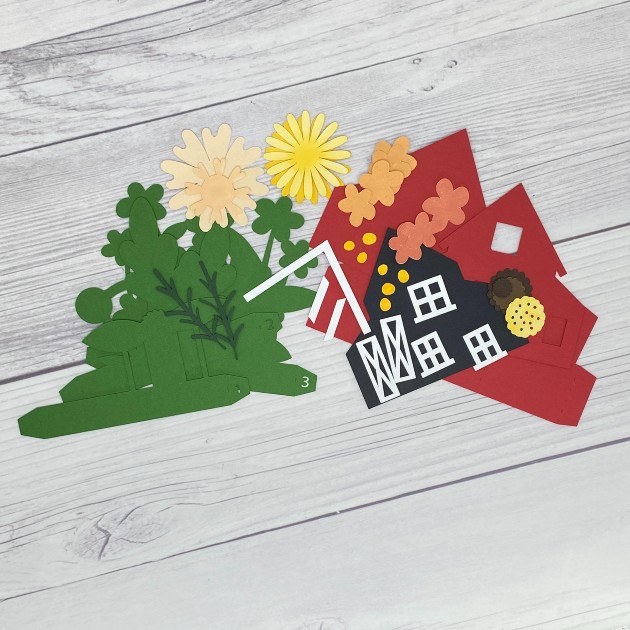
Cut The Pieces

Using your choice of cardstock and patterned paper, cut all the pieces. I used a variety of cardstock in my stash for most of the pieces along with designer papers from Lori’s Pattern Fill Set Autumn Joy for some of the flowers.
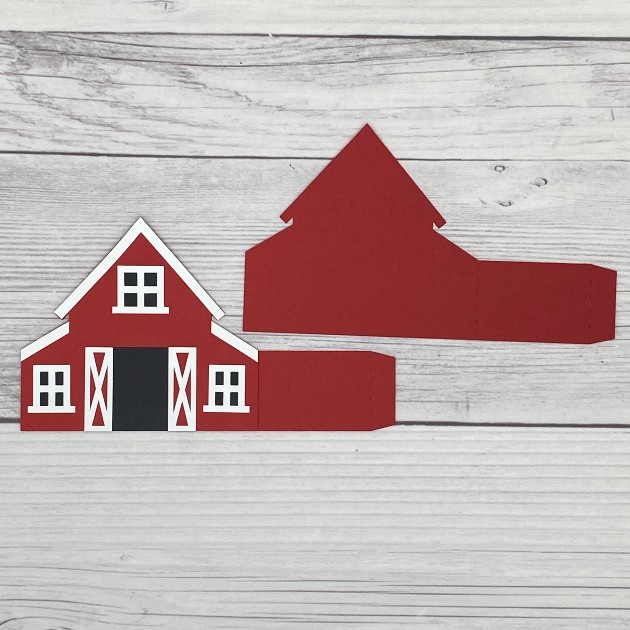
Build Front, Back and Inside Panels

Using your choice of adhesive, build all the panels. I prefer wet glue for the ‘wiggle room’ factor. These are the front and back panels:
First insert:
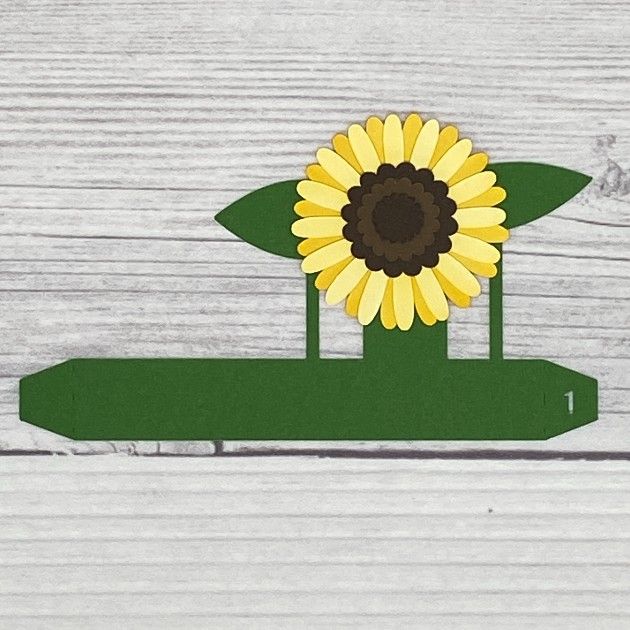
Second (middle) insert:
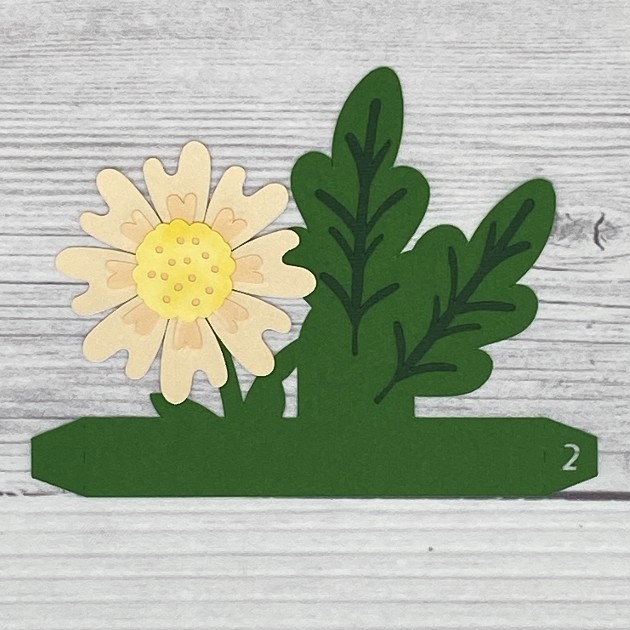
Third (last) insert:
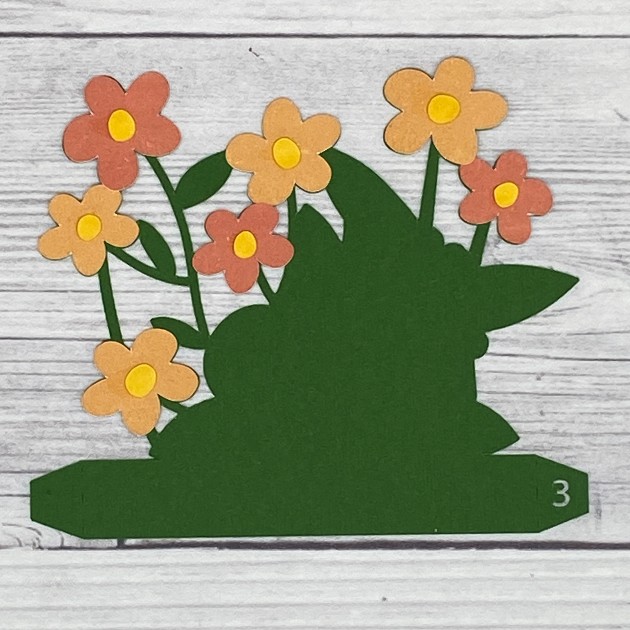
Assemble The Card

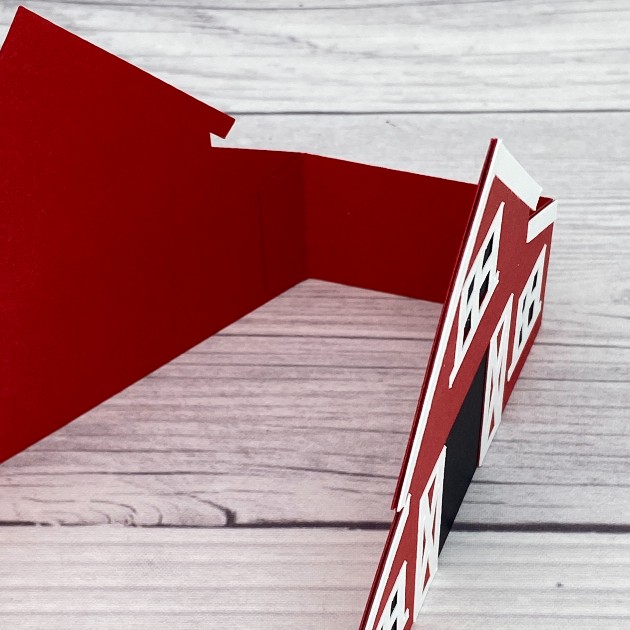
Mountain fold the score lines and adhere the tab on the right side of the front panel to the inside of the back panel.
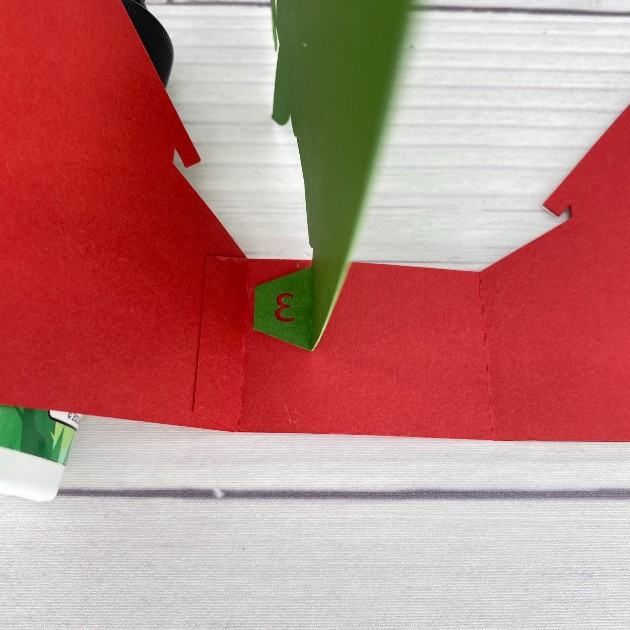
Starting with the third (last) insert, bend the right-hand tab backwards and adhere it to the inside of the card base just to the right of the score line where you adhered the tab in the last step.
Now come in with the second (middle) insert and glue it just to the right of the third insert. So sorry but I forgot to take a photo of the first insert glued in place (ughhhh), but glue it just to the right of the second insert. They’ll be numbered 3 – 2 – 1 from left to right. The back panel is still on the left and the front panel is still on the right.
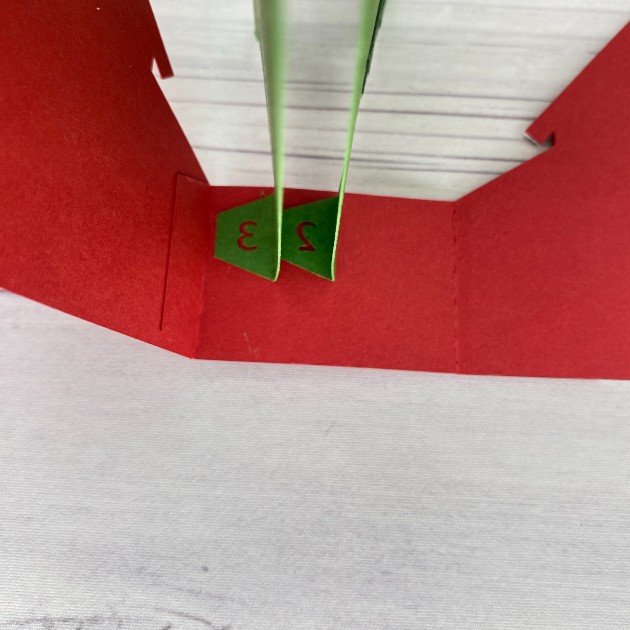
Straighten the back panel and fold all three inserts over toward the left. Be sure the bottom edges line up and apply glue to all three left-hand tabs.
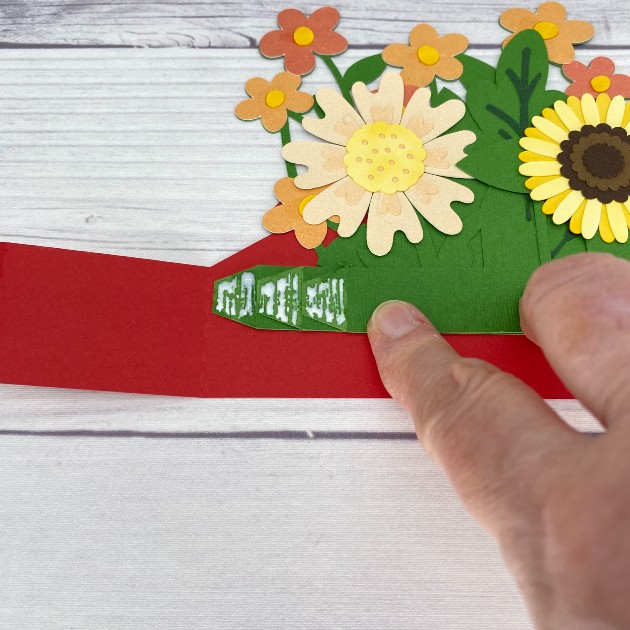
Now fold the side portion of the back panel over toward the left, catching the left-hand tabs on the inserts with the glue on them. Next, apply glue to the tab on the side portion and fold the front panel over toward the right to secure.
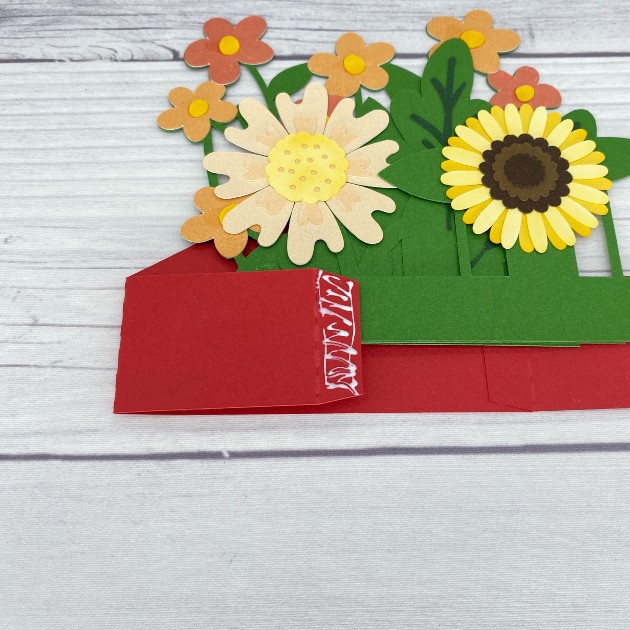
The card will now look like this.
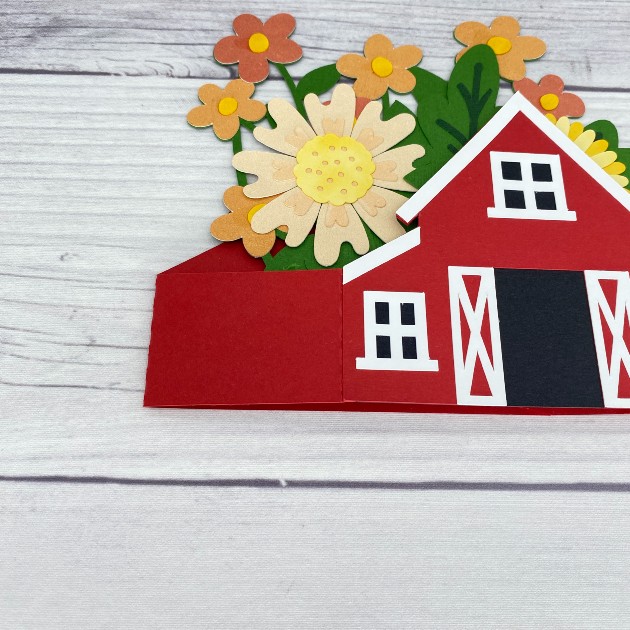
Now push the folds toward the left to help ‘train’ them to fold in either direction.
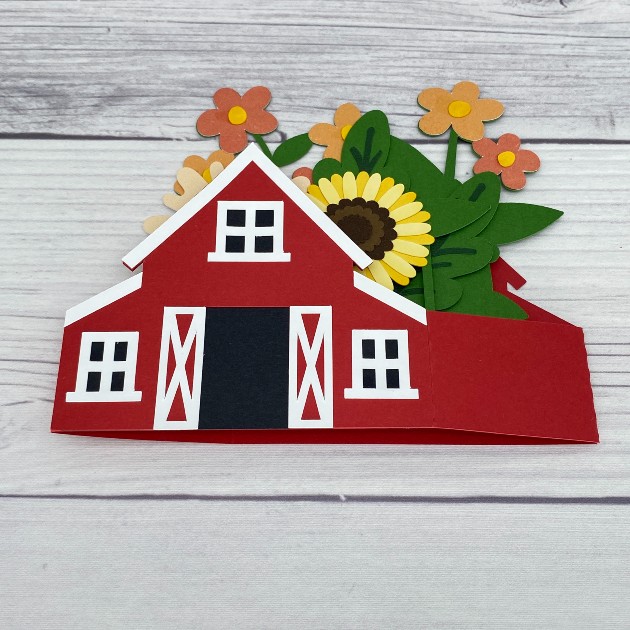
This is an overhead view of the assembled card with all three inserts.
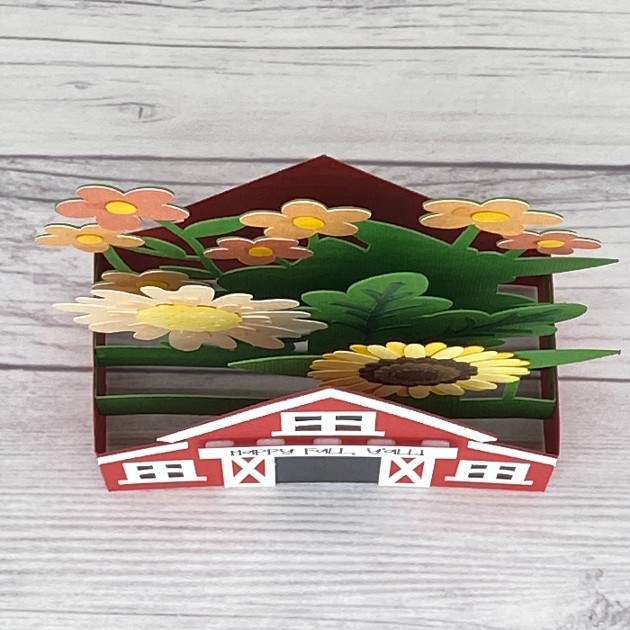
And here’s a finished frontal view. I used the draw function on my Cricut to create a fun sentiment which I popped up on foam squares.
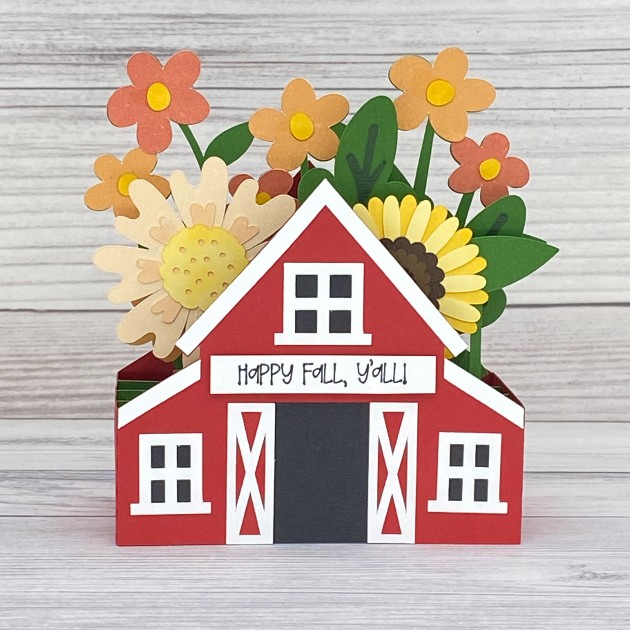
Thanks so much for stopping by today! I hope you’ve enjoyed seeing this awesome Fall themed barn box card and you’ve been inspired to make one. They are so much fun!

Scrappy hugs,
Leslie

Witch Hat Lantern Tutorial

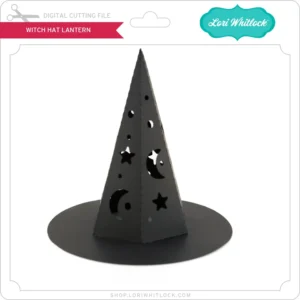
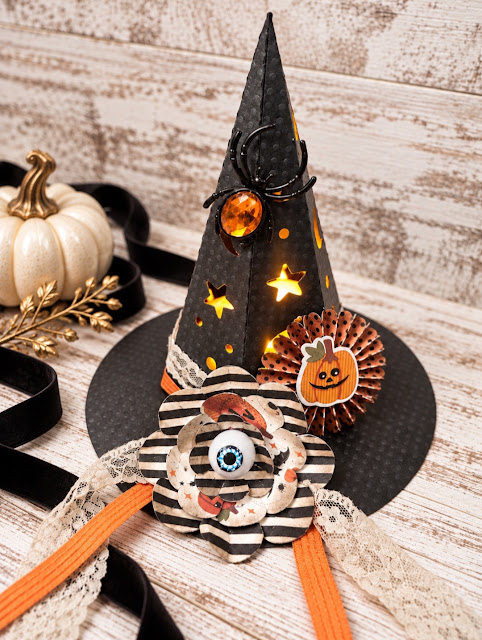
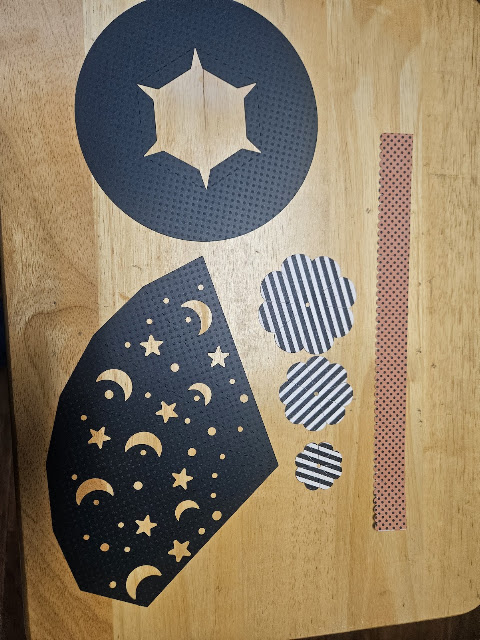
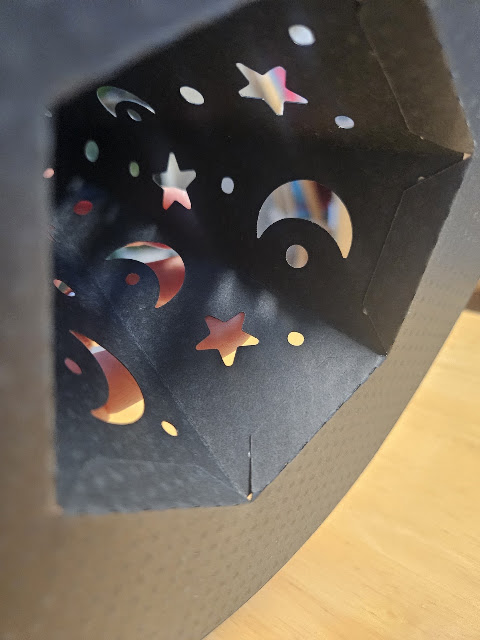
Happy Thursday everyone! 23 days until Halloween. I can’t wait! With that being said, I created this amazing project using 3 files. I used the Witch Hat Lantern found HERE, (Silhouette) I used 3D Flower 4 found HERE, and I also used Build A Rosette: 2 inch found HERE. I used Handmade Halloween paper collection from Echo Park Paper Company found HERE.

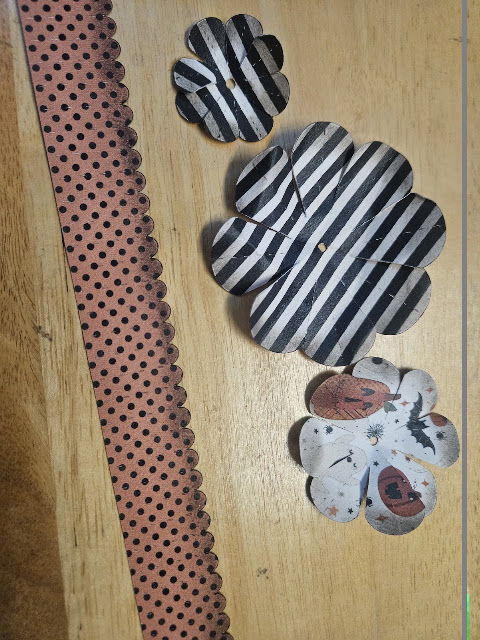
Cut all your pieces for the witch hat lantern and any embelishments you with to decorate it with. I used the rosette and  3D flower 4 as mentioned above. 
I inked my edges of the flower and rosette.
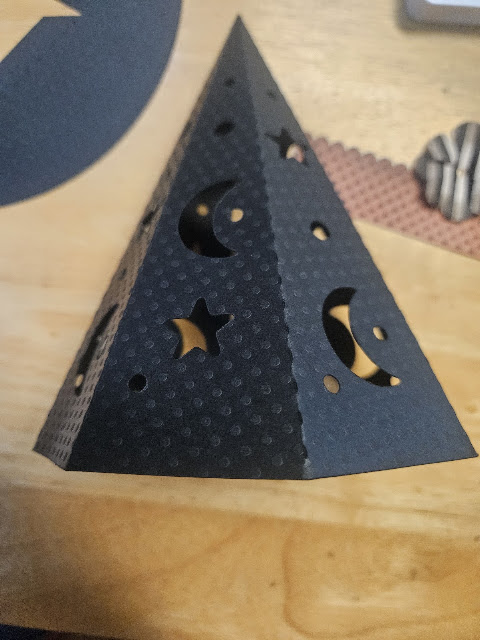
Gently curve the paper wedge and fold on the score lines.
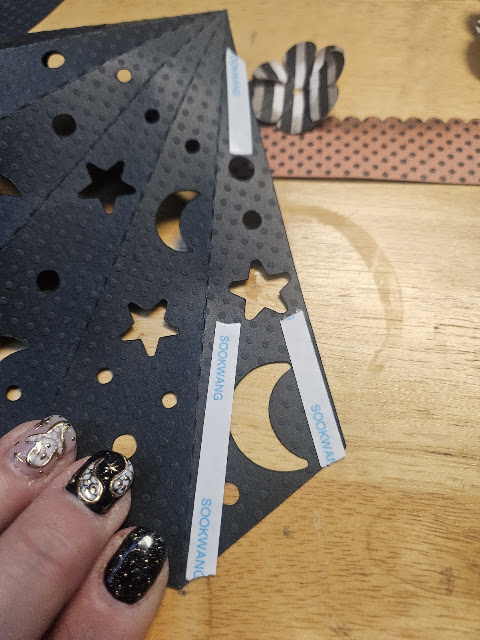
Adhere the straight edges together to form a cone. The piece that has the slant goes on the inside, with the outside piece overlapping the slant piece. I use score tape to secure the seam.

Fold the tabs on the brim up and adhere the cone piece onto the polka dot brim piece using score tape.

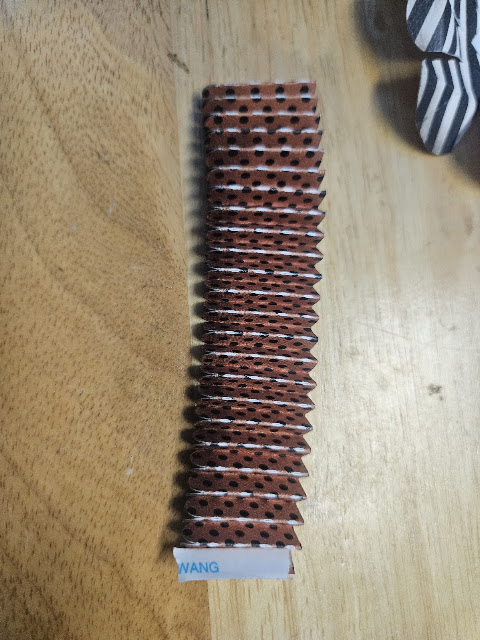
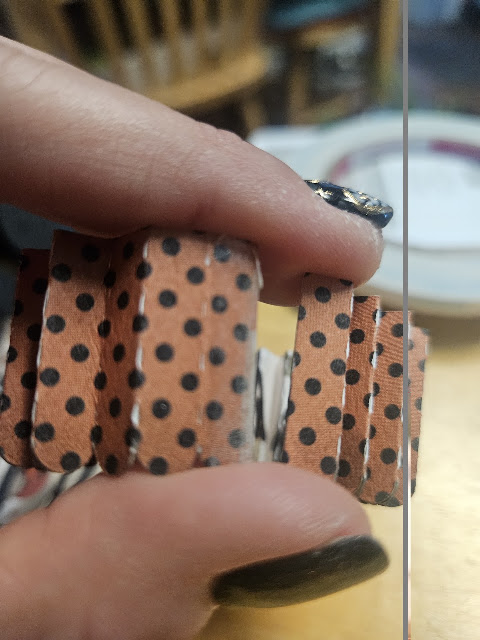
Create the rosette by folding along the score lines into accordion pleats. Join the ends to form a ring. Press the top edge inward to flatten it into a circle and adhere the center onto a small paper backing circle (cut from any scrap paper) using liquid glue or score tape.


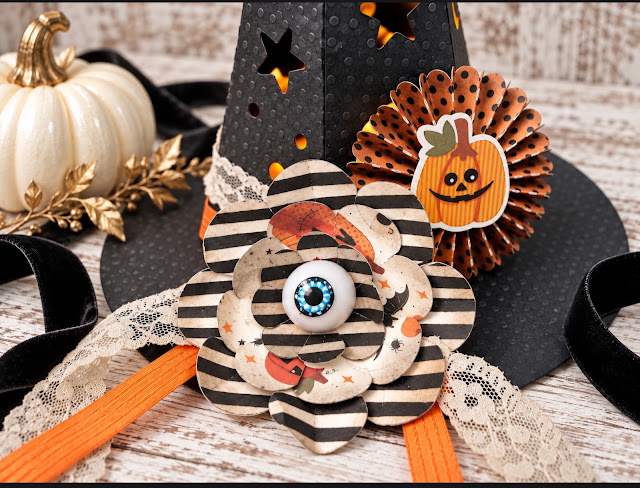
Using liquid glue or score tape, adhere the rosette to the bottom center portion of the cone. Adhere the pumpkin sticker to the front of the rosette.

To assemble the 3D Flower 4 just layer your pieces on top of each other and adhere in the center with adhesive or a brad.

Tie ribbon of your choice around where the brim meets the cone. Cover the knot with the 3D Flower 4. I found the eyeball for this at Dollar Tree on a flower and had to use it for this project because I loved it so much.

I put a battery operated tea light in the cone for the glow.

Thanks for stopping by and happy crafting!!