Mason Jar Pop Up Box Card

Happy Spring almost Summer Everyone!  I have a quick little card tutorial to share with you today using Lori’s new Echo Park Collection Firefly.  I simply adore everything about this collection, the patterns, the amazing details, the colors….it is all swoon worthy, you have to get it.  It is just so perfect for summer.  The card is one of her pop up box cards, that fold flat for mailing and then pop up and give a fabulous 3 d effect for your recipient.  You can find this card here in Lori’s Shop or here in The Silhouette Online Design Store.  I just love mason jars and this is just so cute.

First, cut and organize all your pieces.
I always ink all my edges, except the white.
Put your card base together, here I used papers from the 6×6 Firefly paper pad and card stock.  Your score lines will be a peak and a valley.
As you can see here, it fold to a 5×5 card base.
Next, make this piece.  Here I added some beautiful washi tape from the Firefly collection.  Love it!  Again you will have a peak and a valley for score lines.
You are only going to add adhesive on the two ends, and you can see where I wrote here and here.  Make sure no adhesive goes in the middle, otherwise your card won’t pop up.  My adhesive fits the first little panel and then from the second score line to the right.
Once you add this piece, you can see how the little pop up box is formed to add your remaining dimensional pieces.
Now just finish up the layers for these two pieces and add adhesive to the sides.  Add them in order, as Lori numbers them for you…1 & 2.
Press them firmly to the sides to create the pop up effect!
And there you have it!  The cutest little card popping with joy!  I love using all the fun embellishments form her collections to really create my own take on each of her cards.


Thank you for joining us today!
Cathy
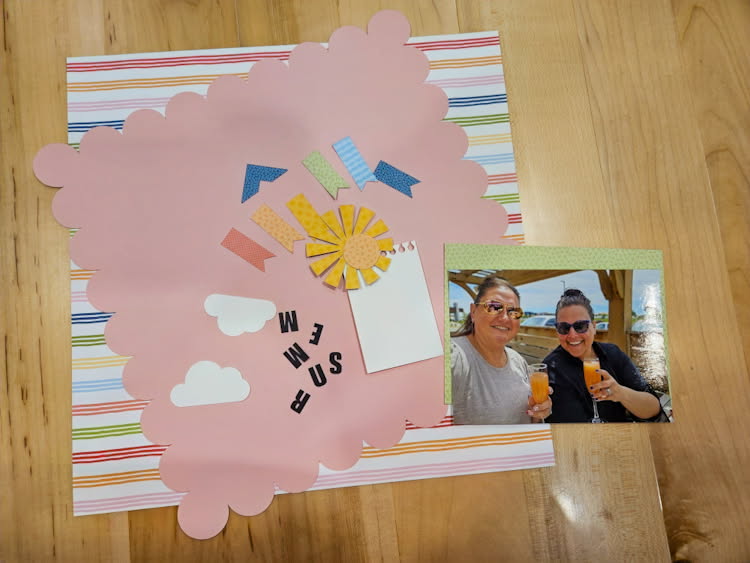


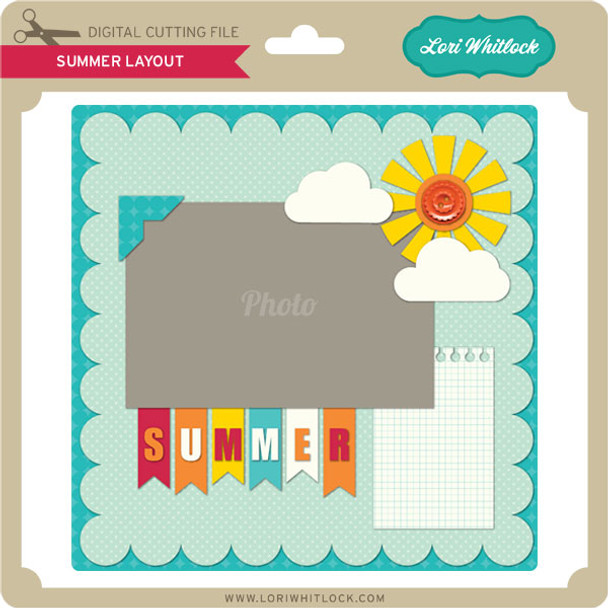
Summer Layout Tutorial

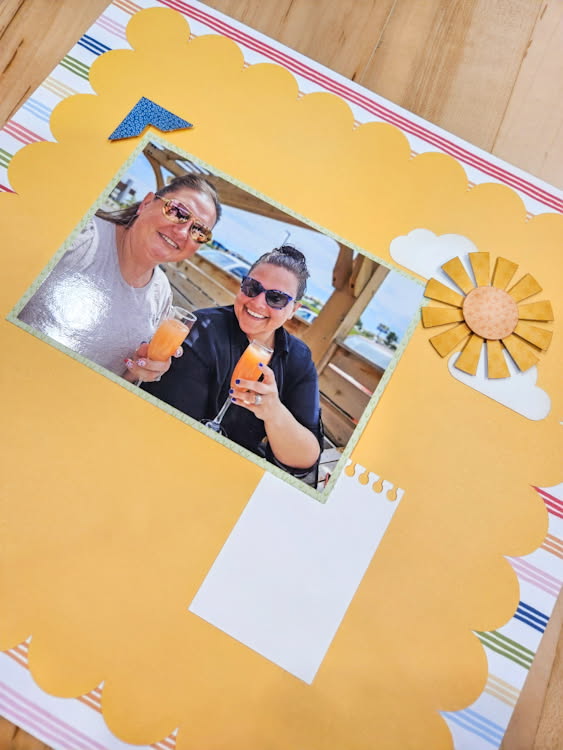
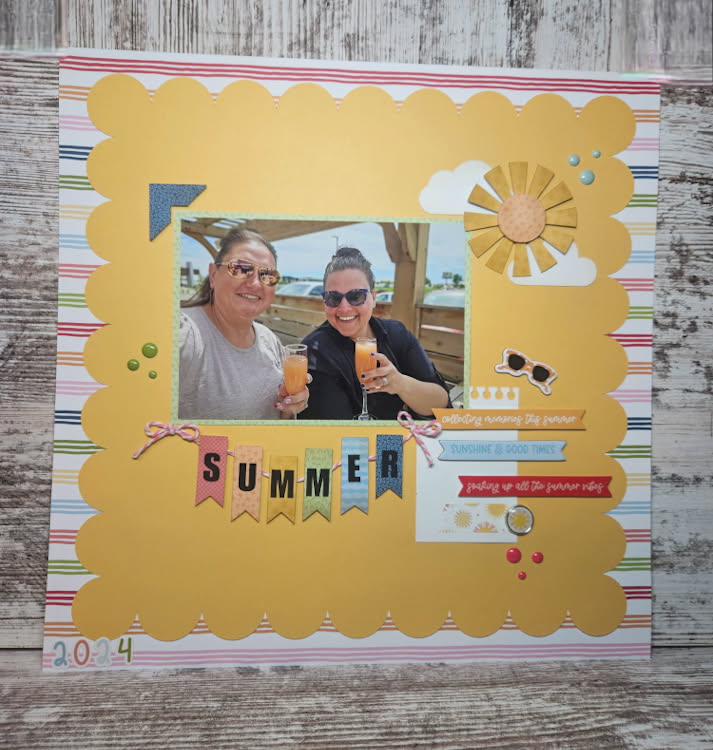
Hello! We got the dreamiest paper in the mail last week and I couldn’t wait to create with it.  Echo Park’s Have A Great Summer designed by Lori Whitlock has all the best colors and papers. It made me think of how fun this layout would be with these papers.

First I decided on papers and made my cuts. (*If you are making this on cricut, check your sizes, my scallop page cut 7×7 so I had to adjust.)

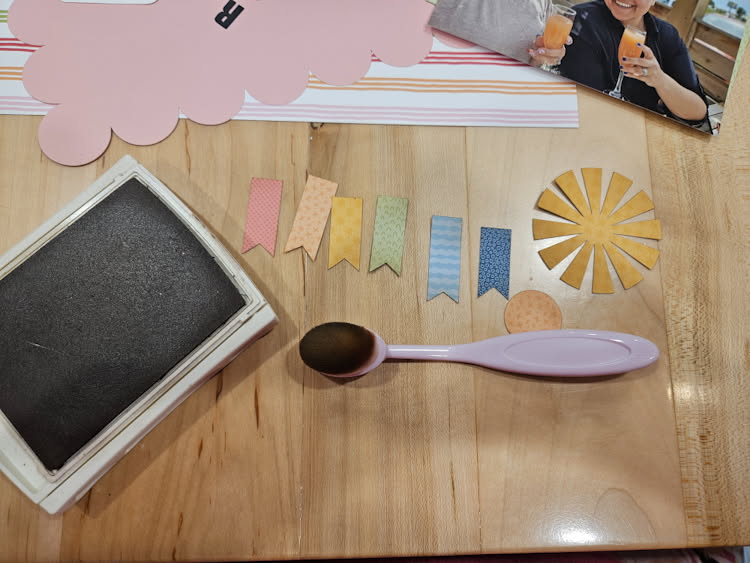
I went ahead and inked all my little pieces

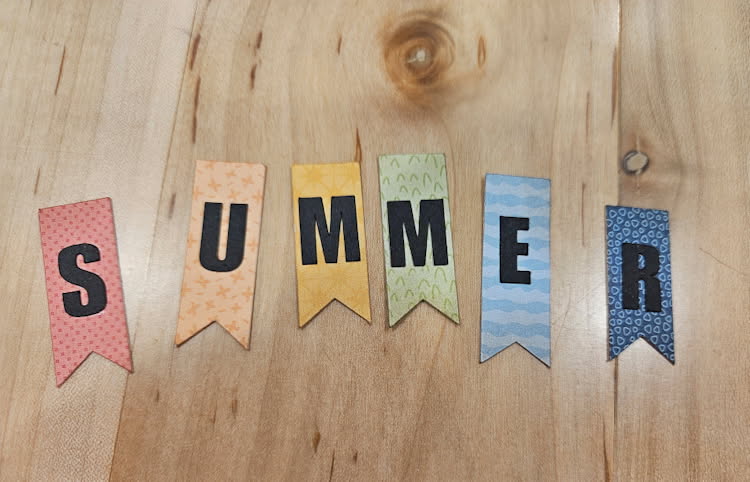
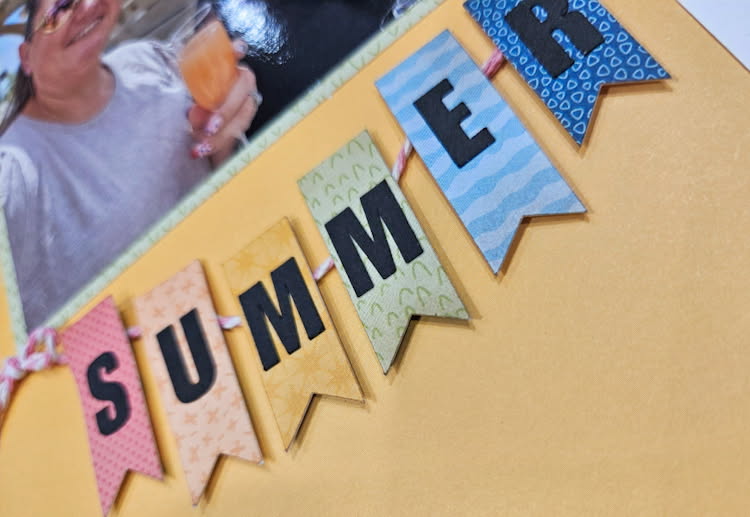
And then I added letters to the banner pieces.

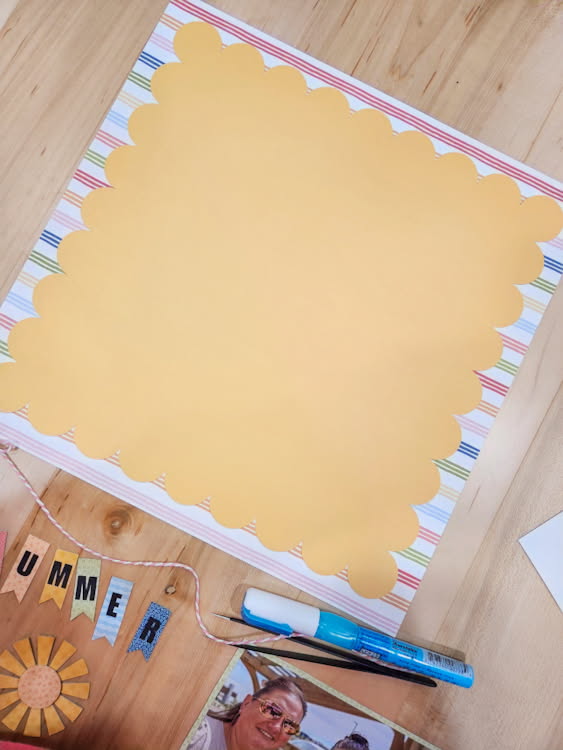
One thing I’ve learned over the years is it’s never a bad things to flip the paper over. I had originally thought I wanted to use the pink side of the solid paper, but it just wasn’t as summery so I flipped it and used the yellow. I love that I did. So bright and fun.

I added my photo and took a few liberties with positioning the other elements. I made sure my sun was over my clouds so it wouldn’t blend into the background and popped the photo corner up on the outside of the photo.

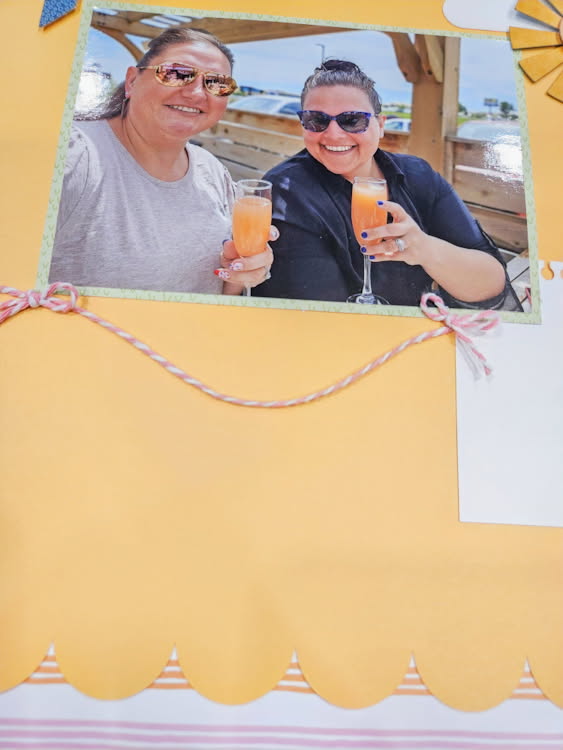
My banner I wanted on a string so I added my bakers twine and then popped the banners up over top of the bakers twine.

Finished off the layout with some chipboard and stickers from the Have A Great Summer line and a few enamel dots.

Thanks for stopping by and Happy Crafting!

Chelsea

🚗Friday $5 Bundle: Vehicle SVGs!🚗

This week’s Friday $5 Bundle is all about “vehicles” and it’s packed with fun! 🚗 You’ll get 5 unique SVG cards, including a golf cart, vintage bug, surf van, bronco, and classic red truck. These designs are perfect for revving up your creativity. Don’t miss out—this fantastic deal is available until Sunday at midnight. Snag your bundle now and get started on crafting some amazing projects this weekend. Happy crafting!
** Because Friday $5 Bundles are already heavily discounted they are not eligible for further discounts including monthly, seasonal and flash sales.
Thank you for joining us today! Have fun crafting this weekend!!!

~Lori

NEW Shadowbox SVG Files! 25% OFF!

Hey there! Did you get a chance to check out the new releases yesterday? I’m so excited about the three new 8×8 shadowbox SVG files that I designed! There’s something for every season:

  • Gorgeous Sunset: Perfect year-round, with customizable colors and optional snowflakes for winter.
  • Autumn Bliss: Embrace all the cozy fall vibes.
  • Spooky Halloween: Featuring a fun haunted house to get you into the festive spirit.

Using foam dots between layers adds wonderful depth to each design, making them not only enjoyable to assemble but also a striking addition to your home decor. Also, the file includes the die line for the 8×8 shadowbox. However, if you have a wooden frame or something else that you would like to use, you can resize the insert layers as desired.  And, don’t forget: ALL new releases are 25% OFF until Sunday at midnight! Do any of these designs catch your eye?


Thanks for checking out the NEW SHADOWBOX FILES! Have a fun day and make something beautiful!

Sincerely,

Lori

USA Mini Album Tutorial

Happy 4th of July! Traci here and I hope you all have a wonderful day celebrating with loved ones. Today, I have a new USA Mini Album to share with you that I created with one of Lori’s amazing cutting files. It captures the spirit of freedom and patriotism and it’s a great place to save your fun holiday photos.


July 4th USA Scrapbook Album Tutorial


First … let’s take a quick look through the album, then I’ll explain exactly how I made it’s cute cover so you can create one too!


July 4th USA Scrapbook Album


I chose Lori’s cutting file called USA Accordion Fold Card for the cover’s design. I cut it out of white acrylic, but you could easily use white cardstock instead.

July 4th USA Scrapbook Album

I decorated the album with the Echo Park, Stars and Stripes Forever Collection which was also designed by Lori. It’s fabulous! There are American flags, fireworks, stars, flowers, pinwheels, and balloons.

July 4th USA Scrapbook Album Page with stars, fireworks, and a heart

Inside, the album has 12 scrapbook pages (6 double-sided) that include 1 pocket, 2 fold-out pages, and 3 fun interactive flippies.

July 4th USA Scrapbook Album Page with fireworks, a folding card, and a journaling spot,


I used a mix of 12×12 and 6×6 pattern papers throughout the pages.


July 4th USA Scrapbook Album Page with a pocket, journaling cards, and a cute flag

I added a pocket and some fun die cut pieces from the Ephemera and Frames & Tags.

July 4th USA Scrapbook Album Page with red, white, and blue flowers


I love this print with the little red, white, and blue flowers. It’s such a cute pattern for the holiday!

July 4th USA Scrapbook Album Page with Uncle Sam's hat


I also added some stickers from the 12×12 Elements sheet. There are lots of great sayings, Uncle Sam’s hat (above), a red pick-up truck, a jar of flowers, cupcakes, and a scallop border. 


July 4th USA Scrapbook Album Page


July 4th USA Scrapbook Album Page with a flag, a folding card, and flowers

Isn’t this Stars and Stripes Forever Collection that Lori created great?! I just love it. 

Below is the cutting file I used to create the album’s cover. You can find the file here in Lori’s Shop or here in the Silhouette Online Store.

And, here’s how I made it …

Step 1:  Be sure to group both sets of USA letters together before resizing so that the insets will fit into the background after resizing. Once resized, ungroup the 2 sets of USA letters.  Then you will need to delete the tiny score lines on the welded USA.  To do this, right click and hit Release Compound Path (depending on your software you may need to hit make compound path first).  Once you have the tiny score lines highlighted, delete them.  Highlight the remaining pieces, right click and hit make compound path to set your welded USA cover correctly.


Step 2: Select both sets of letters, right click, and group them together again.

Step 3: Create a back cover for your album by selecting a rectangle under drawing tools.  I sized my back cover to 8” x 5”. Once I had my back cover, I placed it behind my group of USA letters.


Step 4:  Since I wanted my welded USA cover to be the same height as my back cover, I highlighted both sets and pulled the bottom curser down to stretch the cover to 5” high. 

Step 5: Once I had my front and back covers the same size, I ungrouped the USA sets and cut everything out.  Don’t forget to punch binding holes and make as many pages (sized like the back cover) as you want! 


Lori has so many great SVG files to play with and I hope you’ll give this USA Accordion Fold Card a try. Have a safe and fun July 4th weekend and happy scrappin’ my friends!


Blog * Shop * Facebook * Instagram * Pinterest