
Hello crafty friends, Noelene here today & I want to share with you a tutorial for the berry sweet Big Box Card Basket Strawberries (SVG, Silhouette), from Lori Whitlock!

As most of you know, Strawberry projects are my favourite, so I couldn’t wait to make this card.
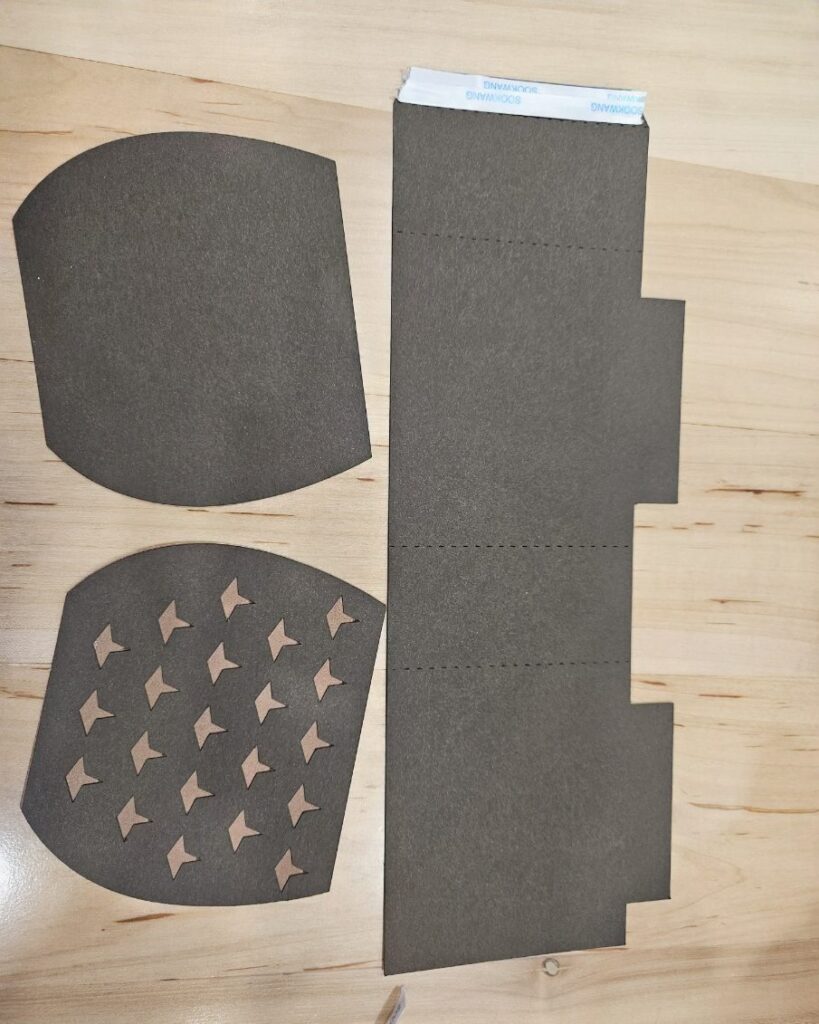
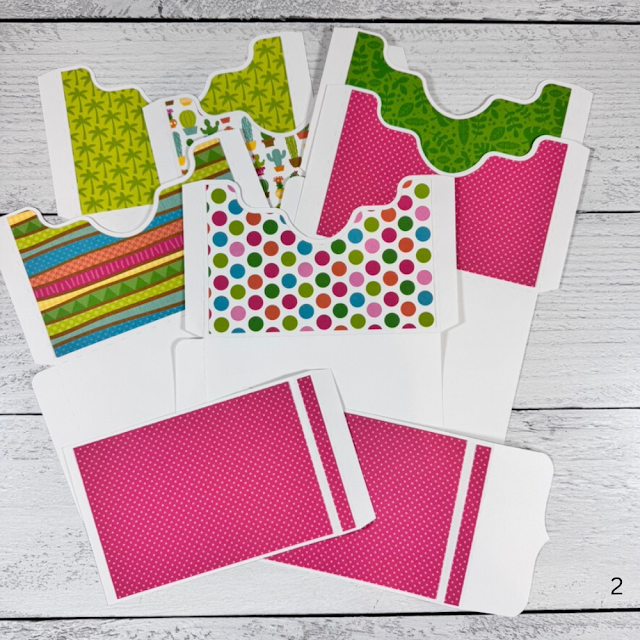
 First step was to cut out all my pieces.
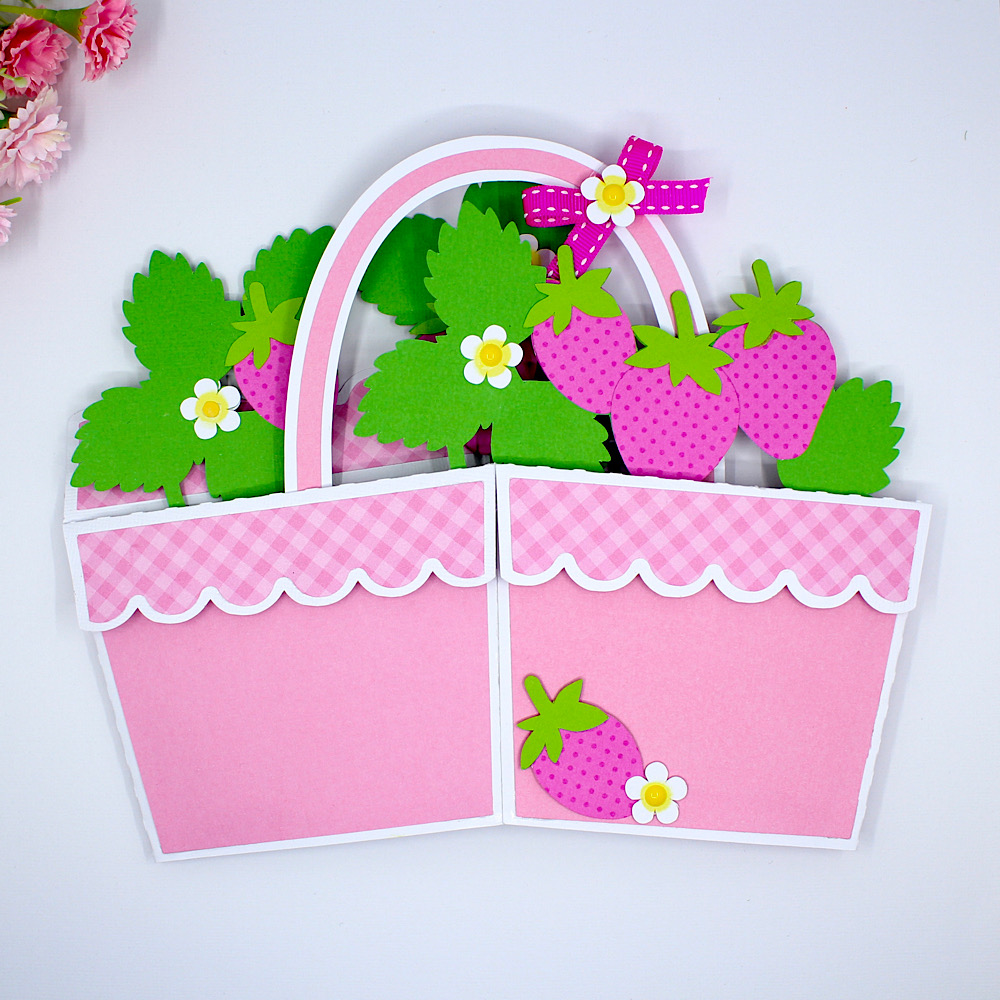
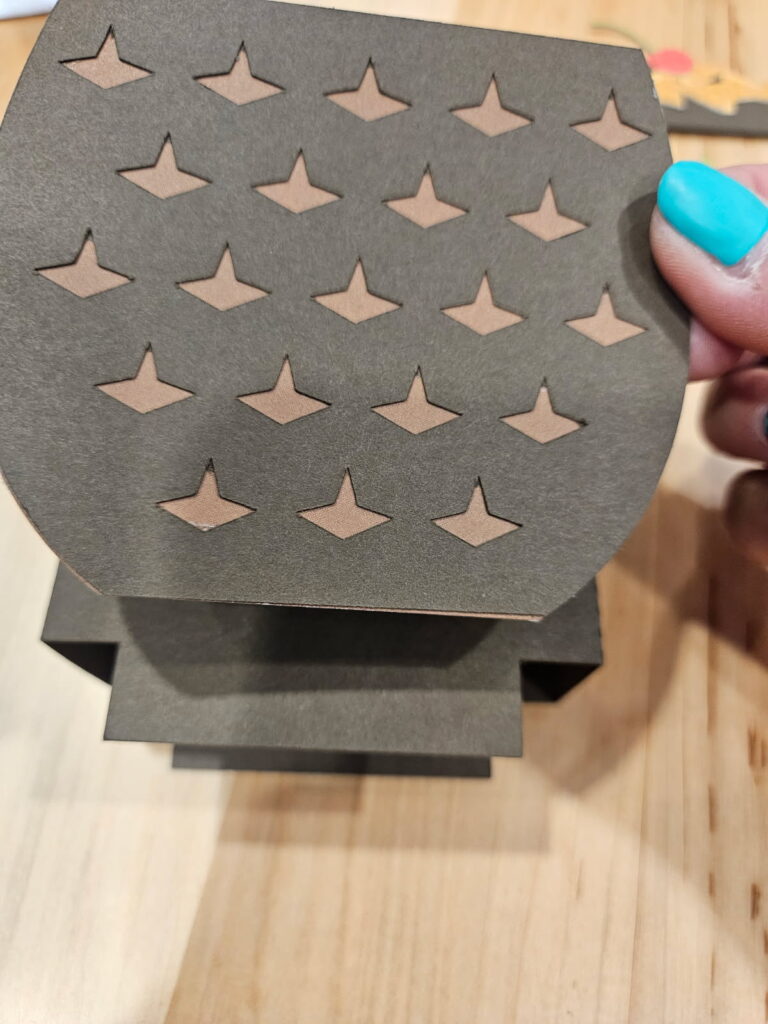
Next step is to layer & glue all your pieces, making sure to match correctly all the strawberry leaves to the green background panel before you glue. You will need to fold down the basket flaps then adhere the scalloped panels on the folded side down. The file comes with 2 flowers but as you will see, I cut some extra flowers to use as embellishments. I also inked the centres of my white flowers with some distress oxide before I glued down the circle centres or added the enamel dots. There are also some extra strawberries in the file, you can cut these if you wish for the strawberries to be seen from the back as well as the front. Note: make sure you flip the large strawberries horizontally if you wish to add these to the back of the card, remember you are doing the reverse side.
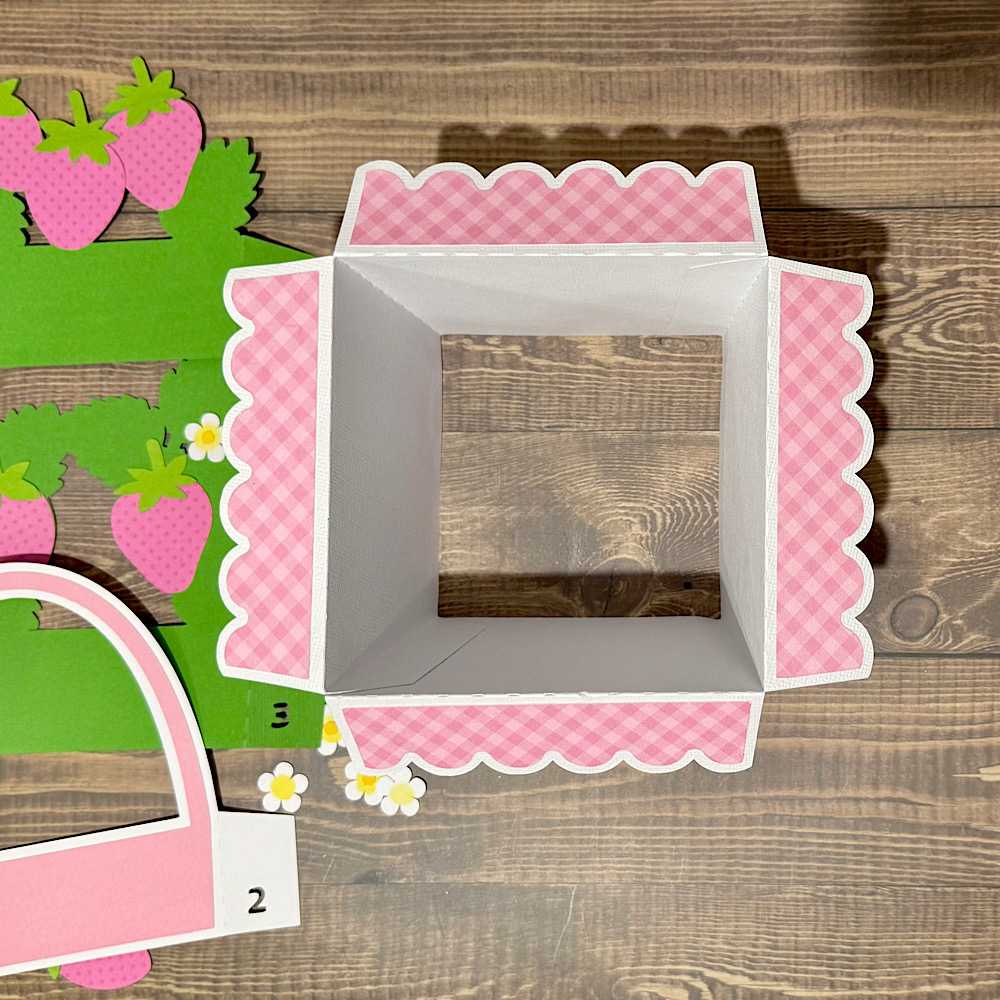
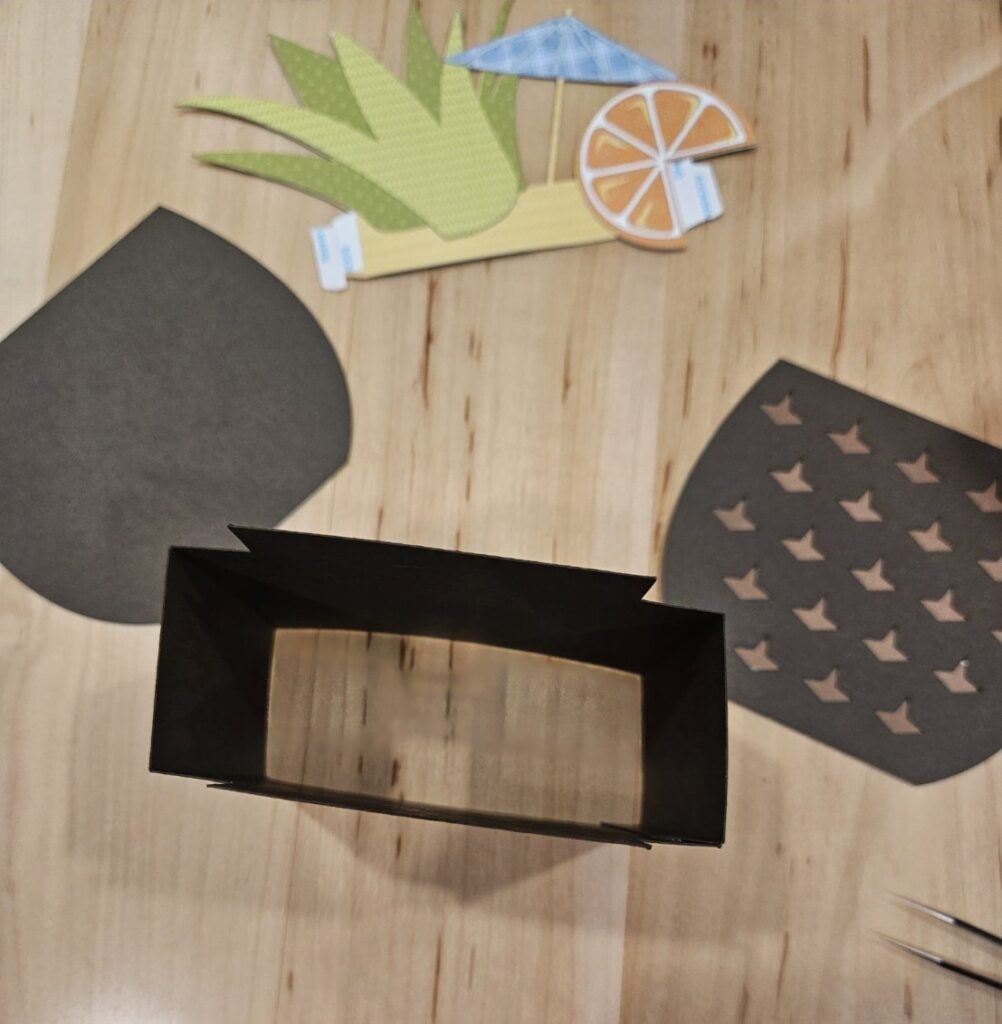
Now it’s time to put your box card together & assemble the basket. Start by folding down all the scored lines. Now glue the tabs on the inside of the box. I find the best way to do this is by folding the box flat to get the tabs nice & straight along the edge.
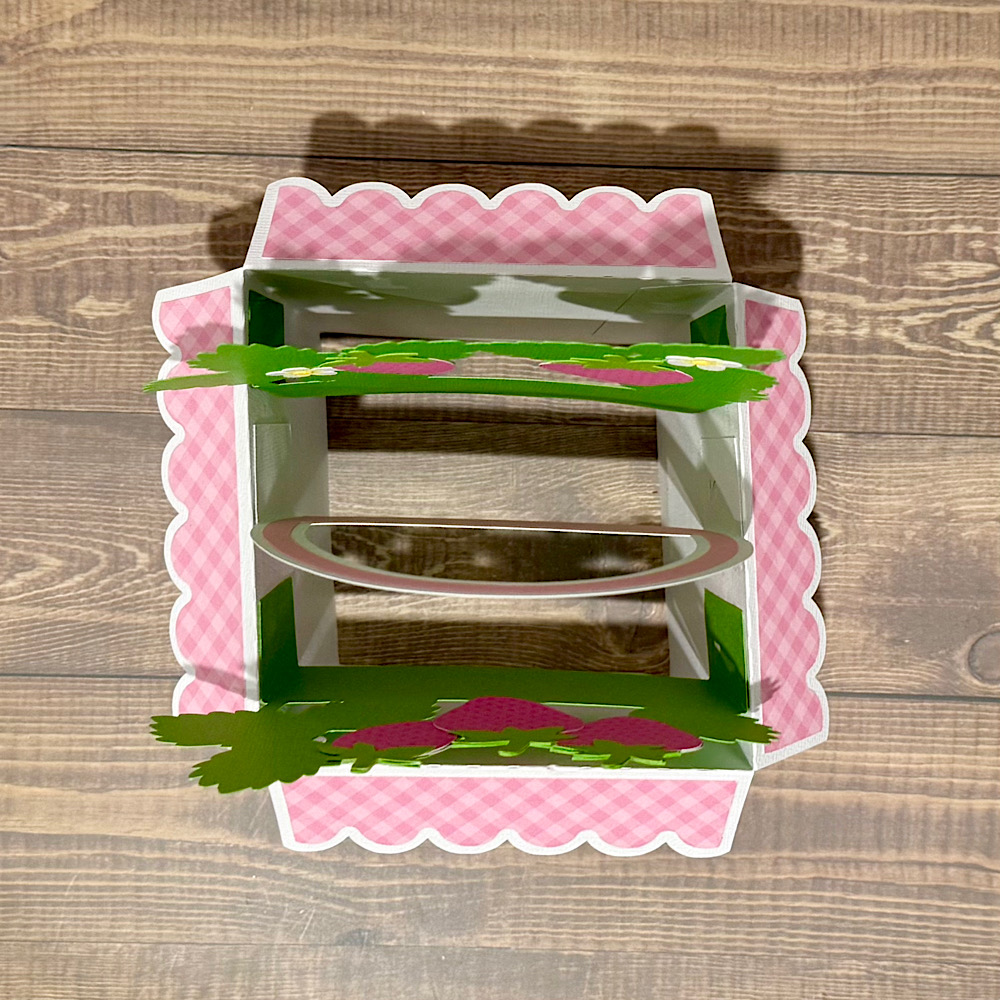
Next is to adhere the inside panels inside the box. These are numbered 1, 2 & 3. I started out by glueing number 2 first in the centre as I found this helped me space them evenly. Flatten your project as the glue dries each time to make sure the tabs adhere.
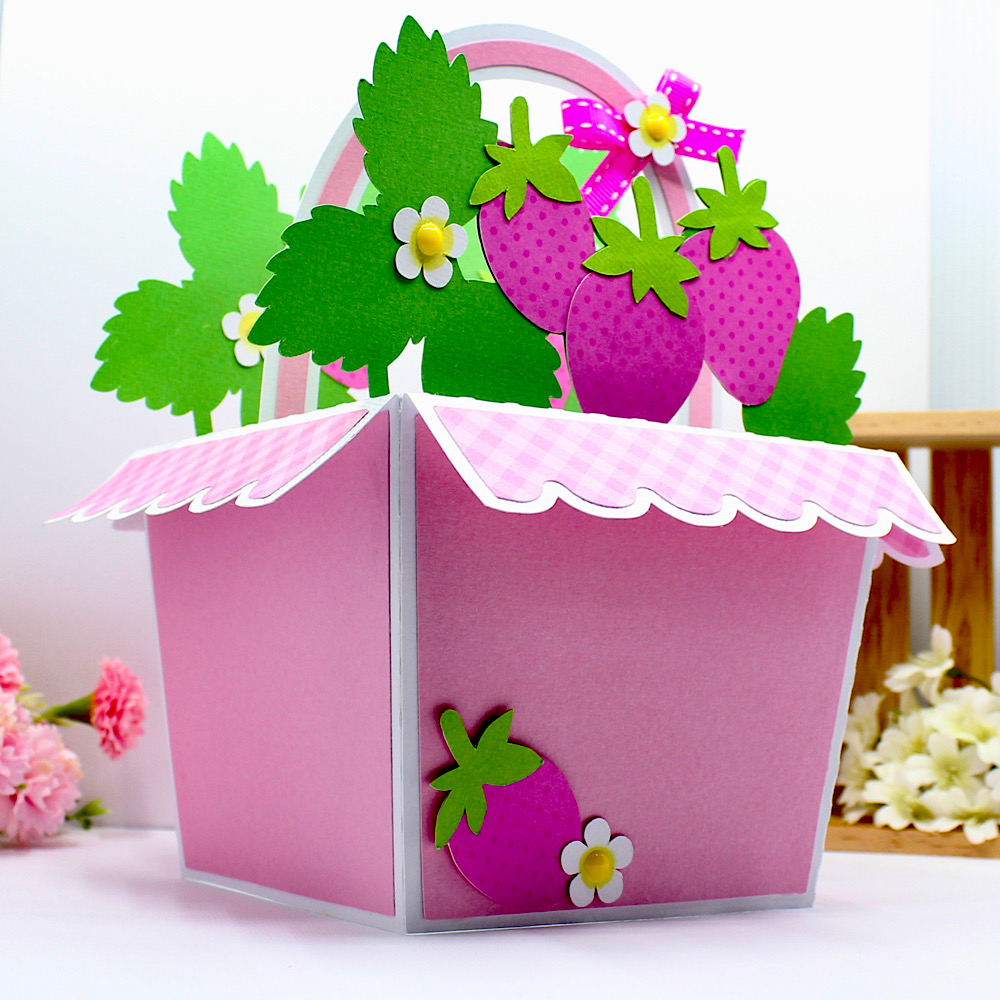
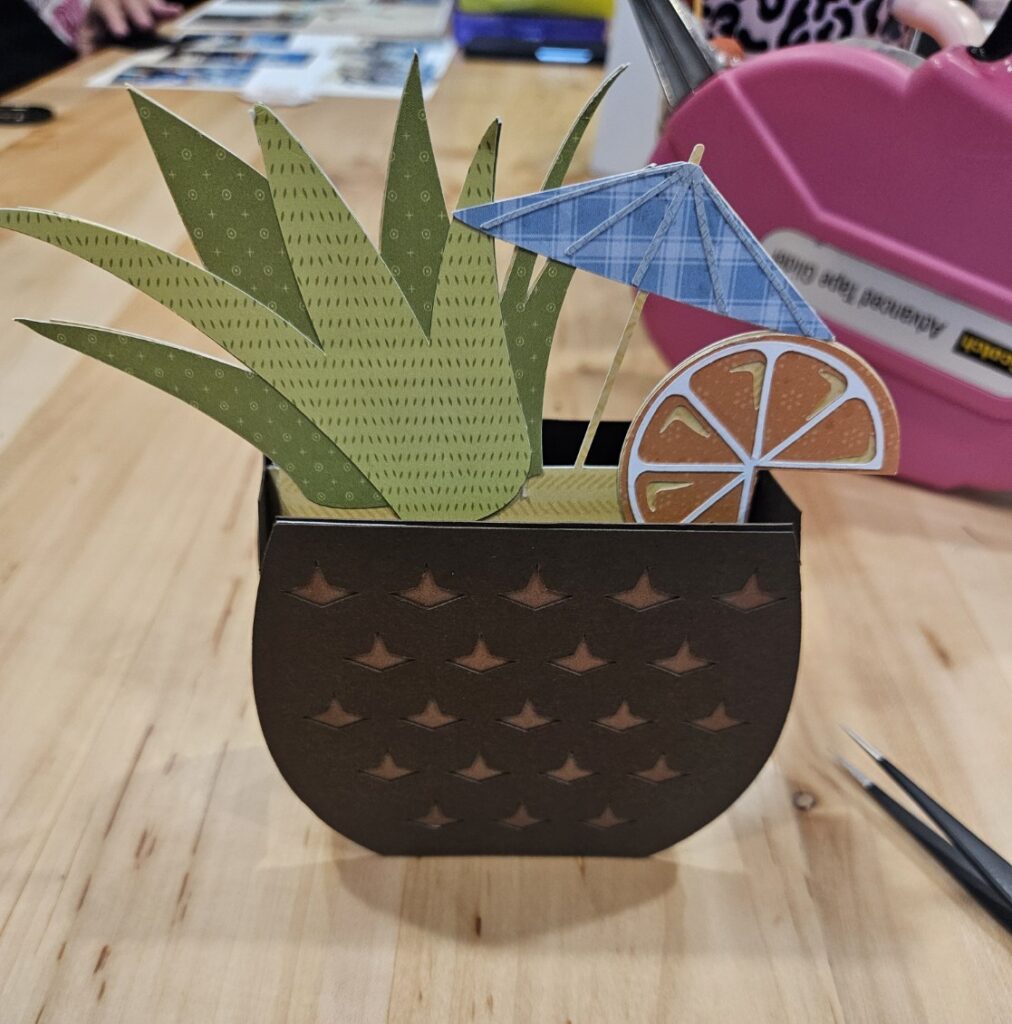
To finish off I adhered the strawberry onto the front using pop dots and embellished with some of the extra flowers. I also tied a bow onto the basket handle.
For more inspiration, check out my Instagram!
Thanks for stopping by!
Hugs
Noelene 🙂


.png)
.png)
.png)
.png)
.png)
.png)
.png)
.png)
.png)
.png)
.png)
.png)
