Who is on your mind lately? Do they know that you are thinking of them? Maybe you can let them know with one of Lori’s cards. I’m sharing a cute Thinking of You card today (SVG, Silhouette).
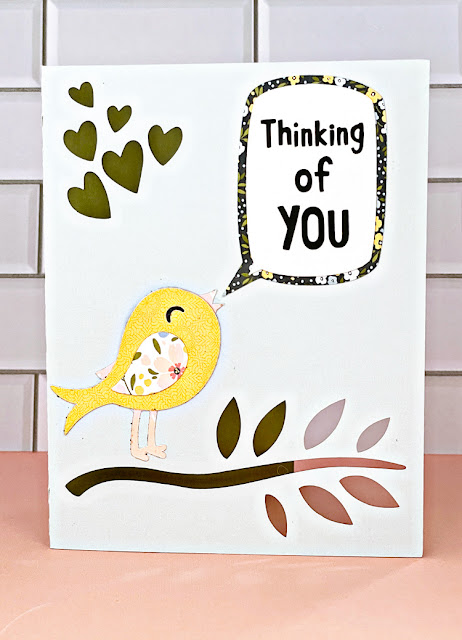
This will brighten someone’s day! Enjoy.
Ashley

Who is on your mind lately? Do they know that you are thinking of them? Maybe you can let them know with one of Lori’s cards. I’m sharing a cute Thinking of You card today (SVG, Silhouette).
This will brighten someone’s day! Enjoy.
Ashley
This week I designed 12 new spring/easter grid pop up cards. And, what’s great is that you can get them 30% OFF this week in the Lori Whitlock SVG SHOP along with ALL of our digital files and commercial licenses now through Saturday, February 18th ! Be sure to use coupon code: FEB2023 (case sensitive) at checkout in the SVG SHOP.


I hope you enjoy making some of these new cards! Have a fantastic day!
~Lori
I have reached an age where all of my friend’s children are getting married! It’s so fun to watch these kids I saw grow up and move on to this next stage. Last week I had a bridal shower… so I decided to make a fun Hexagon Pop-Up Card Wedding (SVG, Silhouette) for the bride. Take a peek….

I love that you can customize these cards in the wedding colors! I also added some glitter and enamel dots for some dimension. The sentiment is a sticker.

Hi there friends! With Valentine’s Day fast approaching I have been busy making cards to send out. Today I’m sharing one that I am sending this year. I love the roses in this box card, they are so fun and easy to adapt to any season and person. Box Card Rose Box (SVG, Silhouette).


Thanks for stopping by today. Have a great week!
Hello everyone! Marcia here today. I have an A2 card storage box tutorial to share with you today. This A2 Card Envelope Box (SVG, Silhouette) cut file can be found in Lori’s store along with many other varieties of boxes. I used some pretty pattern papers from Lori’s new Day In The Life collection as well as coordinating cardstock from my stash.

Let me show you how easy this box is to put together.
1. Choose your papers and cut out two box bottom pieces and two box top pieces. The cut file contains only one of each so be sure to cut everything twice. Adhere the panels to the cardstock base. Using cardstock for the base pieces will ensure a sturdy box.


2. Working with the bottom of the box first, adhere the two sides of the box together.


4. Now let’s work on the box top. Adhere the front to the back by gluing the rectangular piece with pattern paper over the same size rectangular piece with no pattern paper. Fold the sides in making sure the side with pattern paper is on the outside, tucking the tabs in. Adhere the sides and then the tabs.

5. Place the last rectangular pattern paper piece on the inside of the lid.


These boxes would be great for storing your Valentines too.
Thanks so much for stopping by. Be sure to check out Lori’s Store for more amazing cut files.
~Marcia