5×7 Grid Pop Up Card Tutorial


Hi there friends! Today I’m sharing a tutorial for the new 5×7 Grid Pop Up Cards. I am using the 5×7 Grid Pop Up Card Butterfly (SVGSilhouette). These cards have the pop-up wow factor of a box card but are much easier to make and they fold flat for mailing! These cards are also great scrap busters I didn’t need to cut into a new 12×12 sheet paper for any of the pieces.

Once I had everything cut out of 80lb cardstock I inked the edges of the treetops, flowers, and butterfly. This file also has a print and cut sentiment that is glued onto the back of the treetop (not pictured).

I then assembled the insets. For the small flower pieces, I used my sticker maker. When I glued the butterfly together, I only added glue to the center body portion to give the wings a little more dimension.

Now to assemble the card. There are three green base pieces two smaller and one large. Each one has three slits cut into them. The smaller bases are for the outside and the large one goes in the middle.

Starting with the trees slide each base into the slits at the bottom of the tree panel. The bottom edge of the tree panel and the bases should be level and touching the table. Now add the butterfly panel and the flower panel the same way.


To fold flat just push the base over to one side. The bases do not need to come apart to fold flat.
This card is fun and easy to make, and Lori has lots of versions. Definity go check them out! Thanks for stopping by!
Brandie

Sliceform Pop-Up Birthday Cards

Hello friends! Marcia here today. I am always in need of birthday cards and thought these fun new slice form pop-up birthday cards were just perfect. This pink girly A2 Sliceform Pop-up Birthday Cake Card  (SVGSilhouette) cut file can be found in Lori’s Store along with many other varieties of these new cards. I used the Echo Park Paper All About A Girl collection. The card front looks like a normal card.

When open, this fabulous cake with balloons pops up!

I loved this card so much that I decided to make one with the Echo Park Paper Birthday Boy collection as well. This is the A2 Sliceform Pop-up Birthday Presents Card  (SVGSilhouette)

The inside has a pop-up stack of birthday presents and balloons.

Stop by the Lori Whitlock YouTube channel for a tutorial with instructions on how to assemble the A2 Sliceform pop-up cards. Don’t worry about how you will mail it, because these awesome cards fold flat and fit in an A2 envelope!
Thanks so much for stopping by,
~Marcia

Pop Up Box Card School Bus Tutorial

Hi everyone!  I have a fun card to share with you today, just a few simple steps and you will have a card that pops up and delights your recipient.  There are lots and lots of these pop-up box cards to choose from in Lori’s Shop and in the Silhouette Online Design Store.  You can find the card here in Lori’s Shop or here in Silhouette Design Store. You can find the video assembly tutorial HERE.
The first thing that I like to do with Lori’s files is separate everything by color.  She colors all of her files and it just makes it just so dang simple.  So, I just take a few seconds to ungroup the file and sort my pieces by color for ease of cutting and then it is easier to assemble everything.  Once you’ve got it all cut out, we are ready to assemble.
First, start with your red card base and do one peak and one valley fold.
It will look like this.
Next, add your blue panels.
Now it’s time to add the gray road, this is the piece that makes your card pop up.  You are going to fold on the two score lines.
You can take a few minutes here to create your embellishments of the bus, apple, and pencil. I just used a glue pen to assemble these smaller detail pieces.
Glue your bus onto the gray road piece.
Now, we are ready to add our road to our card base.  Remember, we want this to pop up….so we are only going to put adhesive on the left side and right sides…just like in the picture below.  Just those two spots of adhesive.
Now you have your road added, you can see that the pop-up and where we are going to add are to other elements of the pencil and apple.  Just fold the tabs on each and add adhesive.  Here’s a link to Lori’s video on these pop-up cards on YouTube.  Pop Card You Tube


With the adhesive on each tab, you can add both the little pop-ups in just seconds.
And bam, just like that…you have the cutest little bus card.  Now I did leave the back-to-school saying out and added a little sun sticker that I had, just because it’s not back-to-school time.  Thought my granddaughter might enjoy the little sun!
Thanks for checking out this tutorial!
Cathy

Last Chance! 30% OFF Ends Tonight!

I hope you all have a fantastic Saturday! I just wanted to remind you all that the 30% OFF SALE in the Lori Whitlock SVG SHOP ends at midnight tonight. This sale includes ALL of our digital files and commercial licenses! Be sure to use coupon code: FEB2023 (case sensitive) at checkout in the SVG SHOP. It’s a great time to stock up on all the fun new card designs that have come out this year.


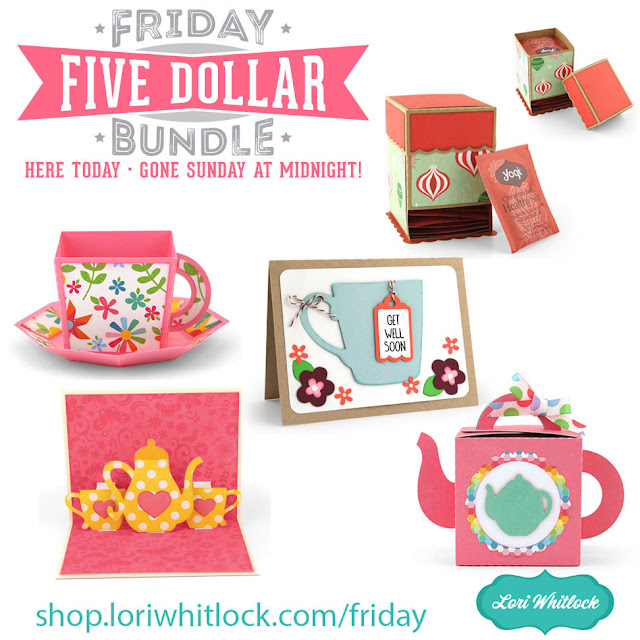
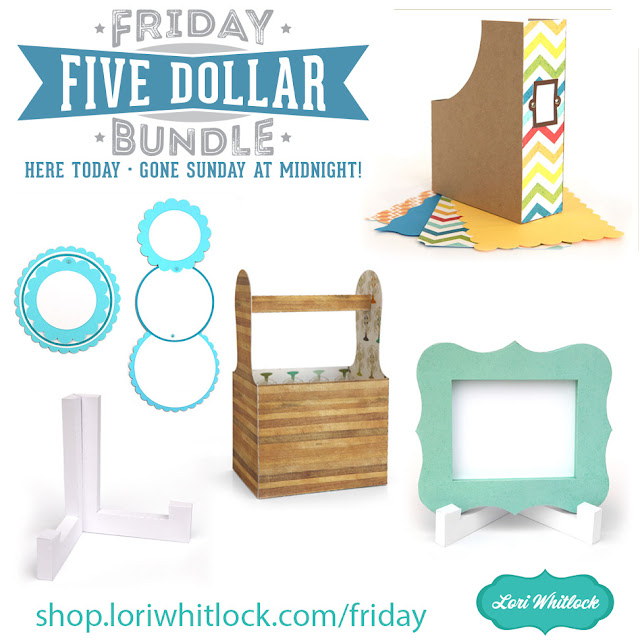
Also, we have a Friday $5 Bundle that’s available until midnight on Sunday.  

Now through Sunday, you can pick up this fantastic SVG Kitchen Project Bundle for just $5**!

Don’t wait, this bundle will only be around until Sunday at midnight!
 
** Because Friday $5 Bundles are already heavily discounted they are not eligible for further discounts including monthly, seasonal and flash sales.

Have a great day!