Silhouette Summit 2025 Recap

I just returned from Japan, where our I attended Silhouette Summit 2025. This annual event, hosted by Silhouette, is where they unveil their newest product innovations. Traditionally held in Honolulu, Hawaii, the move to Japan was a refreshing change and created an unforgettable experience.

At this year’s summit, Silhouette announced exciting updates, including the new CAMEO5∝ (Alpha) and CAMEO5∝ PLUS, along with redesigned accessories like the Roll Feeder, Support Rollers Set, and Tool Kit. Each upgrade focuses on improving precision, usability, and efficiency—bringing even more possibilities to makers everywhere. Here’s a more detailed breakdown:

Hardware Announcements

CAMEO5∝ (Alpha)

• 4-point registration marks for more precise Print & Cut (exclusive to CAMEO5α & CAMEO Pro Mk-II).
• Electrostatic Mat Compatible, with adjustments to the internal structure that now supports materials up to 0.5mm thick on the existing ES Mat.
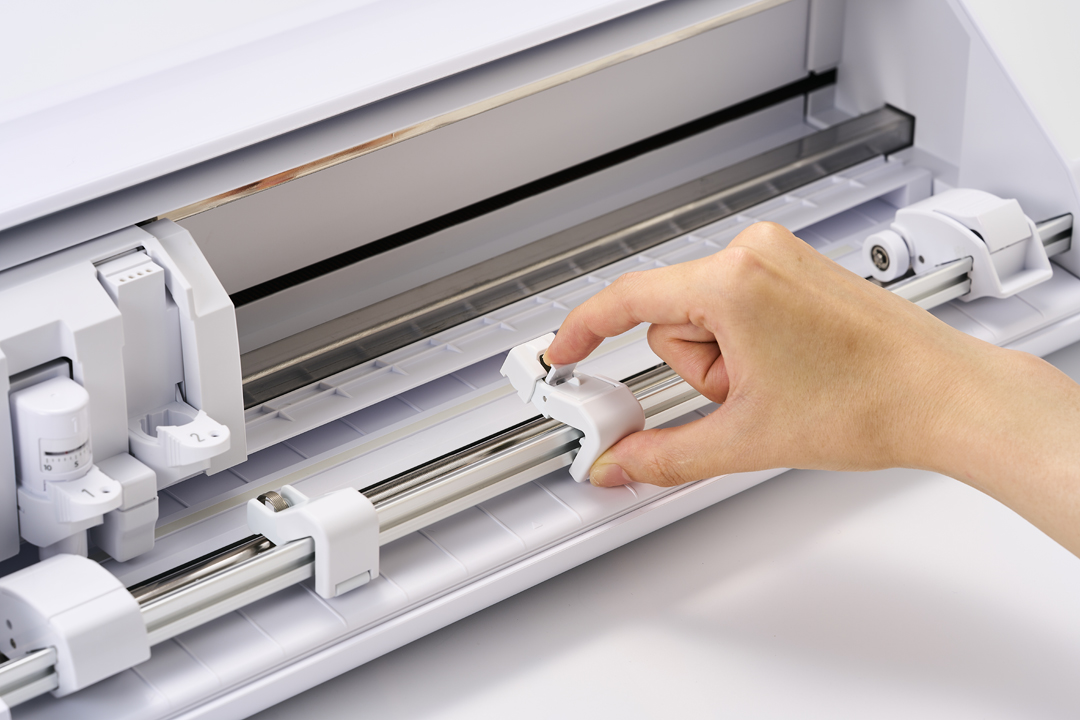
• Redesigned pinch rollers with better visibility for easier setup.
• Fast Sketch Mode to speed up sketch/drawing jobs.
• Retains improvements of CAMEO5: auto crosscutter, repeat job, quieter operation, emergency stop, material widths (5–12”), dual tool holder with powered carriage, IPT technology, etc.
• Available colors: white, matte black, matte pink, bianco carrara (availability may vary).

I think the price point on the Cameo5∝ is amazing! It’s regularly priced at $249. With my 5% discount code LORI, you can get it for $236.55. What an awesome deal!

– Click Here to Purchase the NEW CAMEO 5α –
Use code LORI for a 5% discount! (One-time use per customer) 
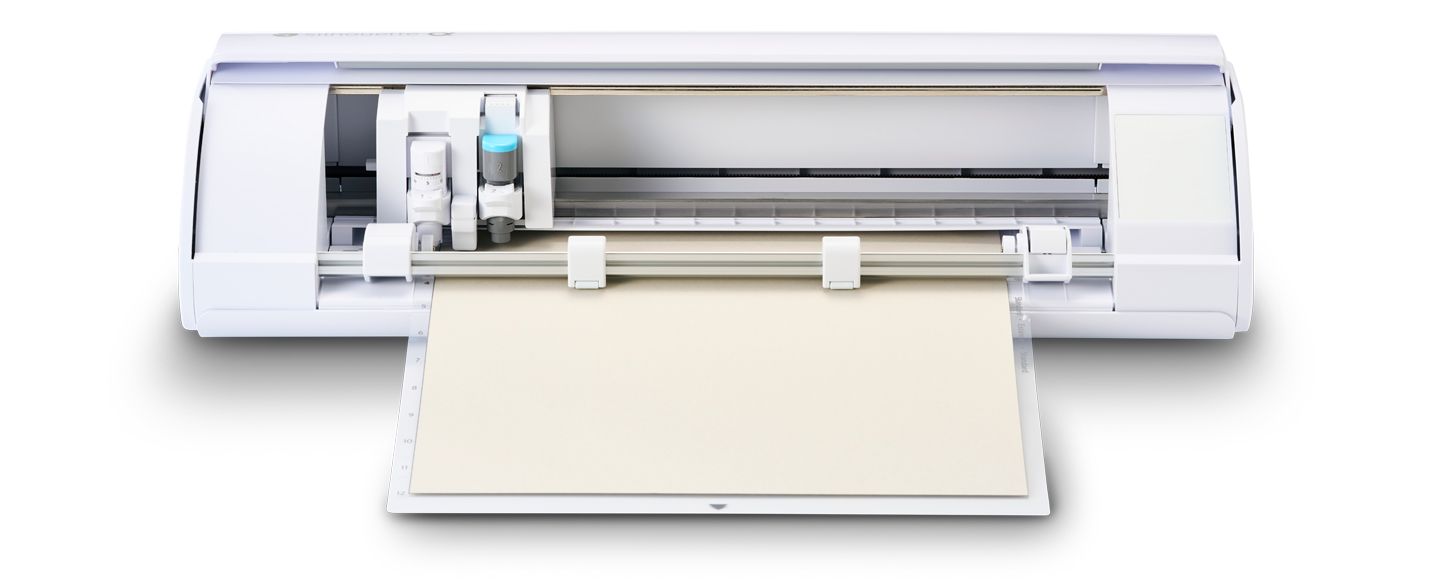

CAMEO5∝ PLUS

• Includes all features of CAMEO5α.
• Supports wider materials (5–15”).
• Adds Power Slide Lid (automatic opening/closing).
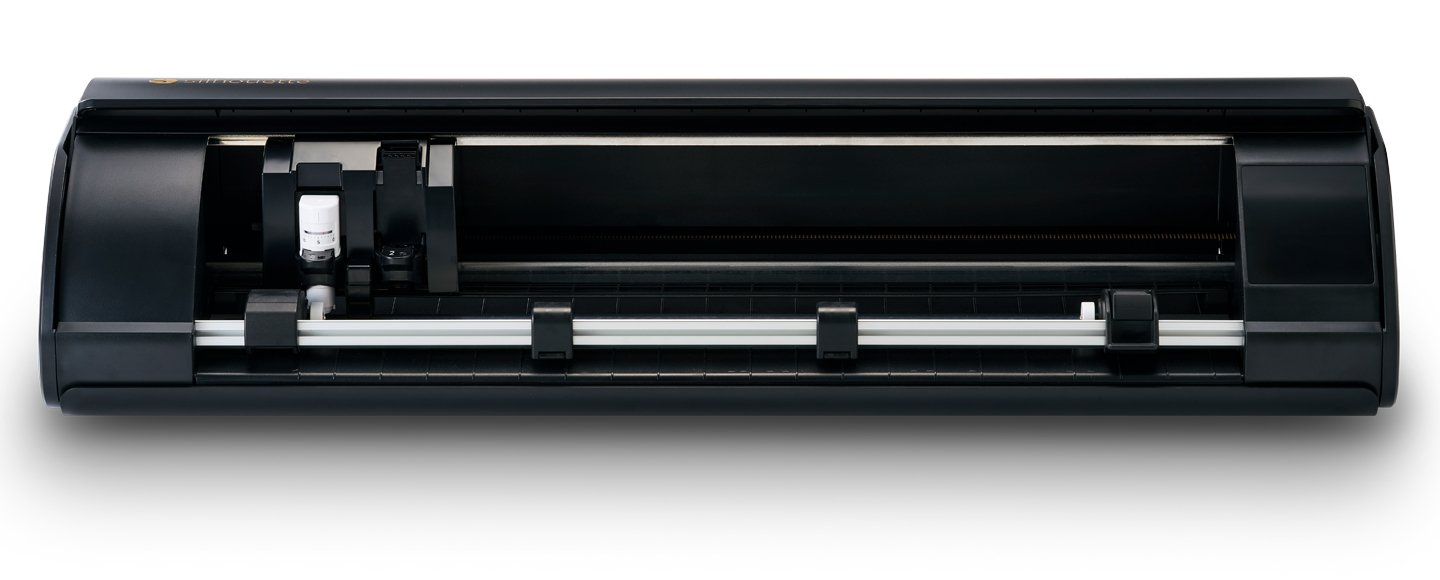
• Available in matte black.
Roll Feeder (optional accessory)

• For feeding rolled materials (vinyl, HTV).
• Updated stabilizer design.
• Sizes: 12” white (CAMEO5 & 5α) and 15” black (CAMEO5 PLUS & 5α PLUS).
• Expected release: November 2025.
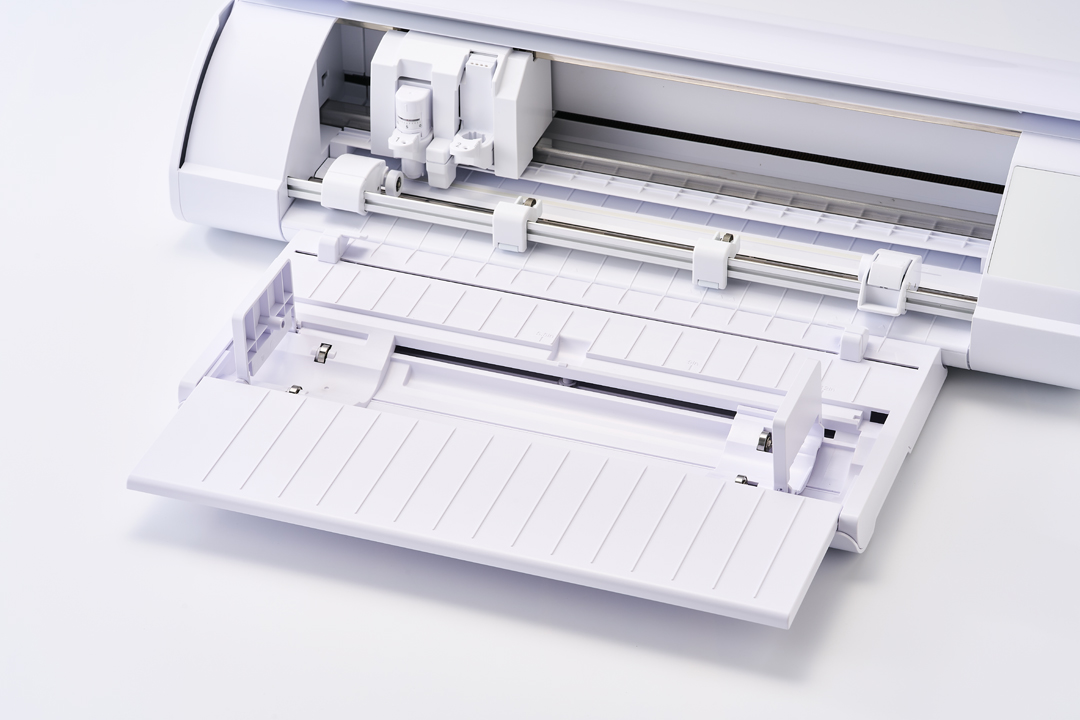
Support Rollers Set (optional)

• Helps prevent material lifting during feeding—ideal for long/delicate projects.
• Compatible with all CAMEO5 models and CAMEO Pro Mk-II.
• Available in white, matte black, matte pink (sets of 2).
• Expected release: November 2025.
Silhouette Tool Kit

• Includes: redesigned spatula, redesigned hook, new tweezers, redesigned 2-part scraper, Pick-Me-Up, and tool stand.
• Features: improved grips, ambidextrous use, smoother lifting, added handle holes.
• Individual tools will be sold separately, but only the kit includes the stand.
• Available in white.
• Expected release: November 2025.

Software Announcements

Silhouette Go 1.2 & Silhouette Web (2nd gen)

• Upgrade Licenses Now Work Everywhere
• Purchased licenses for Designer Edition, Designer Edition Plus, and Business Edition now unlock extra features not only in Silhouette Studio but also in Silhouette Go 1.2 and Silhouette Web (2nd Gen).
• One license = features activated across all three platforms.
• If you already own an upgrade, your features appear automatically.

Silhouette Go 1.2 (Mobile App)

• Designed for mobile cutting and flexibility. Some features overlap with Studio, but many are new to Go.

Basic Edition:
• Fill & Line Style floating menu
• Basic Shapes library
• Offset tool
• Modify shapes
• Simplify tool (reduce nodes)
• Specialty tool support (e.g., heat pen)
• Feature search
• Matrix test cut

Designer Edition:
• Free Transform Tool
• Quick Warp presets
• Import SVG files
• Floating Layers Menu
• Designer Edition Plus:
• Conical Warp (designs for cups, etc.)

Business Edition:
• Batch Cut (multiple roll copies)
• Remove Background
• Export (SVG, PNG, PDF, JPG)
• Scan Barcode (from Studio)
• Currently in beta; full release coming later this year.

Silhouette Web (2nd Gen, Browser-Based)

• Lets you design from any device via Chrome. Supports many Studio features but also introduces unique tools.

Basic Edition:
• Smart Snapping
• Brush Tool (freeform vector drawing)
• Smart Corner Radius
• Simplify (reduce nodes)
• Gradients & Patterns
• Transform & Replicate tools
• Image Effects
• Layout Lens (live design preview with camera)
• Matrix test cut

Designer Edition:

• Brush Library
• Free Transform Tool
• Warp presets
• Transfer Properties Eyedropper
• Import SVG files
• Layers management
• Lasso Selection

Designer Edition Plus:

• Full Brush Slider Support (size, tilt, velocity, etc.)
• Conical Warp

Business Edition:
• Batch Cut
• Advanced Brush Curve Controls
• Remove Background
• Export (SVG, PNG, PDF, JPG)
• Scan Barcode
• Currently in beta; release later this year.

Compatibility
Both Silhouette Go 1.2 and Silhouette Web (2nd Gen) work with all Bluetooth-enabled Silhouette machines, including:
CAMEO3, CAMEO4 Series, CAMEO PRO Mk-II, CAMEO5 Series, CAMEO5α Series, Portrait 2, 3, 4, and CURIO2.

👉 In short, at Silhouette Summit 2025 in Japan, Silhouette revealed exciting hardware updates with the new CAMEO5∝ series and practical new accessories like the Roll Feeder, Support Rollers, and Tool Kit to enhance cutting precision and usability. Just as importantly, Silhouette expanded software flexibility—now a single upgrade license unlocks premium features across Silhouette Studio, Silhouette Go, and Silhouette Web, giving makers access to professional tools whether designing on desktop, mobile, or in a browser.

Have a great day!

Lori

– Click Here to Purchase the NEW CAMEO 5α –
Use code LORI for a 5% discount! (One-time use per customer) 

Crayon Box Mini Album

Hi friends! Traci here and today, I have a new shaped mini album to share with you. I found a super cute card cutting file of Lori’s called Box Card Back To School Crayons (SVG, Silhouette) and thought it would make a fun scrapbook for new school memories! Take a look …


To make it, I used the card file to
 cut out 2 white acrylic album covers (5.25″ x 6.75″) in the shape of the box. You could also use cardstock for these instead. 


Then, I decorated the front cover with yellow and green paper and Doodlebug’s 6×6 
petite prints in gingham and linen for the crayons. How cute!


The
Back To School title is a print and cut design that comes with the file. Perfect! And the enamel stars are sprinkles from Doodlebug’s Hey Pumpkin Collection (all product links below).


For the inside, I cut 4 white cardstock pages (giving me 8 scrapbook layouts) and filled them with the Bella Blvd, School Is Cool Collection. I added 12×12 pattern papers, photo mats, and lots of fun embellishments.  


On this page, I created a cute shaped photo mat using a 3 inch scallop circle punch and a 2.5 inch circle punch. Then, I added some die cut pieces from the Ephemera Icons and Words.


I love adding interactive elements to my minis. Here I created a mega flippie using one of the 3×4 cards. 


See? It has a few layers with space inside for 4 photos, so … it’s a mega flippie! 😉


This album would be great filled with your child’s or grandchild’s “big memories”. Add pictures of their first day, best friends, teacher, official school photo, classroom, and school bus. 


And don’t forget the fun stuff like … class parties, field trips, sports activities, awards, art projects, school plays, lunch time, their science fair project, and recess shenanigans!   


Need a gift idea for another student, a teacher, tutor, or the class room mom? This album is a great idea!


The mini album looks so cute displayed on my clear Acrylic Display Stand. Set it out in your child’s room, or … add one to the teacher’s gift so she can feature it in her classroom! 

Here is Lori’s Box Card Back To School Crayons cutting file …


I hope this project inspires you create something fun with Lori’s amazing SVG file called Box Card Back To School Crayons (SVG, Silhouette). Thanks for stopping by the blog today and happy scrapping! 😊

Flexi Fall Card Bundle

Fall is Here
I made these two cards from the Lori Whitlock Flexi Fall Card Bundle.

If you are making one, you might as well make 2!

For these two cards I used a kraft cardstock for the base and also this wonderful Echo Park Paper’s Fall Fever colorful cardstock. I added another mat piece to the front panels-because that seems to be my thing! 

We are almost out of summer and moving quickly into fall!

Enjoy!

💕Sue

Pumpkin Butter Box Card

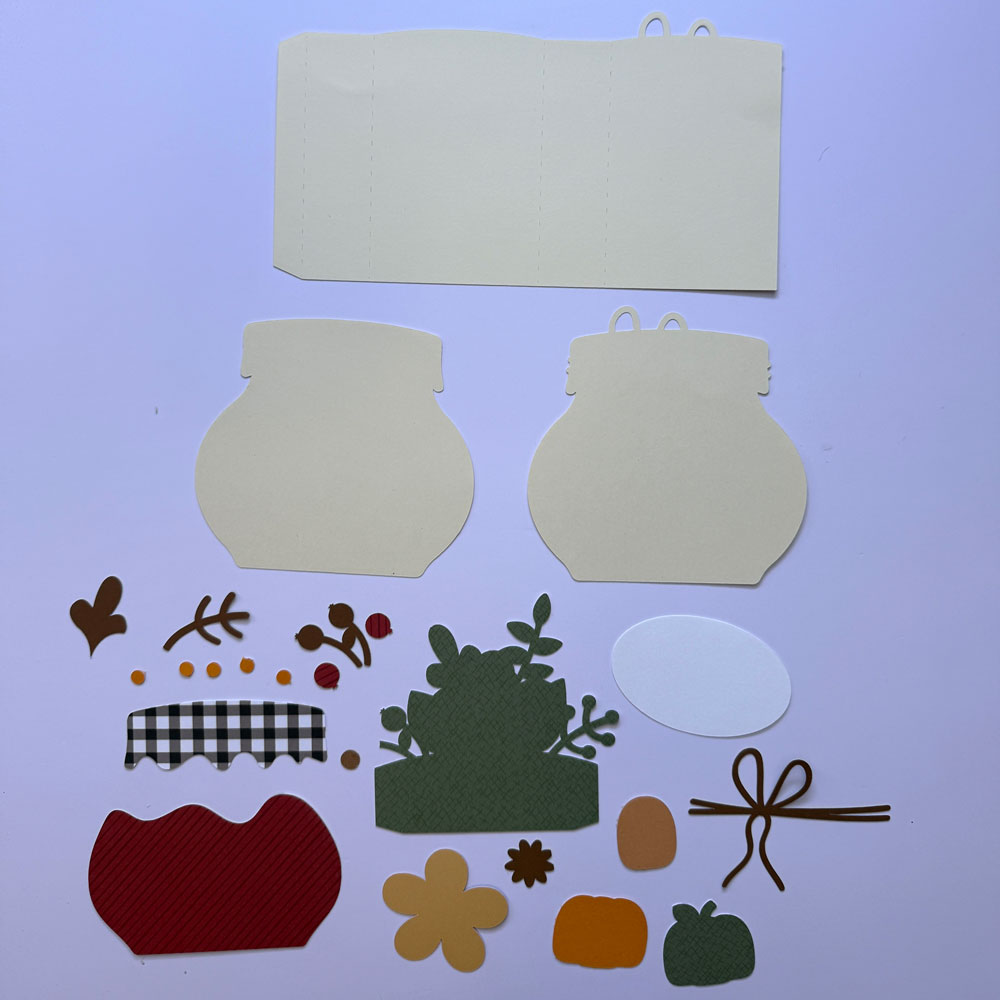
Are you enjoying cooler temperatures yet?  It’s still pretty warm around here, but everyone is ready for some fall colors, weather, sweaters, and treats.  Here is a fun fall themed box card (SVG, Silhouette).

1. First cut all the pieces.

2. Assemble the card front as well as the leaves and flower layer.

3. Assemble the card piece by adhering the glue tab.

4. Add the front card piece to the front, the leaves piece to the middle, and the blank card piece to the back of the card.

This is such a fun card to make. Look for other fall cards in Lori’s shop. Enjoy.

Ashley

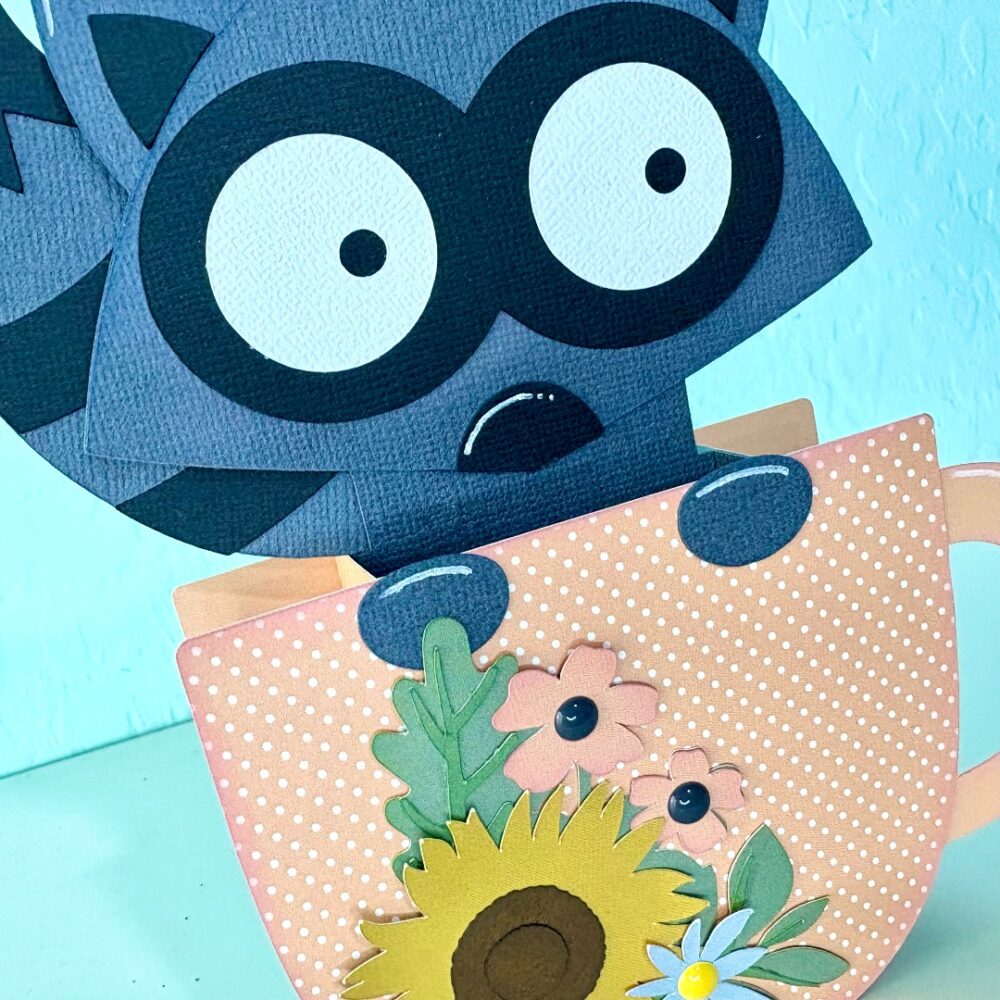
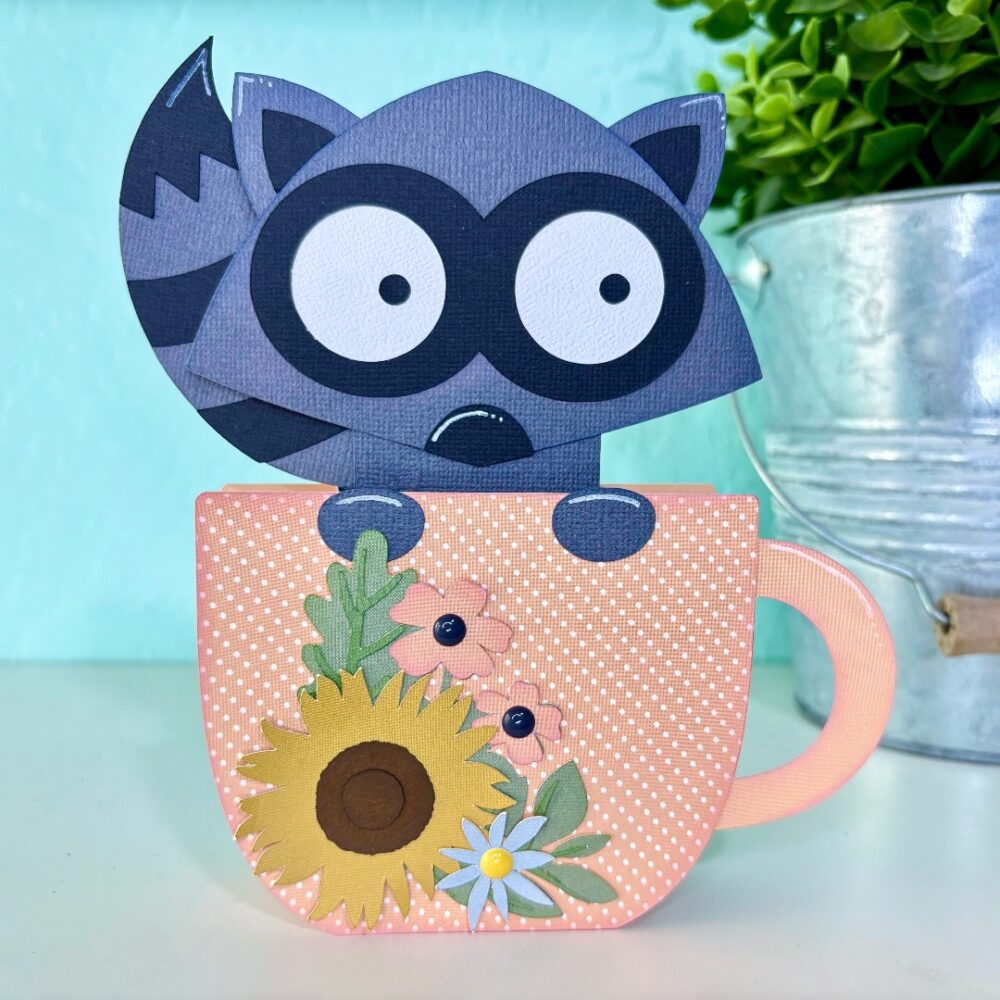
Box Card Teacup Fall Raccoon Tutorial

Hello friends! Today I am sharing an assembly tutorial for the Box Card Teacup Fall Raccoon (SVG, Silhouette). This box card works well for any fall occasion, but I will be using it as a birthday card.

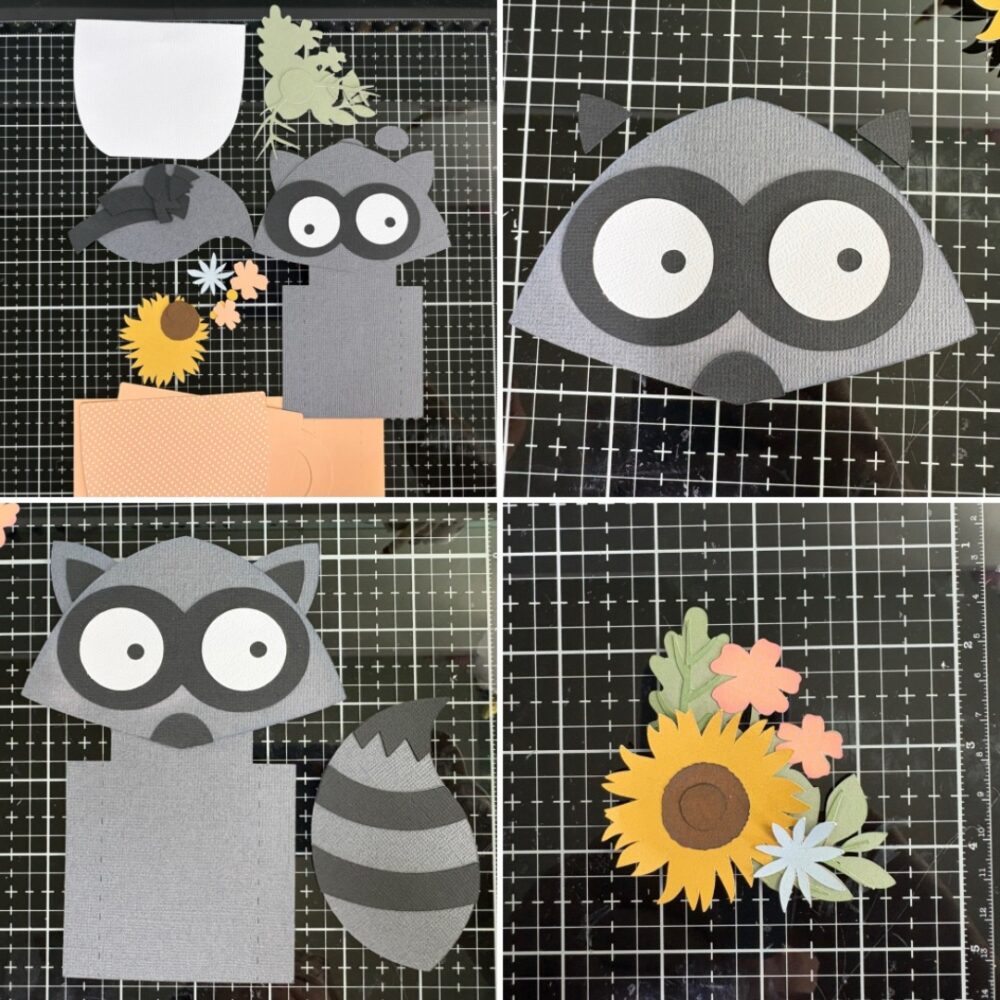
I used the Firefly collection by Echo Park Paper to cut most of my pieces; I also used some cardstock from my stash. Before I started the assembly, I inked the edges of my pieces. The raccoon is the only insert in this box card, and he comes together pretty easily. I glued the eyes and nose to the face piece, and the inside of the ears were glued to the body piece of the raccoon. The tail is separate from the body and will be glued to the back of the insert.
The flowers are all a single layer, except for the middle of the sunflower. There are three circles for the middle of the sunflower, but I lost one and didn’t recut the missing circle.

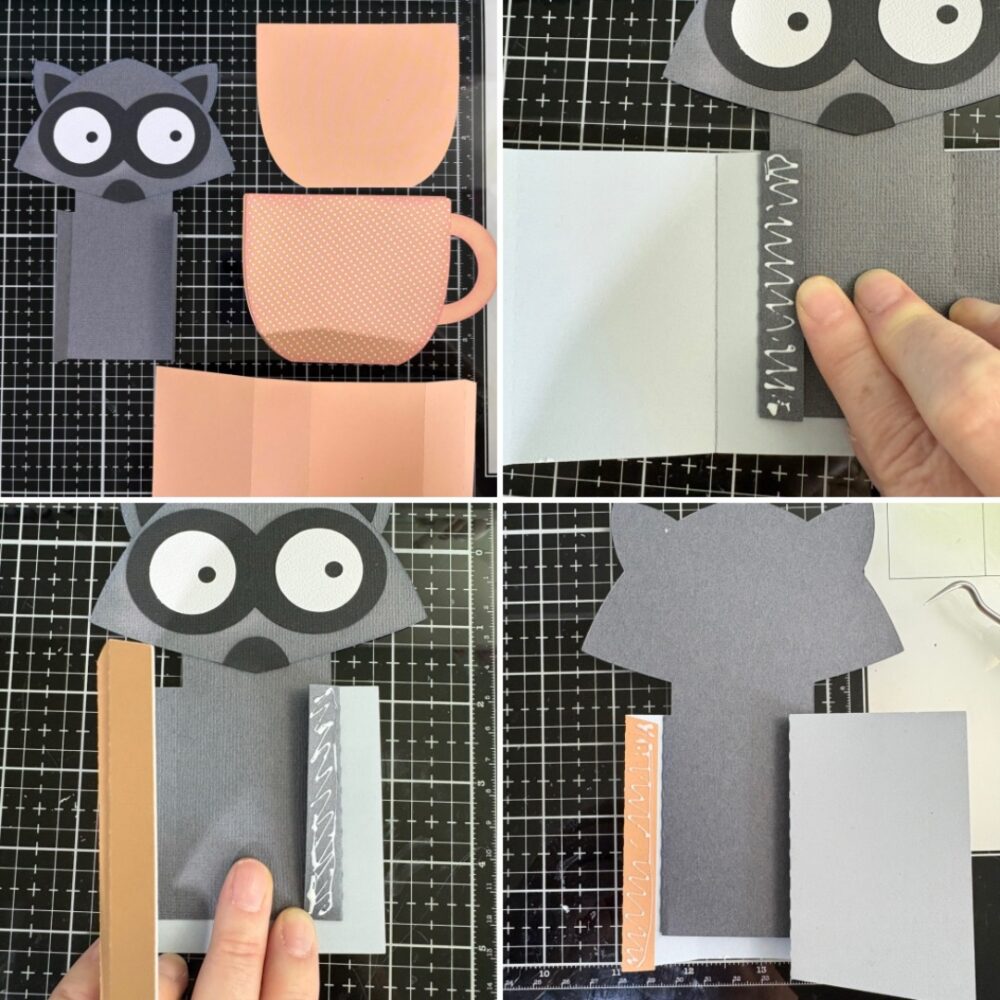
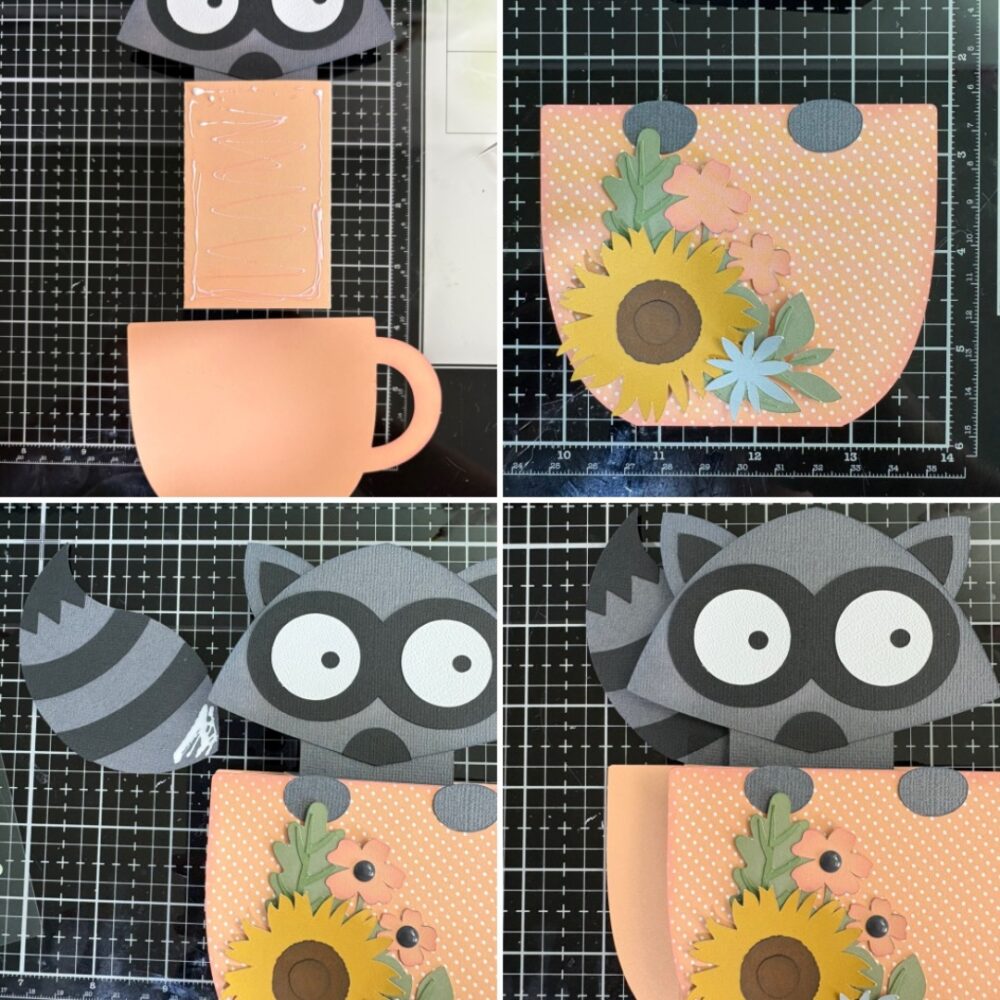
For the teacup I cut an extra cup piece without the handle to give my cup a two-toned look. I folded the score lines of the box portion of the card as mountain folds and the racoon tabs as valley folds. The raccoon insert tabs are glued to the shortest sides of the box. I lined up the tabs of the insert with the score lines and the top of the inside of the box. With one side secure I added glue to the back of the second tab of the insert then folded the box over making sure everything was lined up. Once the tab was secure, I flipped the card over and added glue to the box tab and folded the back of the box over making sure everything was lined up before the glue set.

I then added glue to the front of the box and lined the bottom edge of the cup with a handle to the bottom edge of the box making sure the corners line up. With my extra decorative cup piece, I glued the raccoon hands and flowers into place and glued it to the front of my card. Then I glued the back piece of the cup to the back of the box. Lastly, I glued the racoon tail to the back of the racoon insert making sure the card would fold flat. I also used a white acrylic pen to give my raccoon some highlights.

I love how this card turned out. It is perfect for a fall birthday. Thanks for stopping by today!
Brandie