Buzzing with Kindness

Spring seems to be just around the corner…I am sure there is more winter to come here in South Dakota…but I am remaining hopeful.  And with Spring just around the corner, it’s time to think about gardening and bees.  So I broke out Lori’s Bee Happy collection.  This is such a fun collection, and it’s perfect for Spring and Summer.

First, I used Lori’s A2 Honey Card.  Silhouette Just the cutest little shaped card.

And next Lori’s Beehive Box Card.  SVG I love to make both styles of these cards.  Always my favorite and I get to use lots of embellishments from the collection.
Here’s hoping Spring is on the way and that the bees visit my garden 


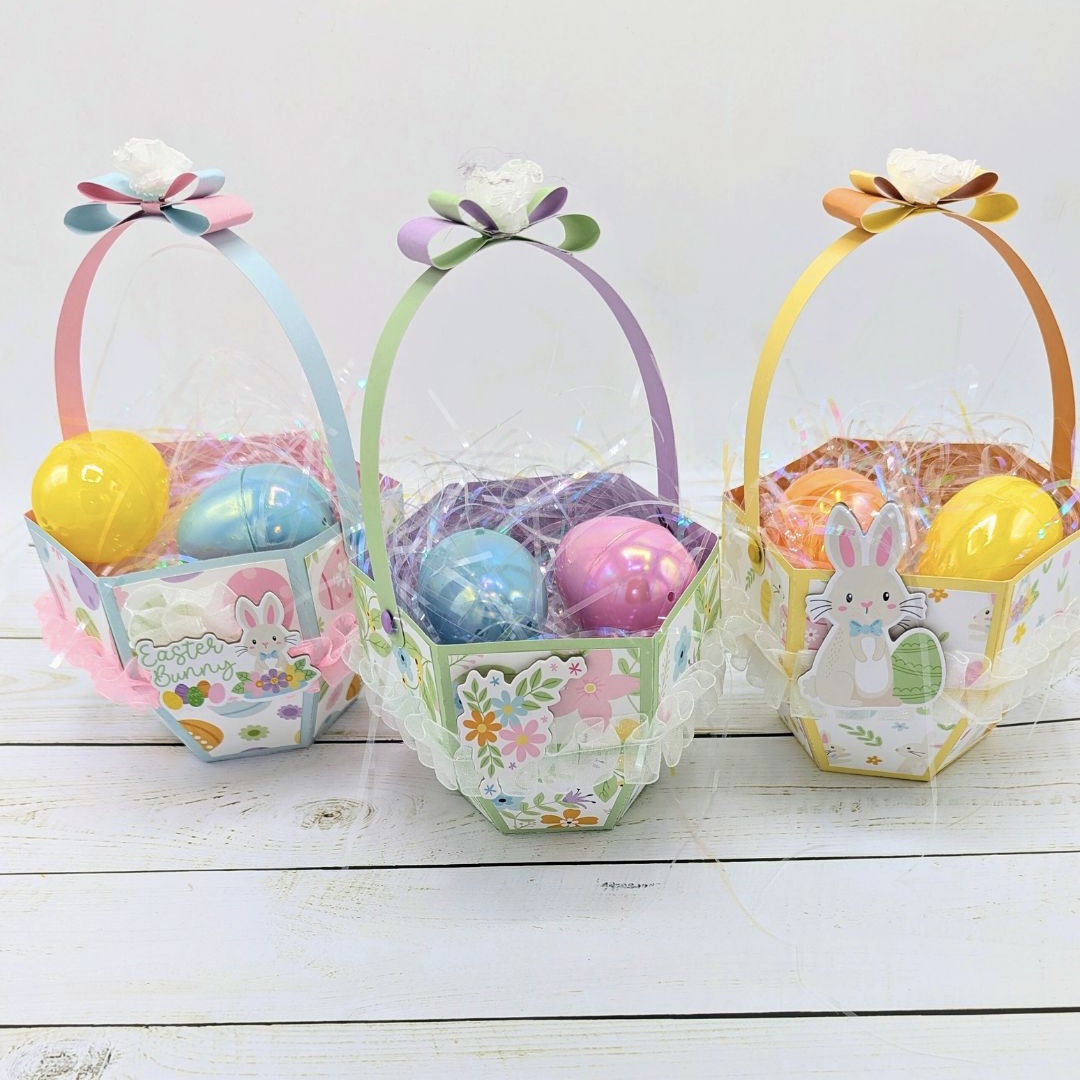
Let’s Make an Easter Basket!


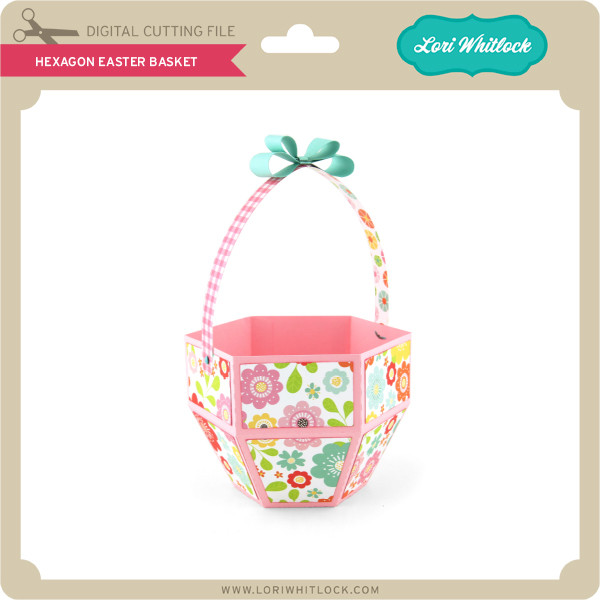
Hi everybody, it’s Holly! Today, I’m excited to share a fun “easy diy” project perfect for spring. This “Easter craft” tutorial shows you how to create an adorable hexagon Easter basket using a file from Lori Whitlock. It’s a great “do it yourself” “craft idea” that results in a lovely “handmade basket” for your holiday celebrations! The paper collection I used “Easter Basket” is also by Lori Whitlock. The beautiful pastel colors in the collection will make you SMILE!

Lori Whitlock Shop 

Silhouette Design Store

Echo Park Paper

Happy crafting!

HollyJo

https://youtu.be/x6GSseC-r6g

https://www.youtube.com/@SmilebyHolly


Bone-A-Fide Birthday Bash Box

 I have a fun little project to share with you today, Birthday Explosion Box to celebrate my Cash’s Birthday.  I’ll get photos printed this week and add them to the tags in the box.  Lori has a brand new Party Animal Collection from Echo Park.  This is such a sweet line for Birthday’s of our precious pups.  Perfect colors and the cutest embellishments.

You can find the file here in Lori’s Shop and here in The Silhouette Design Store.  It is a really easy project to put together and it has WOW results.


Here is the Birthday Boy! He turned 5 just a few days ago.


We celebrated with a walk and a hamburger!


So I’ll walk you through a quick tutorial.  First, start by cutting out all your pieces and ink all the edges.
Next, fold your box shape and the score lines.
Easy peasy, put the lid of the box together.
Fold and glue your library pockets. There are four!
Add eyelets if you wish to your tags.
Then simply adhere the pockets with the tags to the inside of your box.


Now for the cake.  I used liquid glue to adhere these.  This little cake is a box, so you could add little trinkets or a little gift for the recipient. I’m not sure what I will put in there for Cash.
Make both the top and bottom pieces the same way.  Fold all the little tabs inward and adhere the ends together, as shown in step two.  There are two circles for each box, on the brown piece, one fits in the inside and the other on the bottom.  This makes a nice clean finish for the bottom of the cake.
Do exactly the same with the lid.  Lori’s file has a sweet little candle but I love to use embellishments from the line on my projects, so I picked a couple of candle stickers and placed them back to back.
Now adhere the box in the center of the box or you could just add it and your recipient can take it out.
That’s it, now fold up your box and put the lid on.
Of course, this is where the fun really begins.  You get to embellish and make it your own!


I love this so much!


And this sweet little tag…sit, stay and CELEBRATE!


Thanks for joining us today and I hope you check all of Lori’s Explosion Boxes!


12×12 Heart Background Page

Hello, crafty friends! Traci here and today, I’m sharing a 12×12 scrapbook layout that’s perfect for your Valentine’s Day photos. I created it with one of Lori’s gorgeous cutting files called Square Background Set 2 (SVG, Silhouette). It’s filled with the cutest heart cutouts and ohhhh, how I love it! 


12x12 Love Bug Valentine's Day Scrapbook Layout with heart cutouts, flowers, a rainbow, and a ladybug

I used the file to create the beautiful white heart border / background. Then, I added square photo mats made from pattern papers and embellishments from Doodlebug’s Lots of Love Collection.  


12x12 Love Bug Valentine's Day Scrapbook Layout with heart cutouts and pretty flowers

To make it, I started with a sheet of 12×12 red Bazzill cardstock as the base. I cut Lori’s file out of white cardstock and a blue pattern by Doodlebug called Buffalo Check and Woodgrain in the swimming pool color. 


12x12 Love Bug Valentine's Day Scrapbook Layout with heart cutouts and pretty flowers

Next, I layered the white paper on top of the base cardstock. I love how the red shows through the cutouts. But for a little more color, I glued the little blue hearts from my second cut all around the edge. 


12x12 Love Bug Valentine's Day Scrapbook Layout with heart cutouts, flowers, a rainbow, and a ladybug

The heart cutouts are perfect for my Valentine page and I love how they can be customized. You could make all of the hearts different colors or every other heart a different color.  

Here’s what the file looks like … 


Lori Whitlock Square Background Set 2 Cutting File


So gorgeous! And it’s definitely not just for Valentines Day – hearts can be used for anything! With a different paper collection, you could use this file for birthday, wedding, family, pets, etc. The possibilities are endless!

Lori has lots of amazing background cutting files in her shop and they’re so fun to create with. I hope today’s layout inspires you to use one in your next project. Thanks for stopping by the blog and happy scrapping! 

Blog * Shop * Facebook * Instagram * Pinterest * YouTube

Heart Shaped Box and Mini Album

Hi sweet friends! Traci here and today, I’m sharing a fun Valentine’s Day project with a tutorial. I made a heart shaped box with scrapbook pages tucked inside that are perfect for photos of your loved ones. I used Lori’s beautiful cutting file called Big Heart Shaped Box Roses (SVG, Silhouette) and it turned out so pretty. 💕


The lid of this box is gorgeous. I love its scalloped edge and the rose flower cut-outs. I used pink and white card stock and the Doodlebug Design, Lots of Love Collection to create this project.  

Here’s what the file looks like …


This box is so pretty. It measures 6″ x 6.75″ x 2.5″ and could be used for small gifts like jewelry, a toy, love notes, cookies, candy, a gift card, money, or directions for a Valentine’s Day scavenger hunt. How fun!


I used the same file to create the heart shaped pages. I didn’t bind them because, with a ring, they didn’t fit properly in the box. But that’s ok … they’re perfectly secure inside and now they’re even more interactive! 


I covered the white pages in 12×12 and 6×6 prints from the Lots of Love Collection and created photo mats with a 3″ scalloped punch and a 2.5″ circle punch. Then, I decorated with lots of cute die cuts. Love!

Now, time for the tutorial …


1.  First I cut out all of the pieces. 

2.  The pink ones are for the lid. 

3. And the white pieces are for the base of the box. 

4.  Next, I folded all the long strips (2 pink and 2 white) along the score lines. The little notches will be glued around the flat heart shapes to create the sides of the lid and box.

5.  Each strip fits around one side. I prefer liquid glue for this so that each of the notches can slide into place around the curves of the heart. 

6.  Once both strips are adhered, the lid will look like this.

7.  I repeated the same steps for the box, folding on the score lines and then adhering each strip around the base heart shape. The cutting file includes 2 heart shapes for the box, and two for the lid. Once the sides are adhered to each piece, the extra hearts are glued over the notches for a seamless look.  

8. For my shaped pages, I made a smaller heart by creating an internal offset of the original and cut out 4 pieces. This gave me 8 scrapbook pages (4 double sided), but there’s plenty of room in the box for more.

9.  I created another internal offset to get an even smaller shape for the pattern paper. 

10. I layered the card stock pieces, making these pages nice and sturdy. 

11. And finally, I adhered the intricate rose design on top of the white scallop heart and added both pieces to the lid of the box. It’s so pretty!

I hope today’s project and Lori’s amazing cutting file inspire you. This box and mini album make a beautiful gift idea for Valentine’s Day, a birthday, Mother’s Day, graduation, or any day! Thanks for stopping by the blog and happy scrapping. 😊


Blog * Shop * Facebook * Instagram * Pinterest * YouTube