Happy Birthday Pop Up Card Tutorial

Today I’m excited to share a fun birthday project I made using the “Happy Birthday Pop Up Card” file from Lori.


This card is perfect for surprising someone special because honestly, nothing beats receiving a handmade 3D card in the mail!

You can download the file here:

Step-by-Step Instructions

Step 1

Open the file in your cutting machine software.

Step 2

Cut all the elements using the correct colors of cardstock. I used 80 lb (216 gsm) cardstock for a sturdy result.

Step 3

Sort all the pieces that belong together so assembly becomes easier (see photo).

Step 4

Glue the cupcake together.

Step 5

Assemble and glue the balloons the right way.

Step 6

Glue the gift boxes together.

Now that everything is assembled, it’s time to put the card together!

Step 7

Fold the white card base as shown in the photo below.

Step 8

Apply glue to the first pop-up tab and attach the first gift.

Step 9

Add glue to tab 2 & 3 and attach the cake and second gift.

Step 10

Take the two white strips and glue them into squares,

Step 11

Now apply glue to the long side of each. Attach the cupcake to the wider piece and the smallest gift to the other one,

Step 12

Apply glue to the bottom of the white block with the gift and attach it to the right side of the card, slightly in front of the right gift.

Step 13

Glue the bottom of the white square behind the cupcake and attach it to the left side of the card, halfway next to the left gift.

Step 14

Attach the balloons to the white card panel with the black strings and the text “It’s your day”.

Step 15

Glue the pop-up card into the folded base card as shown in the photo.

Step 16

Attach the white panel with the balloons to the front of the card.

I hope you love this card as much as I do! The 3D effect really makes it feel like a little celebration in an envelope!

Happy crafting!

XO Tamara

Floating Easel Card Sunflower Tutorial

Happy Thursday everyone! Today I am bringing you a tutorial for this fun floating easel card with a sunflower. (Lori’s Shop, Silhouette)

As always, cut all your pieces and have your supplies ready. You will need fishing line for this card.

I folded my 2 pieces on the score marks.

Then added the patterned paper to the base.

I assembled my sentiment and added dimentionals before centering it onto the base.

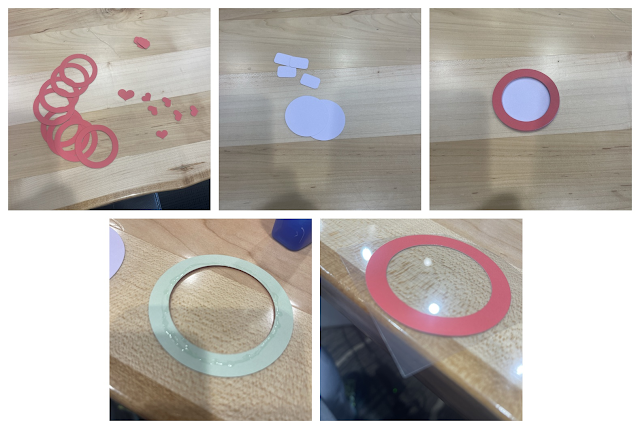
Assemble your flowers by offsetting the 2 colors of the flower. I also embossed my centers for a little extra texture. You will need to attach the backs of your 2 flowers with your fishing line between the 2 flowers (my fishing line is yellow for you to see better).

Add your circle piece of patterned paper on top followed by your 1st circle border. Attach your fishing line to the top of the circle border left to right. Trim your fishing line so it does not go past the circle border. Add the 2nd circle border over top of the 1st.

When the card is done, the flower will be hanging within the circle.

And when the easel is in place, it is a cute little floating sunflower.

It even swings like the video below.

I’d love to see if you make one of these fun cards. Until then, thanks for stopping by and Happy Crafting!

5×5 Mini Album in a Box

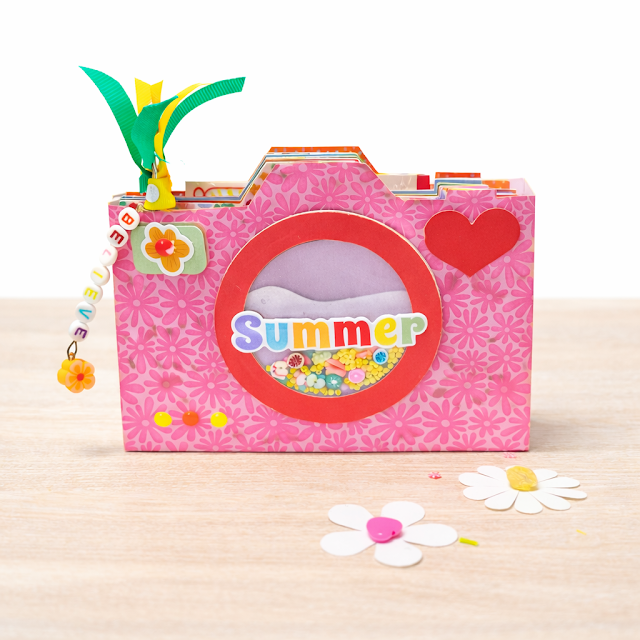
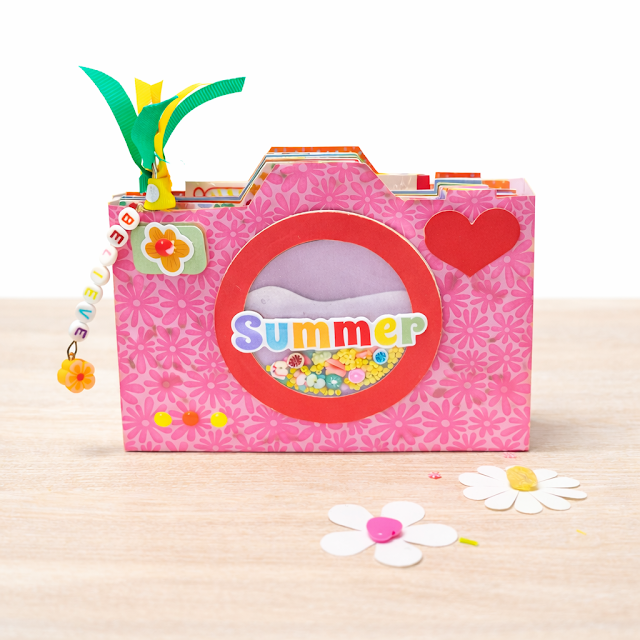
Hi ladies! Traci here and today, I’m sharing a super cute mini album with a video tutorial. I’ll walk you through how I made this scrapbook using one of Lori’s amazing cutting files. It’s a fun project that’s perfect for photos of spring, family, friends, St. Patrick’s Day, and fun every day memories!


Since my Lori Whitlock and Doodlebug Design Team Projects fell on the same day, I combined their products to create this happy and colorful keepsake. I used Lori’s 5×5 Album with Box File (SVG, Silhouette) and Doodlebug’s cute Lucky Me Collection.


The cut file makes a box and a mini album that fits perfectly inside. I cut the base out of white cardstock, then decorated it with lots of 12×12 pattern papers and fun embellishments.


I made this with a spring theme but you could use ANY collection and create it for Easter, Mother’s Day, a birthday, summer, etc. What a great gift idea, and … it comes with it’s own box, lol!


The 
album is a perfect size. At 5×5 inches, it’s not too big, not too small … but just right for pictures of a fun event, family, friends, or baby pics. I’m thinking cute mom / grandma’s brag book!


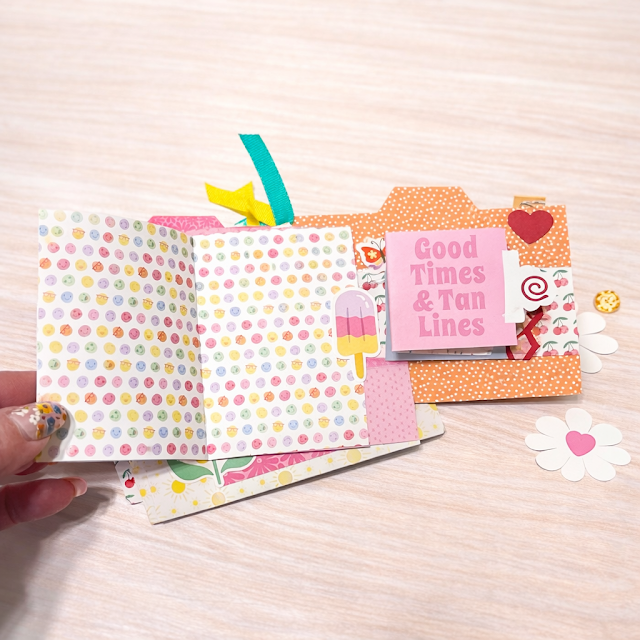
Inside, there are 12 scrapbook pages (6 double-sided). I covered them in bright and cheerful 12×12 pattern papers, then added lots of cute die cuts, colorful enamel dots, and photo mats. 

Here are a few more pages … 


To watch my step-by-step YouTube Video Tutorial for this project, click on the video below …


I hope you like this fun mini album and it inspires you to create one too with Lori’s 5×5 Album with Box File (SVG, Silhouette). Have a great day and happy scrapping! 😊


Blog * Shop * Facebook * Instagram * Pinterest * YouTube

Buzzing with Kindness

Spring seems to be just around the corner…I am sure there is more winter to come here in South Dakota…but I am remaining hopeful.  And with Spring just around the corner, it’s time to think about gardening and bees.  So I broke out Lori’s Bee Happy collection.  This is such a fun collection, and it’s perfect for Spring and Summer.

First, I used Lori’s A2 Honey CardSilhouette Just the cutest little shaped card.

And next Lori’s Beehive Box CardSVG I love to make both styles of these cards.  Always my favorite and I get to use lots of embellishments from the collection.
Here’s hoping Spring is on the way and that the bees visit my garden 


Let’s Make an Easter Basket!


Hi everybody, it’s Holly! Today, I’m excited to share a fun “easy diy” project perfect for spring. This “Easter craft” tutorial shows you how to create an adorable hexagon Easter basket using a file from Lori Whitlock. It’s a great “do it yourself” “craft idea” that results in a lovely “handmade basket” for your holiday celebrations! The paper collection I used “Easter Basket” is also by Lori Whitlock. The beautiful pastel colors in the collection will make you SMILE!

Lori Whitlock Shop 

Silhouette Design Store

Echo Park Paper

Happy crafting!

HollyJo

https://youtu.be/x6GSseC-r6g

https://www.youtube.com/@SmilebyHolly