Box Card Easter Bunny Carrot Car Tutorial

Hello crafty friends!

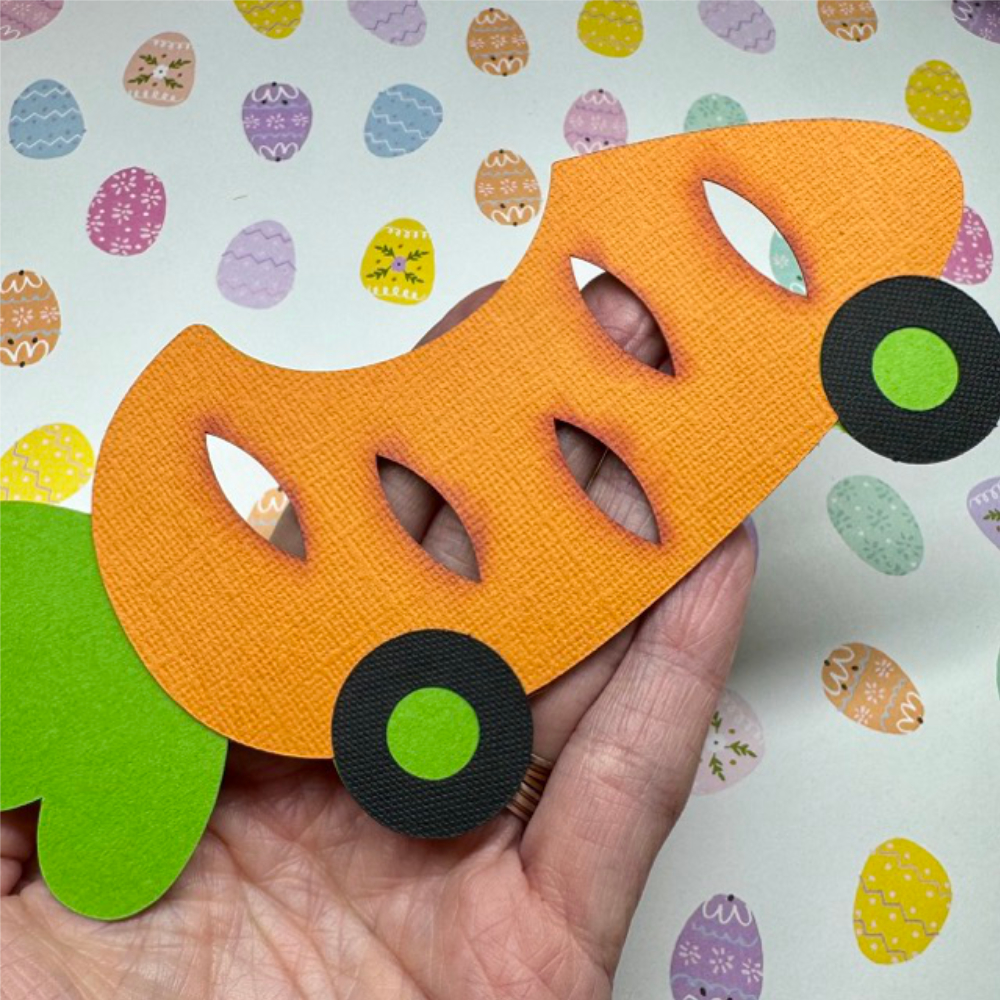
I created this “Box Card Easter Bunny Carrot Car” because, before you know it, Easter will be here! Follow these simple steps to make your own easter card.

Materials Needed
•    Orange, green, white, black and pink cardstock
•   Cutting machine ( I used my Silhouette Cameo 5)
•    Glue
•    Ink (for decorating the carrot)
•    Lori’s Cutting file ( SVG / SILHOUETTE )

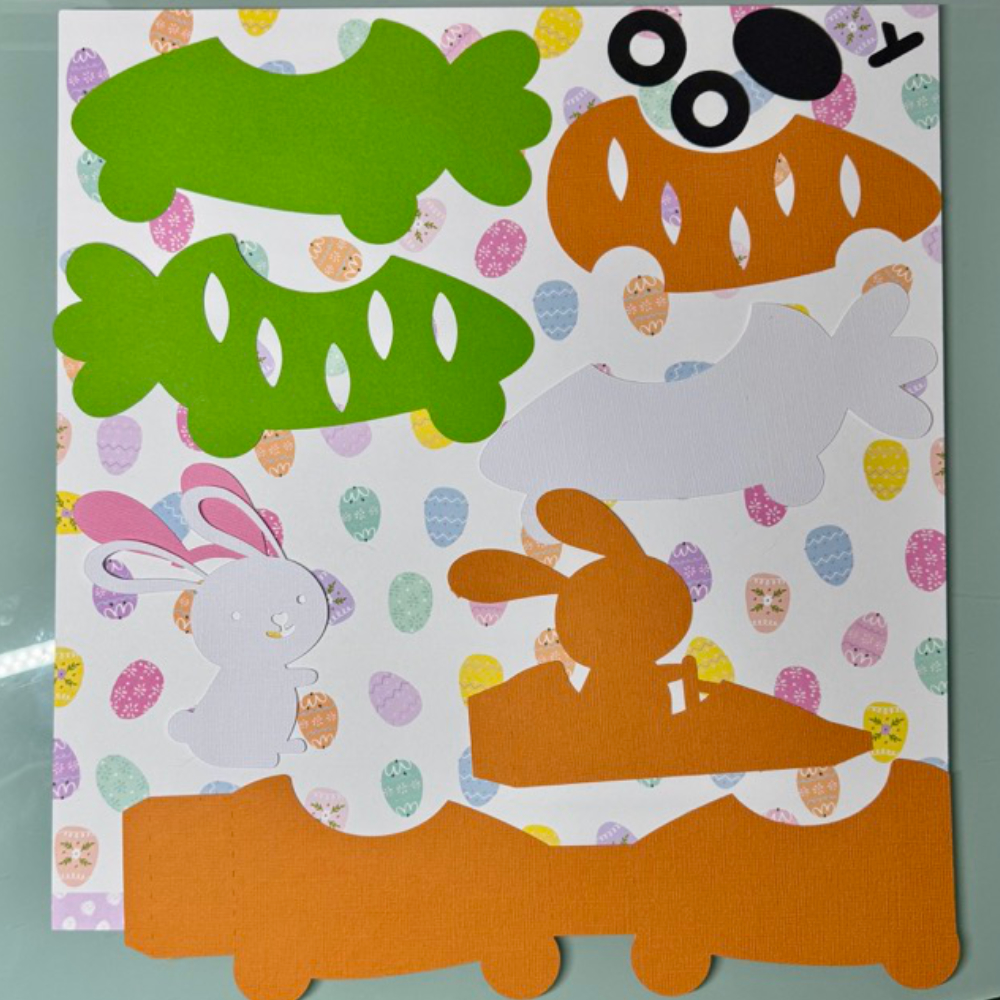
Step 1: Cut Out the Parts

Using cutting machine, you cut out all the necessary components for your card. This includes the shapes for the carrot, the Easter bunny, and card base.
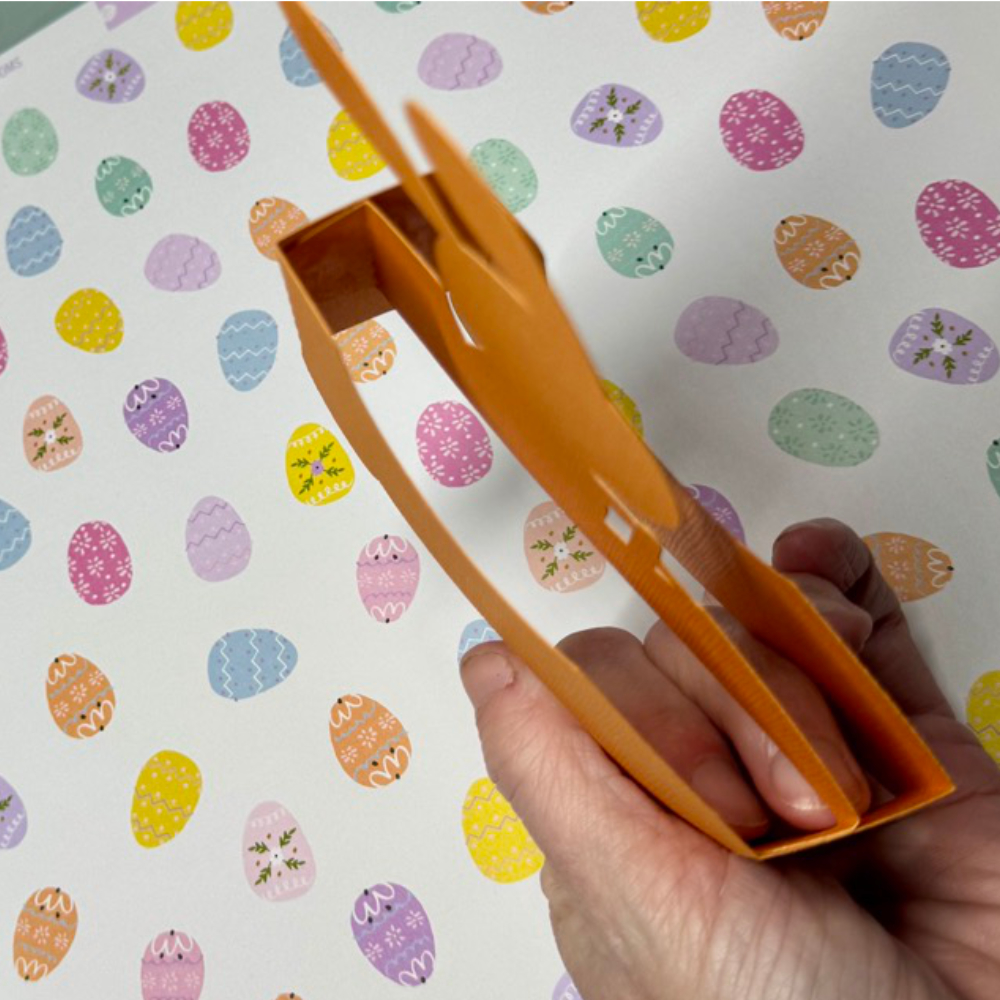
Step 2: Assemble the Orange Card Base

Take your orange cardstock and begin assembling the card base. Apply glue where needed to join the pieces, making sure the base is sturdy and neatly put together. This vibrant orange foundation will set the tone for your design.
Step 3: Construct and Attach the Easter Bunny

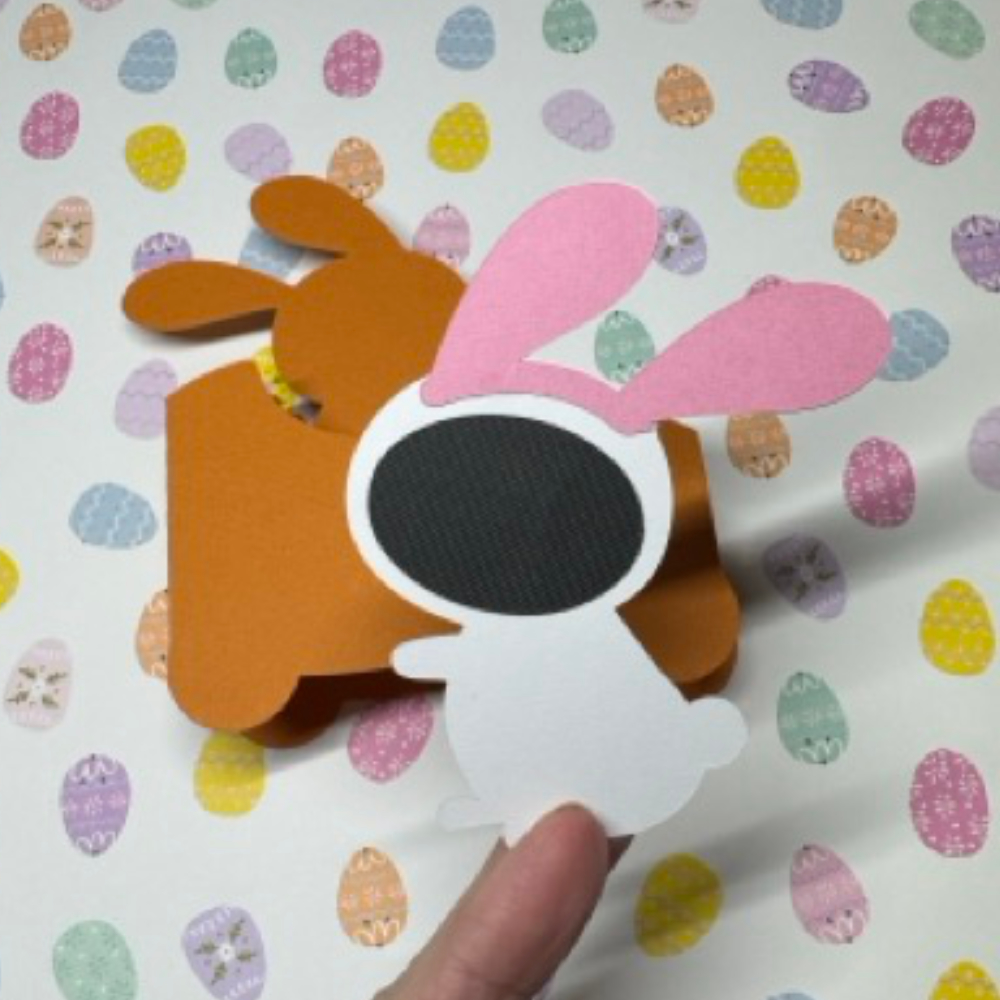
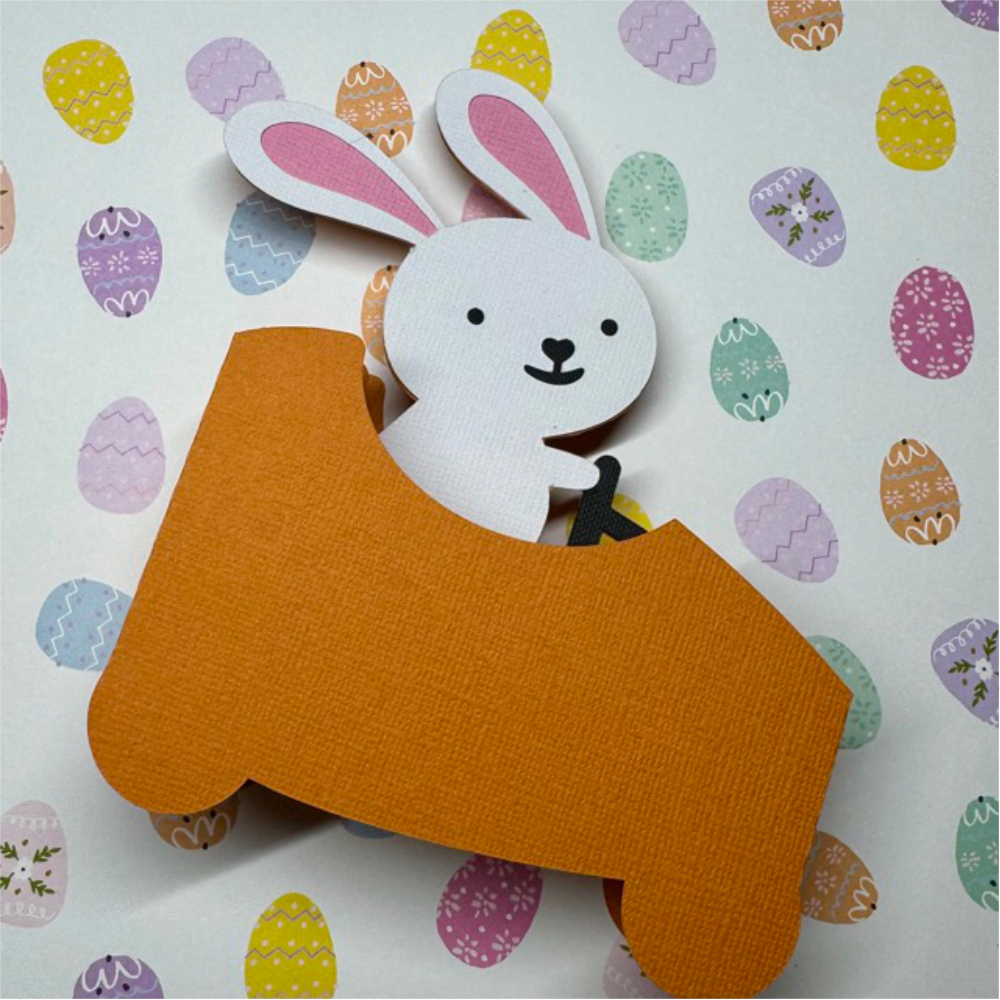
Now, focus on the Easter bunny. Glue the individual pieces of the bunny together until it forms a complete figure. Once assembled, attach the bunny securely onto the orange card base.
 

Step 4: Decorate and Assemble the Carrot

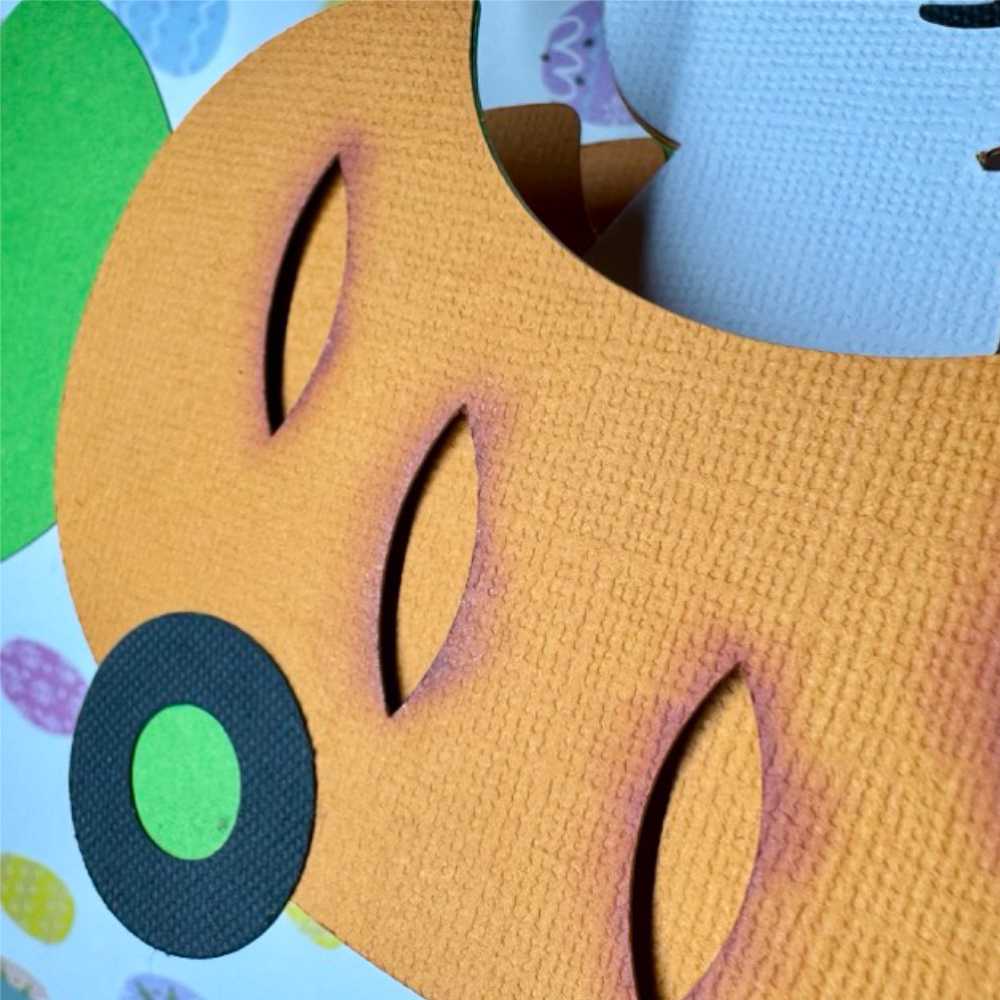
Next, add some creative flair to the carrot. I Use ink to decorate the holes in the carrot piece to create a shadow effect.  Glue the parts together carefully. This step gives your card a unique, handmade touch.
Step 5: Attach the Green-White Backside

Finally, complete your project by attaching the green and white cardstock to the back of the orange base. This additional layer not only provides contrast but also reinforces the structure of your card. This backside you can use to write your message on.
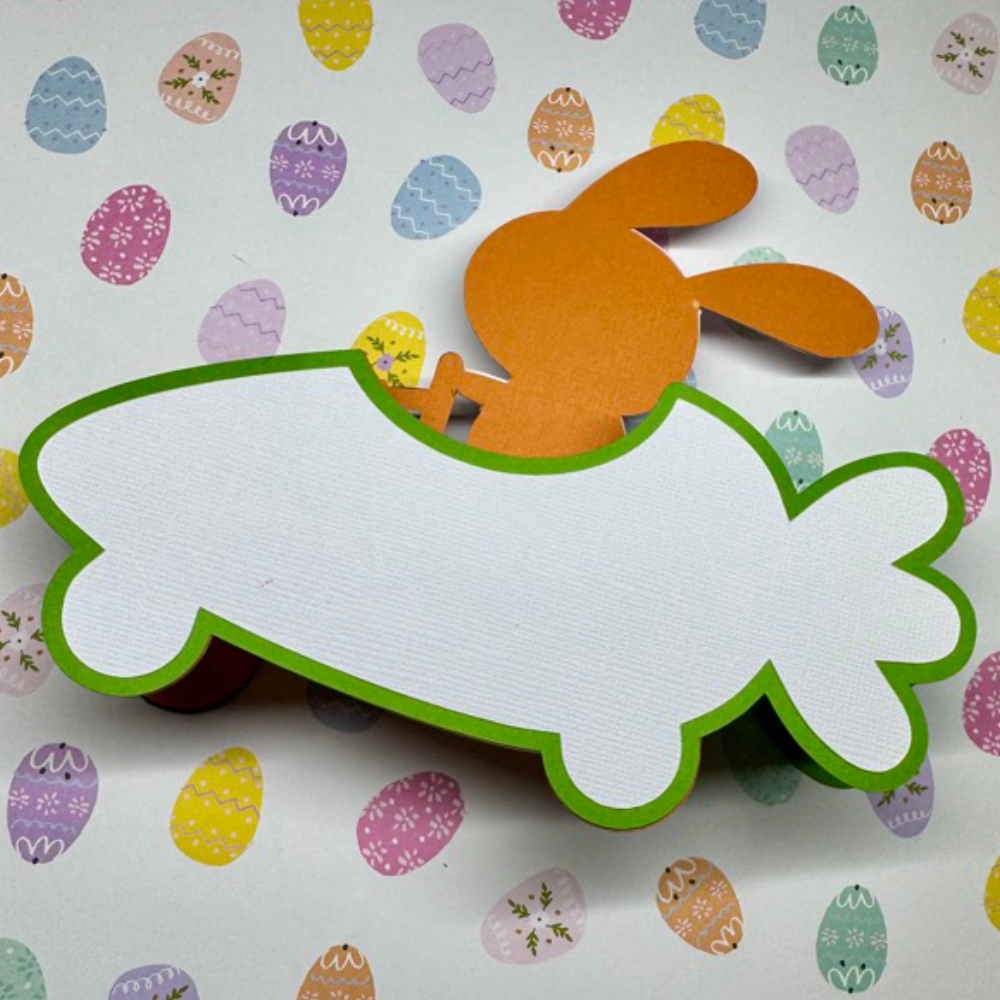
And there you have it, a cute carrot card ready to celebrate Easter!
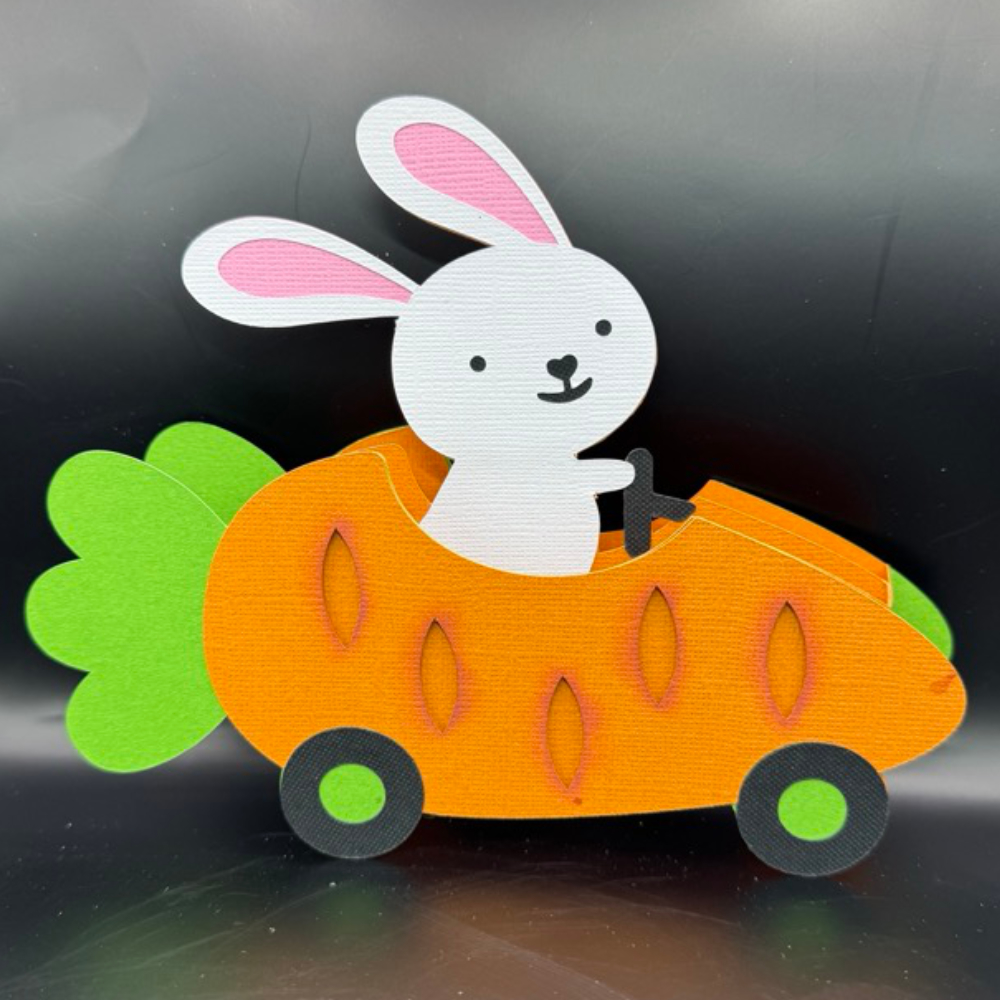
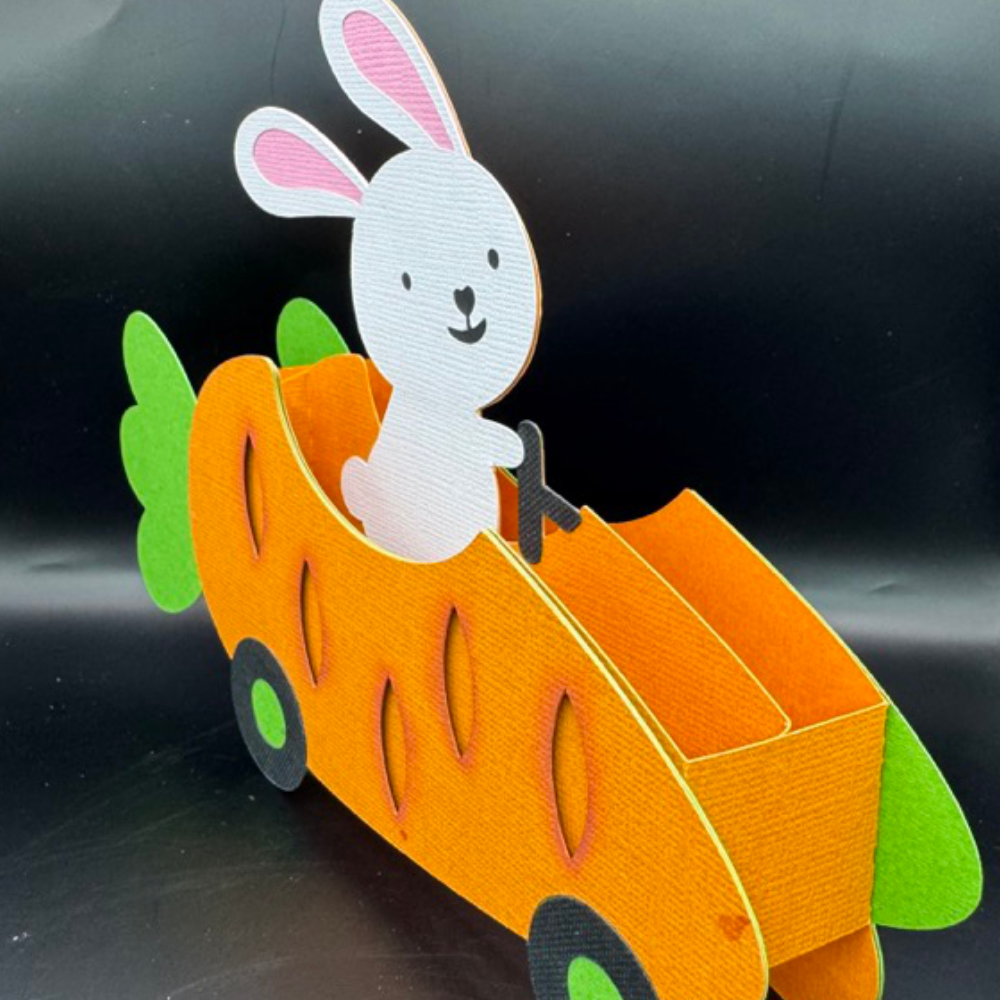
Enjoy crafting and have a wonderful day!

Tamara

Happy Birthday Cards! Tutorial

Hello!  Sue here to wish you a Happy Valentine’s Day!
 
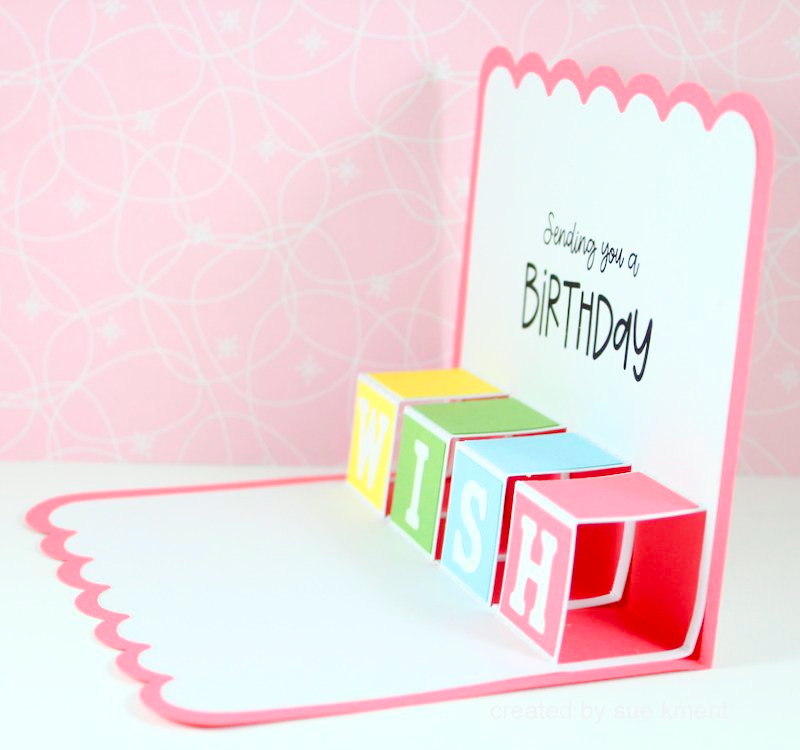
For my tutorial today I am making several easy print and cut birthday cards from Lori’s fun birthday card bundles. I want to make them all! 


This really is a fun card!!!
Here you can see the front pieced element. I chose to cut an additional bottom layer to the packages in pink to make the  presents pop more and give it a bit more reinforcement so I could add it to the front with an action wobbler .  I used  the Lori Whitlock’s  Life is Beautiful 6×6 paper pad.
The inside piece is a print and cut. Fold it in half with the sentiment inside
This part is a bit tricky. Its a mountain/valley  sort of thing LOL! What I did to make it real easy is to fold the center back the other way and then from the back pinch each section to crease them. 
Here you can see how the insert looks when folded and ready to add to the card.
 
Glue one side of the insert inside, making sure you align those 5 small folds right at the cardbase fold line. Add glue to the second side and close the card onto the glued insert.
All glued and ready to go!
Both cards are part of the Fabulous Birthday Card Bundle.
 
You can see all the bundles on Lori’s site.
 
Here are a just few more to check out:
 
*********************************************************
This was a fun one!
I used Lori Whitlock A Slice of Summer papers for the balloons.
I have made several of these cuties. I cut on six/seven different 6×6 papers and cut ALL the balloons out of each color. Then I’m just playing mixy match for each cards.
Glue the balloons on the back of the print and cut and then flip and glue to the card base. It is very pretty to see in person, it has a nice dimension to it!

Bee-utiful Day! Layout

Happy Monday everyone!  I have some fun layouts to share with you today featuring Lori’s Bee Happy Collection,  This collection is just pure joy as are these pictures of me and my besties visiting the Friends set in Denver a couple years ago.  We had the best time.  Oh the memories of that trip!

For the first layout I used this Shaped Bee Card in Lori’s Shop or here in the Silhouette store,  and I just used the top layer to create this little guy and I used 11 Hearts in Lori’s Shop or here in the Silhouette Store, for all the little hearts scattered and stitched on the layout.

And for this next layout with that famous door to Monica’s apartment…I used just the top layer of the Flower Shaped Mother’s Day Card in Lori’s Shop or here in the Silhouette Shop,
Flower shaped mothers day card,  I love it on this page!


Thanks for stopping by!
Cathy

Valentine Birdhouse Tutorial

Hello Crafty Friends, today I want to share a Valentine themed Birdhouse I made using the Double Decker Birdhouse from the Lori Whitlock 5 Birdhouse Set (SVG).
The original file has one bird but I wanted to add another bird to make them look like love birds, so to start off with I copy & pasted the bird. Then I horizontally flipped the bird so that it was facing the original.
I did the same with the bird on the branch, then I used the knife tool to make 2 cuts to separate the bird from the branch. I then deleted the branch & used only the bird to cut.
After cutting all my pieces on my Silhouette Cameo & put together my birds onto the branch. You will need to trim the excess branch from the back panel of the extra bird we created before glueing him onto the main branch.
Next I took the larger part of the house which is the bottom & glued the side flaps together.
Once these were dry I proceeded to glue down the roof first by glueing down the bigger piece then following the smaller roof piece on top.
Next I took the smaller bird house & glued the side flaps together. Then I glued it down onto the bottom half of the birdhouse that we have already put together. Once this was dry I finished off by glueing the 3 roof panels starting from the largest on the bottom.
Lastly I embellished my Birdhouse with some die cuts, stickers & paper roses.
Isn’t it the sweetest!


For more inspiration, check out my Instagram!
Thanks for stopping by!
Hugs
Noelene 🙂

January 2025 Blog Hop

We’re so excited to kick off the January 2025 Creative Team Blog Hop and start the year off with a bang! Our talented team has been busy crafting beautiful new projects that are sure to inspire your creativity during this cozy winter season.

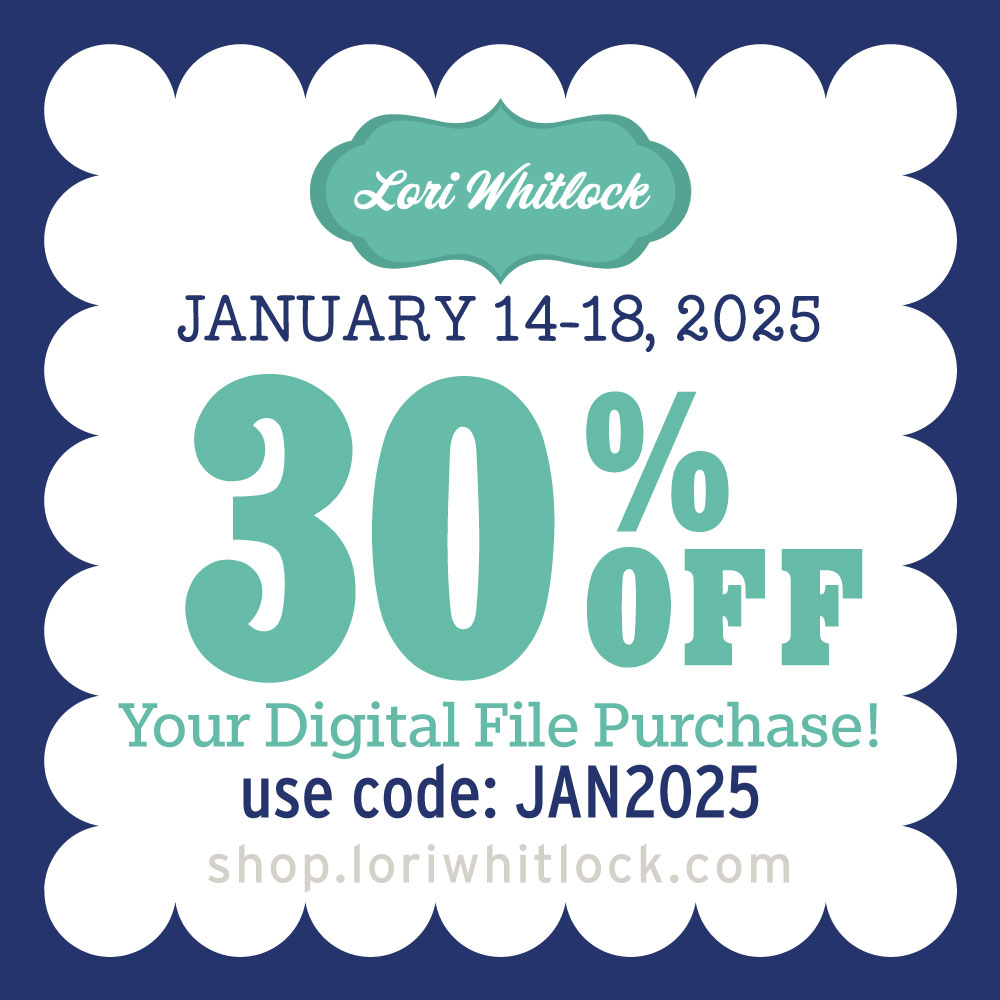
To make it even more special, we’re offering an exclusive 30% OFF SALE at Lori’s SVG SHOP on all digital files and commercial licenses until Saturday, January 18th! Simply use the code JAN2025 (it’s case-sensitive!) to grab your favorites at a great price.

But that’s not all! We’ve also got a special freebie and an exciting giveaway waiting for you.

So grab a cup of cocoa, get comfy, and dive into the creative fun. Let’s make 2025 a year full of crafting joy!

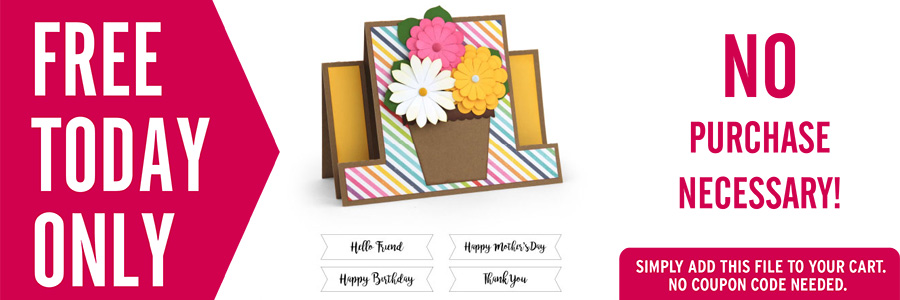
As a big thank you for joining the hop and spreading some New Year cheer, we’ve got a special gift just for you! For TODAY ONLY, you can snag this adorable A2 Center Step Card Flower Pot SVG file completely FREE. Just add it to your cart, and it’s yours at checkout—no strings attached!

NEW Files!

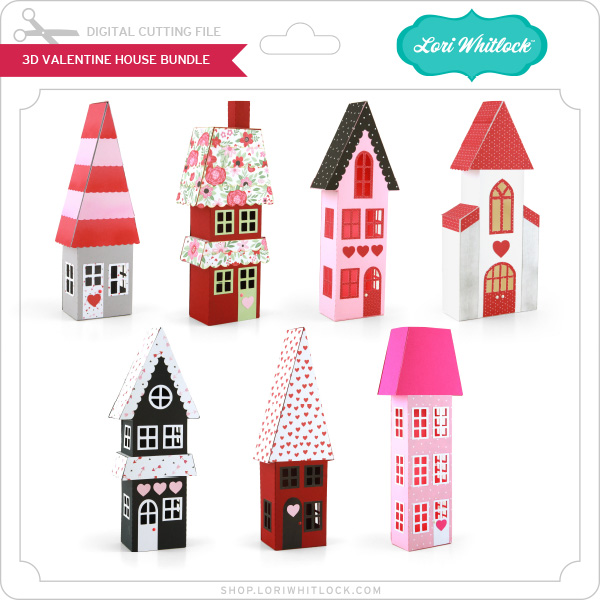
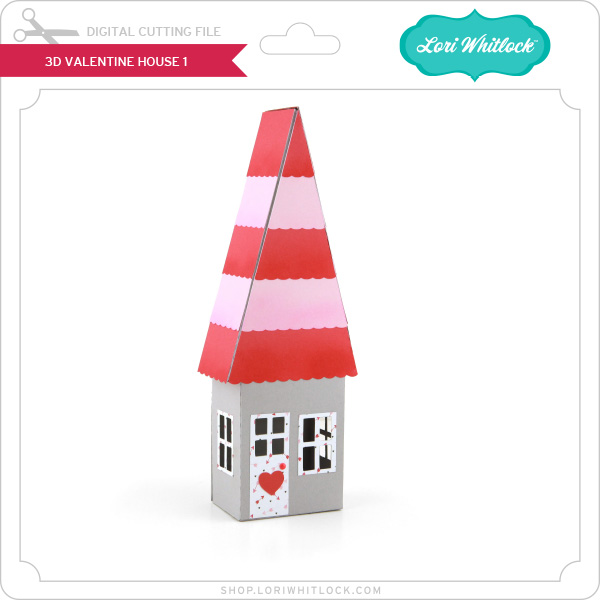
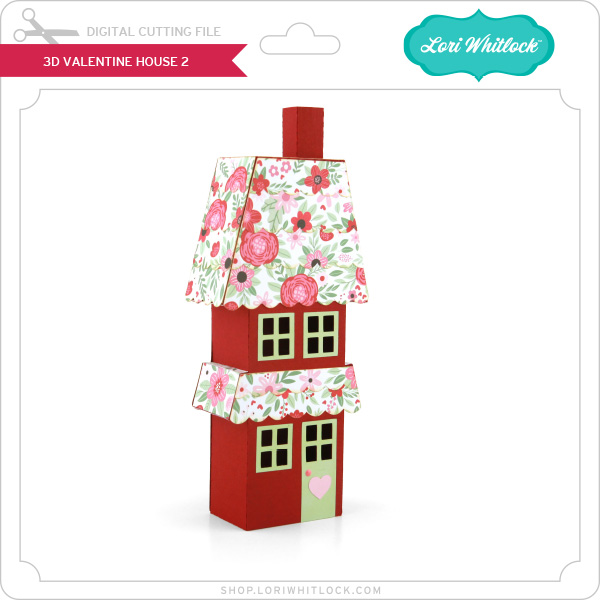
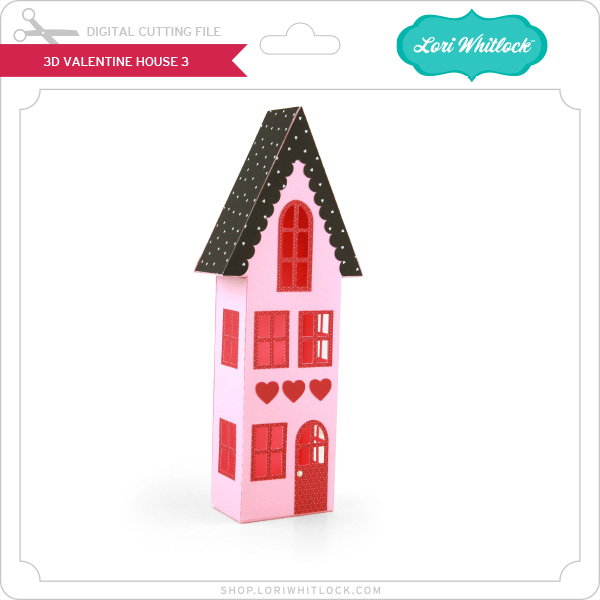
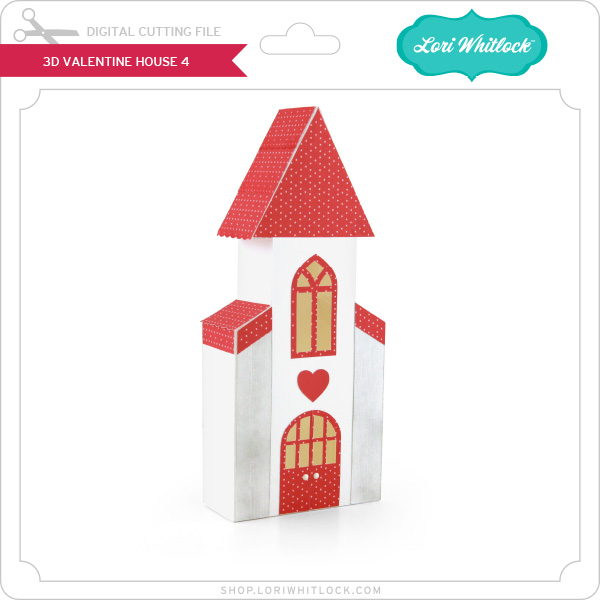
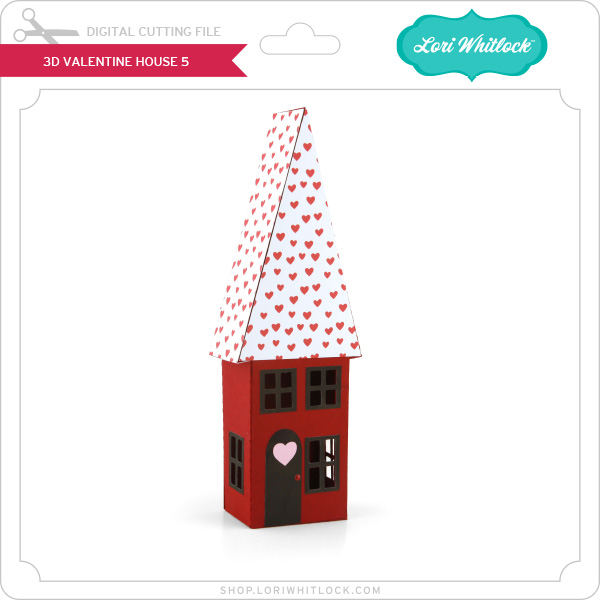
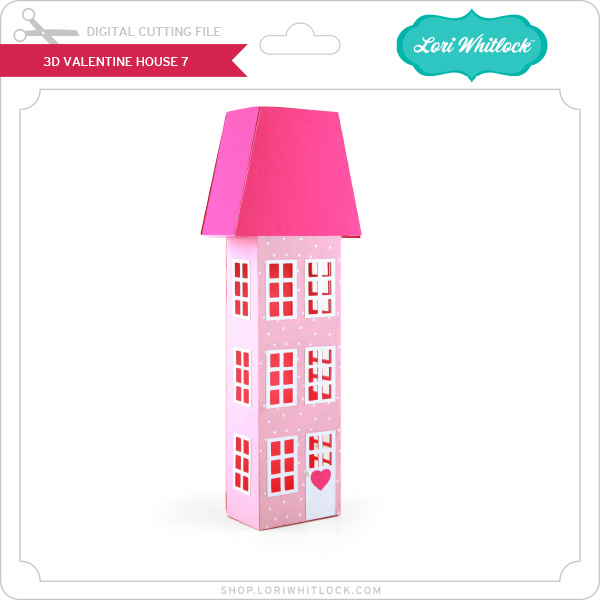
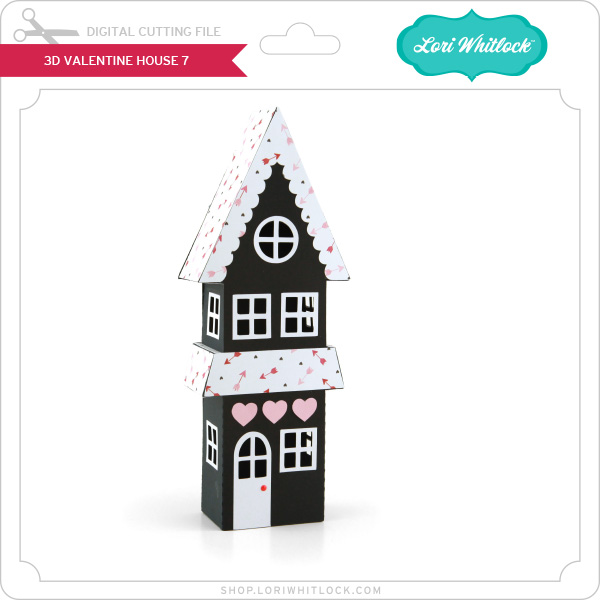
This week, I’m thrilled to introduce a brand-new creation just in time for the upcoming Valentine season: the 3D Valentine House Bundle! This charming set includes everything you need to craft an enchanting 3D Valentine’s display. Whether you’re making a cute gift for a loved one or creating a sweet addition to your home decor, these SVG files will bring plenty of love and creativity to your crafting this season. It’s 30% off this week with code: JAN2025

***CLICK HERE TO SEE ALL THE NEW FILES***

How about a giveaway? You’re in luck! Enter our giveaway below, and we’ll be announcing the winner on the entry form right here on this blog post. Keep an eye out for an email if you’re the lucky winner!

a Rafflecopter giveaway

And, last but certainly not least… ready for some amazing inspiration? Check out the creative projects from our talented team! Just click the links below for some wintery crafting magic. If you get lost, no worries—just come back here and pick up where you left off: Lori Whitlock (you are here), Traci Penrod,  Brandie Adams, Ashley Cook, Cathy Harper, Chelsea VanWyk, Sue Kment, Noelene Apap.

Thanks again for dropping by! Have a GREAT day!

~Lori