5 x 7 Flower Truck Box Card Tutorial

Welcome to the  Lori Whitlock Blog!

Today I have  a tutorial for you on assembling this cute 5 x 7 Flower Truck box card.


5 x 7 Box Card Flower Truck

Silhouette

or see  all three here:

5 x 7 Box Card Truck Bundle

Let’s start.

Truck Body: Glue on the tires and the front door pieces. I used mirror silver paper for the front bumper and a different matte silver paper for the windows on the front truck piece.  The longer truck piece is the back of the truck. Glue the rectangle piece-this will be the reinforcement piece for the top awning later. 


Awning: This awning piece will be glued onto the truck front piece. A little trick to keep the 3 squares centered is to add the thin rectangle into each spot and then glue the back of each square only and insert it and then pick out the thin square piece. You can throw that piece away if you want. 


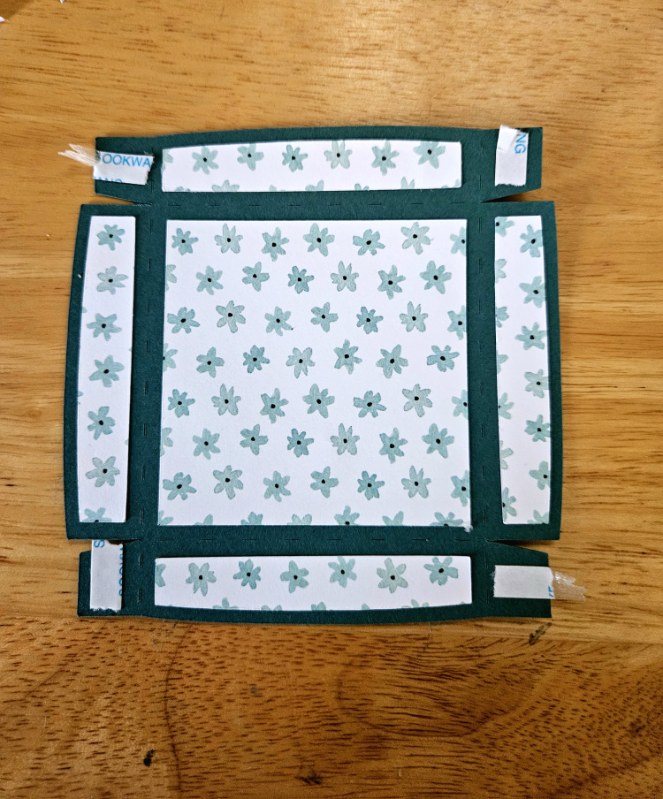
Inserts: Glue up all your little potted flowers. As always, I  cut extra little pieces because no matter what-I always lose some. You can also cut different colors to change things up if you want. Each insert piece is numbered so you know which one goes  in front. FYI it’s the four potted flowers in front. You can see the numbers on the bottom right corner of each insert.
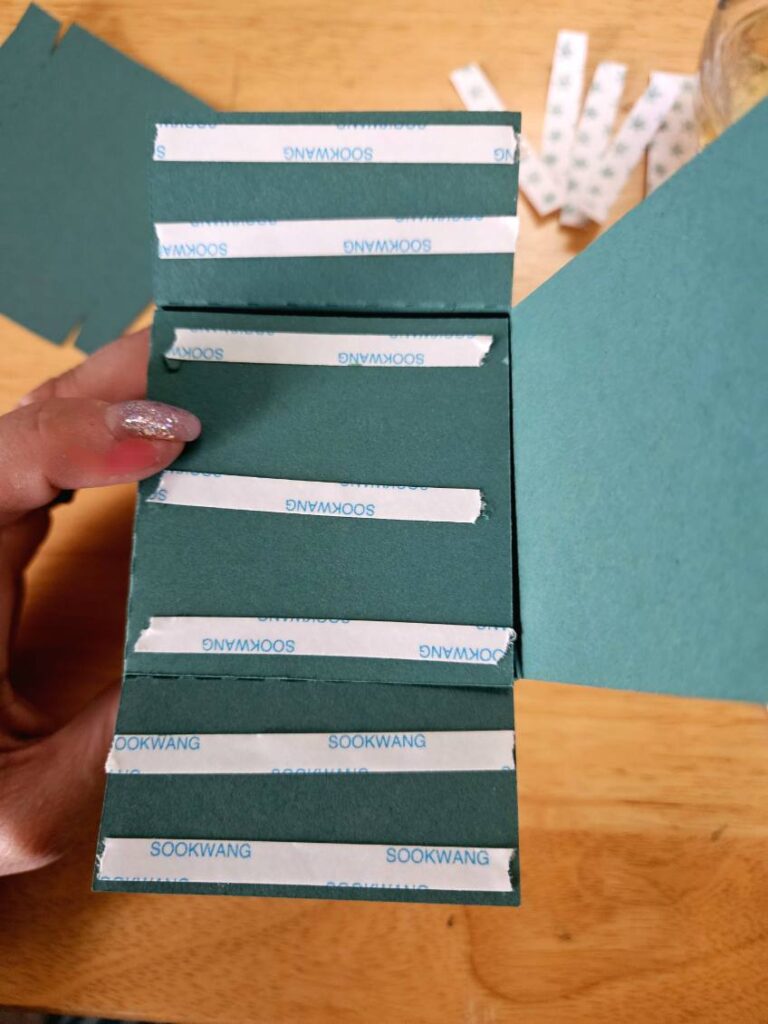
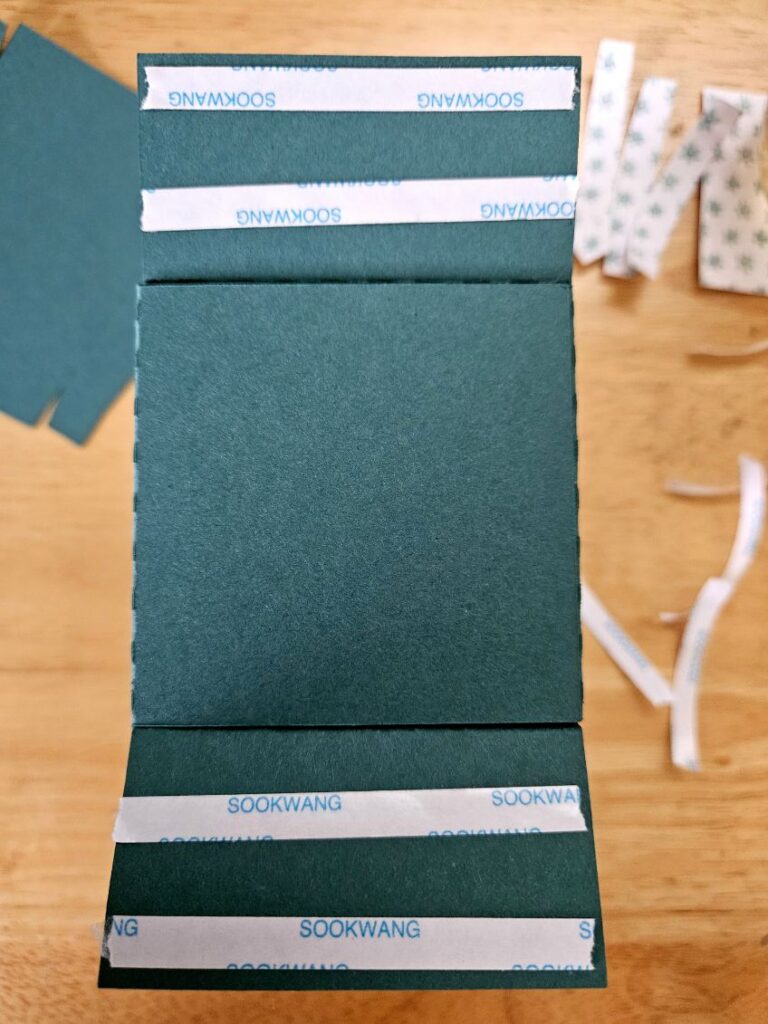
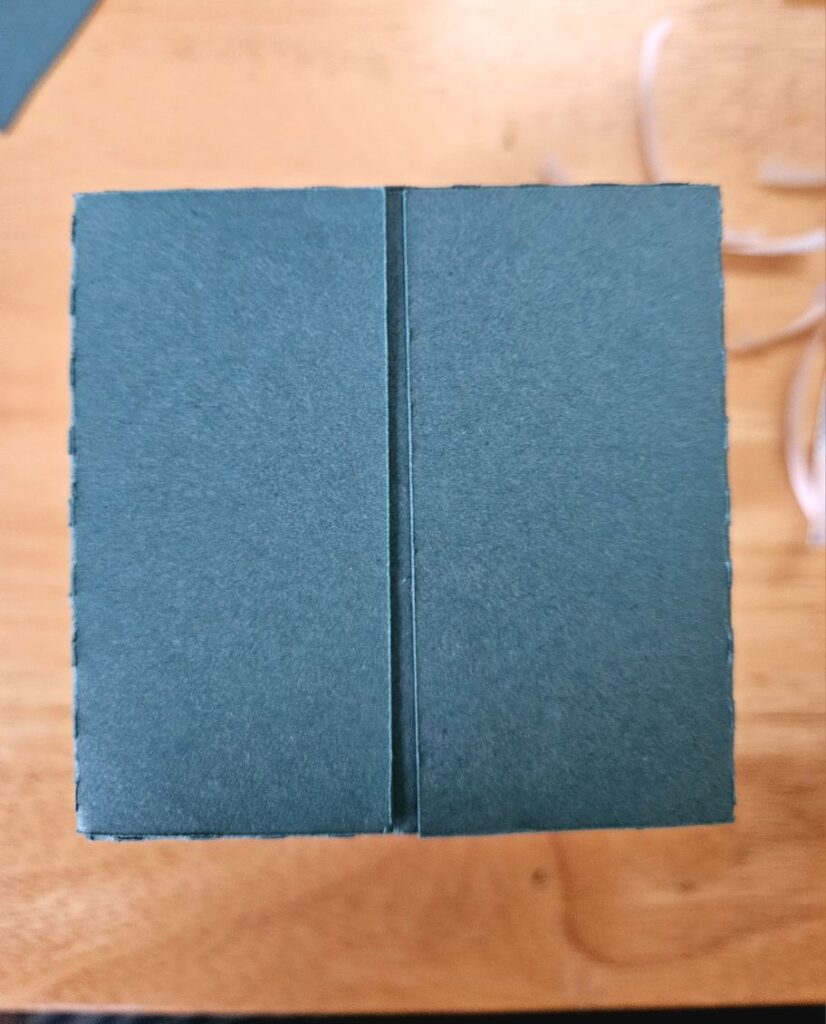
Glue the two end tabs of this piece and add the main front truck piece. Make sure your card folds flat.
Line up the awning piece and glue to the front truck piece and also add the brown panel at the back of the truck.
Here is the truck after those steps. All that is left is to add the flower pot inserts  as you do with any box card, awning support and the sentiment. 

Here you go! The inserts are added (at this point make sure your box card will fold flat). You can see I am getting ready to add the rectangle piece inside the awning   for  support. Glue the rectangle inside to the front and back top awning. All I have to do now is add my print and cut sentiment and it’s done! TIP: if you buy the bundle, print and cut all three sentiments at once and then you will be ready to assemble the other trucks!


These are so fun to make-give them a try!
💕Sue Kment
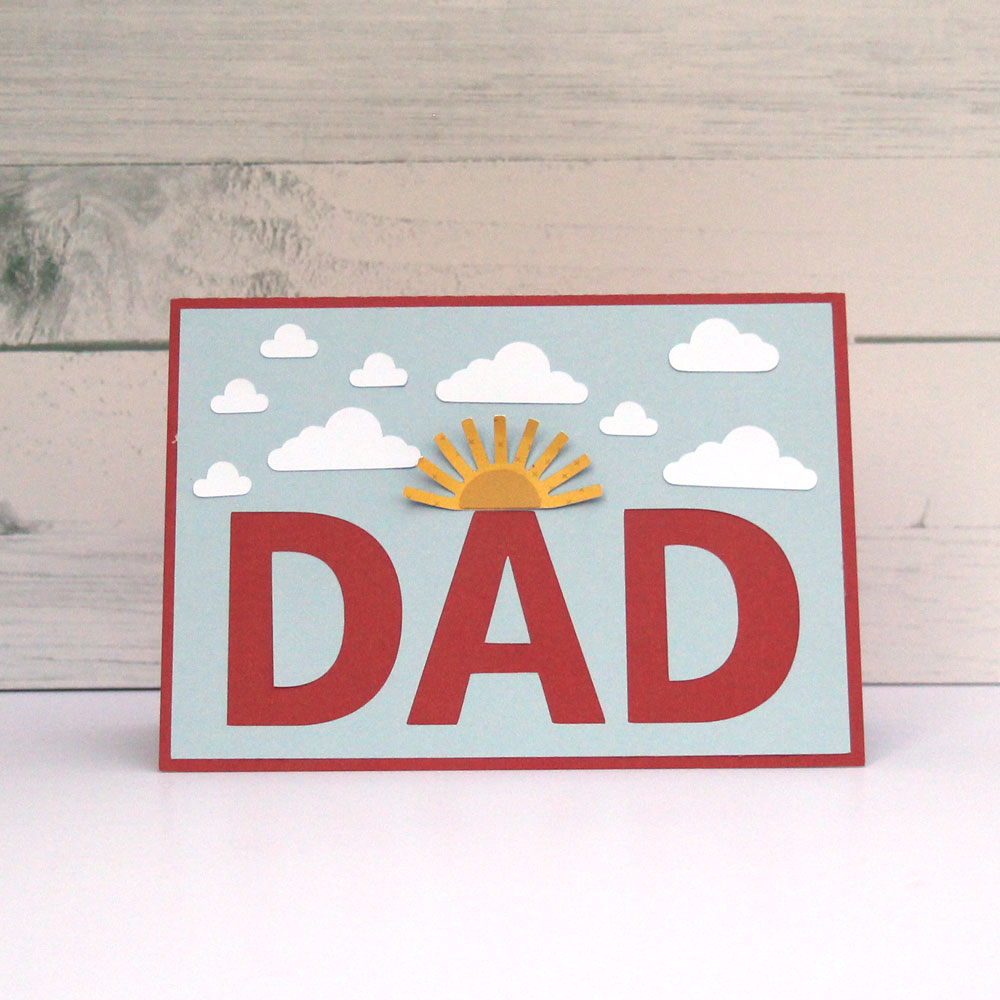
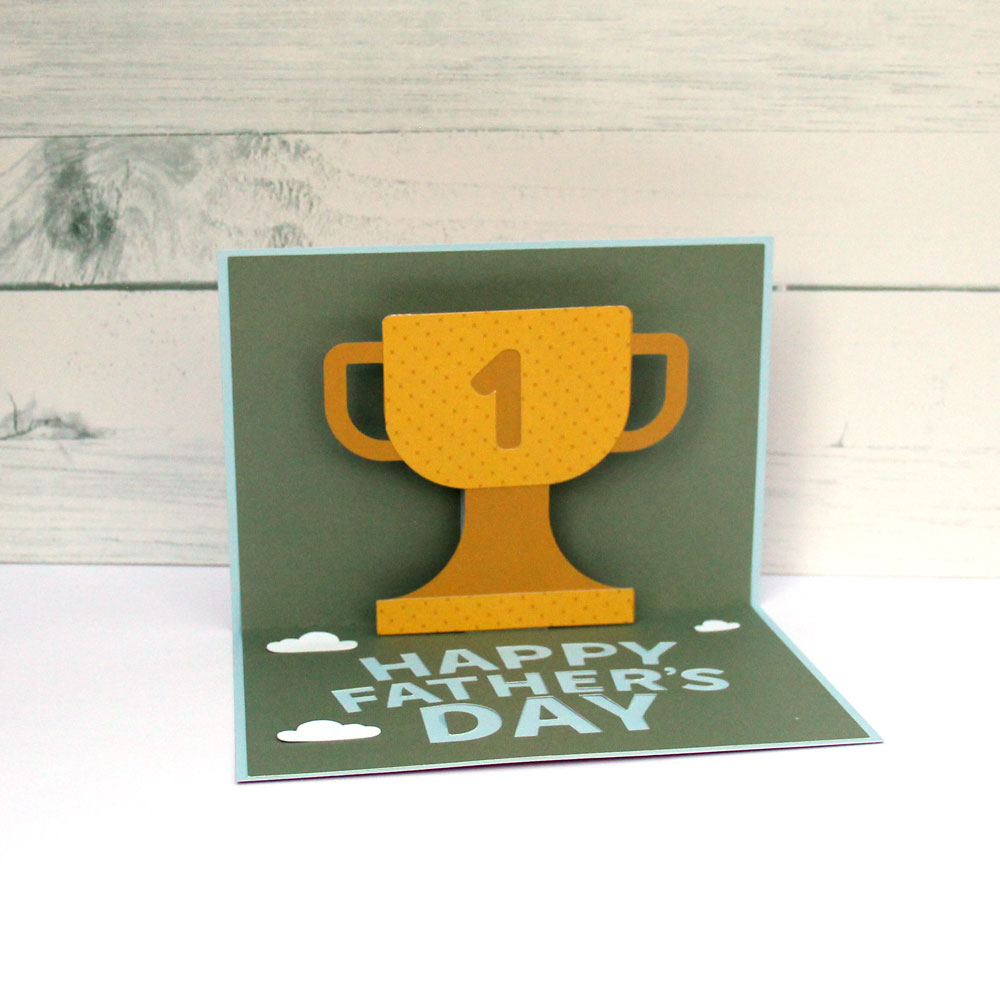
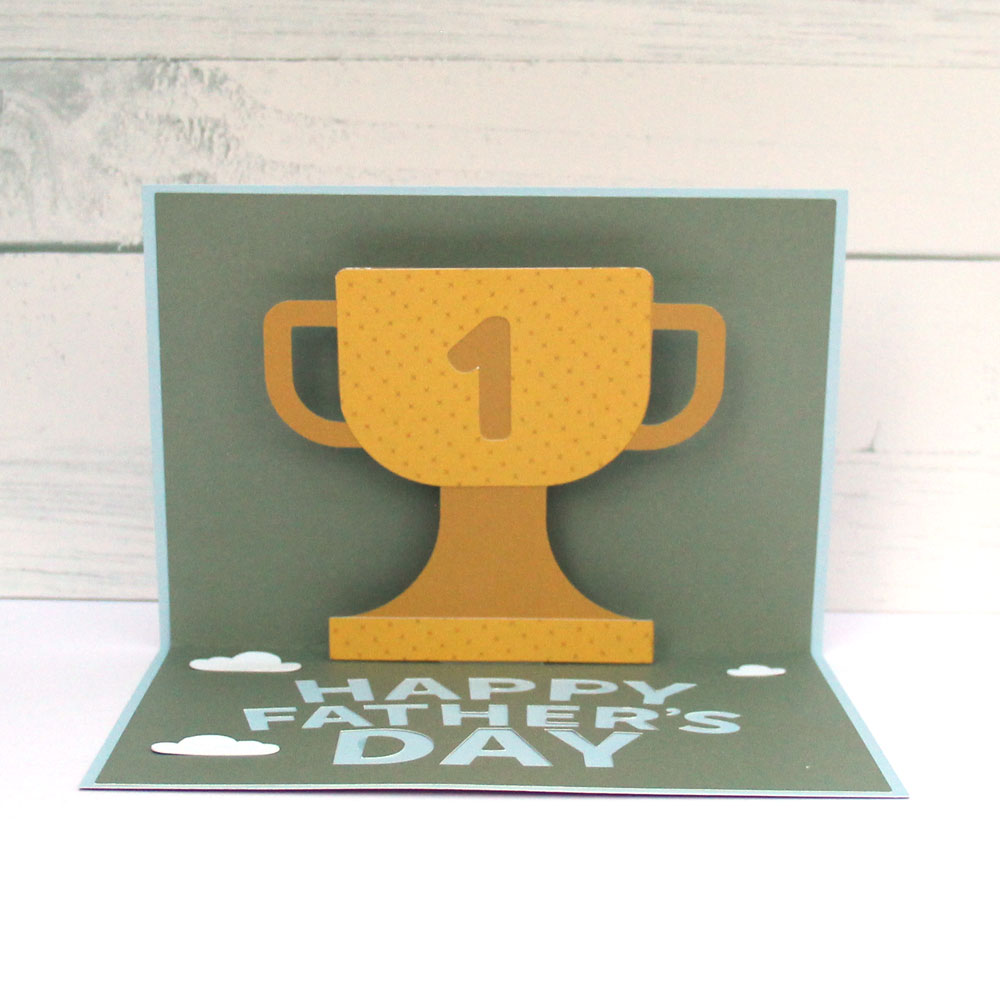
5×7 Pop Up Card Father’s Day Trophy

Welcome to June.  It’s time to wrap up the Grads and onto the Dads.  Father’s Day is coming right up in the United States in 2 weeks.  I am now in the stage of life, where I have my Dad to celebrate, my husband, my son, and a son-in-law–all dads this year.  Good thing Lori has lots of Father’s Day card options.

My Dad makes all of us kids feel special.  He tells us each that we are his favorite, so this #1 card (SVG, Silhouette) seems fitting for a number one dad from his favorite daughter.

Check the shop for other Father’s Day cards like the ones in the Pop-up Bundle. Have a great week and hope you can make something fun this month.

Ashley

Mason Jar Box

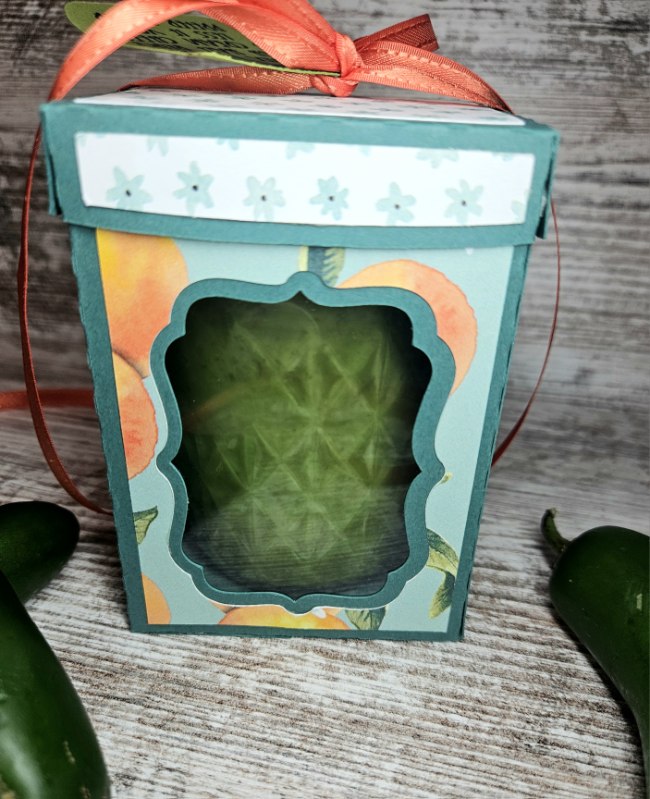
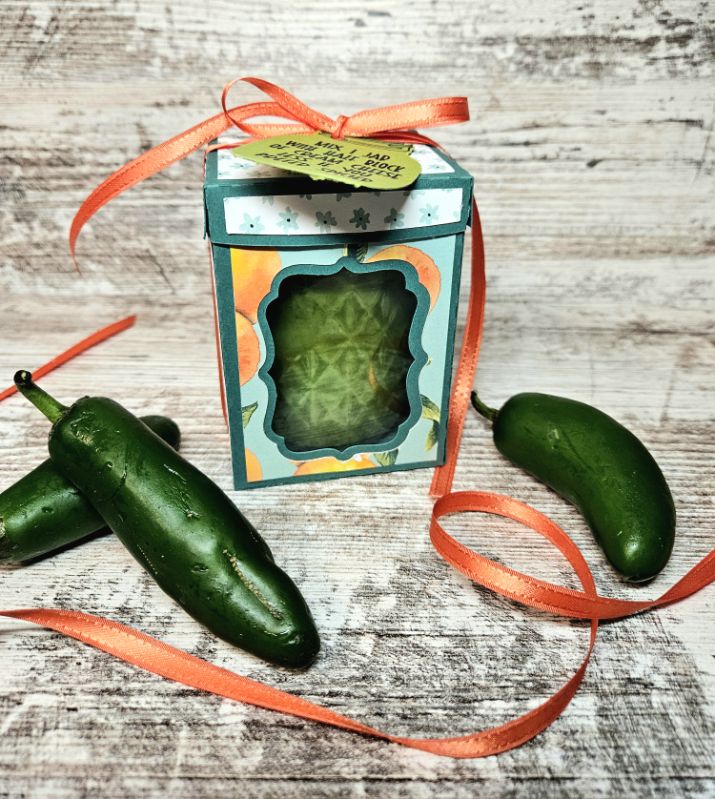
Hello! I love when my 2 worlds collide, canning and scrapbooking. I recently canned some green stuff (jalapeno mustard for pretzels) and I always love to be able to gift it and make it look cute. I recently came across these Mason Jar Box Half Pint (SVG, Silhouette). I decided to make a few of these for my yummy green stuff.

Mason Jar Box Half Pint


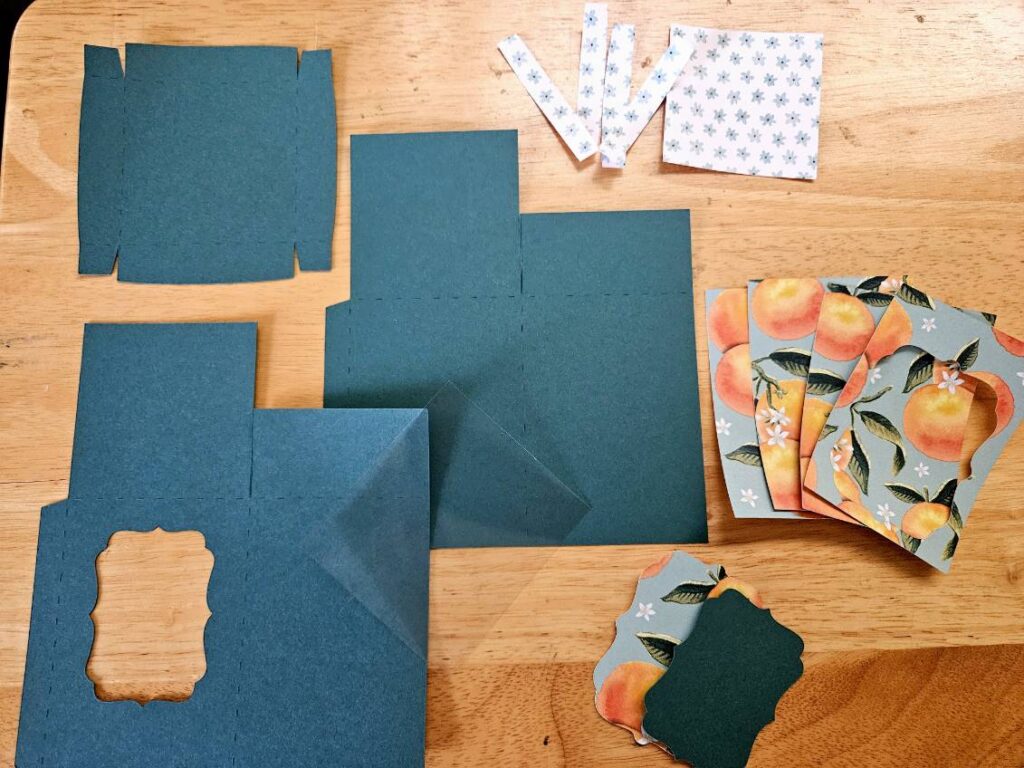
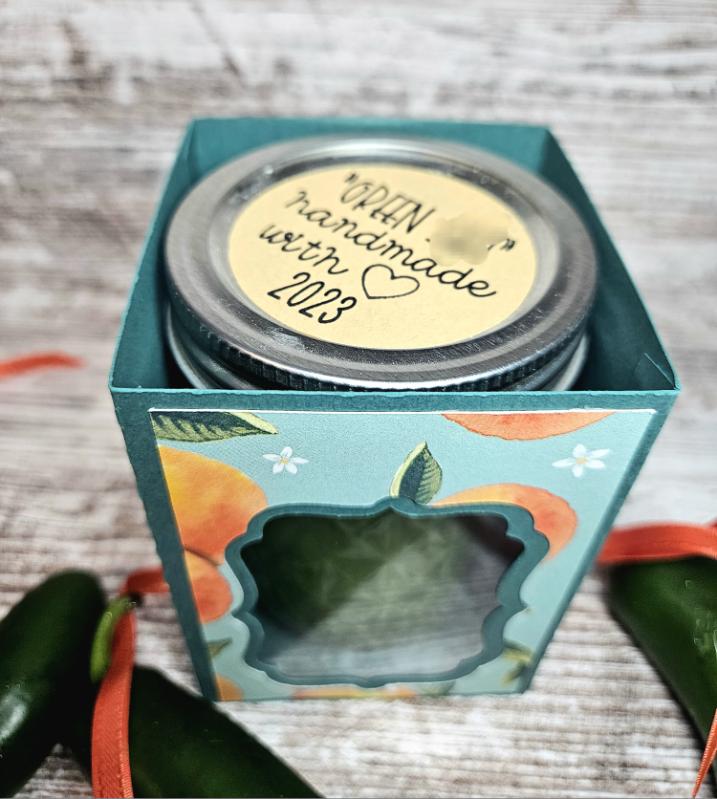
First I cut all my pieces and I did add a little piece of acetate behind the window.

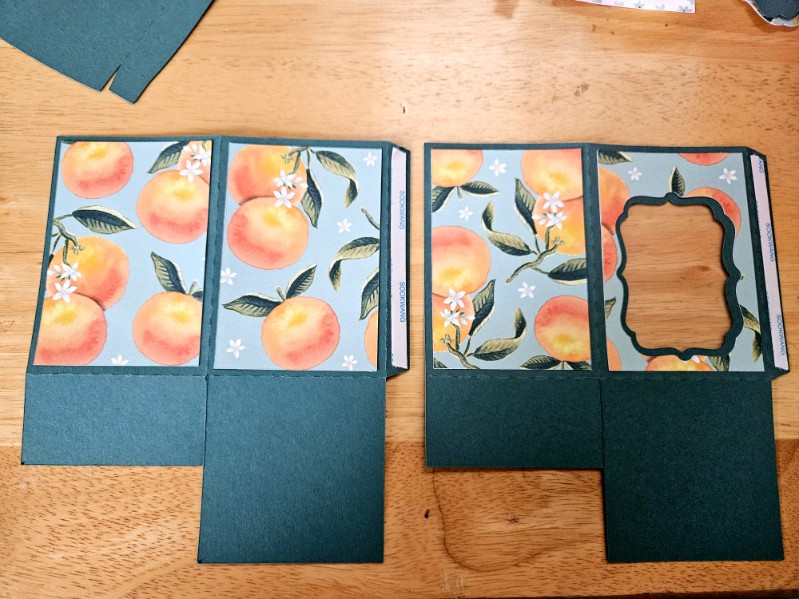
I added my pattern paper to the box after I added the acetate to the inside of the window. I added score tape to the 2 flaps to assemble the box.

I folded in the 2nd large flap 1st.

The I folded in my 2 smaller flaps to make the box complete.

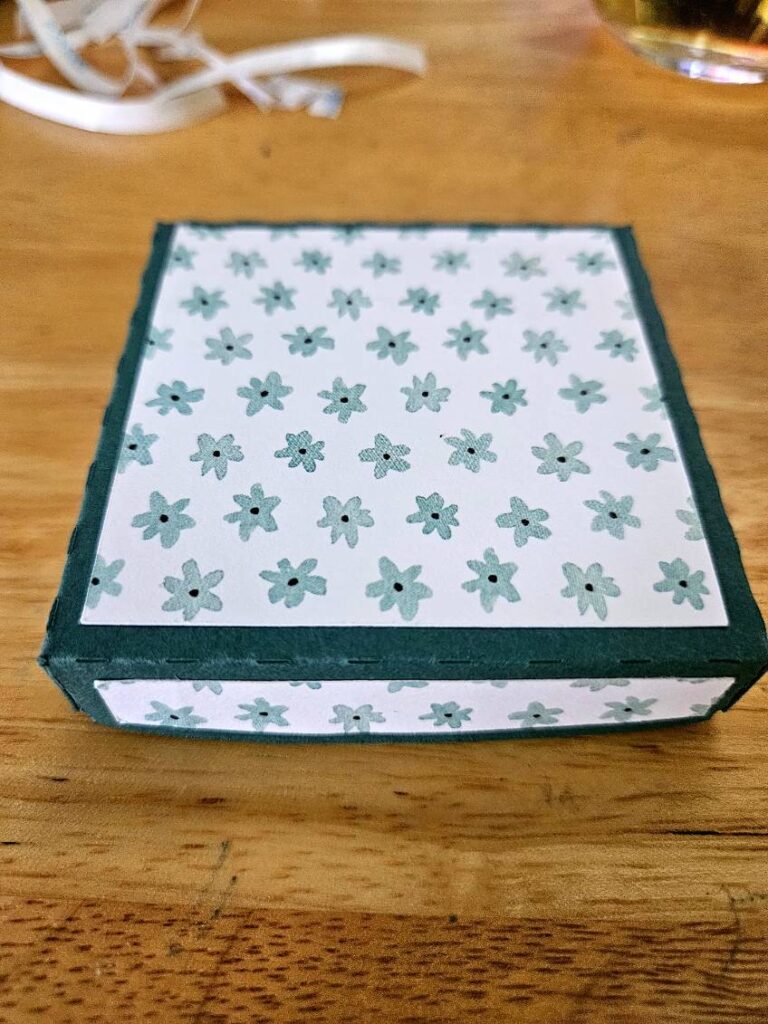
I then added my pattern paper to the lid portion. Make sure the curved side of the thin strips faces the outside edge. I also added score tape to the corner flaps.

Hopefully you will be able to gift some home made goods with this cute box. Thanks for stopping by and happy crafting.


Chelsea


Easter Banner Tutorial

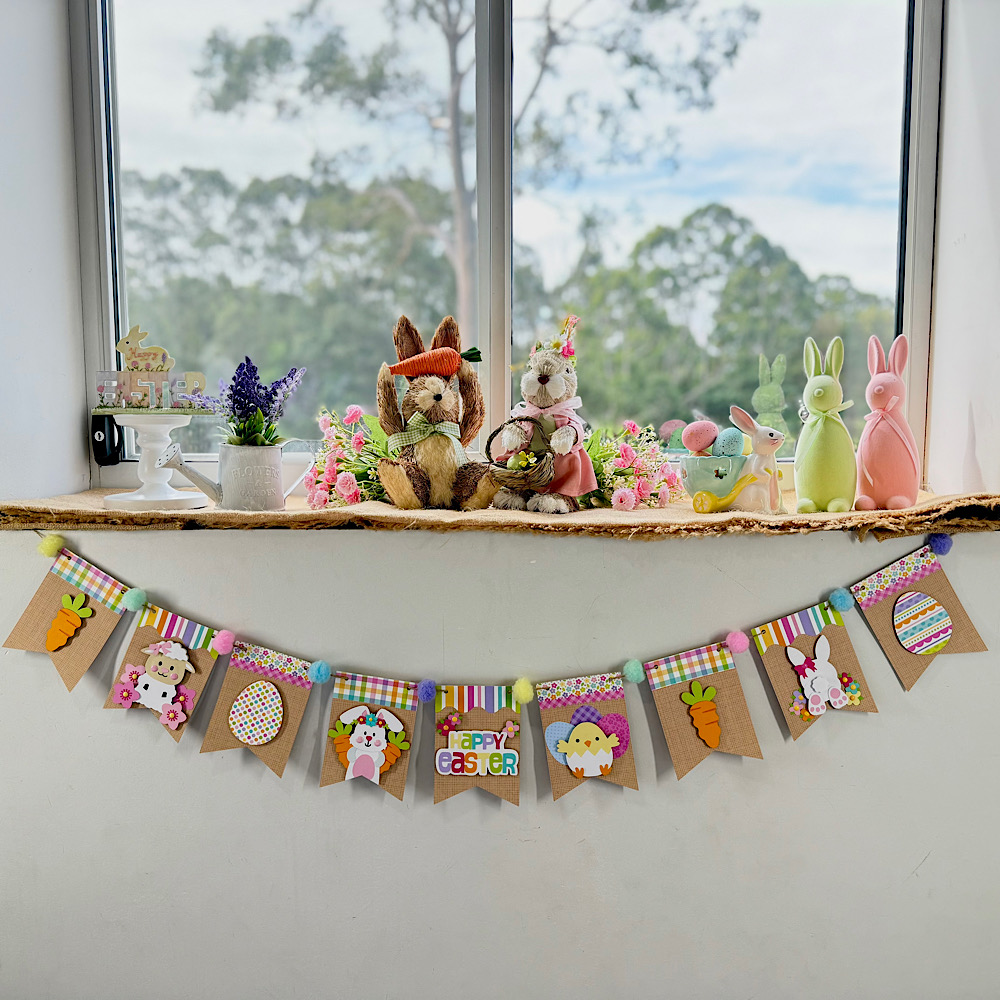
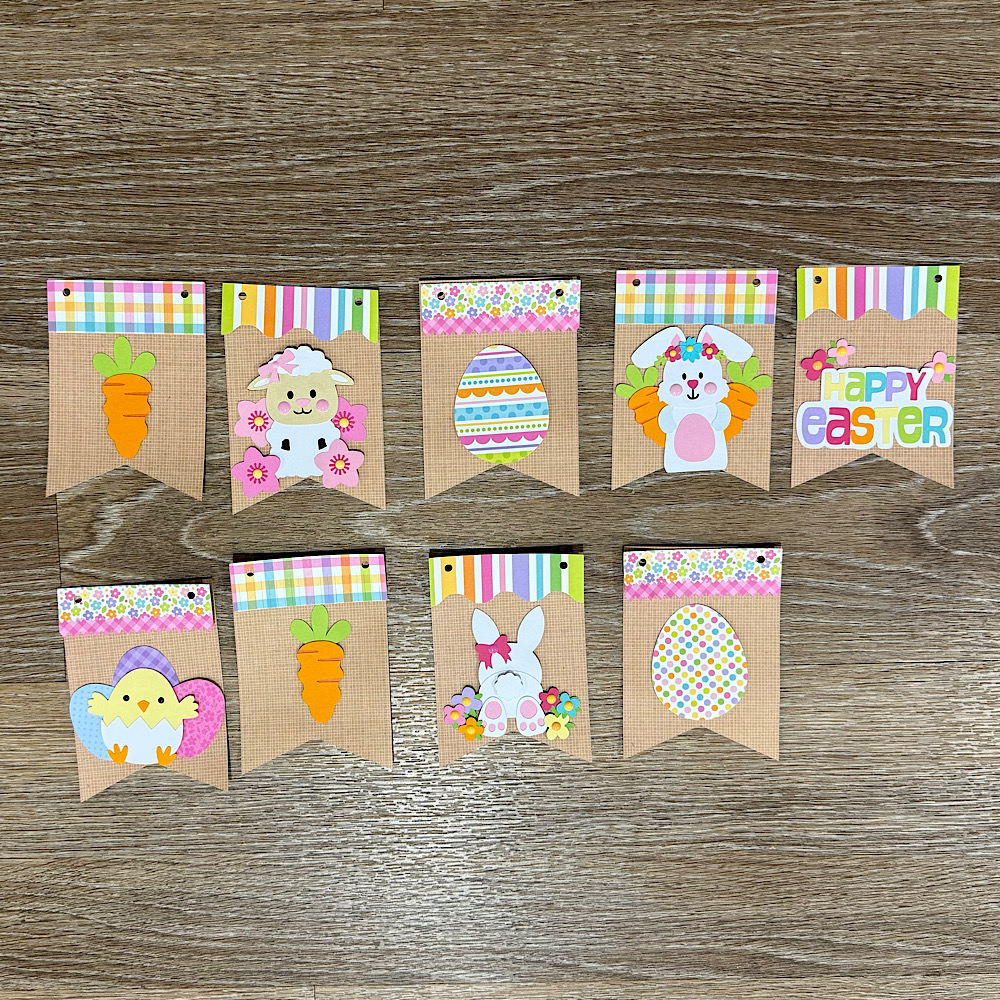
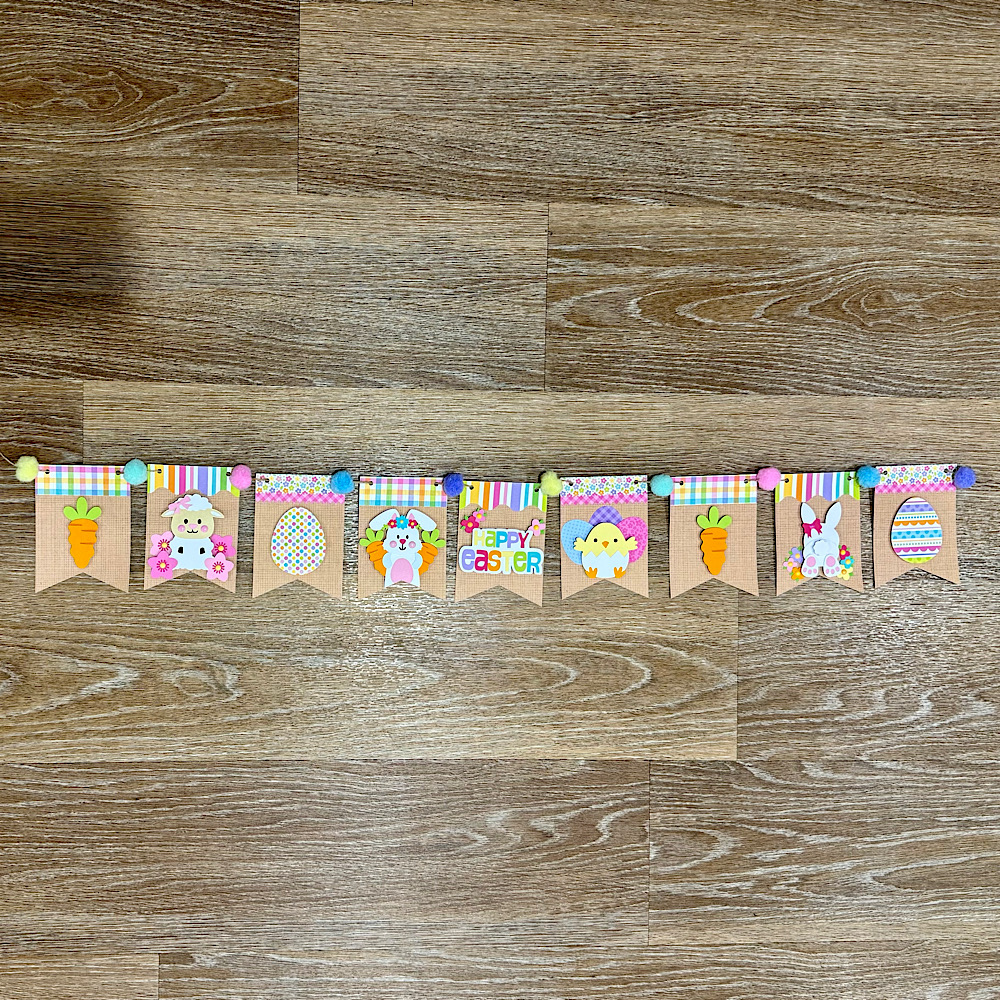
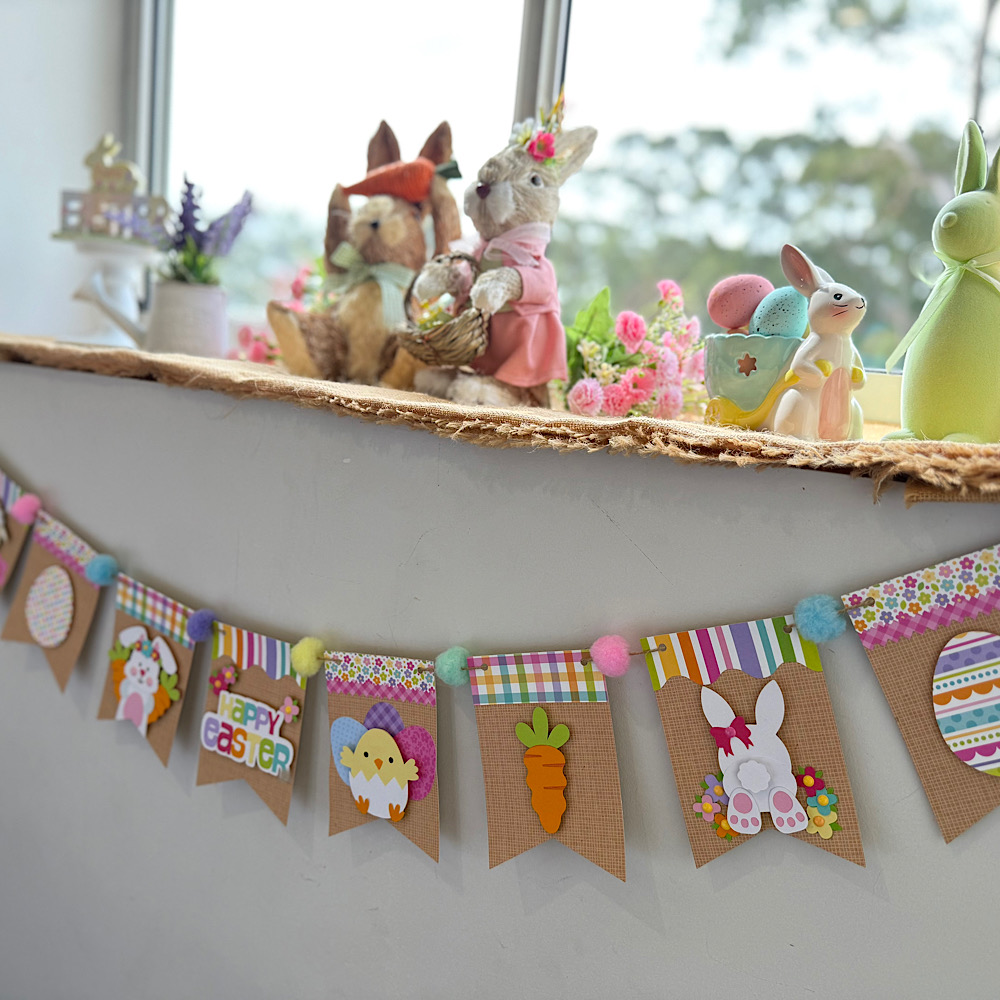
Hello crafty friends. Today I want to share with you how I made this cute Easter banner using 6 Lori Whitlocks Files:
Layered Bunting 2 (Silhouette, SVG)
Easter Purse Topper (Silhouette, SVG)
Easter Sheep Car Box Card (Silhouette, SVG)
Easter Bunny Car Box Card (Silhouette, SVG)
5×7 Easter Bunny Card (Silhouette, SVG)
Easter Basket Chick Box Card (Silhouette, SVG)
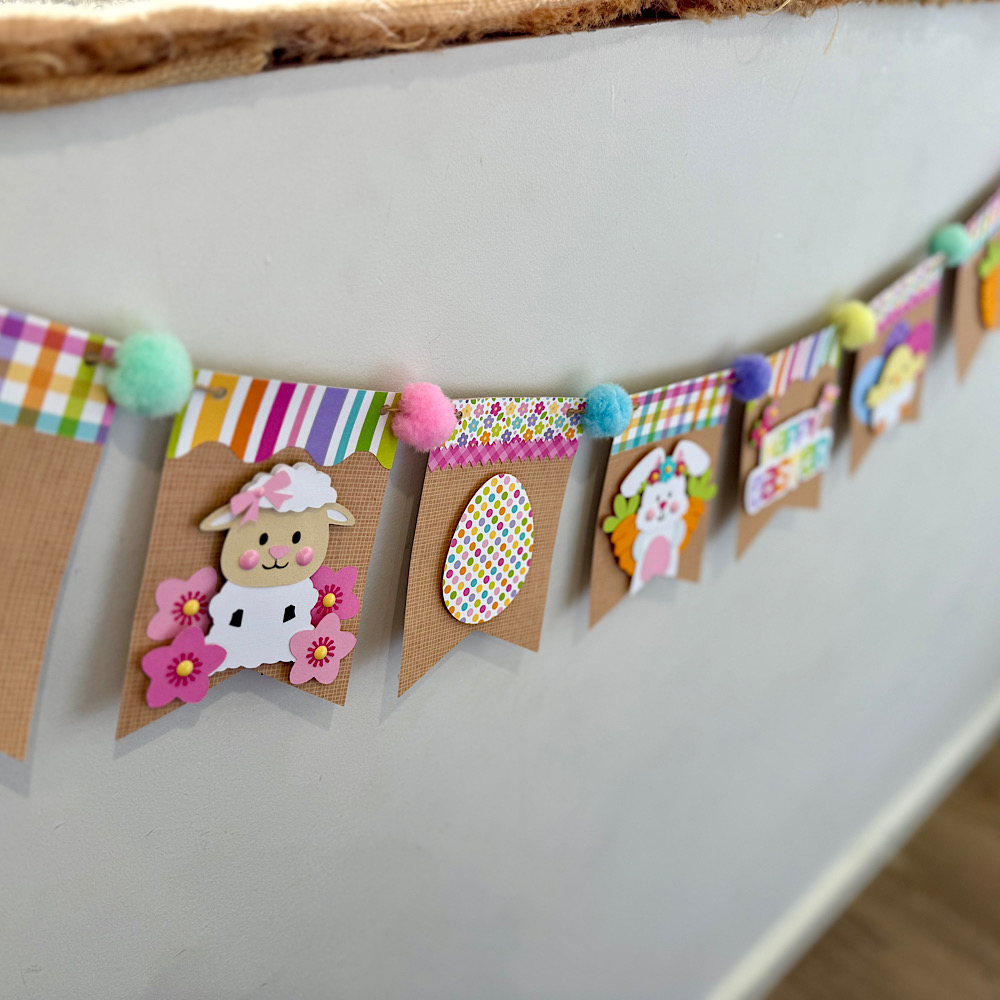
I wanted my banner to have a pastel rustic feel. I chose some Doodlebug kraft gingham cardstock for my bunting base. Then some coordinating coloured papers to match.
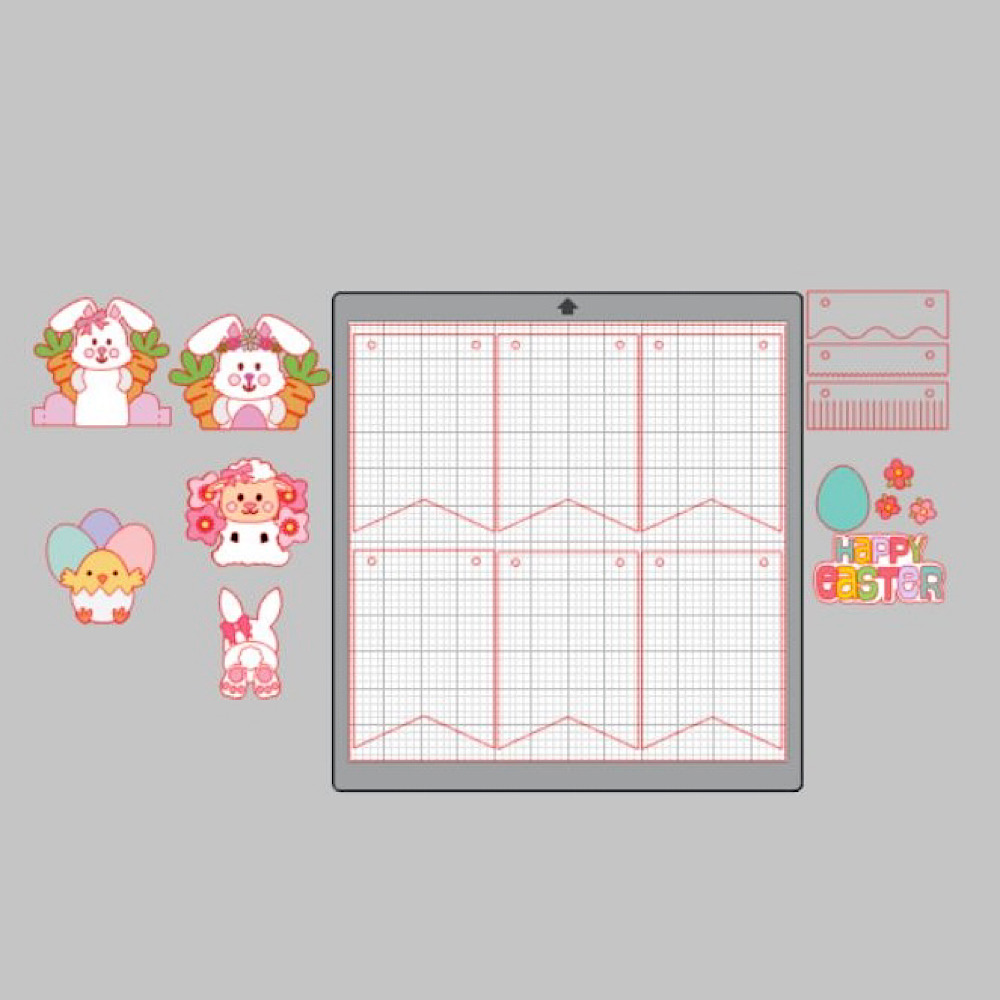
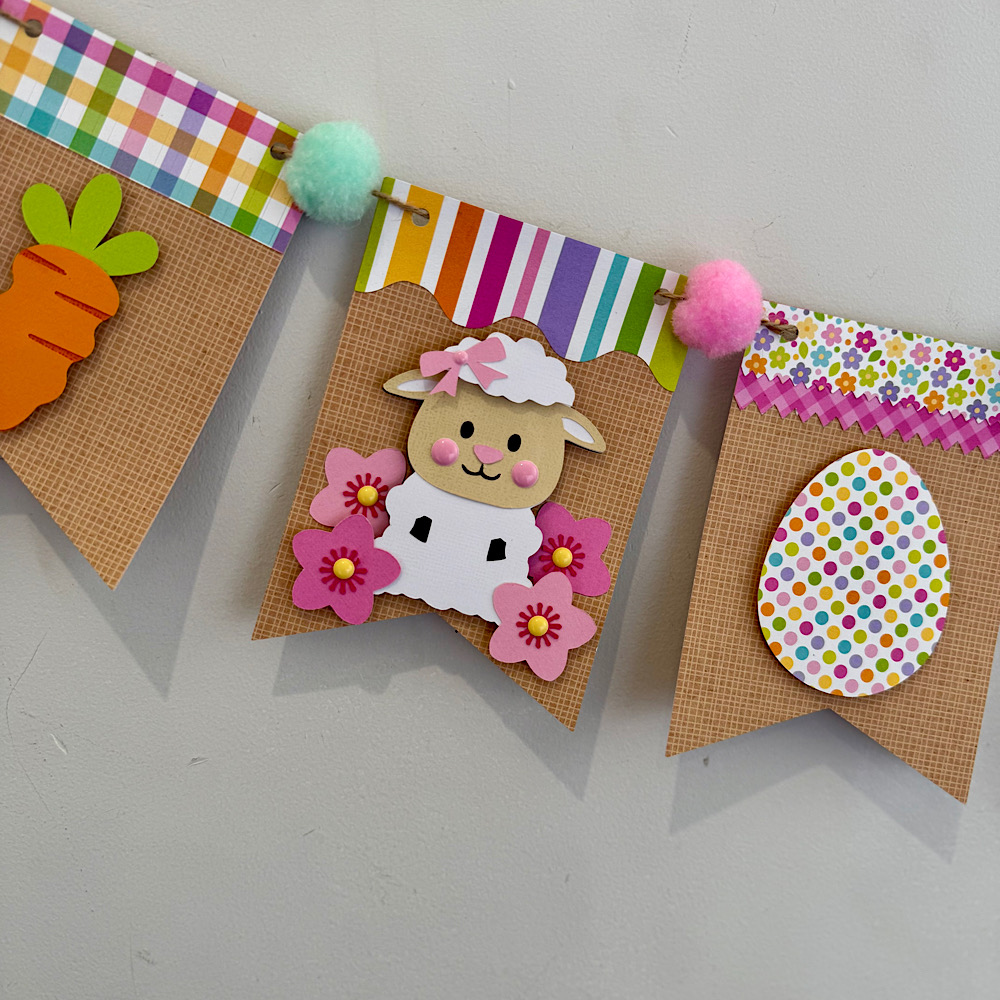
To start my project I opened all the files in Silhouette that I wanted to use.  I deleted the parts I didn’t need then I copied them onto one page with the bunting.  You will see I have used the similar bunnies from the 5×7 Easter Bunny Card & Easter Bunny Car box card. I did this because the carrots in the box card are whole carrots once you ungroup everything. Also she has more of a body. I omitted her bow & used the floral head piece from the 5×7 card. You can just use the Bunny from the Easter Bunny Car box Card if you wish. I also took the extra step of using the egg from the topper to give the bunny a belly like the one in the 5×7 card. To do this I used the same step below by sizing it onto the bunny.
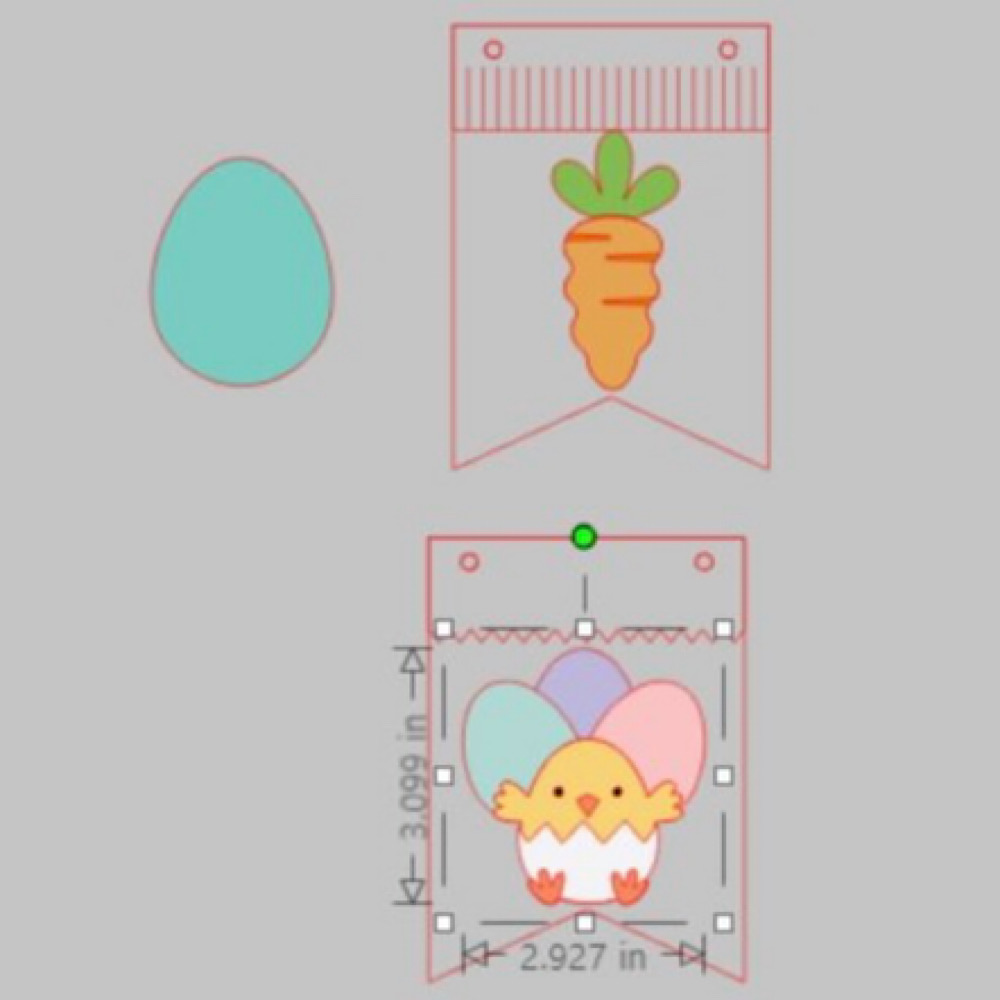
When you open the Bunting file it will have 3 bunting shapes across the page. I right clicked over all 3 & enlarged by dragging the corner just enough so that all 3 bunting pieces fit across my page. I then coppied all 3 & pasted another row. You can make yours bigger or smaller however you please. I did mine this way as it will give me the most bunting pieces, (6 in total per page), without too much scrap. I cut 9 bunting panels in total. Next I sized my images one by one. To do this I copied a bunting panel to the side of my page. I then placed my image piece inside & enlarged or reduced the size making sure it fit inside. Make sure you place the little panel across the top of the bunting as well as I did in my image below.  Do this step for all your pieces.
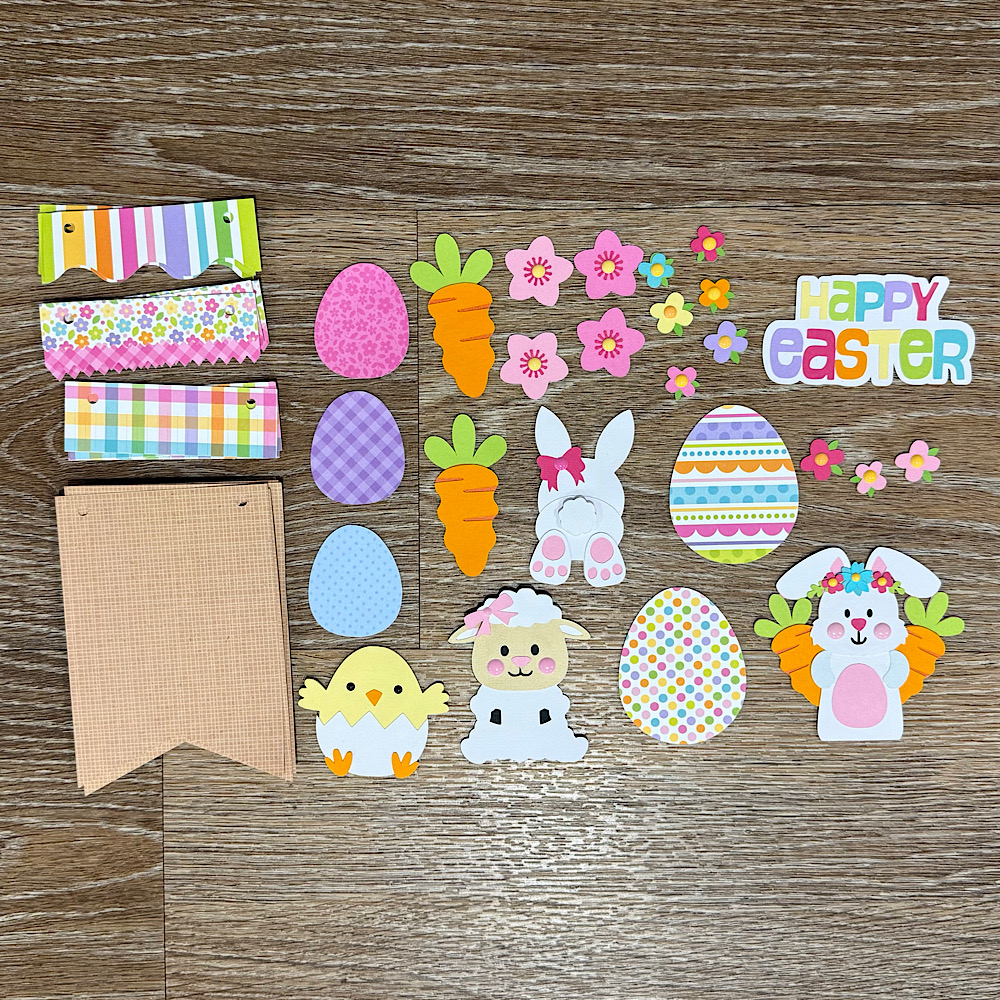
Now once you have all the sizes correctly cut out all your pieces & glue together all your image pieces.
Then just place everything onto the panels to see what order you want everything to sit. Once you are happy with it, it helps to take a photo so that you remember where to glue everything.
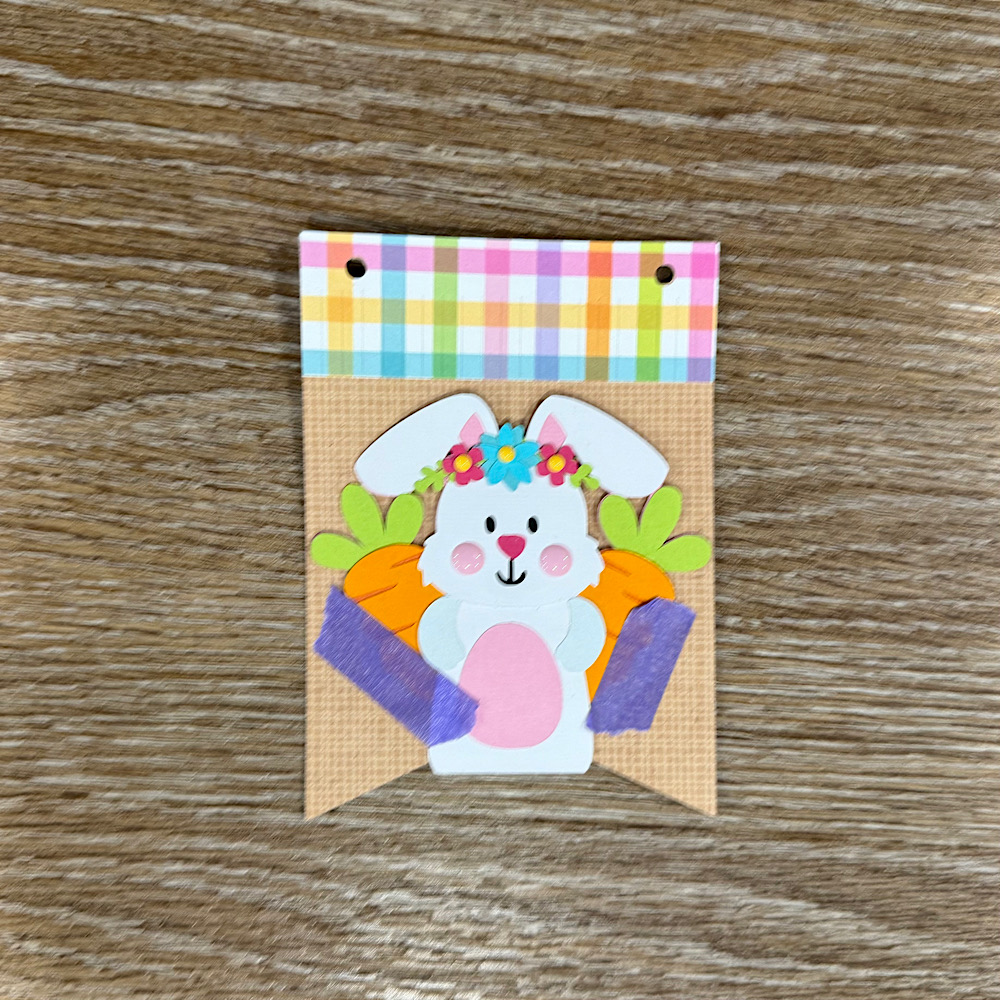
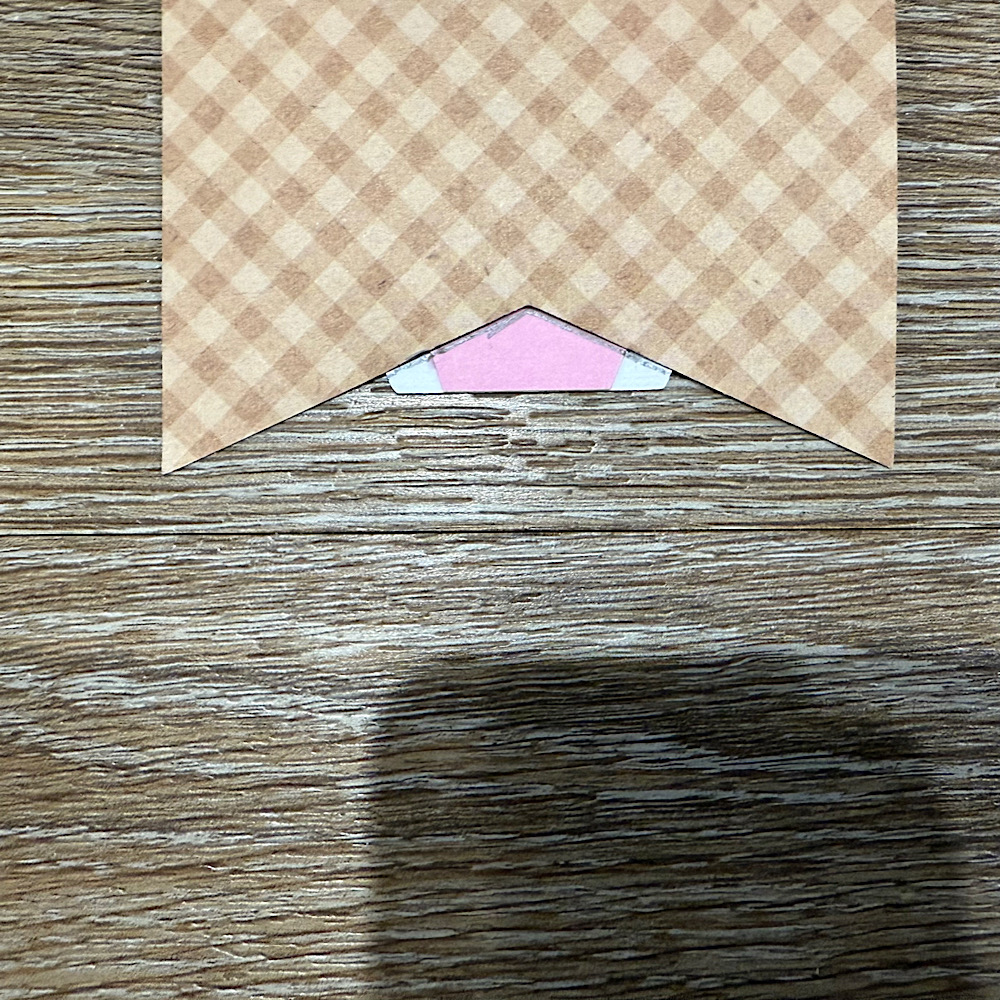
Now glue the panels onto the bunting base. You will notice that the body on the bunny is a little long. Before I stuck down the bunny I placed her onto the bunting with washi tape, then I turned the bunting over & traced the edge with pencil along the back of the bunny. I then cut along the pencil trace & proceeded to stick the bunny onto the front of the bunting.
 
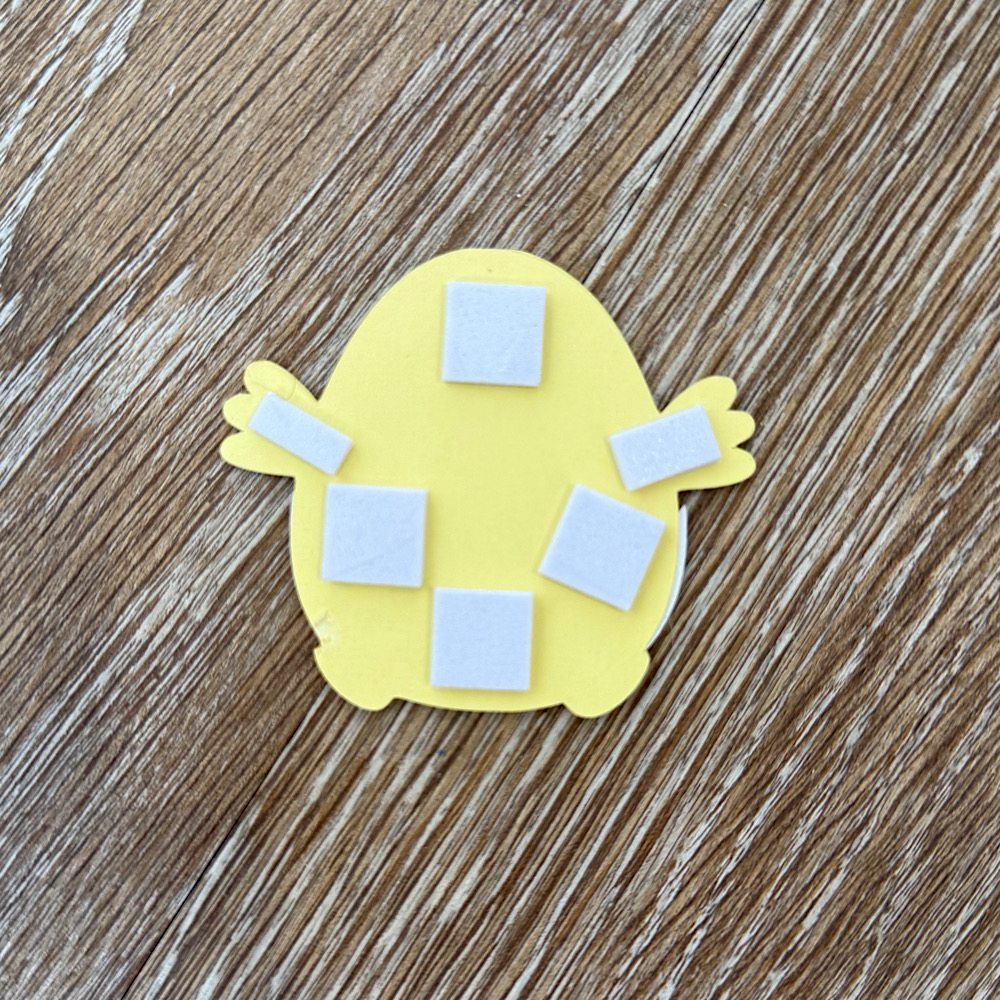
I used foam squares to stick down my image pieces. This gives them a raised look.
Once you have all the bunting pieces ready the last step is to thread some twine & pastel pom poms through to finish the banner.
You can use as little or as many files as you wish. The possibilities are endless. I just love Lori’s files & couldn’t resist the temptation.
I hope I have given you some inspiration today to create an easter bunting banner!
For more inspiration, check out my Instagram!
Thanks for stopping by!
Hugs
Noelene 🙂