Thanksgiving Napkins with Brandie

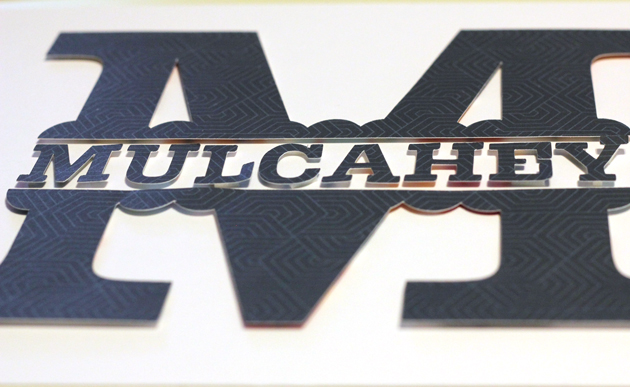
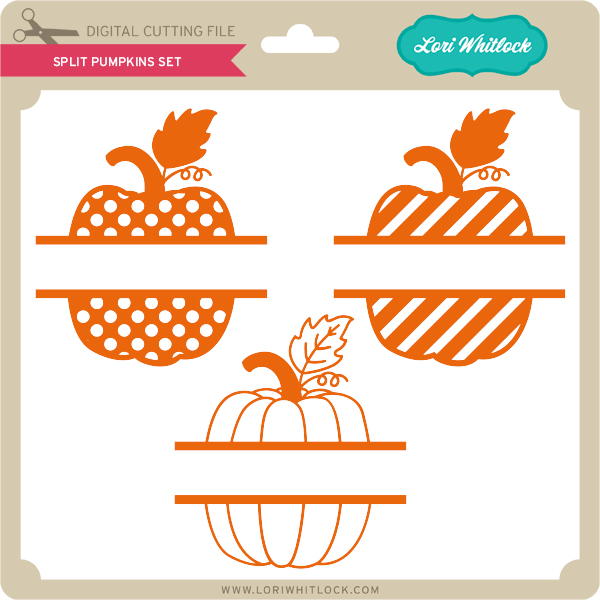
Hi Everyone! Brandie here with a tutorial on how I made some pretty napkins using the Split Pumpkin Set  (Silhouette store) and the Darling Script Font (Silhouette store) .

I wanted something to spruce up my Thanksgiving table this year. I’ve never had a fancy table-scape and probably never will, but a girl can dream. With this project I will get a little closer to that goal.

For this project I used 100% cotton napkins, gold glitter heat transfer vinyl, brown glitter heat transfer vinyl, parchment paper, and an iron.

First I added the font to my computer then uploaded the split pumpkin to Cricut Design Space.

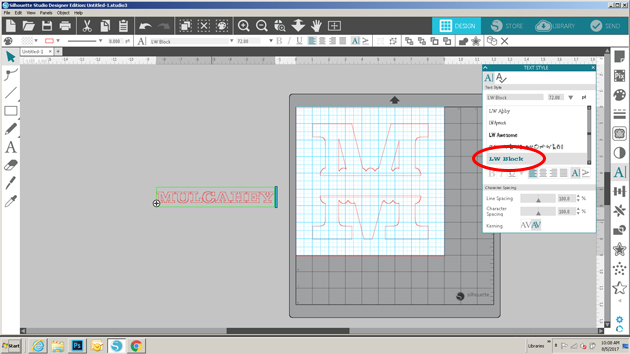
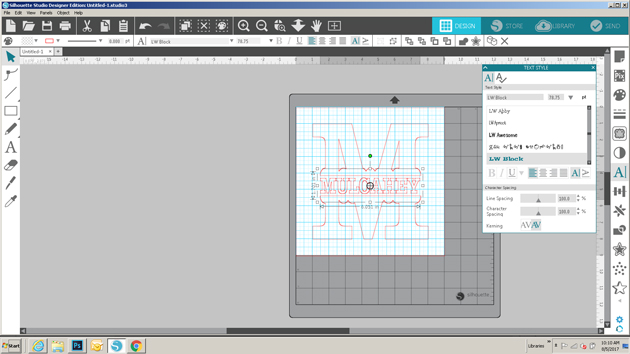
I sized the pumpkin to a width of 3.1 inches and a height of 3.4 inches. I then welded the image so that when I send the pumpkin to the mat the top and bottom of the pumpkin will cut stacked on top of the other like in the picture. For each name I adjusted the letter spacing so that the letters touched I then welded the letters together so they will cut as one piece as well.

Since my name is the longest I used it as the guide to size the other names. The height is .72 inches for all of the names and the width vary for each name.

Once I was happy with the sizing I was ready to cut. I turned on the mirror image for both mats, adjusted the images on the mat to give myself a little more room for weeding, and cut the images out of the heat transfer vinyl. When applying the vinyl be sure to put the shinny side down on the cutting mat.

I washed and pressed my napkins. I also dry fit the two images  so that they would be in the bottom center on the napkin.

I always use a piece of parchment paper between the vinyl and iron. Then pressed  the vinyl with as much pressure as I could to get a good adherence. I then flipped the napkin over and pressed the back of the image. I then repeated the steps for the name.

Here they are finished and ready for my Thanksgiving table. Thanks for stopping by!

Brandie

Adding a Window to the Perfectly Square Box in Silhouette

Hi Everyone, it’s Kathy today with a tutorial showing how to customize the Perfectly Square Box (here in Silhouette) using the Fall Leaf Dingbats Font (here in the Silhouette Store).  This little box is perfect for so many things, favors, place cards, treat holder.  I thought it would be cute to cut a leaf shaped window in one side for fall to make little place markers for Thanksgiving.

I started by opening the Fall Leaf Dingbats Font in Silhouette.  If you’re not familiar with the Dingbats Fonts, they have little pictures in place of letters.  For instance the above leaves were added to my mat by typing the letters A, D, K, T, W, Z in the Fall Leaf Dingbats. (for a more comprehensive explanation of Lori’s Dingbat Fonts, see her YouTube video here.)  These are the leaves I added to the above boxes.

Next, I added the Perfectly Square box to my mat.

The next step is to create the window.  I started by creating 2 boxes using the shape tool.  The first measured 2.4″ square (the size of one side of the box) and the second was 1.75″ square.  I centered them together, made sure both were selected and using the Modify Panel selected Make Compound path.  This not only groups the items, it makes them a single shape.

Next, I sized one of the leaves to fit into the inside of the frame I made.  When doing this, you want to make sure that some of the leaf overlaps at least 2 sides of the frame.  After it was placed where I wanted, I selected both the frame and the leaf, navigated to the modify window and selected weld.  (if you want to add a leaf in a coordinating paper as I did, make sure to make a copy of the leaf shape before you weld)

The above picture shows the result of the weld.  The next step is to add this window to the side of the box.

I started by moving the window to the front panel of the box file.

Once the window was in place, I selected the window only, navigated to the modify pane and selected release compound path.  This breaks up the window into multiple pieces.

Being careful not to move any of the pieces, I selected only the outside square edge of the window, right mouse clicked, and selected delete.  (You want to delete the outside edge so that it won’t be completely cut out of the box.)

Lastly, I selected the inside pieces of the window along with the box, opened the modify window and selected Make Compound Path.  This makes the window a part of the box.

The box is now ready to be cut!  I also cut a copy of the leaf in a coordinating paper and glued it to the outside.

The great thing about this technique is that you can do it to suit almost any holiday or occasion!  That’s it for me today, thanks for stopping by to peek!


October Creative Team Blog Hop and 30% OFF All Files!

Welcome to our October 2017 Creative Team Blog Hop! The creative team has been working hard on some new projects to share with you that will get you in the crafting mood. We also have some FUN new SVG files for you and a GIVEAWAY! Be sure to check them out below. There is also a free file for you!

This week we have a 30% OFF SALE going on at Lori’s SVG SHOP. ALL files (and commercial licenses) from Lori Whitlock, Kolette Hall, Doodlebug Design, Dresden Carri, Rivka’s Renditions and SAS Creative are on SALE now through Monday, October 16th. Be sure to use coupon code: OCT2017 (case sensitive) at checkout in the SVG SHOP. (Only one coupon code per order allowed)

To thank you for joining using the hop today and sharing the hop with your friends, we have a gift for you! TODAY ONLY, You can download this Acorn file absolutely FREE! Be sure to go grab it while you can.

We have some super fun new files in the SVG Shop this week. Be sure to grab them while all files are 30% off this week when you use code OCT2017 in my SVG Shop!  This week,  we have the fun new Doodlebug Design Booville files!  In addition, I have a new Halloween Gift Bag Bundle and a new Baby T-Shirt Bundle!


a Rafflecopter giveaway

And, last but not least… would you like to see what our amazing team has created? Click the links below for some wonderful inspiration. If you get lost come back here to get on track Lori Whitlock, Kathy Skou , Anita Mulcahey, Brandie Adams, Brigit Mann,  Michelle Zerull, Ashley Cook and Tya Smith!! Thanks again for dropping by! Have a GREAT day!

Tuesday Freebie and New in Shop

ALL WEEK, this SVG file is FREE with any $1.99 purchase!

We have a FREE file with purchase all this week! Simply add this Fall Pumpkin Box Card to your shopping cart along with ANY $1.99+ purchase from the SVG Shop and this file is yours FREE. Be sure to use Coupon Code: PUMPKINPATCH (case sensitive) at checkout. This offer is good through next Sunday.

(Your cart must reach at least $3.98 before the coupon will be applied and then $1.99 will be subtracted from your total at checkout. The files will be available for immediate download after you pay for your order by visiting MY ACCOUNT>COMPLETED ORDERS>ORDER DETAILS inside of your account. Only one discount code per order allowed.)
 

In addition, don’t forget about this special ! You can get this Free Kit of the Month with any $20 purchase (Purchase must be in one transaction.) Simply add the 2017 October Kit of the Month to your shopping cart along with ANY $20.00+ purchase from the SVG Shop and this file is yours FREE. Be sure to use Coupon Code: OCTKOTM (case sensitive) at checkout. This offer is good through October 31, 2017!

(Your cart must reach at least $27.95 before the coupon will be applied and then $7.95 will be subtracted from your total at checkout. The files will be available for immediate download after you pay for your order by visiting MY ACCOUNT>COMPLETED ORDERS>ORDER DETAILS inside of your account. Only one discount code per order allowed.)
 
 
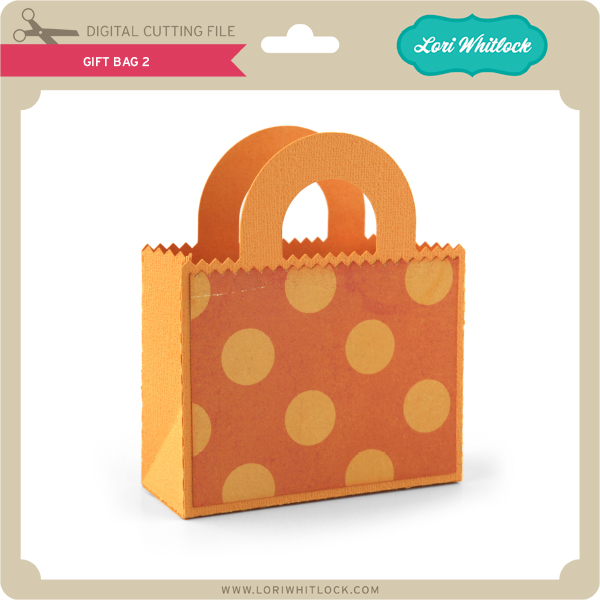
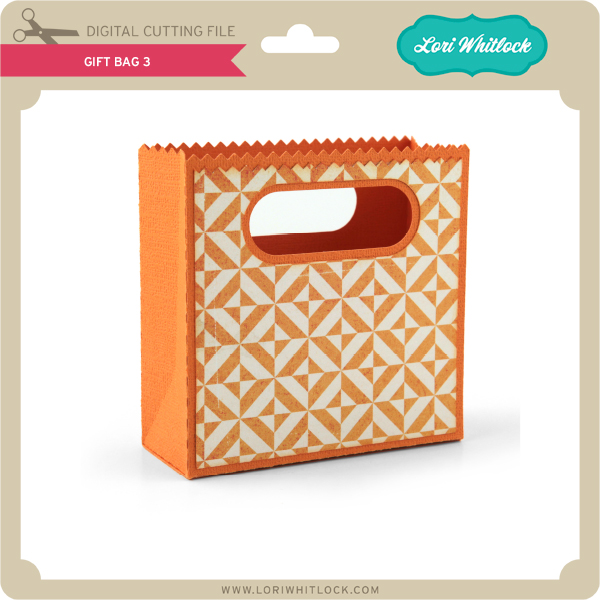
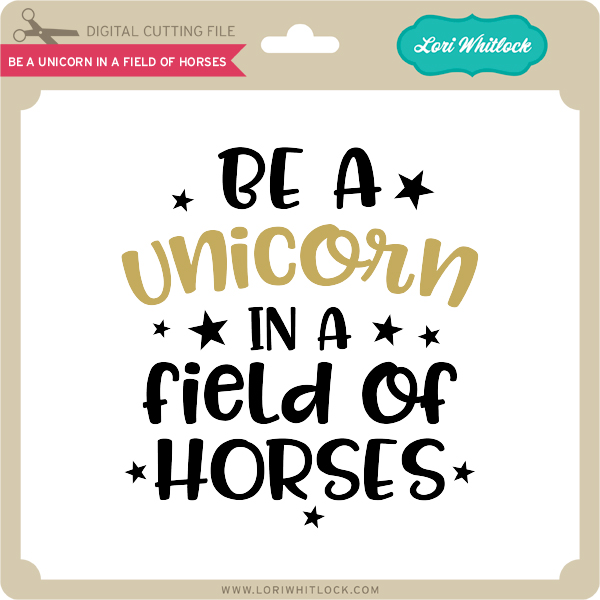
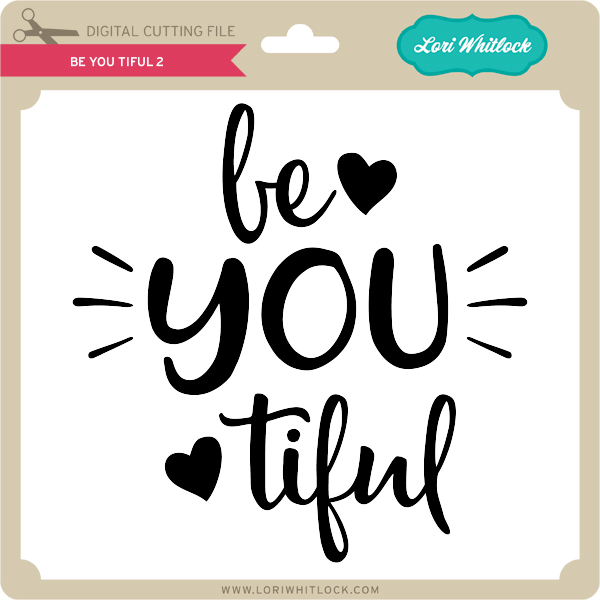
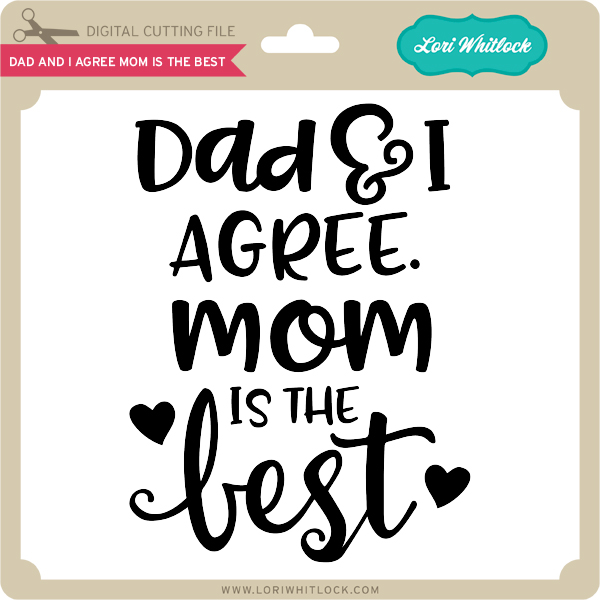
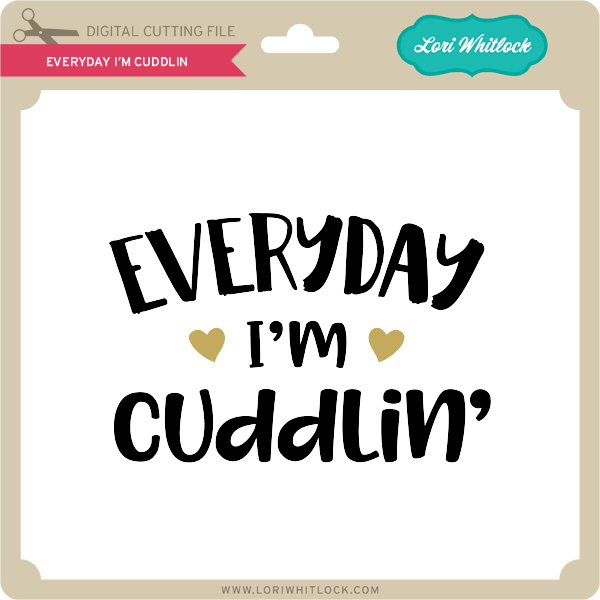
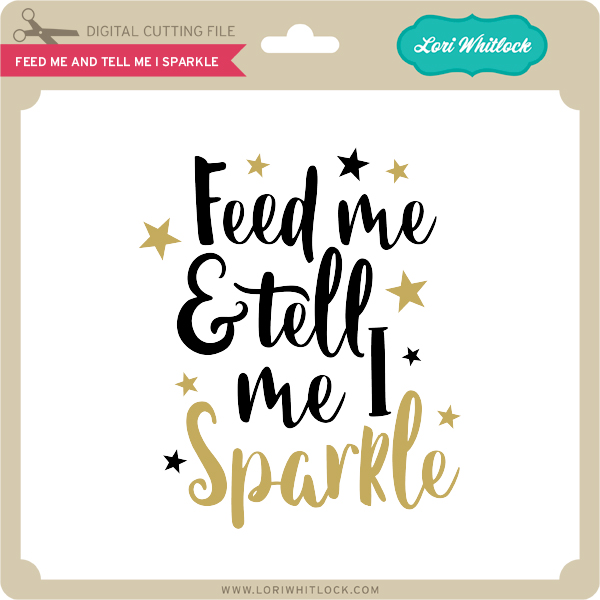
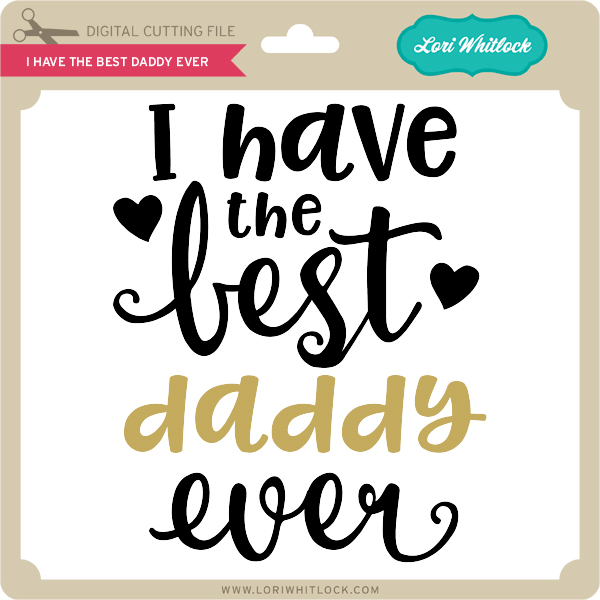
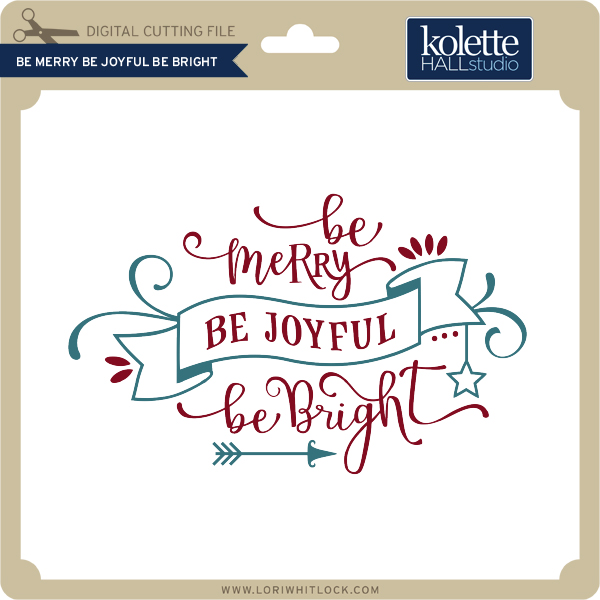
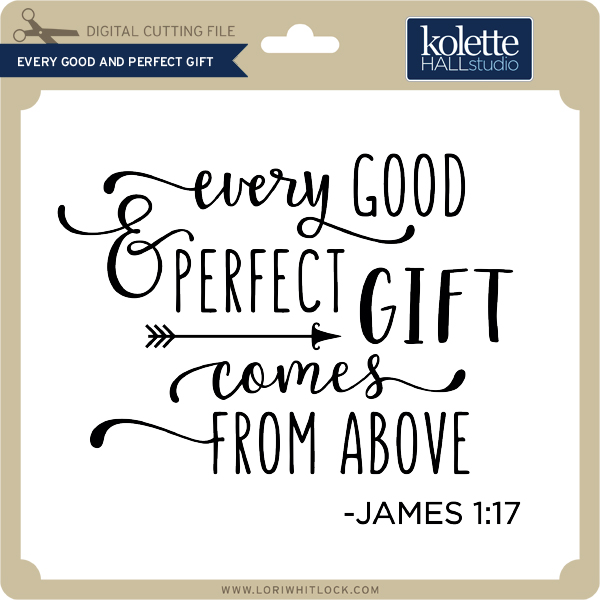
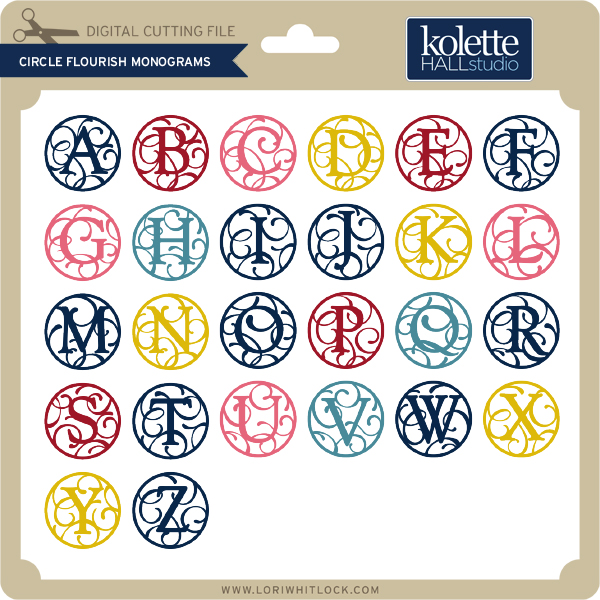
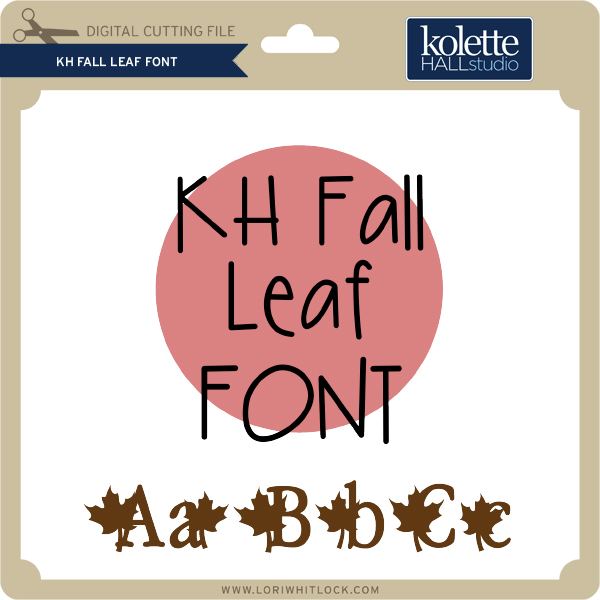
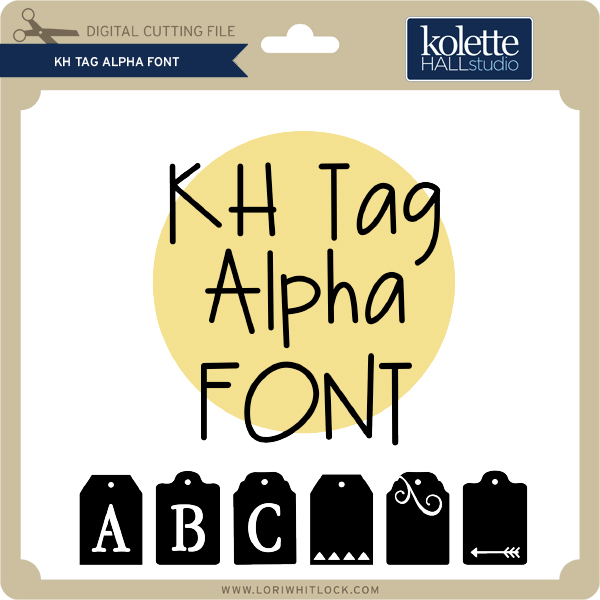
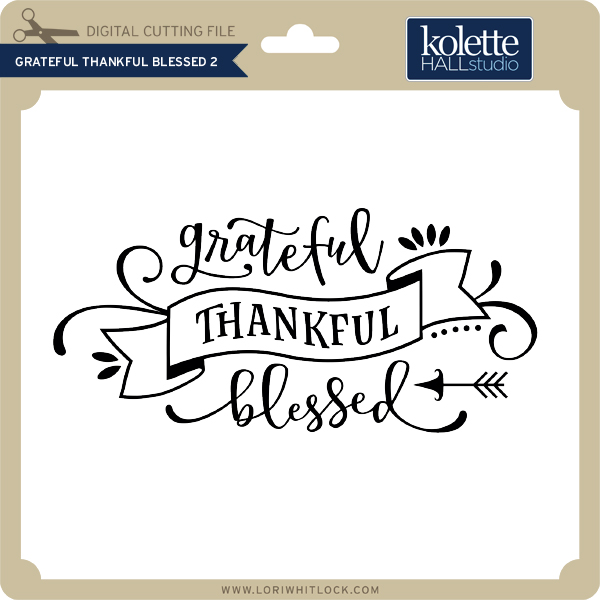
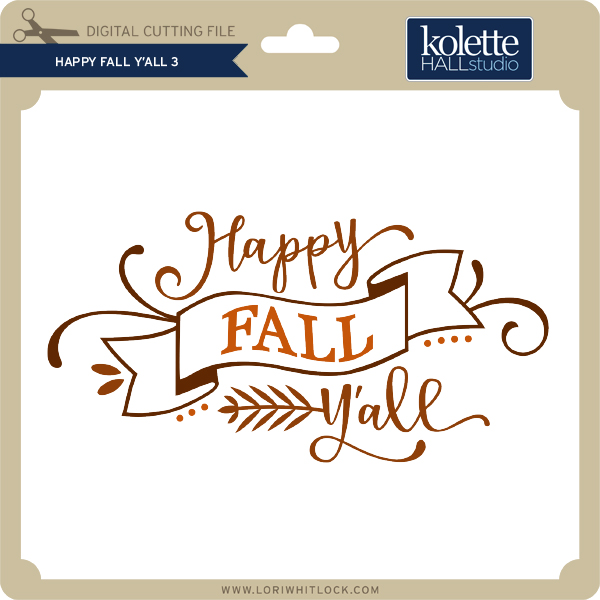
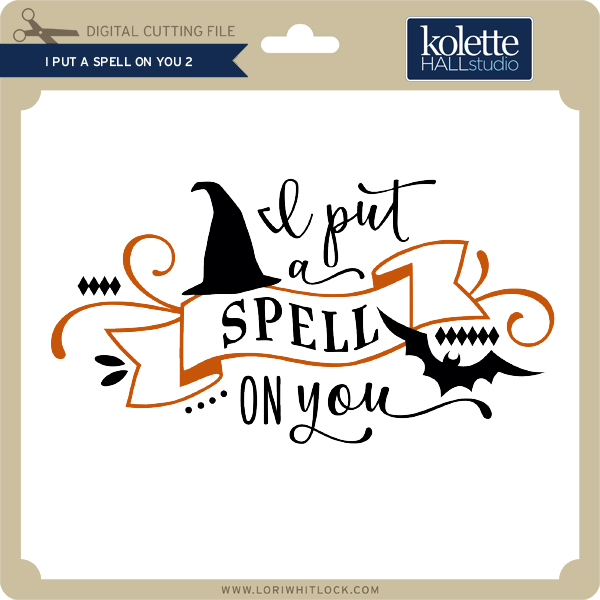
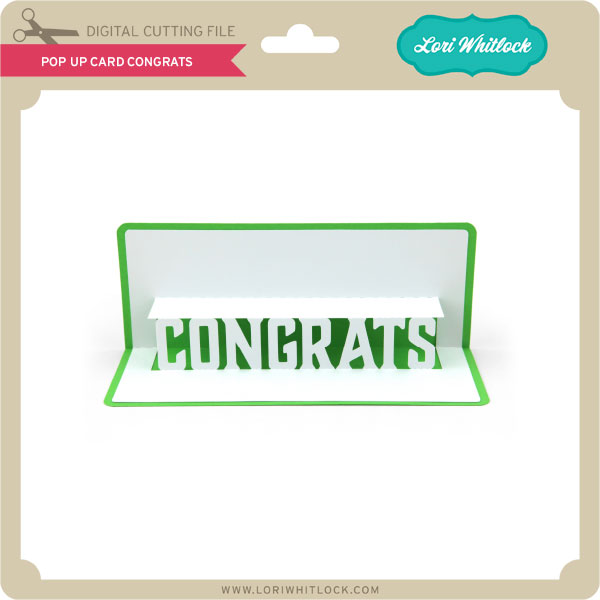
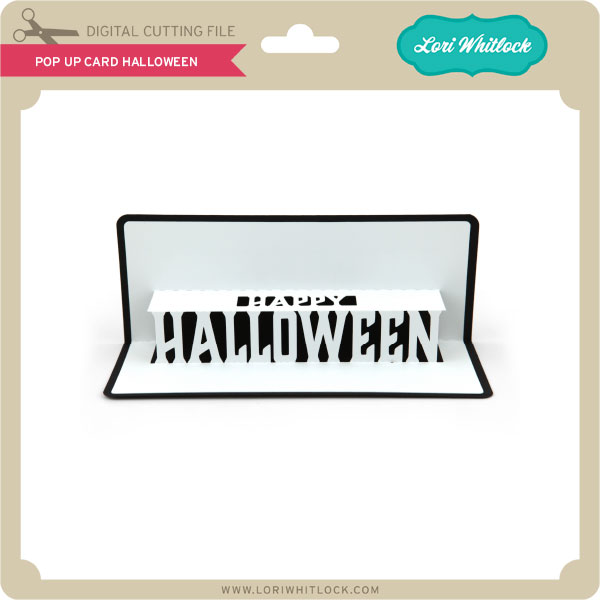
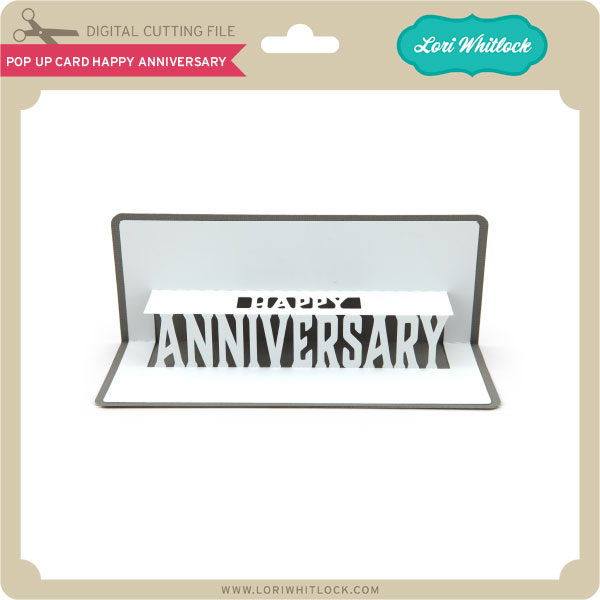
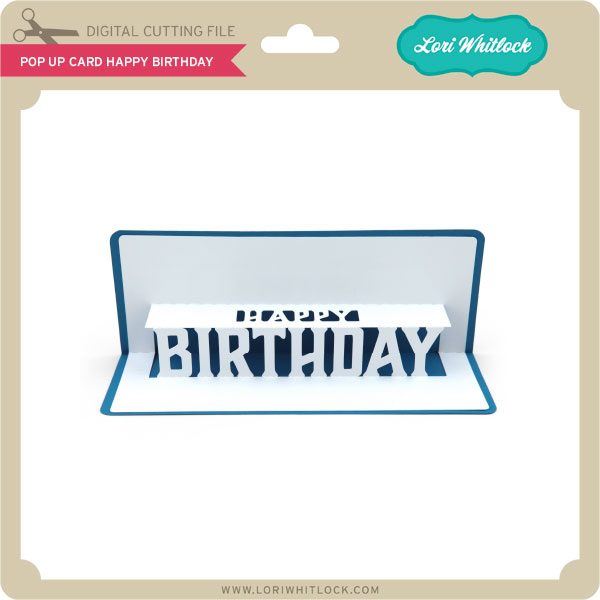
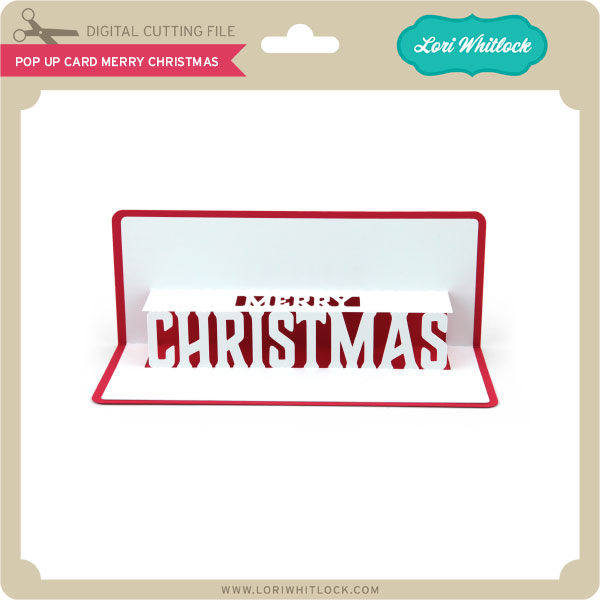
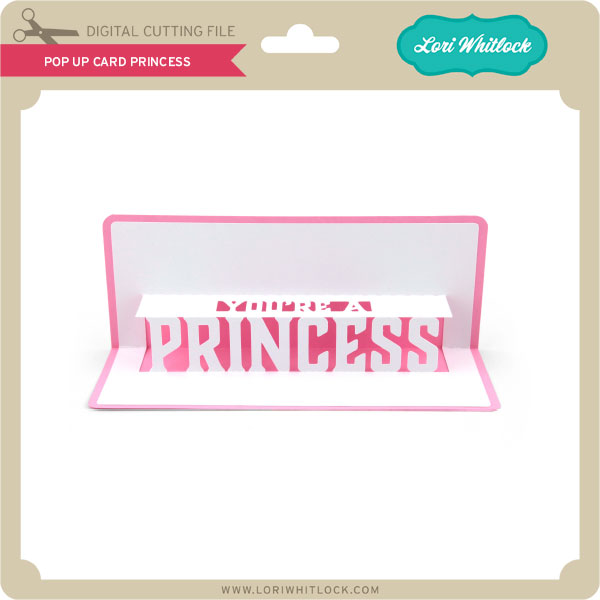
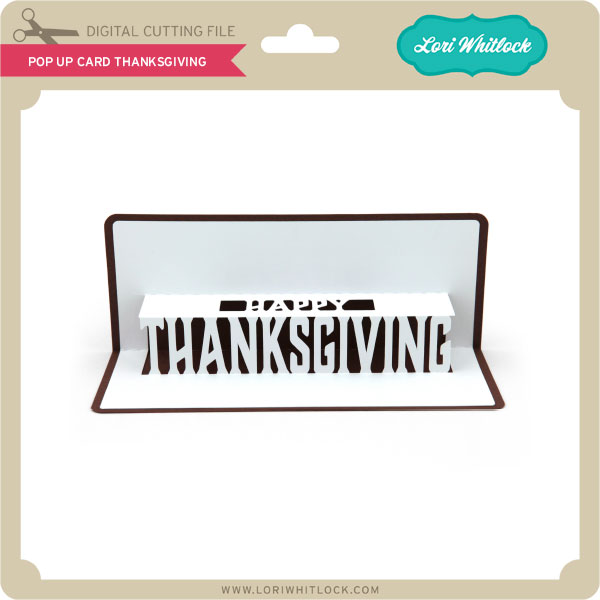
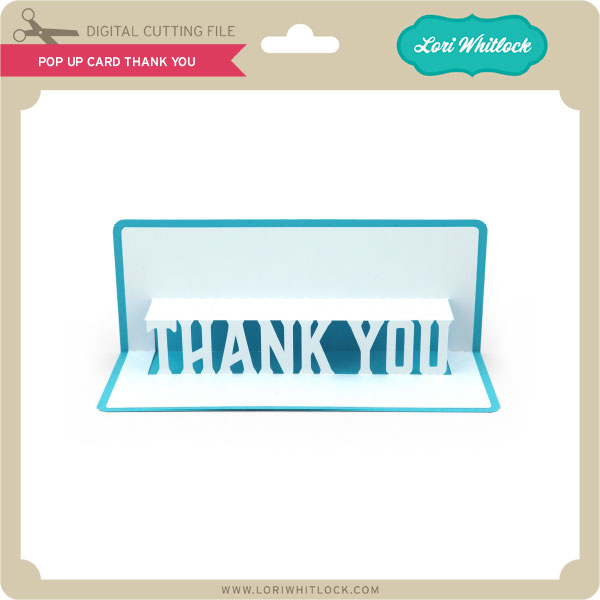
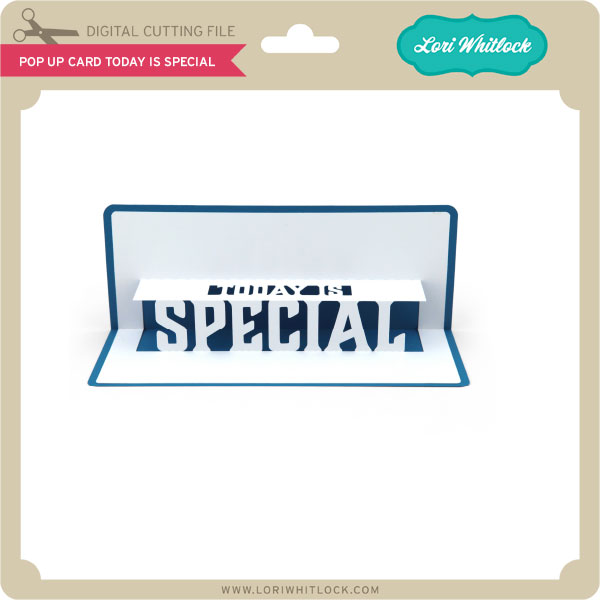
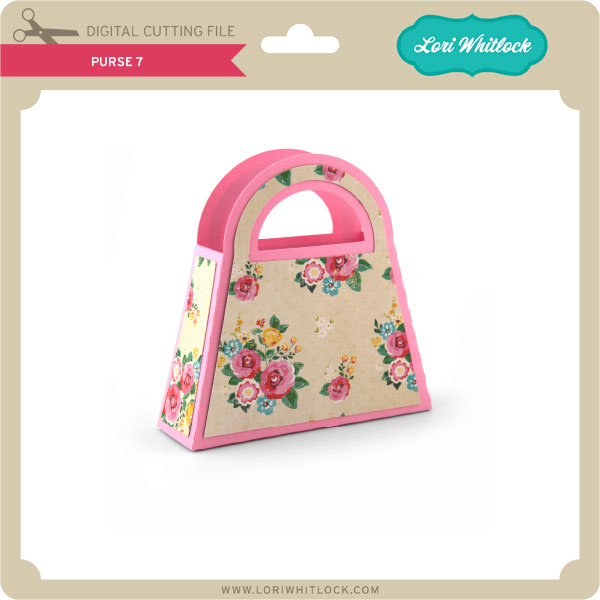
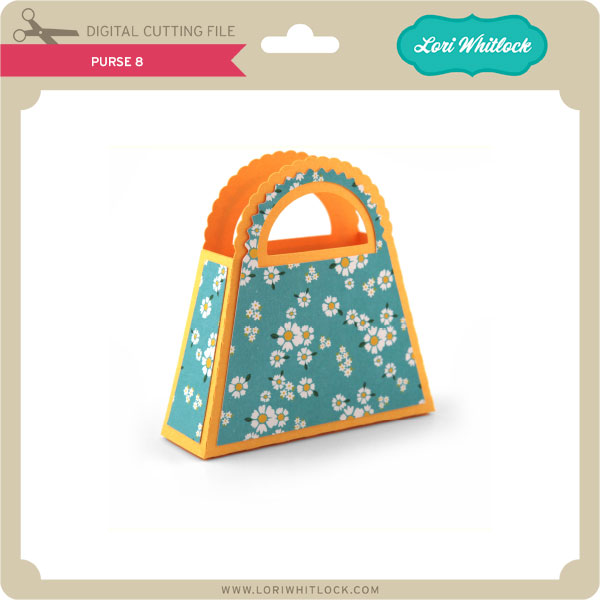
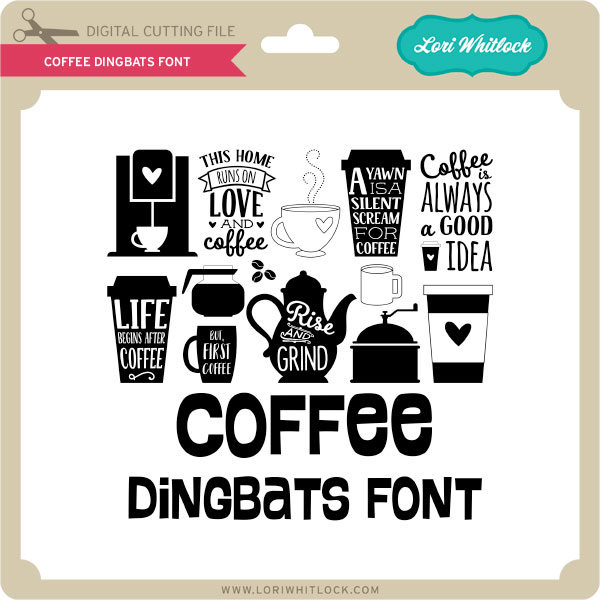
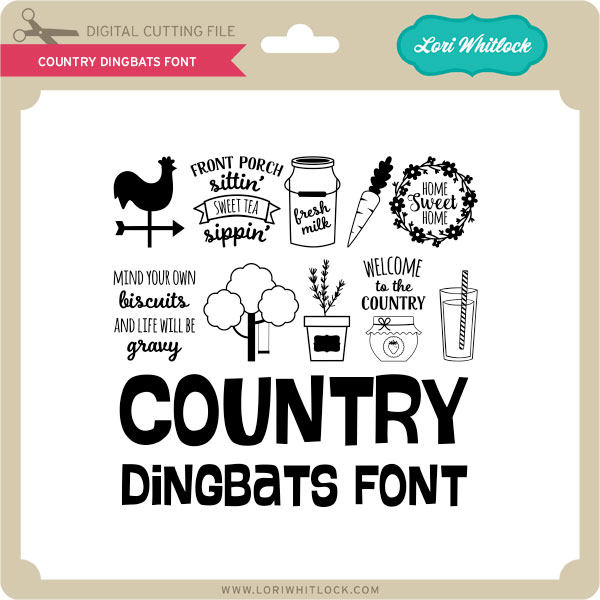
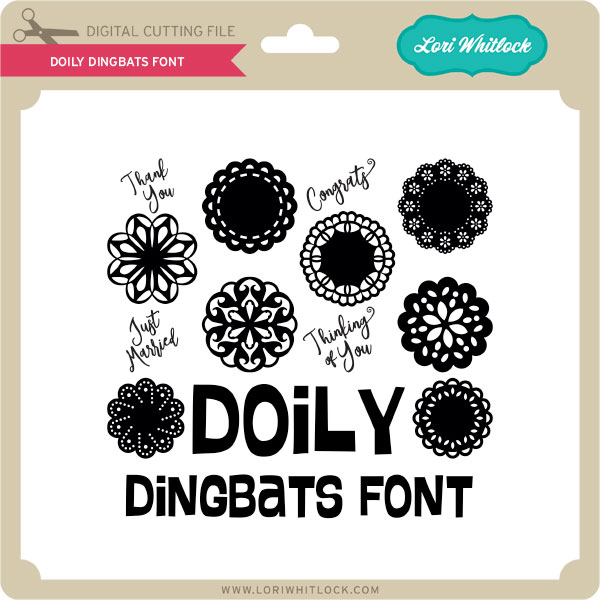
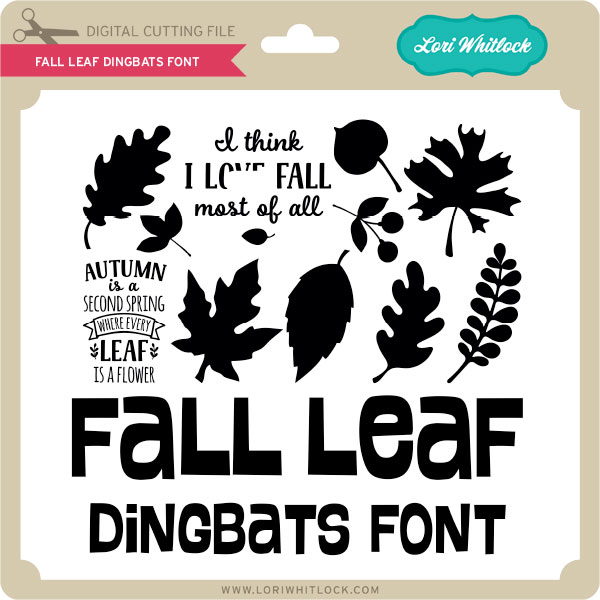
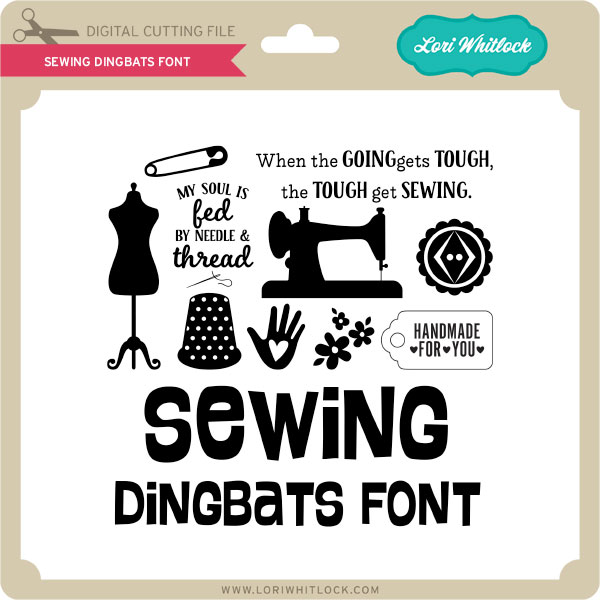
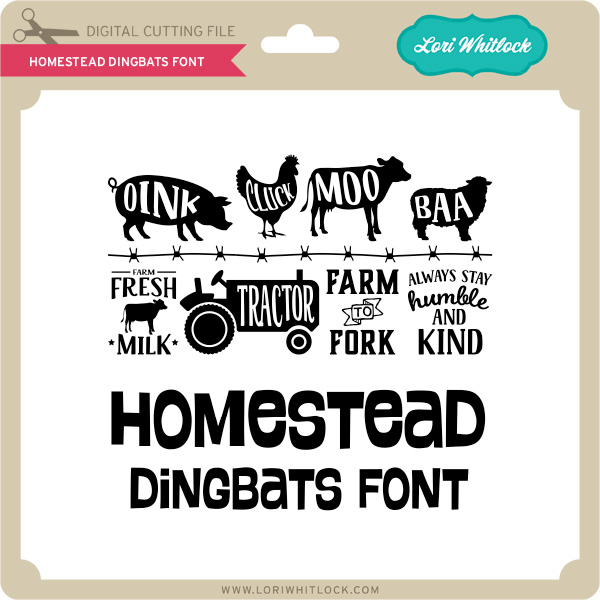
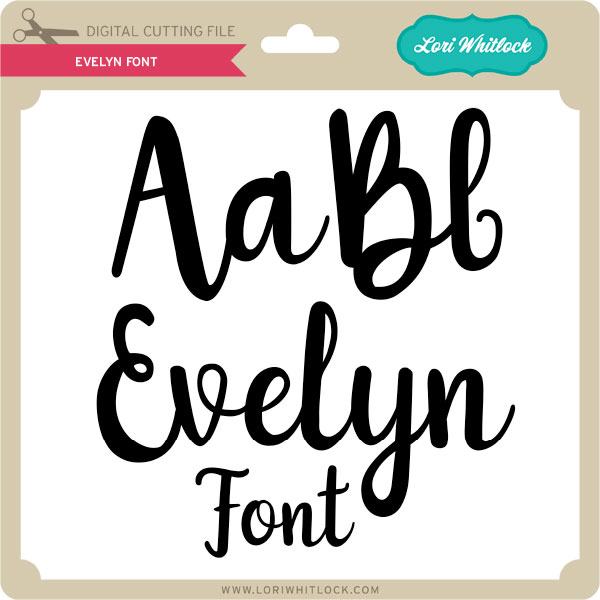
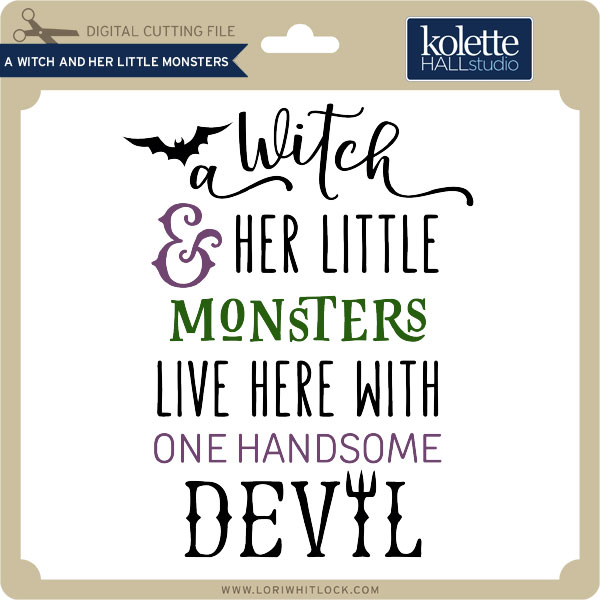
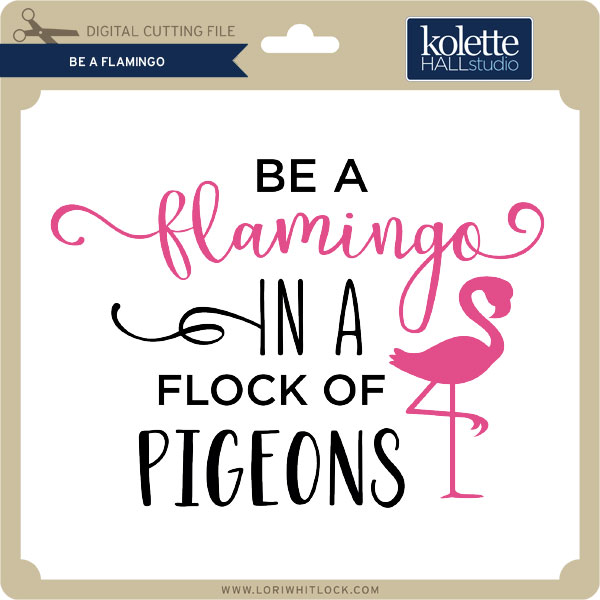
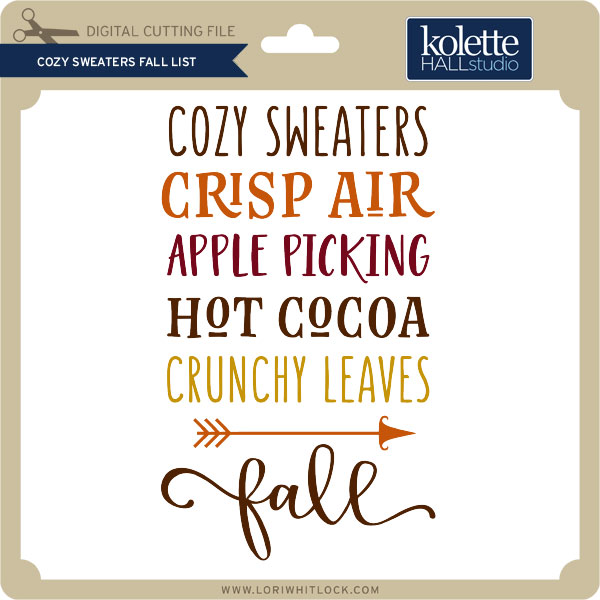
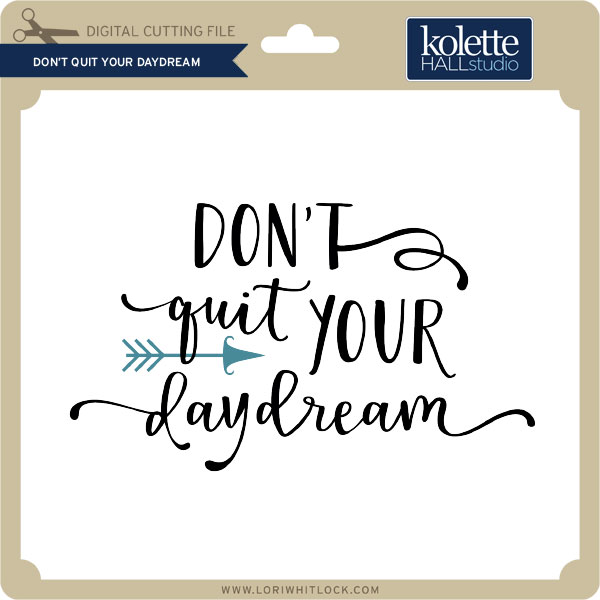
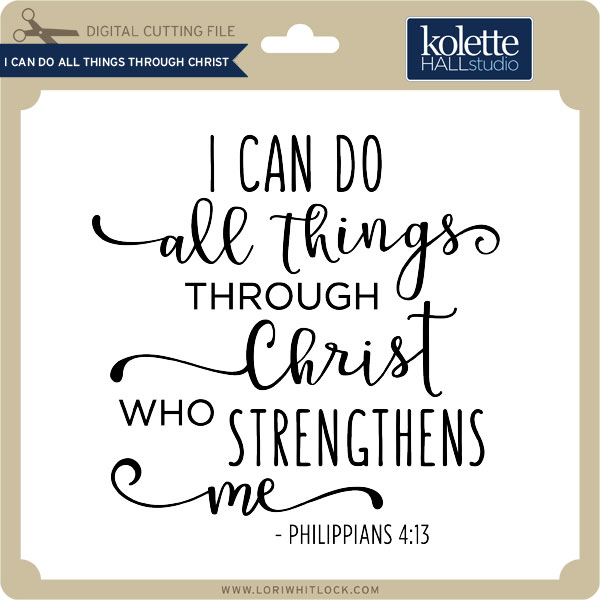
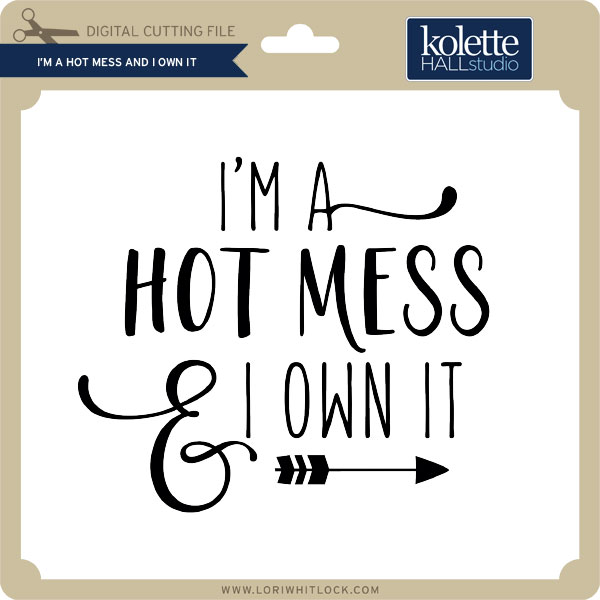
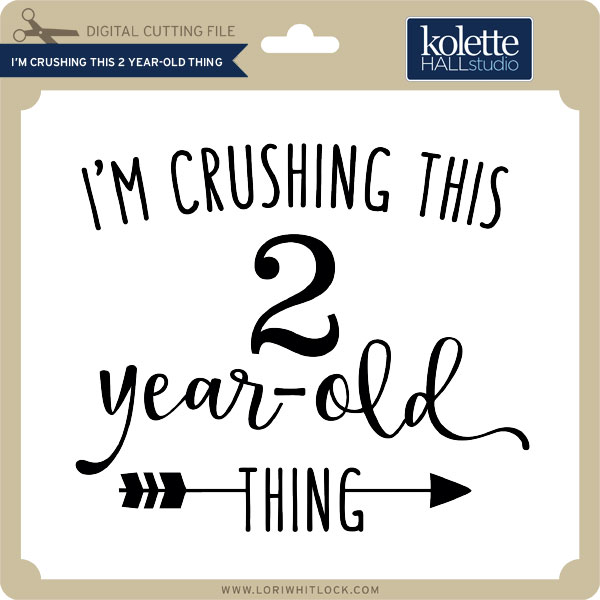
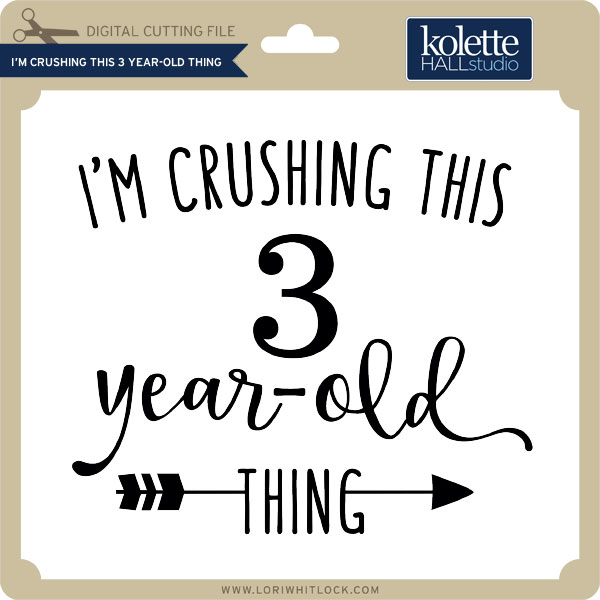
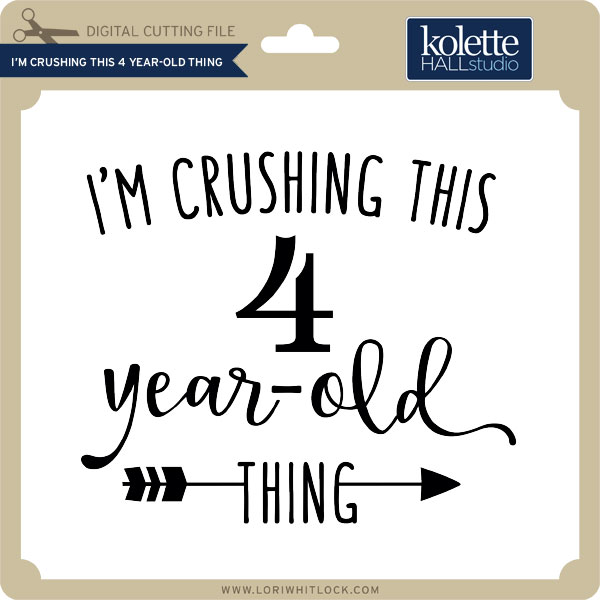
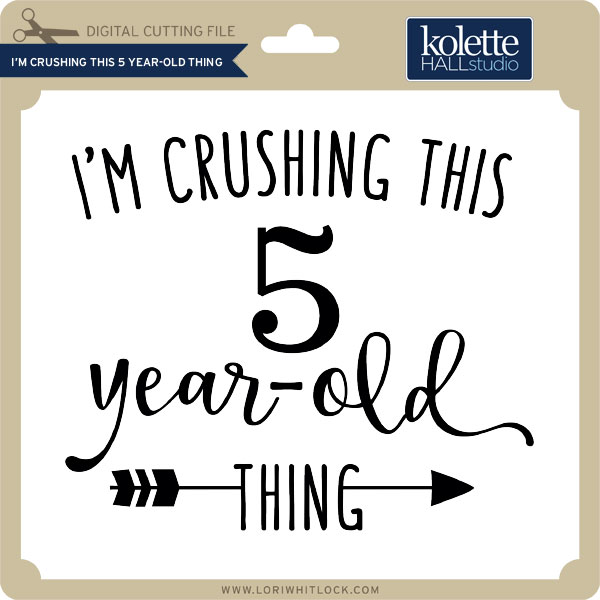
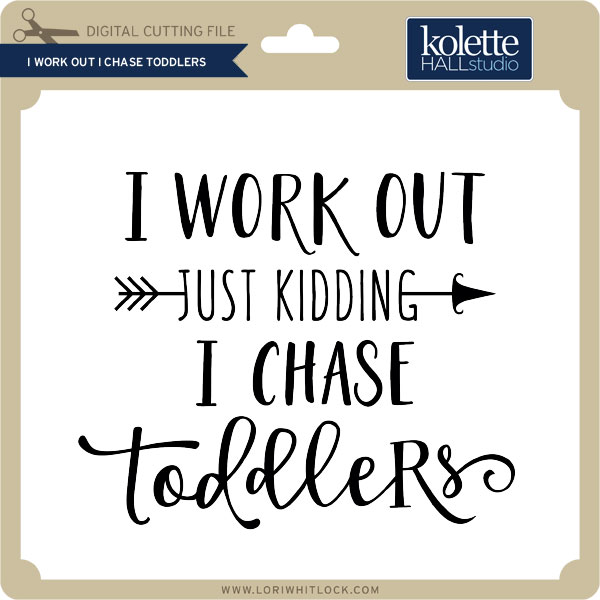
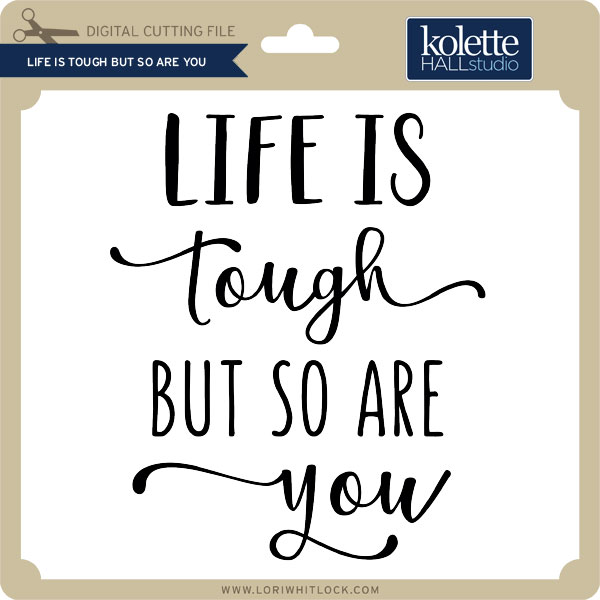
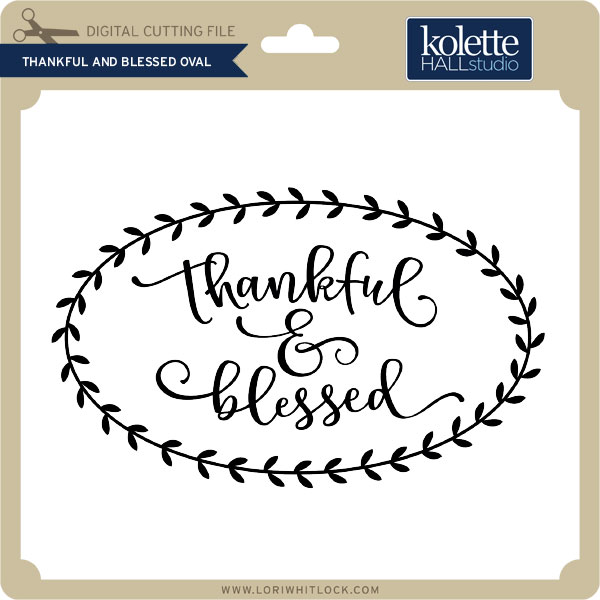
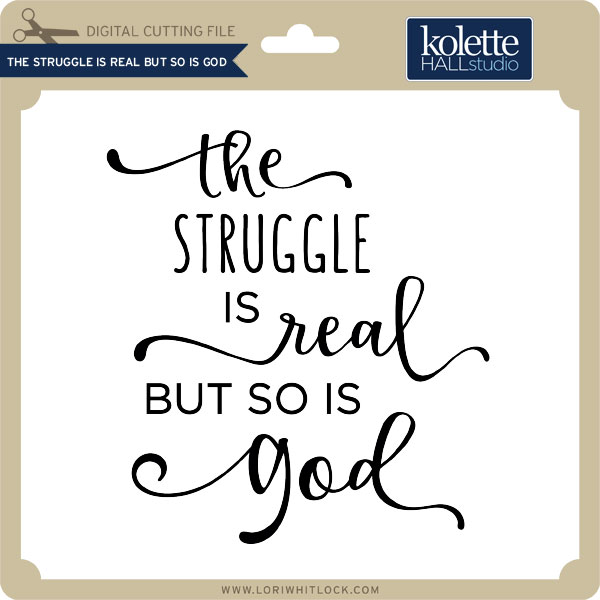
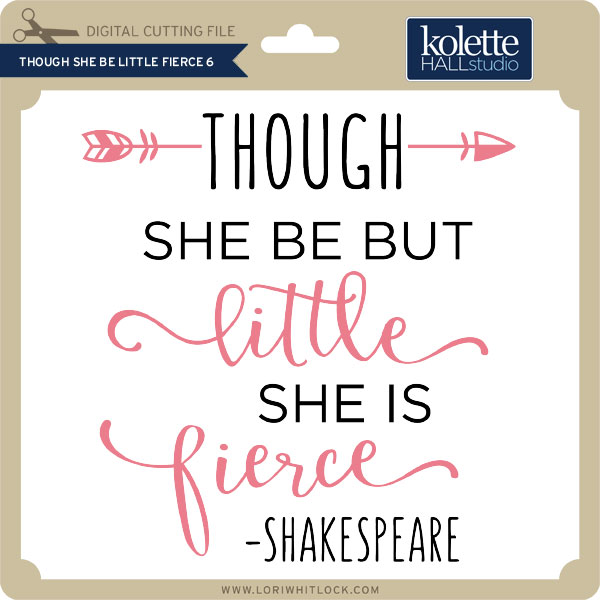
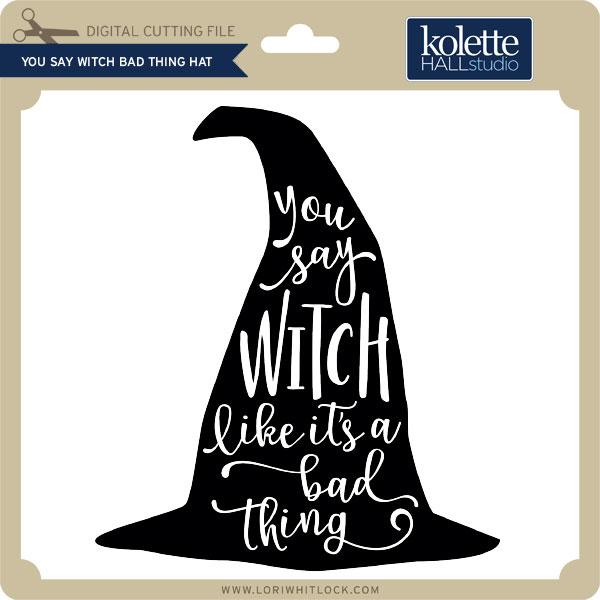
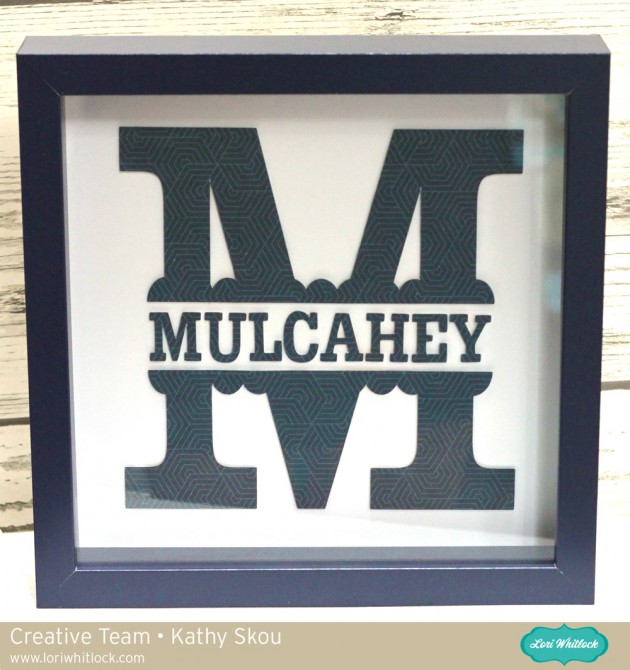
Check out our awesome SVG files releasing this week! And, just like always, the NEW SVG files are ON SALE 25% OFF through the weekend in the SVG Shop! These downloads include SVG files that may be used with Cricut Explore, Silhoeutte (DE upgrade required), Eclips, Brother Scan and Cut, and any other software that will open SVG files. No coupon code necessary, the files are all discounted in the shop! Be sure to go get them while they are on SALE this week.
 
I have some fun new Pop Up Cards in the shop as well as a couple of new Purses and some new Dingbat Fonts!

Thanks for visiting the blog today! Please let us know if you need any help with your files. We want to make sure everyone is happy with their purchase. Have a great week!

Mega Monogram Shadowbox Tutorial with Kathy

Hi Everyone!  It’s Kathy today with a tutorial showing how I created this fun Mega Monogram Shadowbox for a friend.  I’ve seen many similar projects done with vinyl, but I was looking to make something more dimensional.  I decided to make mine with a shadowbox frame, Lori’s Mega Monogram M (available here in the Silhouette Store) and papers from Lori’s Go See Explore Collection for Echo Park Paper.

The hardest part of doing this with paper is to make sure that everything is lined up correctly.  With vinyl, it’s easier since the whole design is transferred at the same time, and in the proper position.    I’m going to show you a way to make this easy.  My shadowbox measured at 9″ x 9″.  To start, using the page set-up function in my Silhouette software, I set my page size to be 9″x 9″.

I loaded the M Mega Monogram from my library into my work space.  I wanted the monogram to be more square than the original.  To change the size, I selected the monogram, then using the sizing function I set my monogram to be 7″ x 7″.  This did skew it a bit from the original shape, but not enough to make a difference.

Next, I added the name for the center of the monogram.  Lori’s Block Font is the perfect match for the Mega Monograms.  I typed the name in all capital letters, this made it more uniform and easier to center in the monogram.

I resized the name by dragging the corners and edges until it fit in the center of the monogram.  Again, the font was slightly skewed from the original but not enough to make it look odd.

Once I had all of my design on the page, I needed to center the design on the page.  To do this, I first drew a square measuring the same size as the page (9×9) and placed it over the page on the mat.  I clicked on the monogram and the square to select both.  I opened the transform panel, and clicked on both the Center Horizontal, and Center Vertical tools.  This aligned the M to be in the exact center of my page.

Next, I centered the name.  To do this, I selected both the square and the Name and clicked on the Center Horizontal tool.  This centered the name in the monogram.  Once everything was centered, I deleted the square that I drew.

I cut my paper to be 9″ x 9″, added it to my mat, and sent it to cut.

Once the design was cut, I carefully peeled the “negative”.  I used the negative as my guide for laying out my design in the shadowbox.

I layered the “negative, over my background piece and held it in place with a couple of clothes pins.

I added thin strips of foam tape to the backs of my design pieces.

I then carefully taped the pieces down inside their slots in the negative.

Once all of my pieces were taped down, I undid the clothes pins and carefully lifted the negative off of the design. (be patient and slow so that you do not bend or rip your design)

I was left with a perfectly centered design!  I added the design to the shadowbox and closed it all up!

I’m giving this to my friend to celebrate her newly redone kitchen tonight!  That’s it for me today, thanks for stopping by to peek!