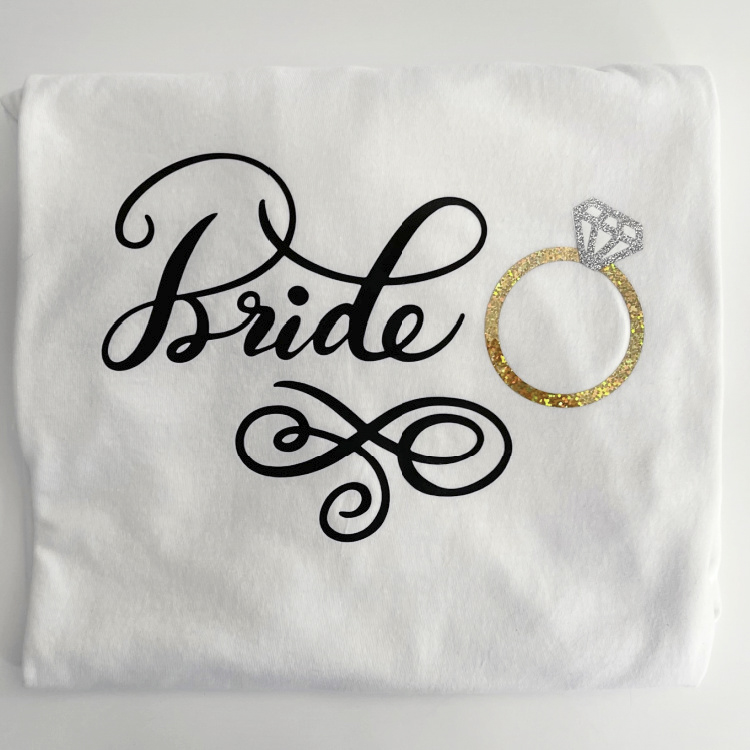
 Anita here with a fun and easy tutorial on how to apply layered heat transfer vinyl to your projects. My daughter got engaged recently and I wanted to make her a fun t shirt to wear. I used Lori’s SVG including Hand Lettered Bride and Groom (SVG, Silhouette) and Wedding Rings Card (SVG, Silhouette). I prewashed the shirt first and gave it a good press.
Here are the pieces that I cut out of Vinyl.
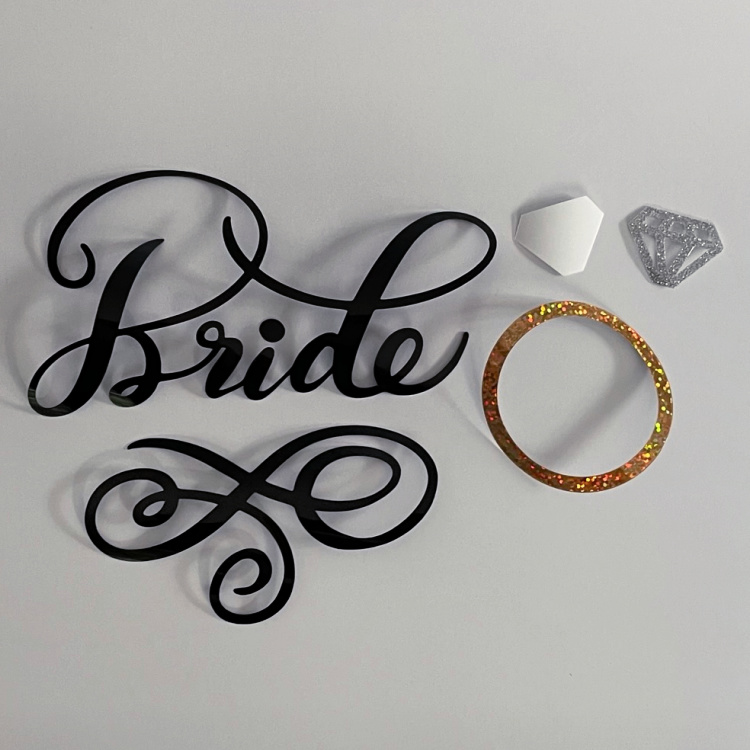
Here are the pieces laid out on the t shirt for placement.
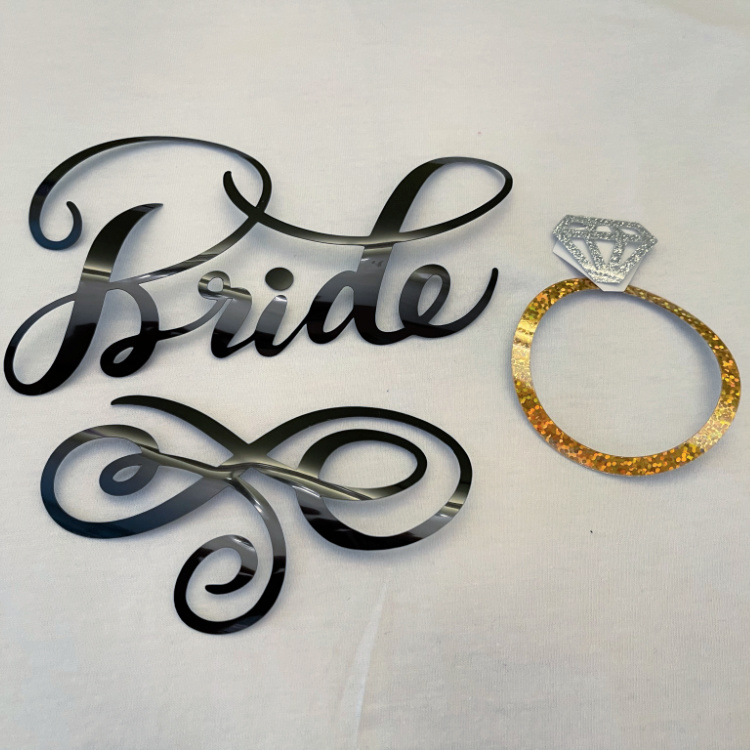
I removed all the pieces from the t shirt except for the gold ring. I lightly pressed that down at 315 degrees for 30 seconds. You have to work from the bottom most design piece and build your way up. I have a Cricut Easy Press and if you don’t have one you can use a regular iron. The wool, silk and polyester settings on a standard iron are at around 300 degrees so if using a regular iron I would just increase the time a little bit.
Once the item was cool to the touch, I peeled off the protective plastic over the design. Next, I put on the white layer which is the background for the stone. I pressed that down at 315 degrees for 30 seconds. I removed the plastic layer from that piece once it was cool to the touch.
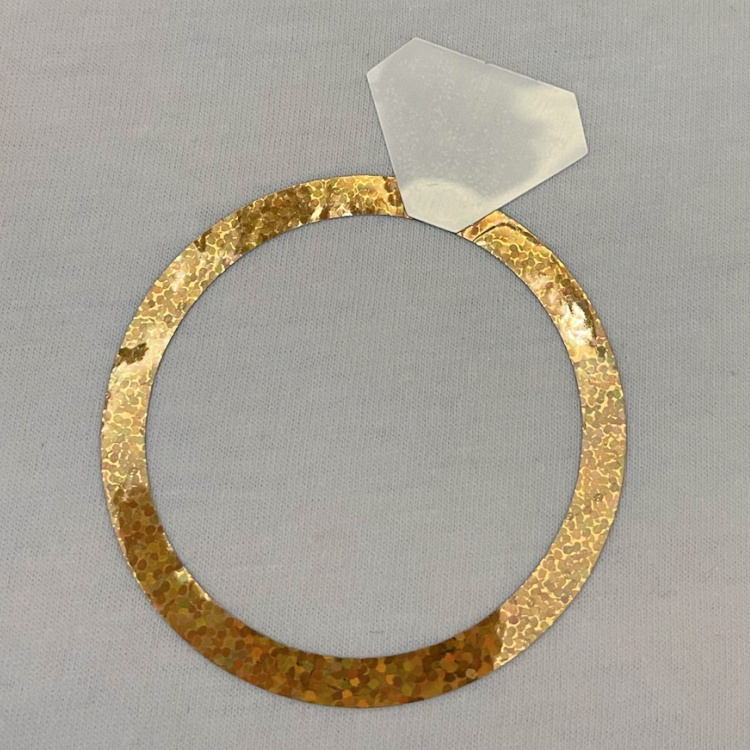
Lastly, I applied the top of the diamond stone and adhered that in the same manner. Once it had cooled to the touch I removed the plastic topping from the stone.

Next, I laid out the bride word and the decorative swirl. I like to put it where I think I want it to be and lightly press one edge to make sure that it did not move when I adhered the last two pieces. I pressed the bride and swirl for 30 seconds at 315 degrees and there was some overlap with the ring and it did not cause any issues. After waiting for it to cool, I peeled the last two plastic protective layers off, flipped the shirt over and pressed the back for 15 seconds.
I find that these t shirts are best cleaned and dried inside out and that they design holds up well.
And don’t forget, that there’s a sale in the Lori Whitlock SVG shop through Saturday. Get 30% off all SVGs, Fonts, Pattern Fills and Commercial Licenses when you use code JUL2022 at checkout.

That’s it for me today. Have a great day.
Hugs,
Anita


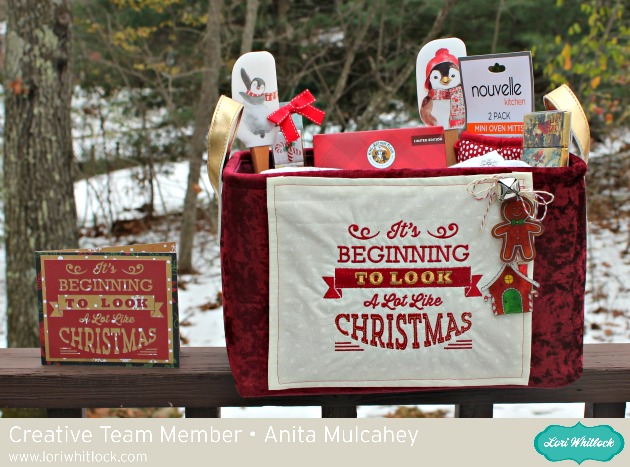 Anita here with a fun tutorial to make this gift set. I love to quilt and embroider as much as I love to paper craft and I was thrilled to recently discover that Lori Whitlock has embroidery files that she has designed, many of which mirror her paper craft SVG files. You can find her gorgeous embroidery files at
 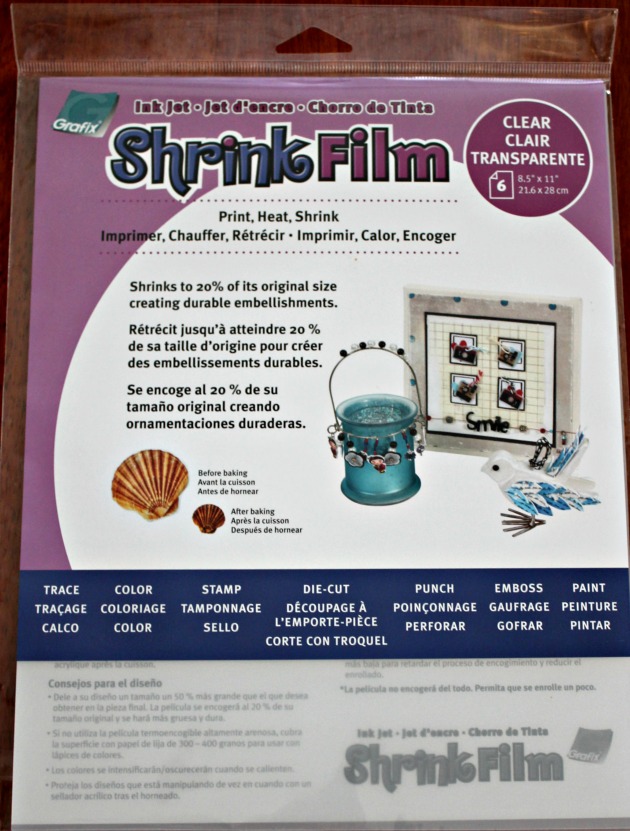 I bought shrink film from Amazon and used Lori’s Print & Cut Stamps Christmas Cookies which you can find
 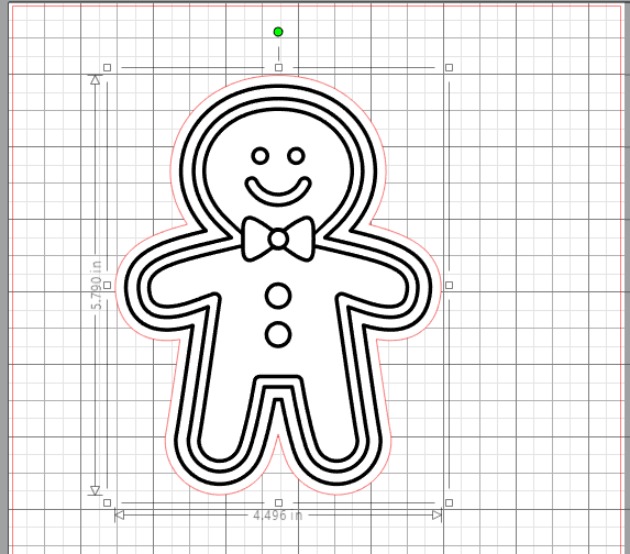 I then used my Copic markers to color the shrink film. I knew that the colors would deepen once I shrunk the image so chose my colors with that in mind. I used R37, E11, G14, G07, E99 for the gingerbread man and Y08, E99, R37, G07 for the Gingerbread house. Be sure to punch a hole in your shrink film before you put it in the oven and remember that the hole shrinks also. The directions say to bake the film on parchment at 300 degrees for 2-3 minutes but I found that my heat gun worked much better as I could control the plastic as it shrank. Below is the before picture.
 Here is the photo of the shrink plastic after it was done.
 I went to Embroidery online and bought the bundle which had all the Christmas embroidery files that I wanted to use for this project. It is called
 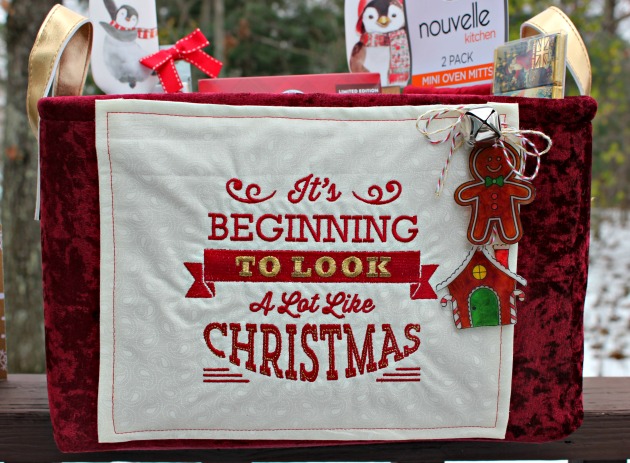 I then strung my two adorable gingerbread embellishments on some yummy twine, added a bell and glued that down as well.
 The last thing that I did was made a card that used the SVG cut file which matched the embroidery. I used Lori’s new Christmas collection called Celebrate Christmas. The cut file can be found here in Lori’s store and
  That’s it for me. Hope that you have a wonderful holiday season.