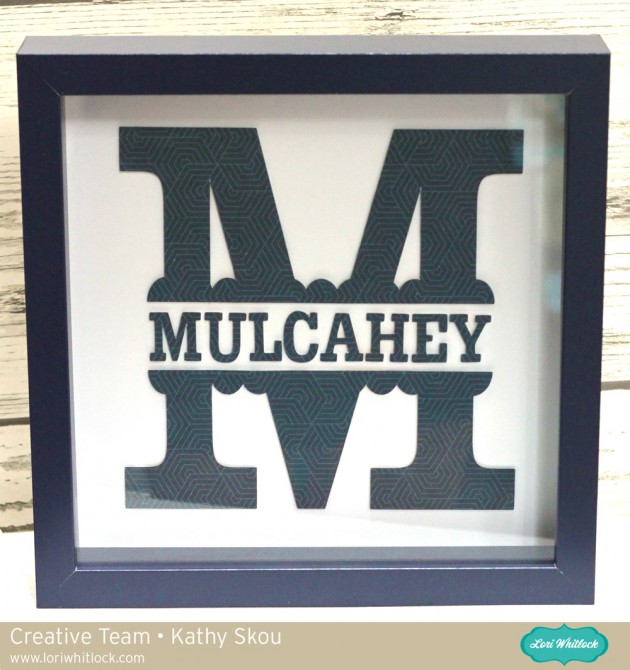
Hi Everyone! It’s Kathy today with a tutorial showing how I created this fun Mega Monogram Shadowbox for a friend. I’ve seen many similar projects done with vinyl, but I was looking to make something more dimensional. I decided to make mine with a shadowbox frame, Lori’s Mega Monogram M (available here in the Silhouette Store) and papers from Lori’s Go See Explore Collection for Echo Park Paper.
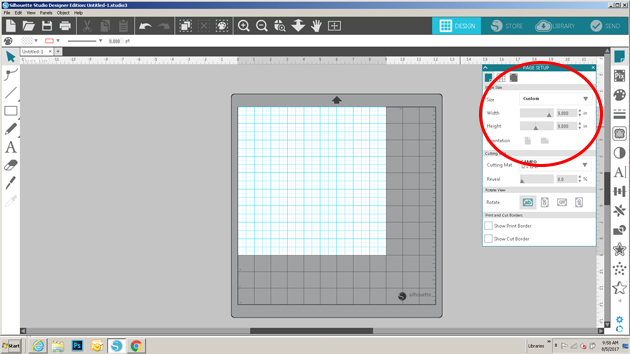
The hardest part of doing this with paper is to make sure that everything is lined up correctly. With vinyl, it’s easier since the whole design is transferred at the same time, and in the proper position. I’m going to show you a way to make this easy. My shadowbox measured at 9″ x 9″. To start, using the page set-up function in my Silhouette software, I set my page size to be 9″x 9″.
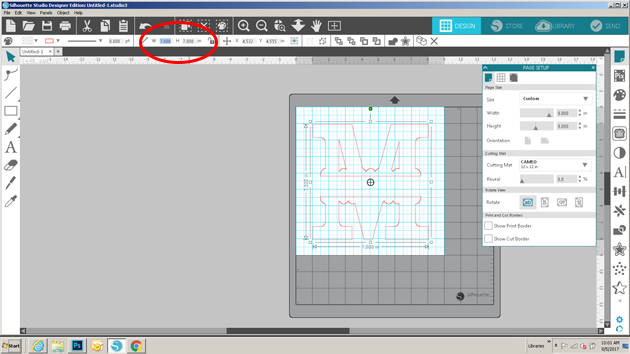
I loaded the M Mega Monogram from my library into my work space. I wanted the monogram to be more square than the original. To change the size, I selected the monogram, then using the sizing function I set my monogram to be 7″ x 7″. This did skew it a bit from the original shape, but not enough to make a difference.
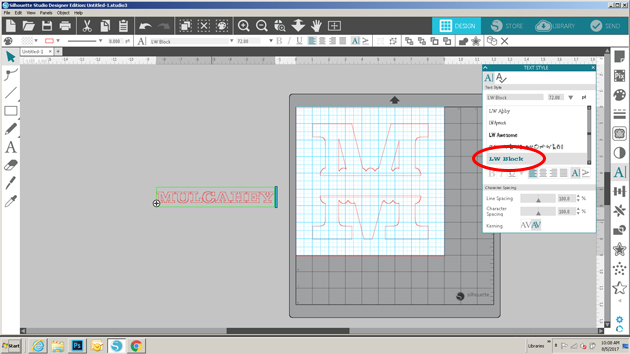
Next, I added the name for the center of the monogram. Lori’s Block Font is the perfect match for the Mega Monograms. I typed the name in all capital letters, this made it more uniform and easier to center in the monogram.
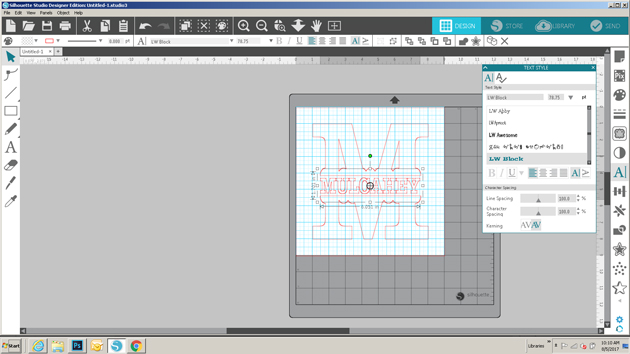
I resized the name by dragging the corners and edges until it fit in the center of the monogram. Again, the font was slightly skewed from the original but not enough to make it look odd.
Once I had all of my design on the page, I needed to center the design on the page. To do this, I first drew a square measuring the same size as the page (9×9) and placed it over the page on the mat. I clicked on the monogram and the square to select both. I opened the transform panel, and clicked on both the Center Horizontal, and Center Vertical tools. This aligned the M to be in the exact center of my page.
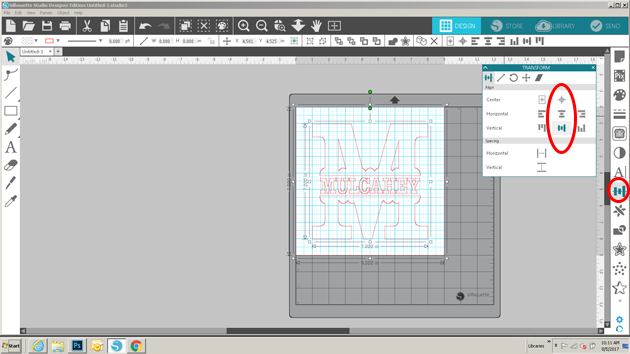
Next, I centered the name. To do this, I selected both the square and the Name and clicked on the Center Horizontal tool. This centered the name in the monogram. Once everything was centered, I deleted the square that I drew.
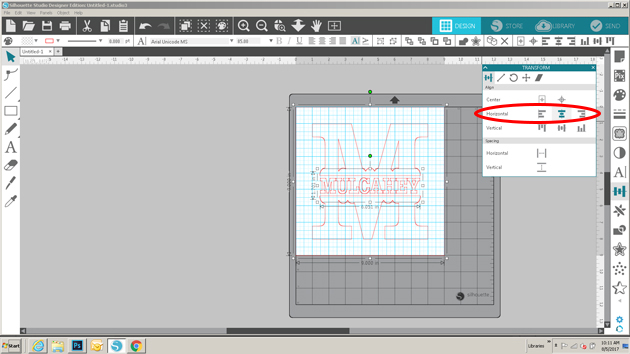
I cut my paper to be 9″ x 9″, added it to my mat, and sent it to cut.
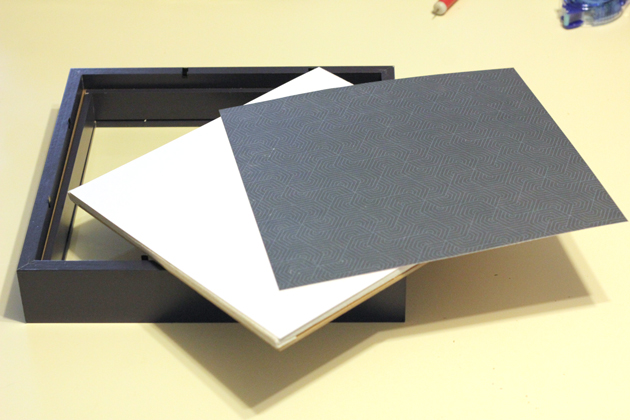
Once the design was cut, I carefully peeled the “negative”. I used the negative as my guide for laying out my design in the shadowbox.
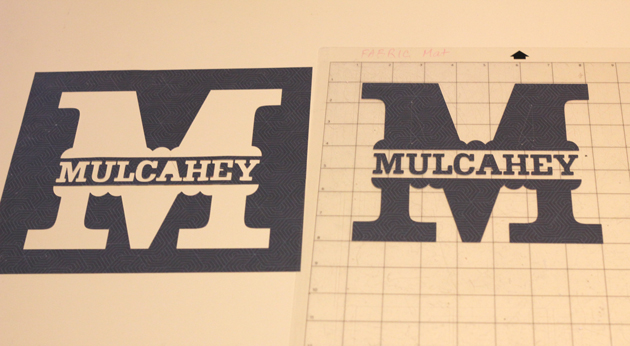
I layered the “negative, over my background piece and held it in place with a couple of clothes pins.
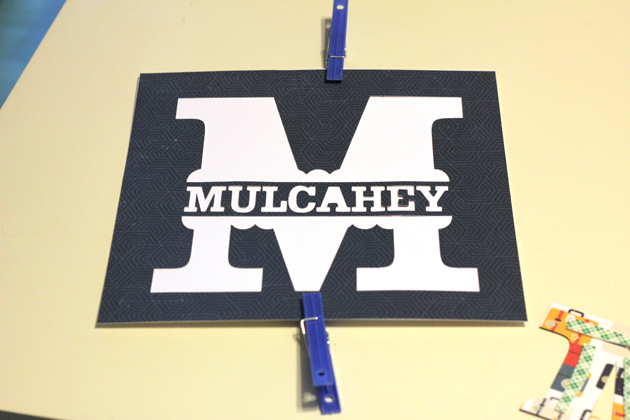
I added thin strips of foam tape to the backs of my design pieces.
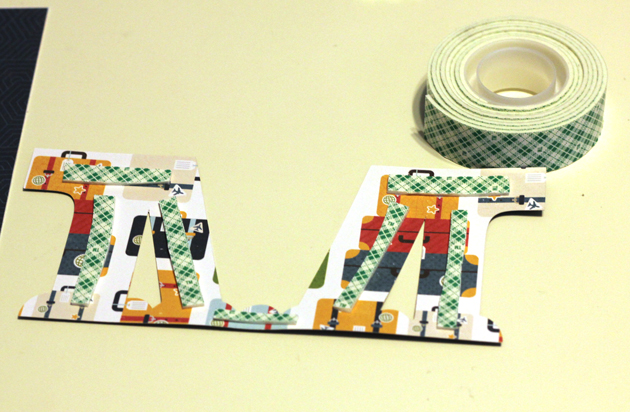
I then carefully taped the pieces down inside their slots in the negative.
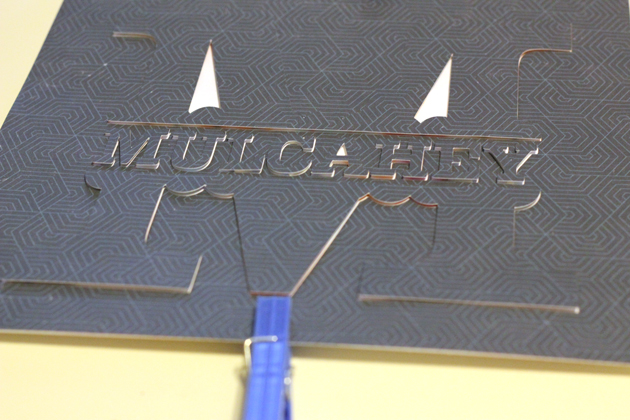
Once all of my pieces were taped down, I undid the clothes pins and carefully lifted the negative off of the design. (be patient and slow so that you do not bend or rip your design)
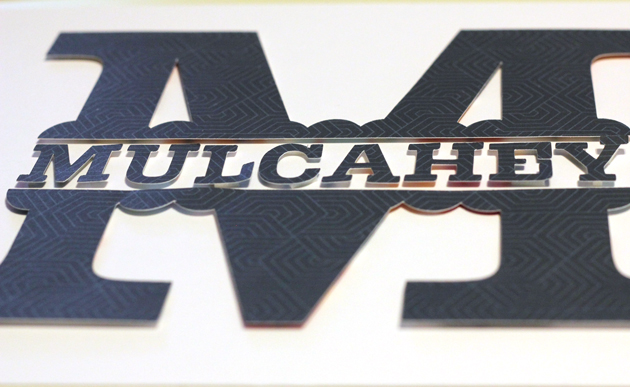
I was left with a perfectly centered design! I added the design to the shadowbox and closed it all up!
I’m giving this to my friend to celebrate her newly redone kitchen tonight! That’s it for me today, thanks for stopping by to peek!