Neighbor Gift Idea with Brandie

Hi there! Brandie here with a quick and easy neighbor gift. I am using the Santa tote file you can find it here in Loris shop and here in the Silhouette store.

The only change I made was to resize him to fit a small package of store bought cookies. I also tucked a few of the Christmas coloring cards inside as well for my neighbors with little kids. You can find coloring cards here in Loris shop and here in the Silhouette store.


Tied up with a little tulle he’s ready to be delivered.

Thanks for stopping by!

Brandie

Gift Card Booklet with Kathy

Hi Everyone!  It’s Kathy today with a little gift card booklet I made from a mini album file.  Every year, I give my college girl a few gift cards to her favorite places in a cute little package.  It’s one of her favorite Christmas gifts!  This year, I made a fun book using Lori’s 4×6 Horizontal Pocket Mini Album Tabbed Pages  (available here in the Silhouette Store) and some papers and embellishments from Echo Park’s A Perfect Christmas.  Take a peek….

To make the mini album a better size for gift cards, I had to resize the file.  To do this, I first loaded the file into my Silhouette.  Next, I ungrouped the file and deleted the tabbed pages since I was not using them.  I then regrouped the remaining pieces.  To size them I drew a rectangle on my mat measuring 3.5″ x 2.25″ which is slightly larger than a standard gift card.  I placed the rectangle over the base of one of the gift card pockets and clicked on the upper right corner of the grouped shapes and dragged down until the pocket size was close enough to the rectangle size.

This sized all of the pieces perfectly!  Here are some close-ups of some of the inside pages…

I added a belly band to the book to keep it closed since it was a little thick once the cards were inserted.  To do this I simply cut a 0.5″ strip of colored paper from a 12″ x 12″ paper and wrapped it around the book.  I trimmed the extra and secured the band with my tape runner.  Now to finish my shopping and fill it all up!  That’s it for me today, thanks for stopping by to peek!

Quick Christmas Gift Holders

Hi Everyone!   Connie Wilson put together a few different gift packing ideas using Echo Park’s A Perfect Christmas Collection.  Take a peek!!!

Self Closing Box 2 (here in Silhouette Store)

Bracket Money Envelope (here in the Silhouette Store)

Christmas Gift Card Holder (here in the Silhouette Store)

Such cute ways to package up a little something for someone special!!  There are plenty of  files in the Lori Whitlock SVG Shop and the Silhouette Store to help make your Holiday packaging a little easier!  Be sure to check them out!

Holiday Gift Tags with Michelle

Gift giving is my favorite holiday activity. I really enjoy shopping and wrapping and making each gift uniquely special. This is Michelle, and I would like to share some holiday gift tags that I made using using files from the Lori Whitlock SVG Shop.

I crafted a set a four different holiday tags and packaged them in their own special box, which I also made with my Silhouette Cameo. The tag set includes an adorable Santa, a Snowman, a Penguin and a Polar Bear that can be purchased individually from the Silhouette Design Store, or you can purchase them all together in a Christmas Tag Bundle at the Lori Whitlock SVG Shop.

These are easy to assemble and are so much fun to put together! A touch of felt and glitter really makes the designs “pop.”

Using papers from the Echo Park “A Perfect Winter” Collection, I made a sweet little box to house the tags. These are perfect for gift giving, but I’ve decided to keep these cuties for myself! When the tags have been used, I will use the box to hold to store ornaments until next year. The box is actually a Candy Box with removable insert compartments that have a sweet scalloped edge. The Candy Box and can be found in the Silhouette Design Store along with the Compartment Inserts, or, you can purchase the Candy Box at the Lori Whitlock SVG Shop. I enlarged the Box a little bit to house the tags. To do this, simply group all of the pieces together before enlarging. The lid has a clear acetate insert so I can see how many tags I have left.

I hope that you’ve enjoyed my Holiday Tag Set.

Happy Crafting!

~Michelle

“Faux Stamping” with Dingbats Technique by Michelle

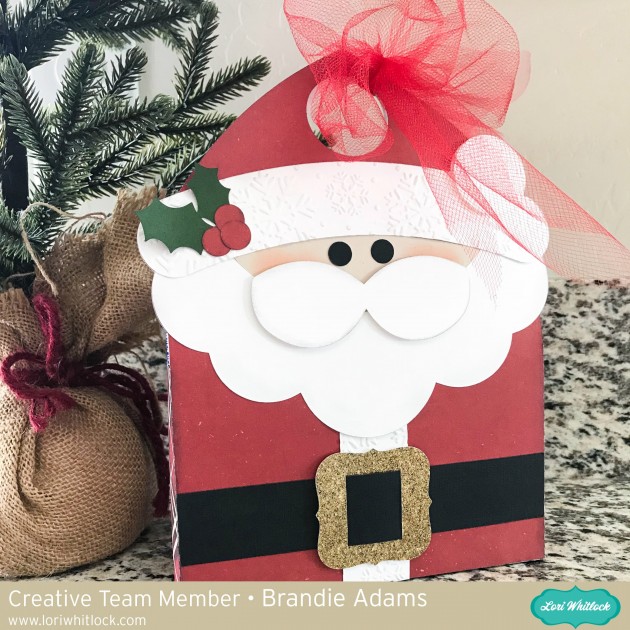
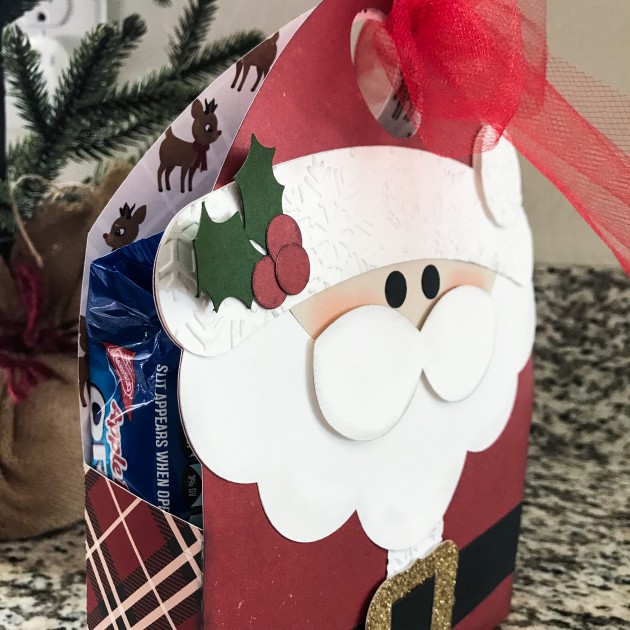
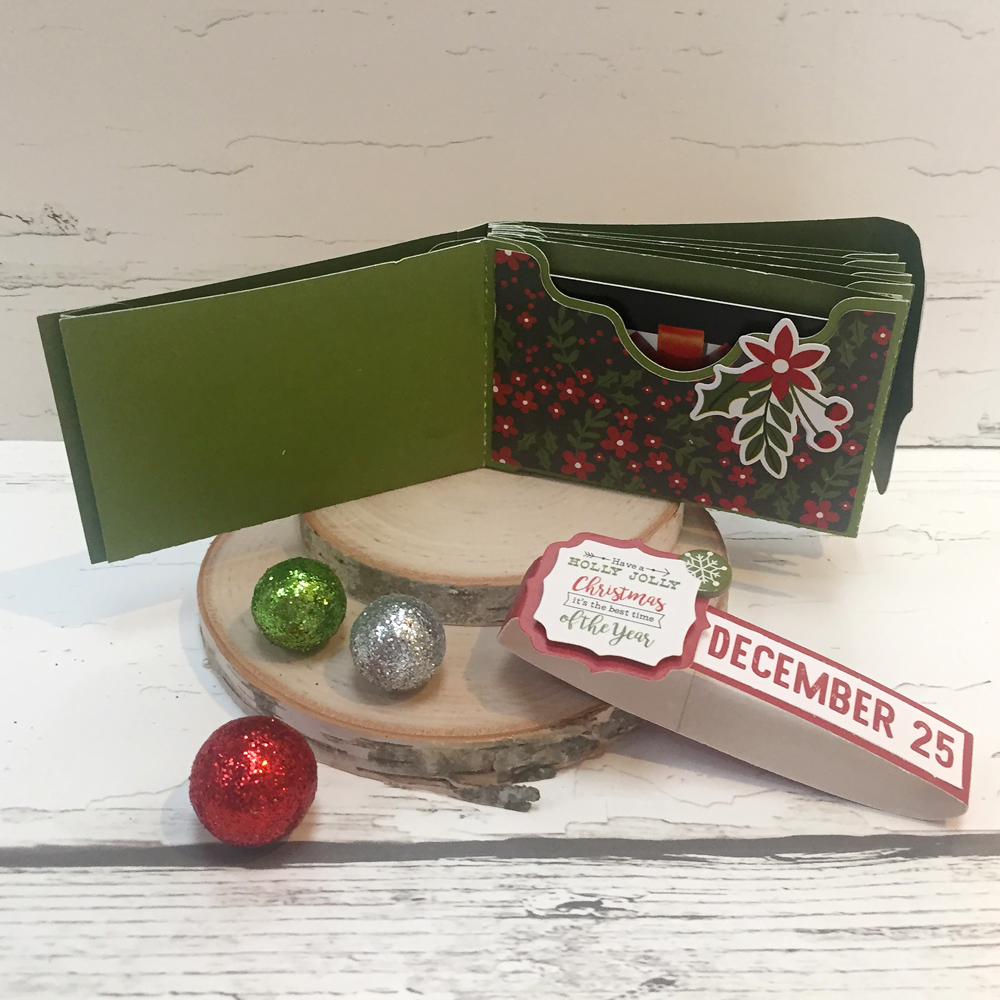
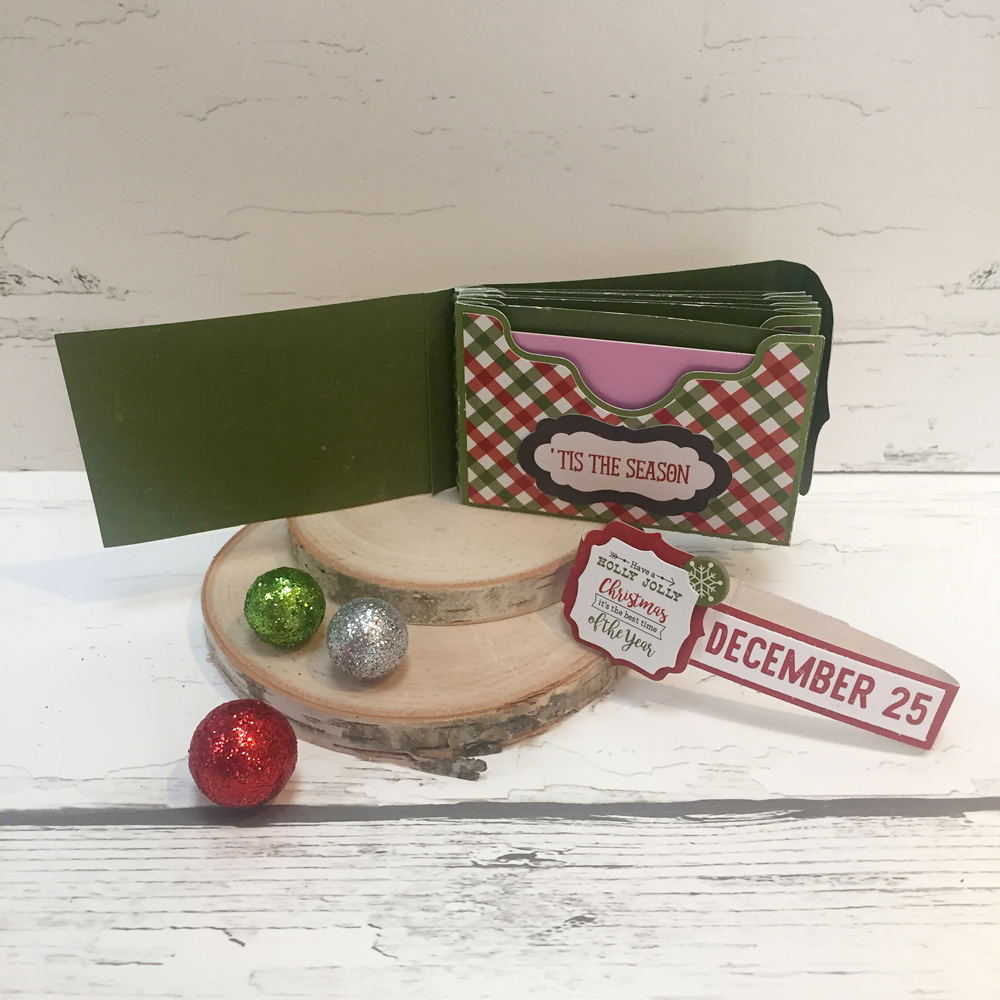
Cozy up with the Winter Dingbat Font and make these sweet little stocking-stuffer notebooks!  This is Michelle Zerull and I’d like to share a pocket sized project that can made in practically no time at all.  Perfect for stockings, classroom gifts and coworkers. Make one for yourself too!

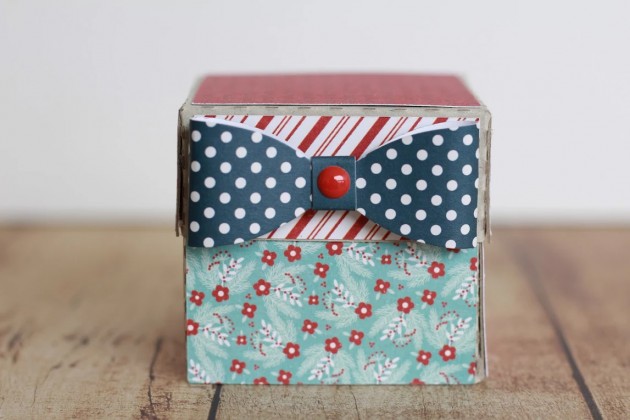
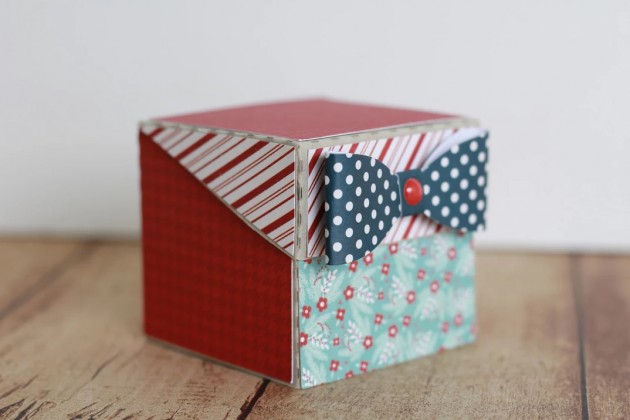
For these mini notebooks, I used “A Perfect Winter” papers by Echo Park.  The colors and patterns are great for the holidays and beyond. For the “Faux Stamped” covers, I downloaded the Winter Dingbat Font which can be found in the Silhouette Design Store and also at Lori Whitlock’s SVG Shop.  The books themselves were made from the 2×2 Accordion Mini Album SVG files that can be found here in the Silhouette Design Store and also here at Lori Whitlock’s SVG Shop.  Lori has an excellent Tutorial Video where she shows how to assemble the books. Be sure to watch the seven minute video for Lori’s tips and tricks! I’ll show you here, how to use the adorable Winter Dingbat Font to make the book covers.

I’ve been a rubber stamper for over 20 years.  I love the look, but I hate stamping on my favorite patterned papers.  I’m always afraid that I’m going to get a bad impression and ruin them.  Sadly, it happens.  By using the Winter Dingbat Font, I know that I’m going to get a consistently perfect image every time without actually stamping.  The Winter Dingbat Font contain 26 images and phrases that can be cut, colored and printed in any size your heart desires!  Yes, that’s right…26 images…in ANY size!  This “Faux Stamping” technique is so easy to do with the print and cut feature on my Silhouette Cameo.  It’s my latest obsession!

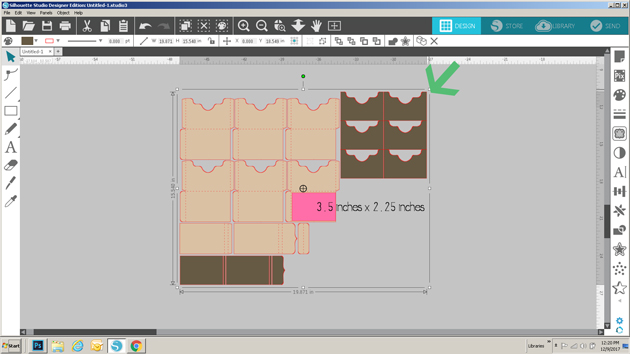
After downloading your font and SVG design, open up your design area and type in the alphabet using your dingbat font.  Look at all of those images! The hard part is choosing which ones to use!  For this project, I’m going to use three of the phrases. I clicked on the designs, clicked on the fill tool and chose the color black.  I ungrouped all 26 images and deleted the images that I was not going to use.

Next, I opened the 2×2 Accordion Mini Album files. I’m going to cut them all eventually, but right now, I’m working with the covers. I ungrouped the pieces and set them off to the side for later.

I copied the teal front cover piece and made three covers. (I made a lot of little books!)  Move your phrases to the front of the covers and remove the cut lines by selecting “no cut.” Important! Remember to remove the teal color from your pieces and change it to transparent. At this time, I also changed my page setup.  I don’t have a 12×12 printer, so I am going to cut my 12×12 patterned paper down to 8.5×11 so it will feed through my printer.  In order for the Silhouette to read the registration marks, you will need to choose a light colored patterned paper.

Add your registration marks to your letter sized page setup.  Place your light colored 8.5×11 patterned paper in your printer and hit “print.” Voila! Perfectly printed on patterned paper!  Now you can put this sheet through the Silhouette Cameo for perfectly cut book covers that already have the phrases printed, or “Faux Stamped”on them.

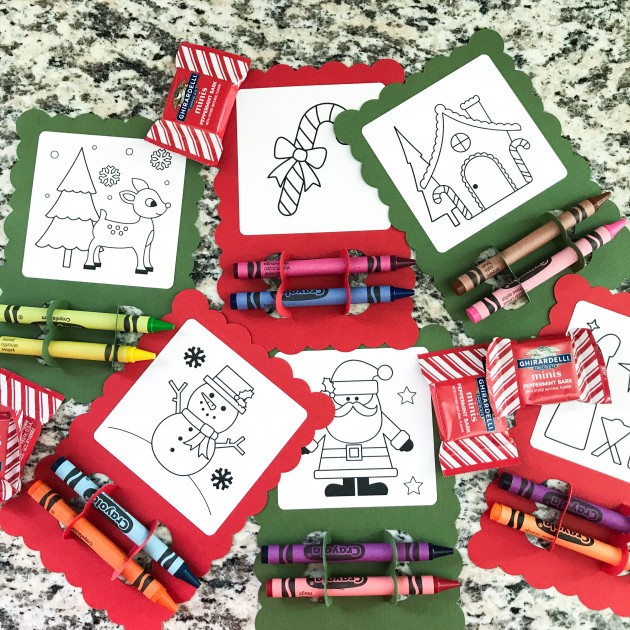
Cut and assemble the other pieces like Lori shows in the tutorial video. Instead of using designer paper for the pages, I chose to use plain white pages so I could make them into mini notebooks.

I hope that you enjoyed my “Faux Stamping” with Dingbats technique. The dingbat fonts are so fun to play with!