
I love Halloween paper crafting, I can simply never get enough and it’s so easy to create little treat boxes for all your favorite ghouls with all the choices you have from Lori. There are tons of boxes and bags at her shop or at the Silhouette online Design Store. I used an older Halloween Collection for Echo Park today for my projects.
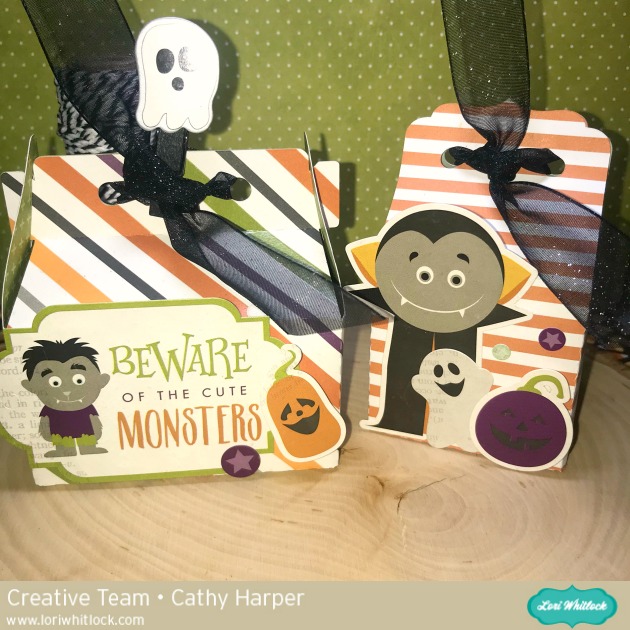
First up two little treat boxes, easy peasy and go together in a matter of seconds once you have them cut out on your machine. I used the 2 favor boxes on 12×12 at Silhouette and the ribbon tie bracket favor box silhouette version or ribbon tie bracket favor box at Lori’s Shop.
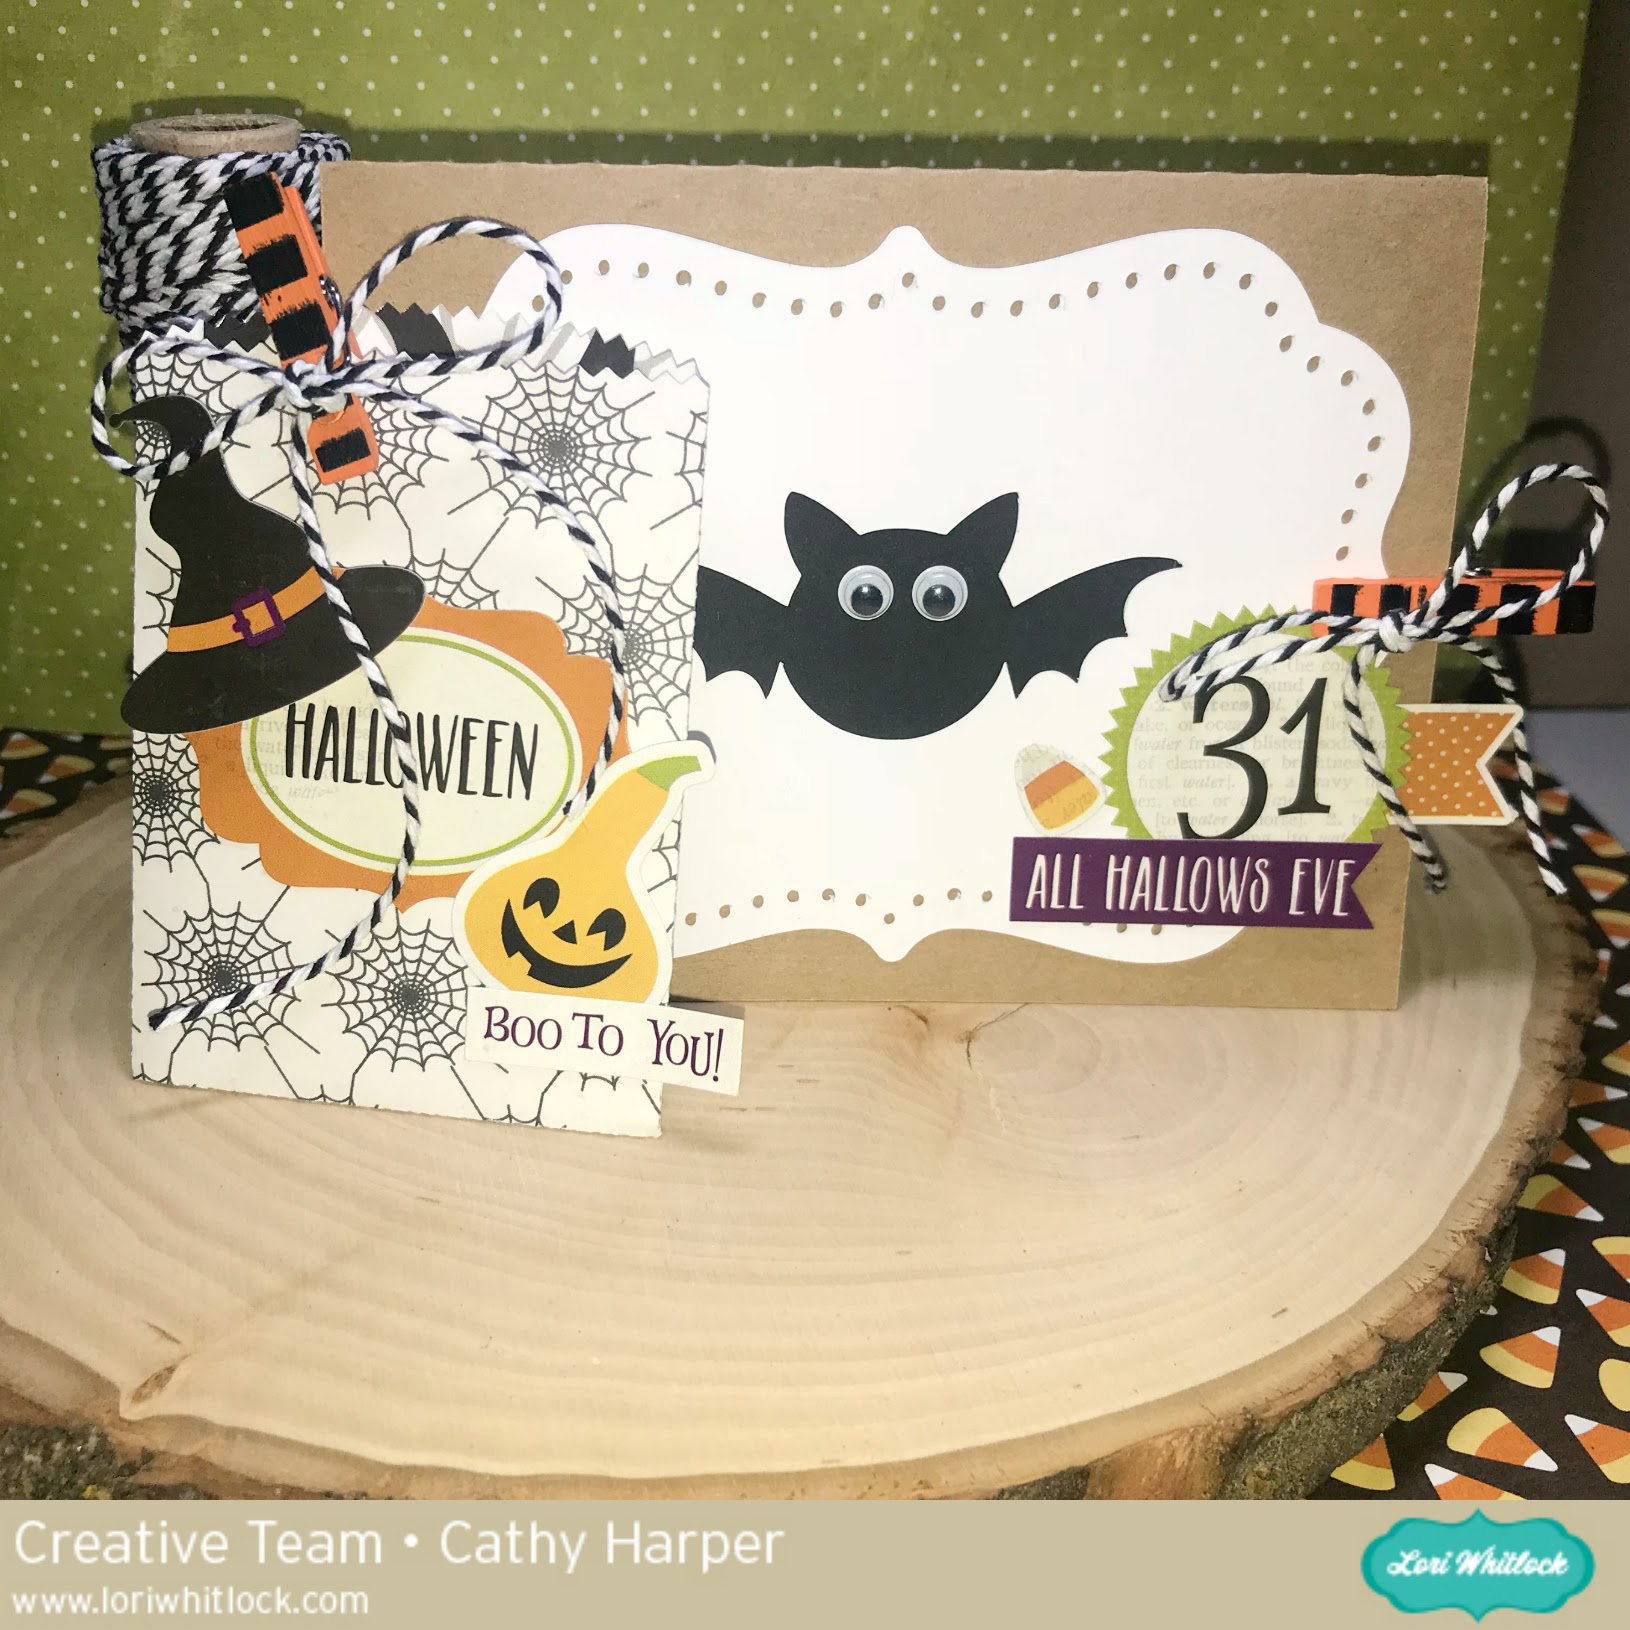
Then I created a cute card and little paper bag for another little ghoul! I used the a2 pop dot bat card, silhouette version and here at Lori’s shop. Then just an adorable little paper bag that just takes seconds…bag with rounded top, Silhouette version and here at Lori’s shop.
Thanks for stopping by today and check out all of Lori’s great treat and favor boxes…the possibilities are endless.


 Hi Everyone:
 Here is a screen shot of the cut files on my mat. You will need to cut four of the outer box and the inner box as noted in black bold type near the boxes cut files.
 Here are the pieces that you will have once you have cut everything for your project.
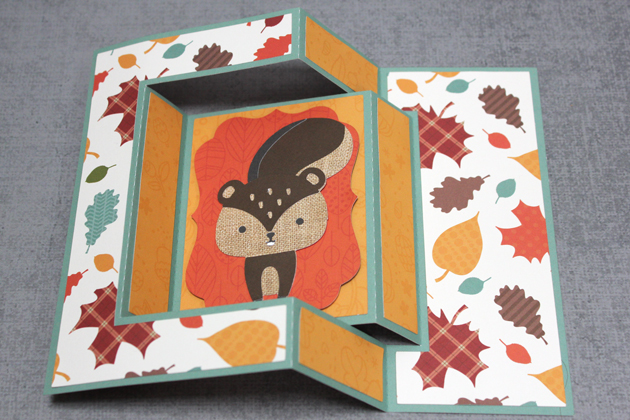
 I always start my projects by folding the score lines as you can see by the photo above.
 For the inner box you are going to want to glue the tabs from the back of the box to the side of the box.
 Next you will glue the back flap into the box.
 Next you will glue down the front flap into the box.
 Lastly, you will glue in to the box the two last flaps and your inner box is done.
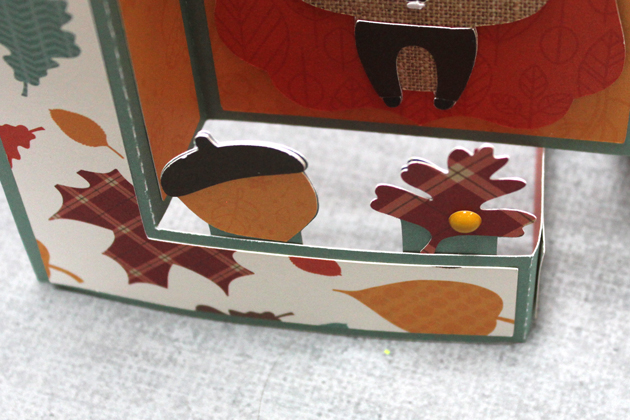
 There are flaps along the bottom of the box cut file and you will be gluing the tabbed pieces together and leaving the flaps alone for now.


