3D Chocolate Bunny Box Tutorial with Anita


Hi Everyone:

Anita here with a quick and easy tutorial to create this 3D Chocolate Bunny Box.  I used Lori’s cut file called 3D Chocolate Bunny Box to create this adorable Easter project.  You can find the cut file here in her store and here in the Silhouette store.  I used some of her new Echo Park line called Easter Wishes as well as one of her other lines including Sweet Baby Boy.

Here are the pieces that you will be cutting out.

This photo shows where you will be folding the box in preparation for gluing it together.

Fold up the sides and glue in place , tabs on the inside.

Once the box piece is glued, add the bunnies to either side, and done!

I used some adorable embellishments from Lori’s Easter Wishes collection from Echo Park to finish the box.   I hope everyone has a wonderful Easter!  And don’t forget… now through Monday, all Easter themed files in the Lori Whitlock SVG Shop are 25% off when you use code EASTER25 at checkout!

Hugs,

Anita

Spring and Easter Cards with Cathy!

Just when I think Spring is finally here, I wake up to snow.  I’m so ready for Spring days, but until that finally arrives these cute cards with Spring colors will have to do.  I have 3 cards to share with you today created with Lori’s files…first up the flower shaped mother’s day card, that I just turned into a cute spring card.  It can be found in here Silhouette and here Lori’s shop .  I used my Silhouette sketch pens for a little more definition and added the grass border file, find it here on Silhouette, and here in Lori’s shop.   So cute and springy!

Next, I made a fun shaker card for Easter with Lori’s Echo Park Easter Wishes collection.  I love making shakers and Lori’s files make it so easy to do.  Just layer up your shapes and fill with sequins.  You can find the 3d shaker card here at Silhouette  and here in Lori’s shop.

And one last super quick fun shaped card, again with the adorable Easter Wishes collection.  A little pinwheel card to wish you a Happy Easter.  You can find the file here at Silhouette or here at Lori’s shop!

Don’t forget that Lori is having an Easter Sale in her SVG Shop!  All Easter Themed SVGs are 25% off through Monday when you use code EASTER25 at checkout!

Hoping you have Spring weather wherever you might be….and hoping it arrives in Michigan soon!  Thanks for stopping by!

Bunny and Chick Favor Boxes by Aimee

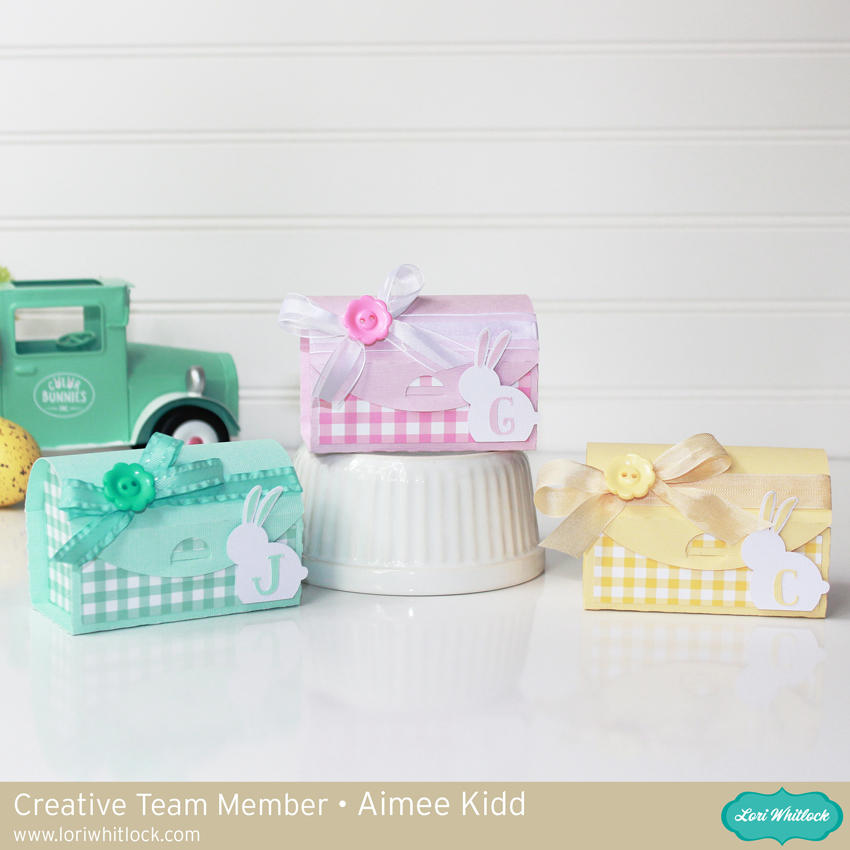
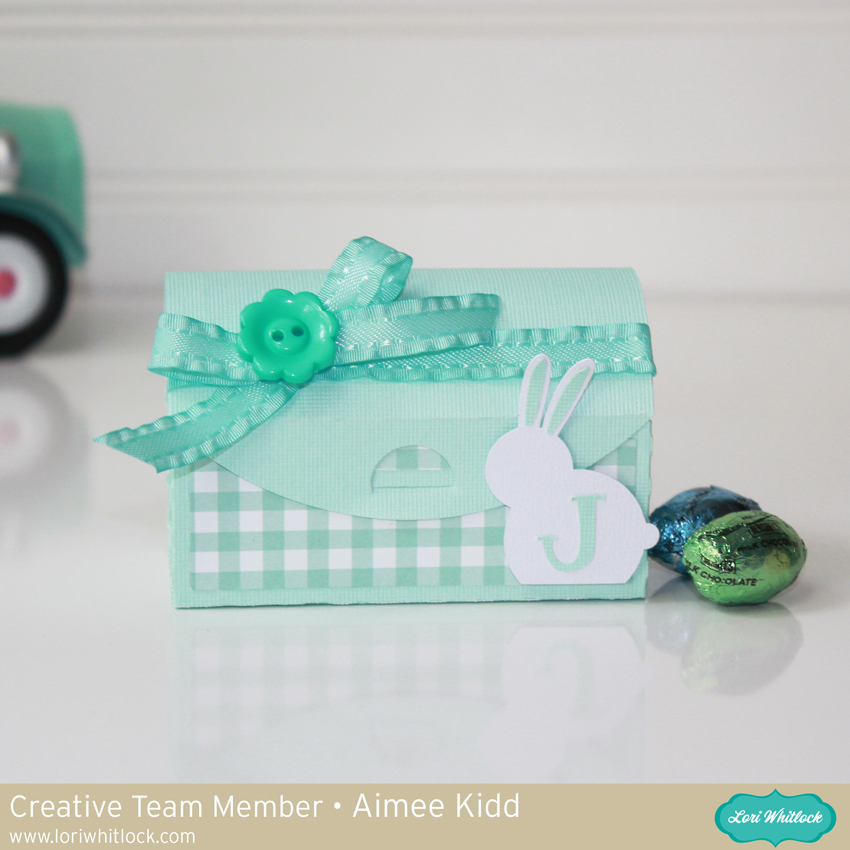
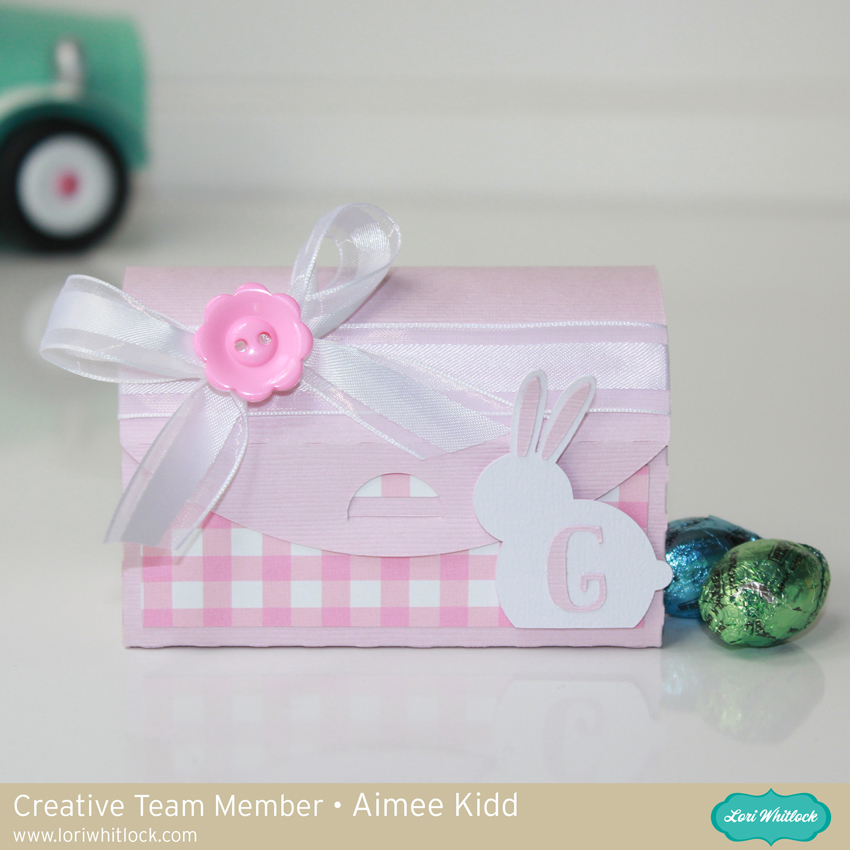
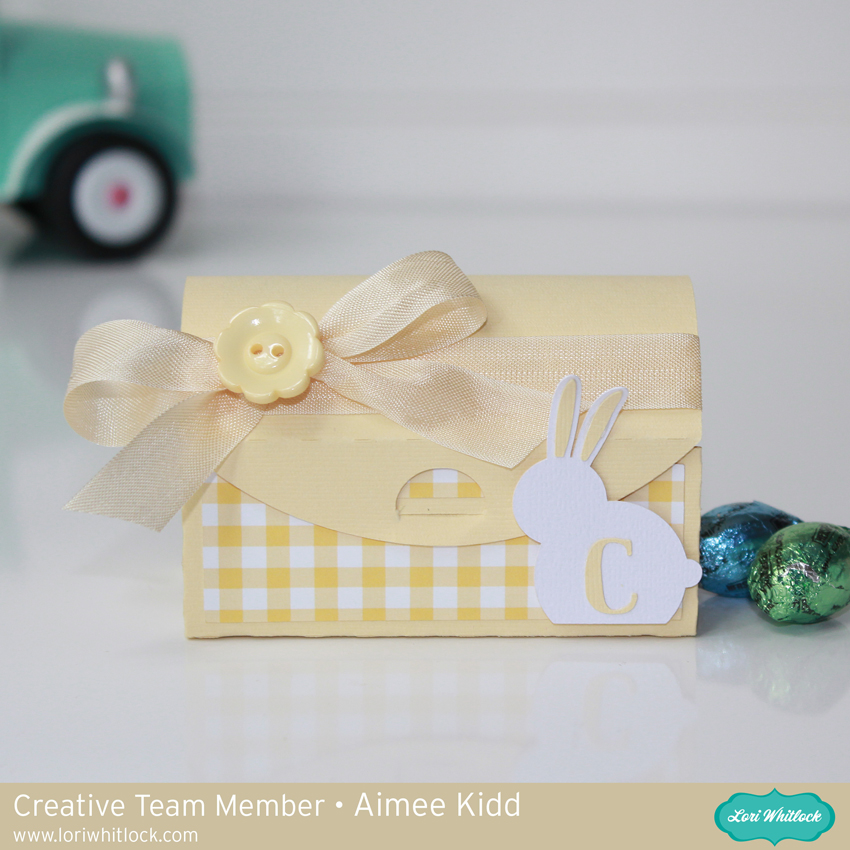
Hello crafty friends! Aimee here with you today to show you these adorable little animal favor boxes.  Lori has 9 new animal favor boxes in the store and I couldn’t resist making a couple of them. With Easter coming up I chose the Chick (SilhouetteSVG) and Bunny (SilhouetteSVG) ones. I used Lori’s new Easter Wishes papers for these little cuties!

For both of the boxes, I wanted a patterned paper on the front but didn’t want the b-side of the paper to show through on the inside back piece of the box so I cut the boxes out of cardstock and assembled the box. Then while I was in Silhouette Designer Edition, I used the cut tool to slice off all of the box except the front panel. The I cut the front panel from patterned paper and then adhered all of my pieces and decorated it and then proceeded to adhere it to the front of my box.

Since the chick favor box already had a bow, I thought I would complete her girly looks by drawing in some eyelashes with a thin grey marker.

For my bunny box, I didn’t do much to him. I added some shimmer pen to the inside of his ears and all over his nose.

That’s all from me today! I hope you love these sweet little animal favor boxes as much as I do and will give it a try! There 9 of these little guys so there are so many choices as to what kind of animal you want for your project!

Thanks for stopping by today!

Aimee

Pop Out Birthday Card with Ashley

Hi Everyone, Today I’m sharing the new Pop Out Birthday card. Such a fun card to send and easy to assemble!

Image 1

You can find this card in Lori’s shop and in the Silhouette Store.  

When you open this file in Cricut Design Space, there are a few steps to take before you cut.

1. Ungroup the file.

2. Optional: I changed out the dashed cut lines to score lines.  To do this, select the score line which is grouped in Shapes. Align the score line with the dashed cut line and resize as necessary.  Repeat for all the score lines on the white layer.

3. Group the 3 score lines  you created and delete the original dashed cut lines.

4. Select the score lines and the white card and then select Attach.

5. Repeat the processwith the blue card–replace dashed cut line with Score Line, Attach the the Score line with the blue card.

6. Now you are ready to cut.

You don’t have to replace the dashed lines if you are not using a Cricut Scoring wheel or scoring tool.  The dashed lines will be cut instead of scored.  But you will still need to attach the dashed lines to the appropriate layer.

Once you’ve cut the two card pieces, simply adhere the pop out portion of the card to the base, careful not to glue under the pop out section.  Then decorate the front.

  I used paper from Lori’s Spring Fling Collection with Echo Park.  Have a great day!

Easter Treat Wraps by Brigit

Hi there, with Easter right around the corner I thought I’d make some of these adorable treat wraps for a quick and easy project. I had a couple of slim bags that I filled with some jelly beans, but these wraps can be used with any kind of treat.

The labels were print and cuts matted to a scalloped rectangle. The paper used, Echo Park’s Easter Wishes designed by Lori matches the cute little labels. You can get these wraps as a bundle at Lori’s shop here or individually. Here’s the three I used, Wrap Easter Egg, (svgsilhouette), Wrap Easter Chick, (svgsilhouette) and Wrap Easter Bunny, (svgsilhouette).

Thanks for stopping by and have a wonderful day!